Tail Light Splitter
I hate cutting the wires on my bike so when I wanted to add some more lights on my tour-pak, I created a splitter.

Purchase a Tail Light Splitter
I can custom make you a splitter. Whether you want to add lights to your tour-pak or saddle bags or something else, I can create a splitter that will work with your application.
Once you decide you want me to custom make you one, we can talk about what you want and I can propose a design for the splitter. There are a few different ways we can do it, depending on your set-up and we can talk through that. The splitter will come with the connectors you need to connect to the lights you are adding. You will need to be able to crimp them. Crimpers are cheap on Amazon or I can help with that.
I can also sell you the wiring needed to run to your new lights. The lights that I installed came with a short pig tail so I needed to run wires along the fender (under the passenger seat) into my tour-pak. I used about three feet of wire from the tour-pak to the splitter under the seat.
- Tail Light Splitter – $35 shipped in Con-USA
- 3.5 ft. of 18 gauge color wire (to match OEM) with connector – $15 (with Tail Light Splitter)
Make your own Tail light Splitter
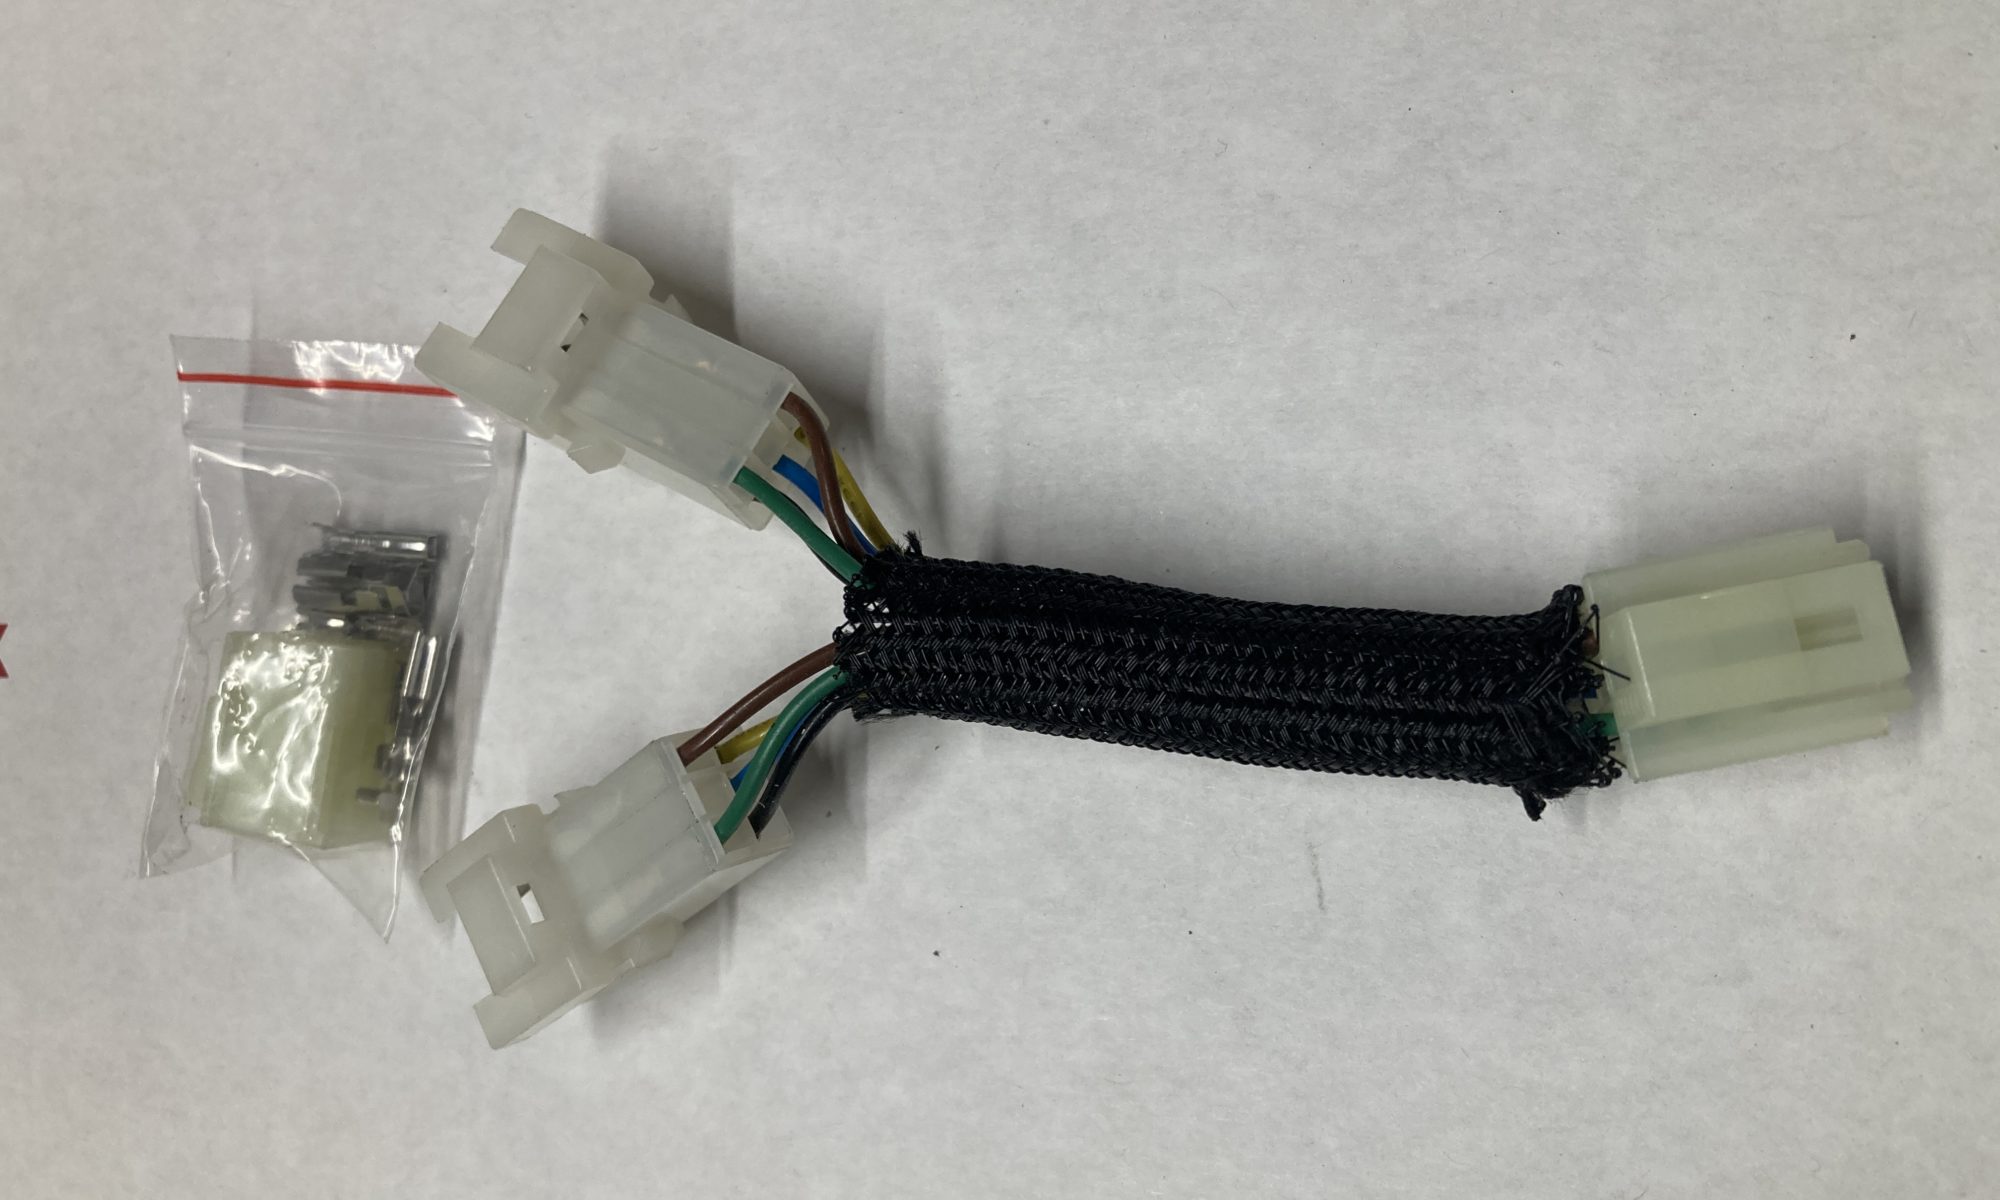
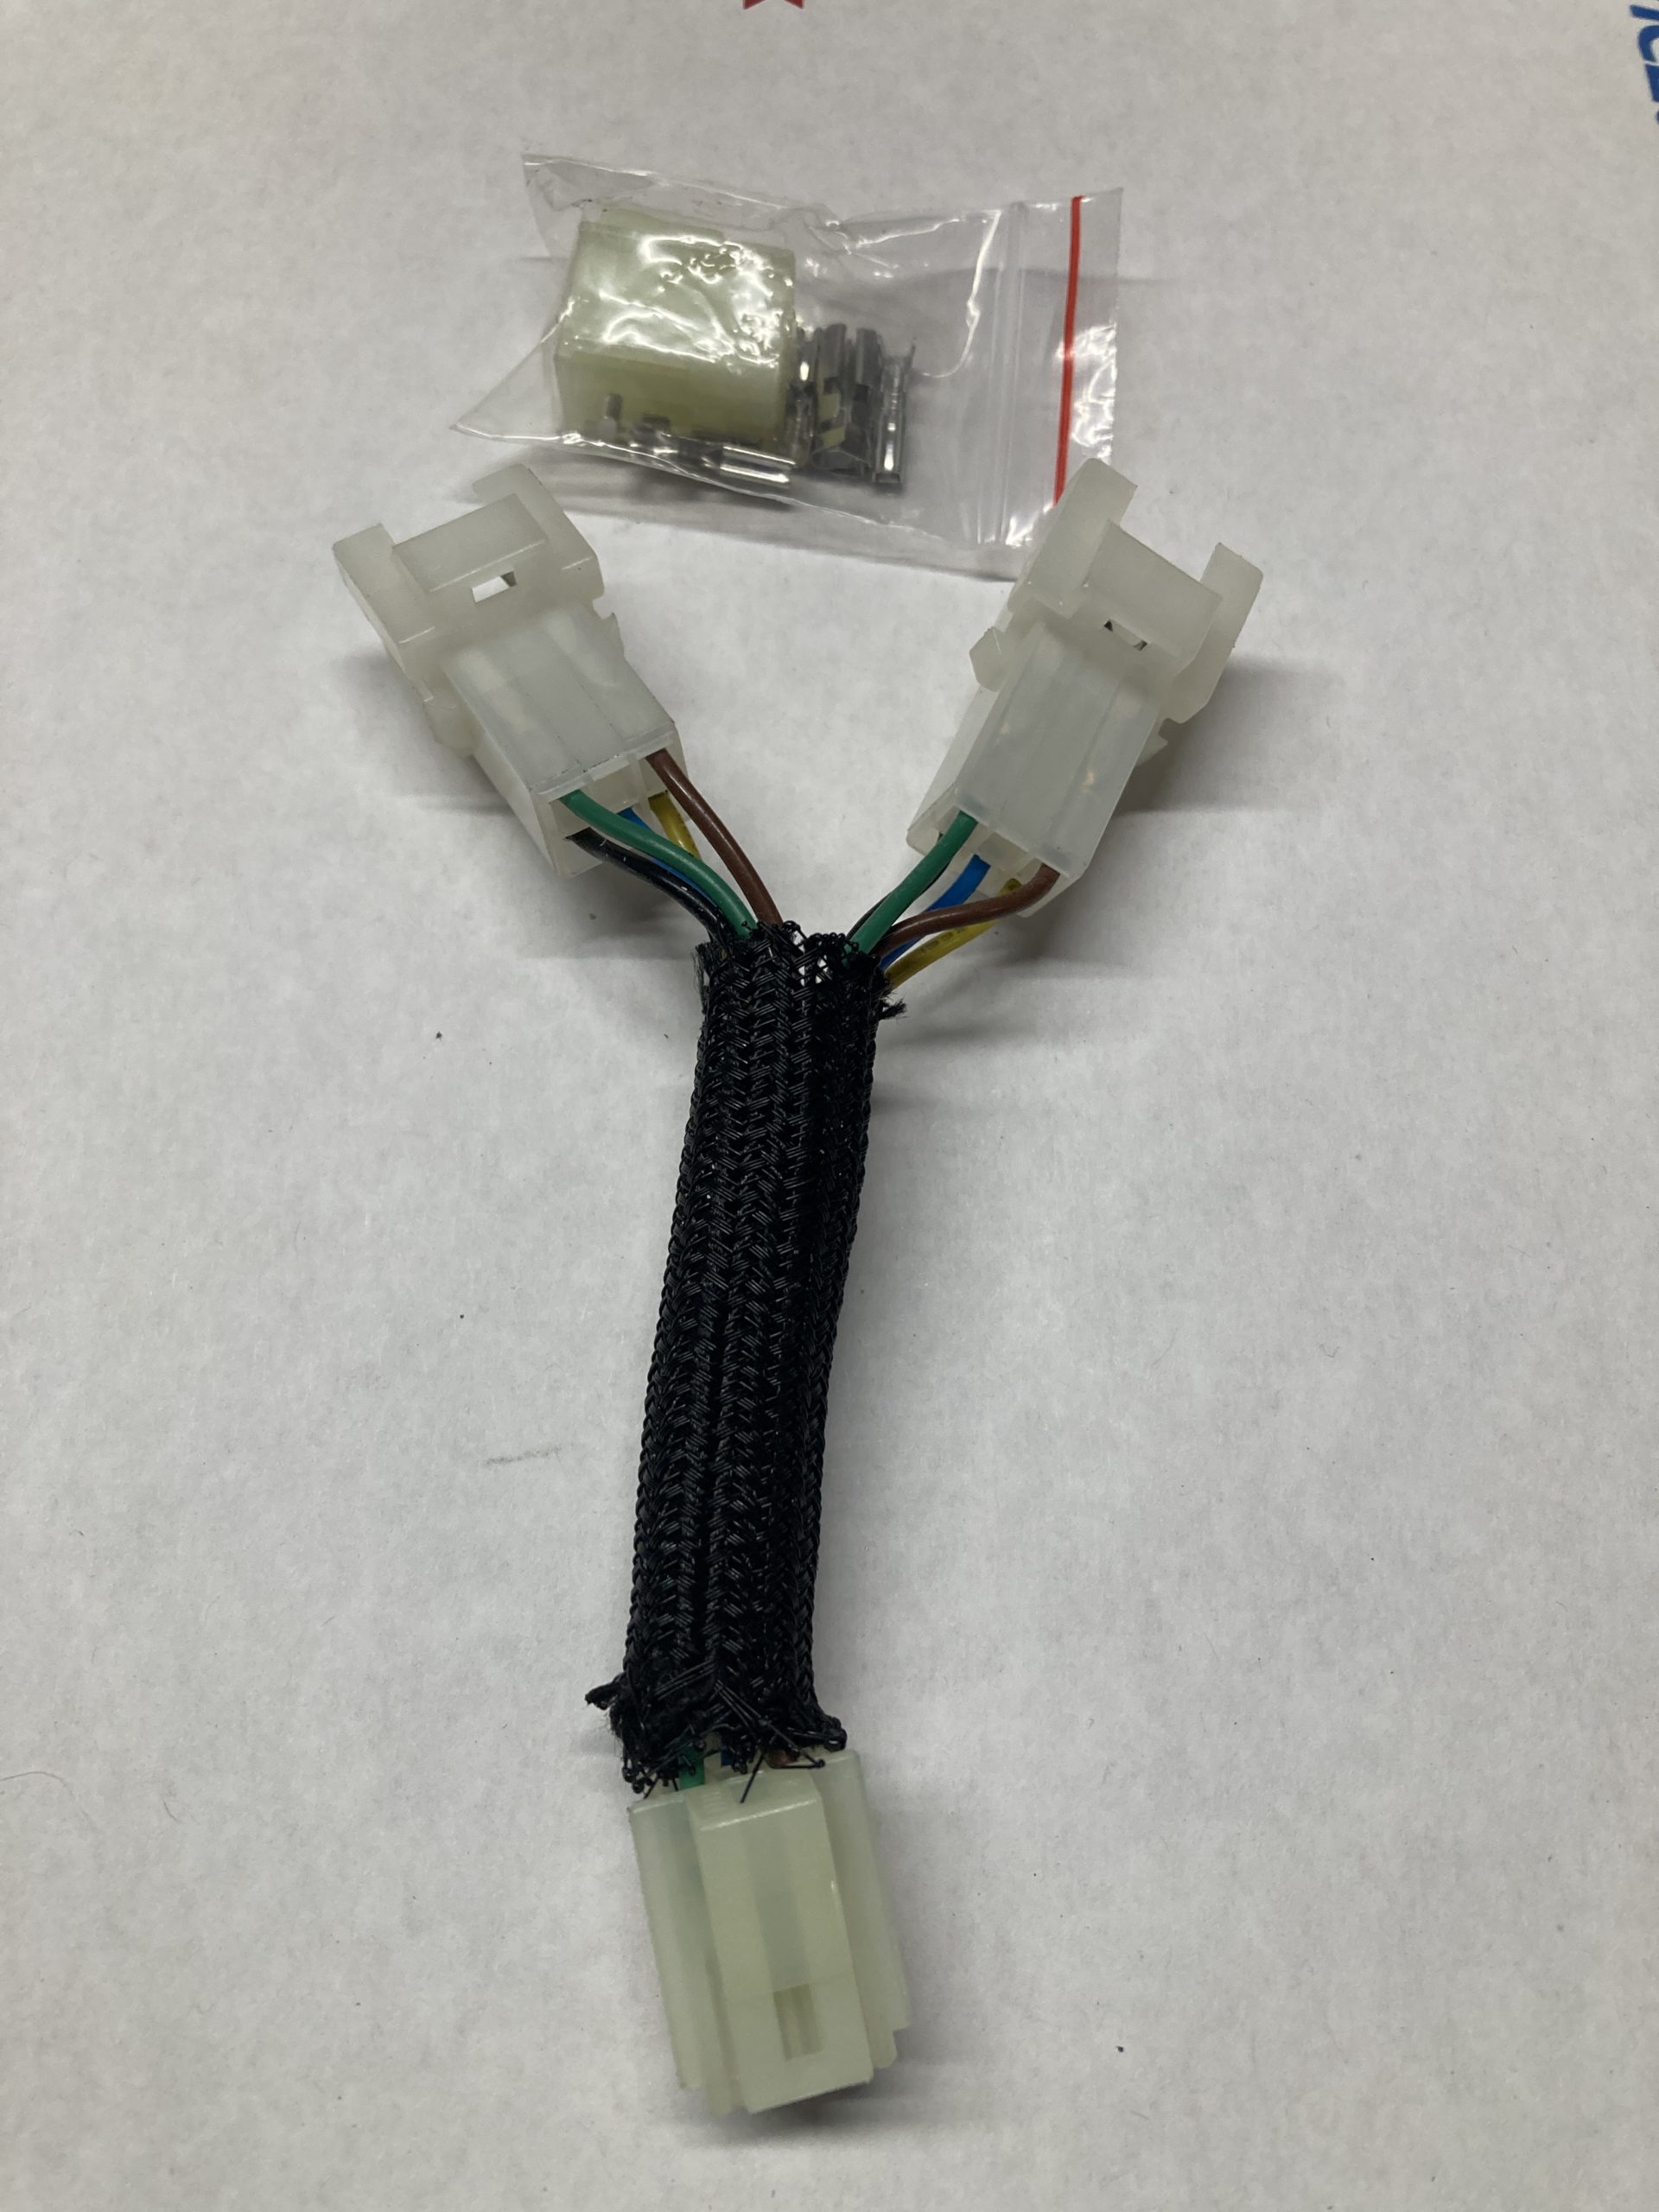
Since my tour-pak has all the elements of the OEM tail lights (running, brake, and blinkers), I simply split all five wires. Below are the directions and supplies you will need to make one like mine.
Items needed
- Four (4) 6-pin wire connectors (year specific as noted below). – Details below
- Four (4) feet of each color 18 gauge wire (brown, yellow, blue, green, black) – eBay – (message them before you buy to request the colors you need).
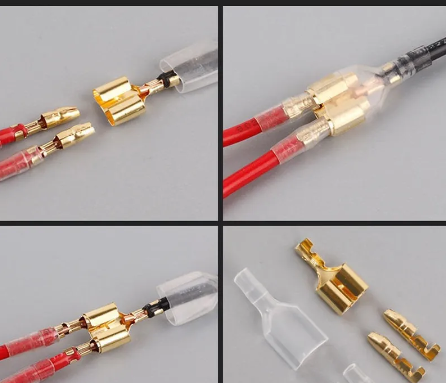
- Five (5) wire connectors – or soldering equipment. – eBay
- Heat shrink wire tube – I used 3/16″. Harbor Freight
- Wire loom sleeve. – Amazon
- Lighter to remove frays when you cut the Wire look sleeve
- Wire strippers.
- Open Barrell Terminal Crimp Tool – Amazon.
I used 6″ of wire for the splitter. I cut them into 2″ pieces. That way the overall length of the wire is 4″ since two of the wires crimped next to each other so you can split the signal.
First I crimped the singe wire to the wire connector and then terminated the terminal end on it. I inserted it into the connector (that connects to the bike side. I then crimped the two wires on the other side of the wire connector. I repeated this for each wire till they were all crimped together. Next I added heat shrink tubing to each of the wire connectors and used a heat gun to shrink them. Be sure the connectors are covered. I then crimped the terminals on each of the one side of the splitter at a time so as to put them in the correct place and inserted them into the terminals. You will want to pay attention how you crimp them as the terminals are inserted the opposite way compared to the front ones. I just turned them updside down and crimped them, then inserted them as I crimped them.
Here is the wiring diagram.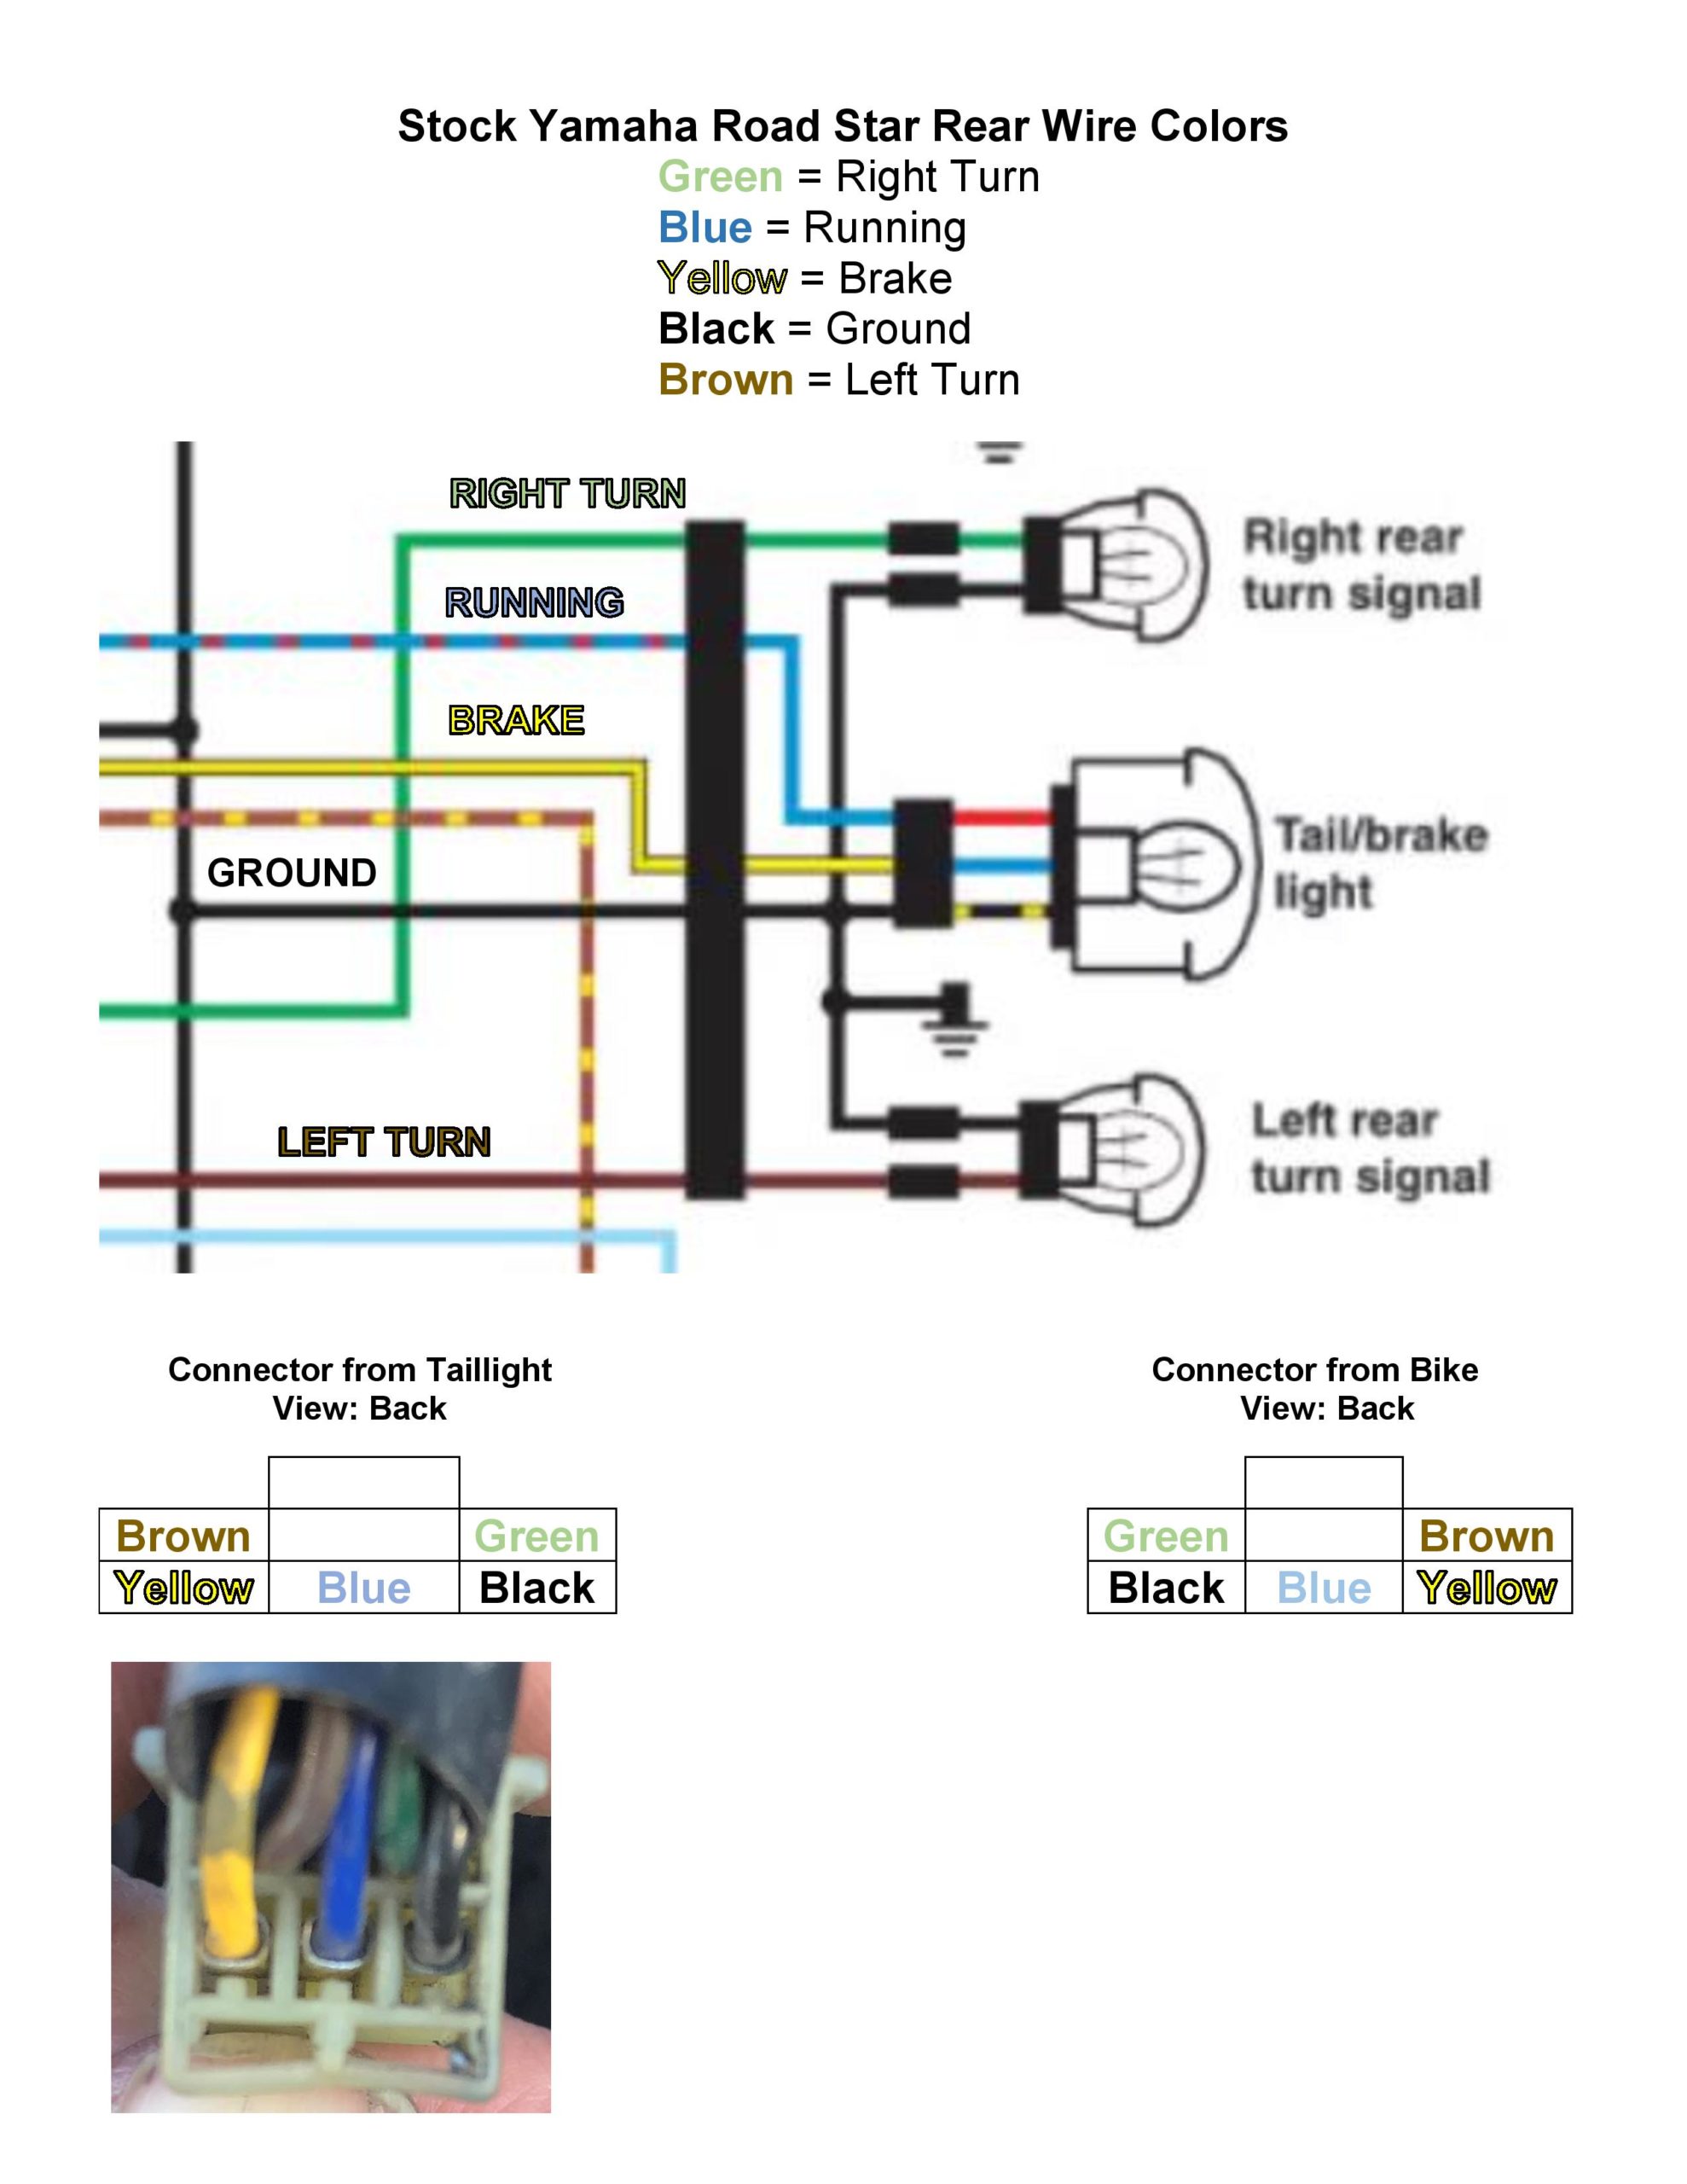
You can purchase the 6-pin wire connectors at the following website. Feel free to use Google to find a better price.
http://www.cycleterminal.com/hm-non-sealed-series.html
https://www.corsa-technic.com/
1999-2003 6-pin wire connectors
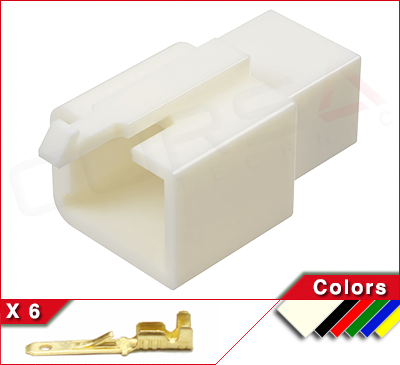
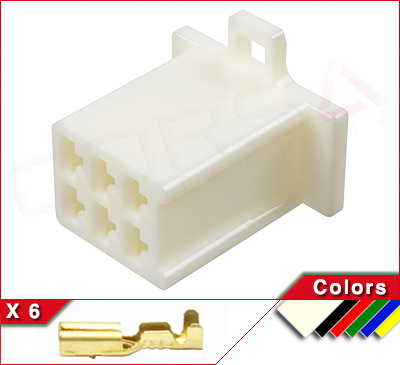
2004-2014 6-pin wire connectors
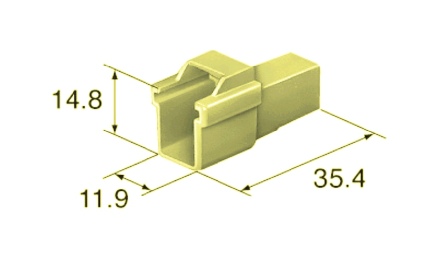
HM090-6 Male

HM090-6 Female
Some variations in the type of connectors you can use are as follows.