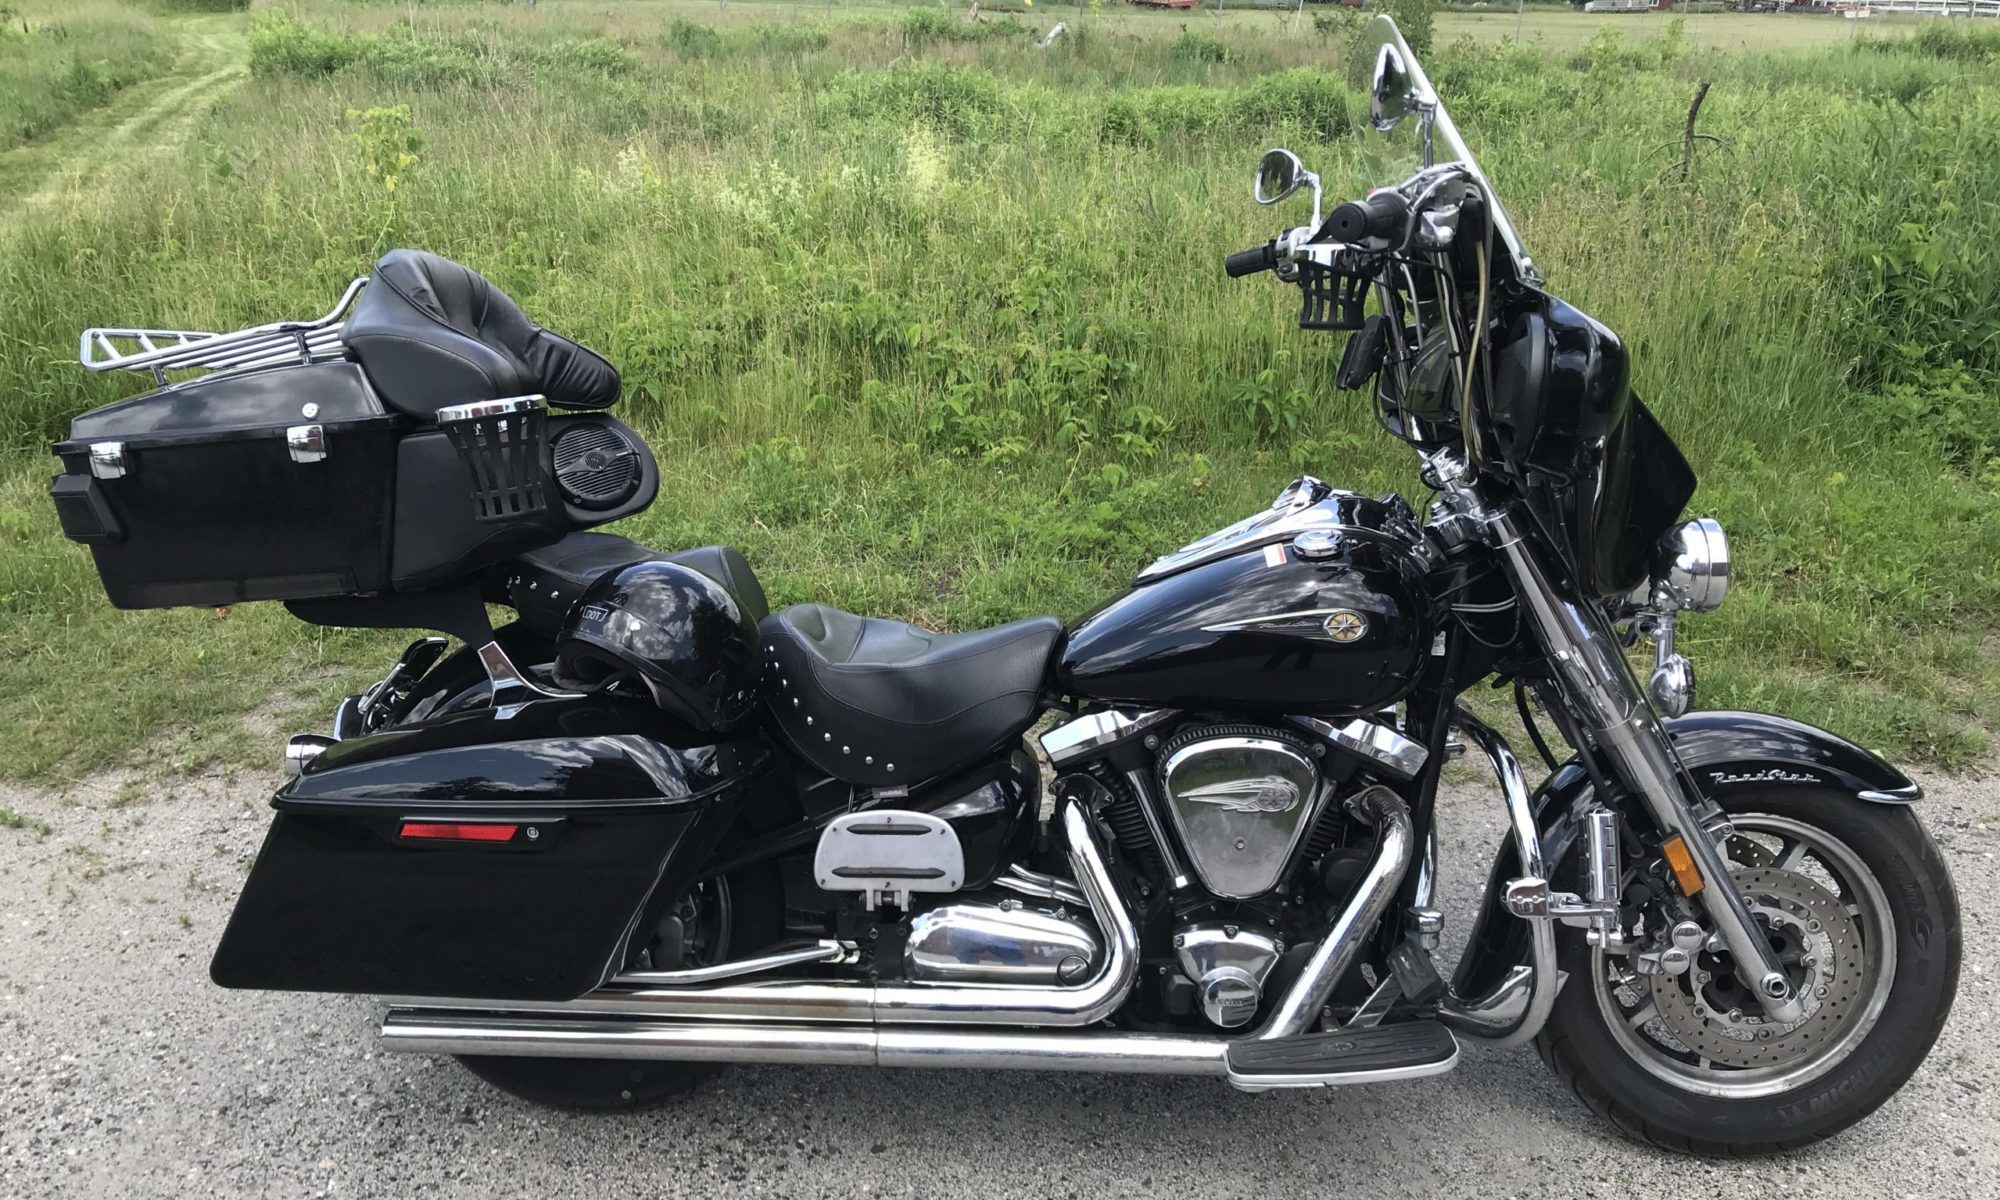
Upgraded Battery & Starter Cables
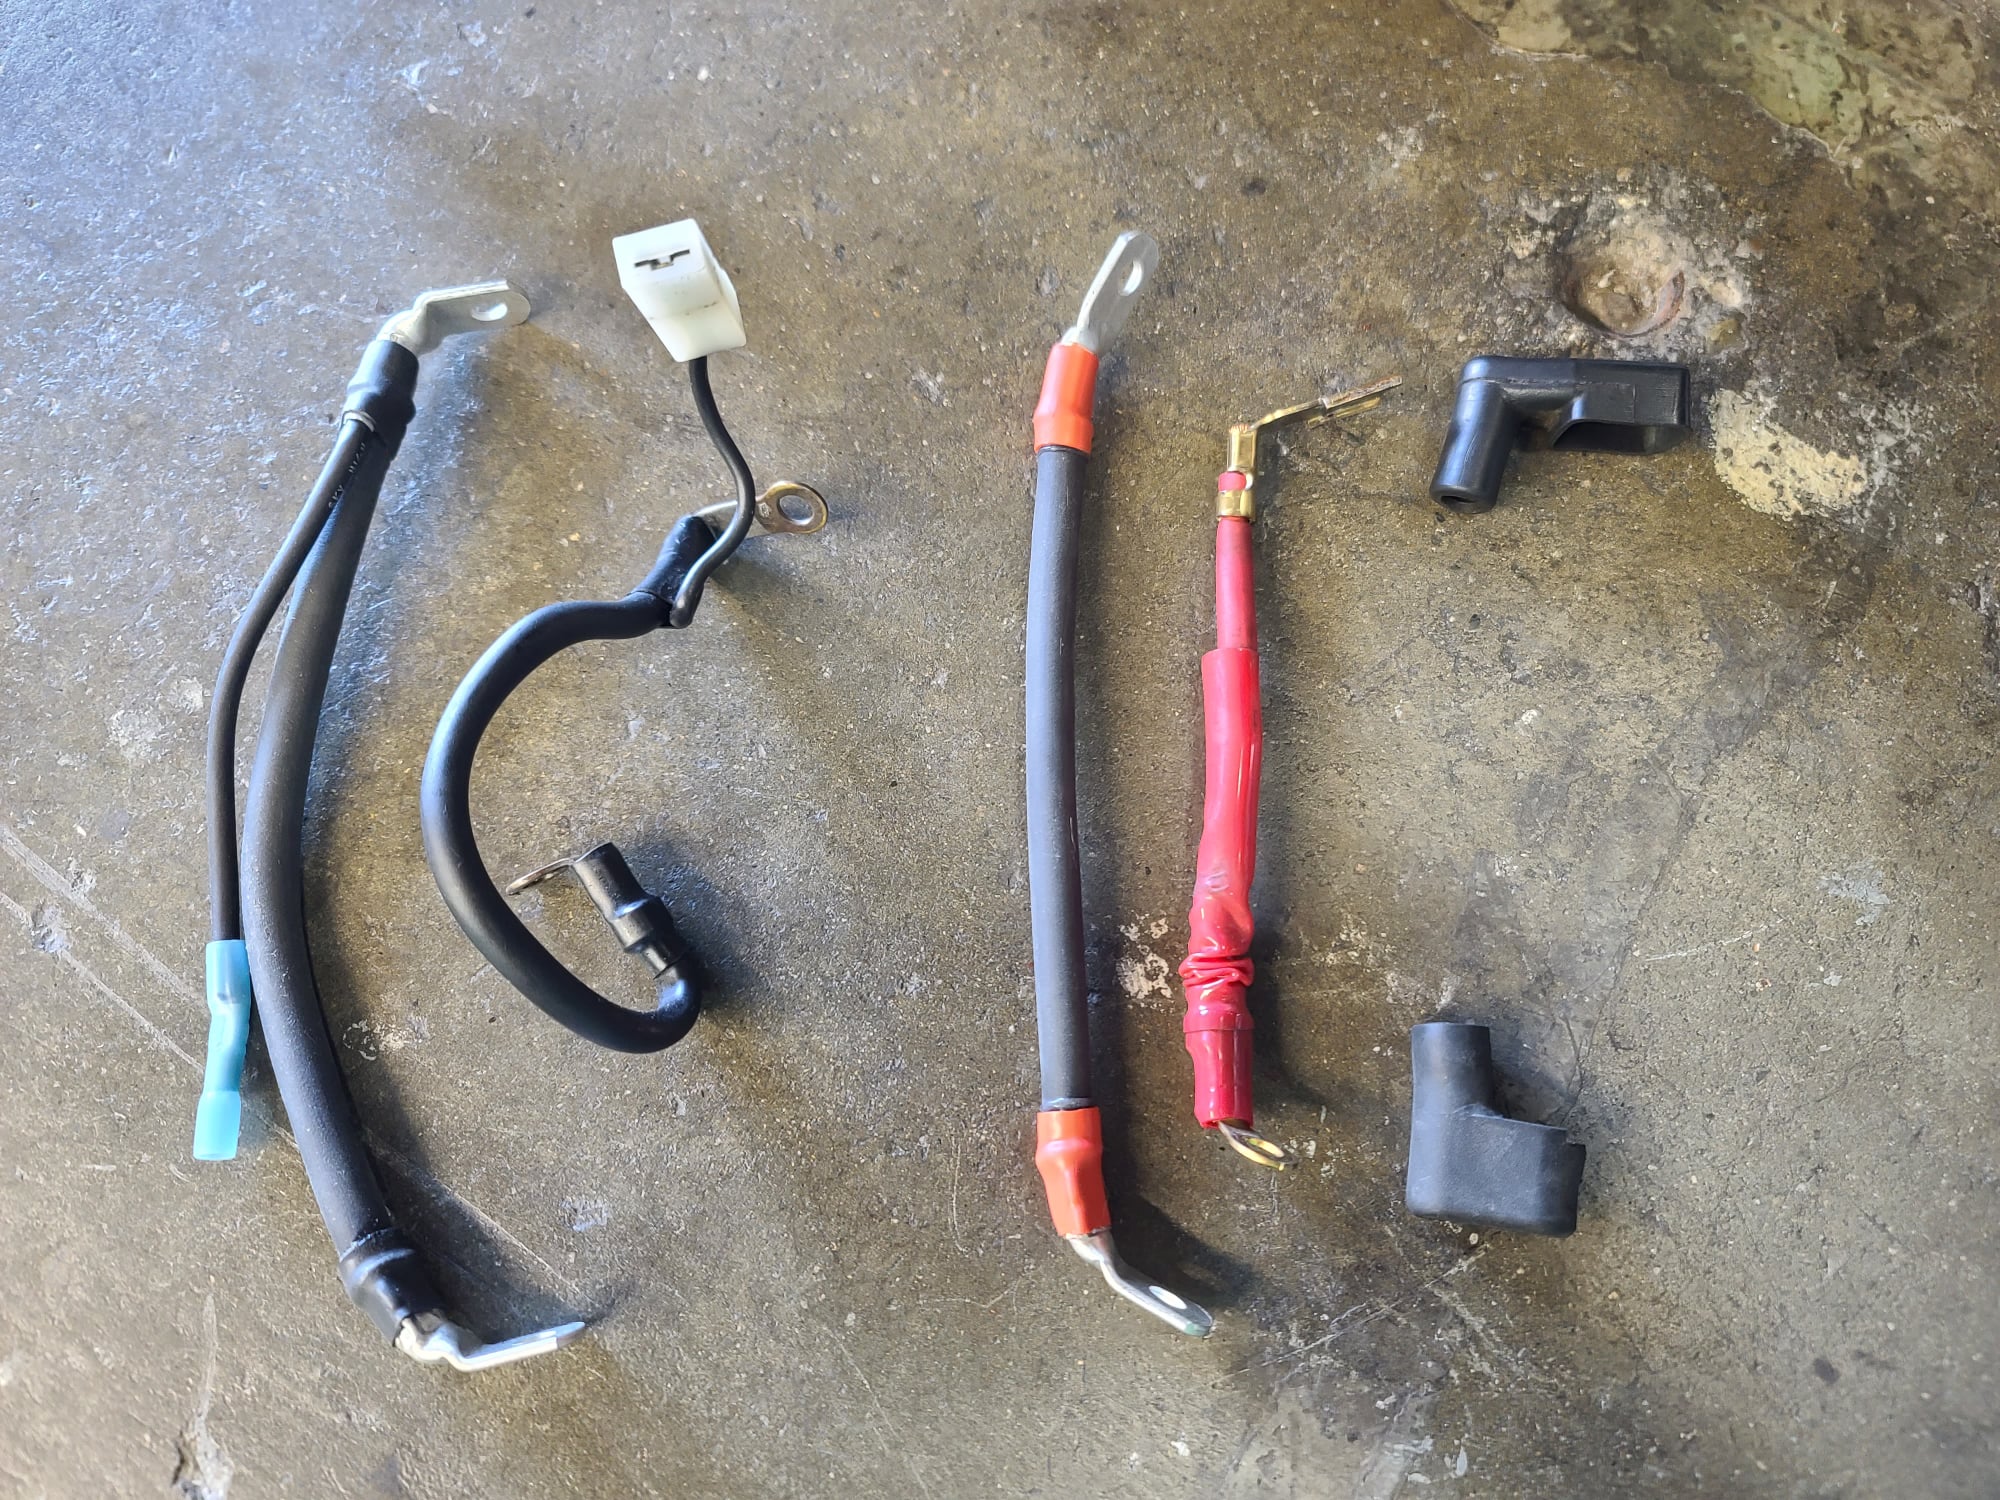
David Jenkins sells an upgraded cable kit for the Road Star. I do not sell these kits nor do I have any more information that what’s on this page. It includes the positive cable, negative cable and the starter cable. The OEM cables are 6ga and it doesn’t take much oxidation or corrosion to effect the starting and charging. The 4ga cables that he makes allow the amperage to flow better for starting and charging and being new there isn’t any corrosion or oxidation under the sheathing.
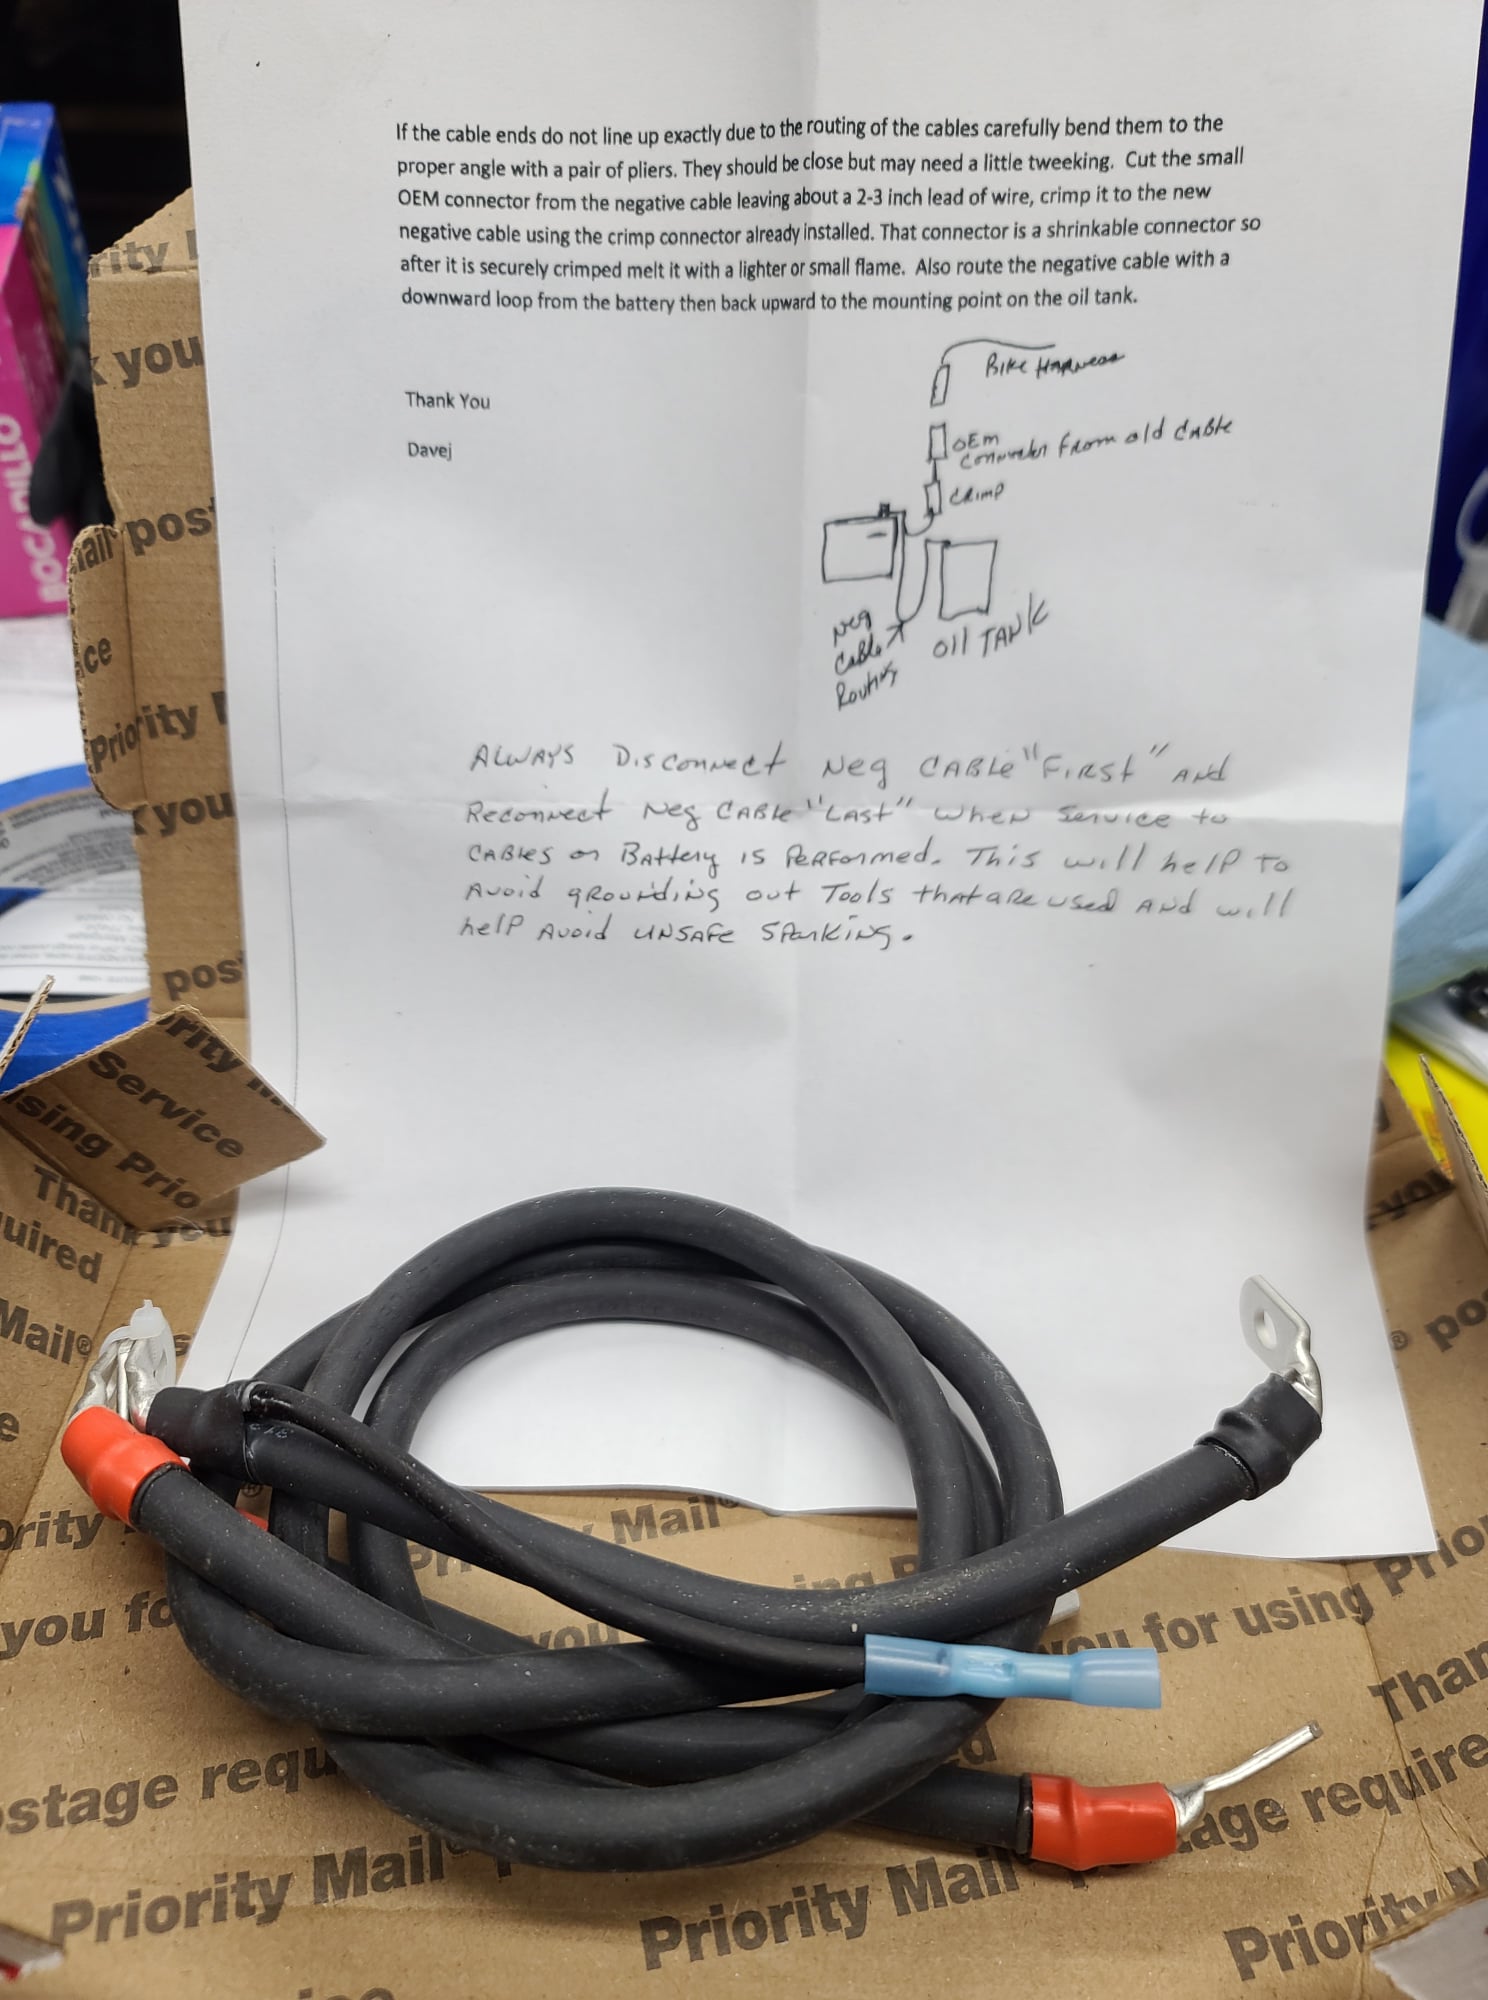
Always disconnect negative cable “first” and reconnect negative cable “last” when service on battery cables is performed. This will help to avoid grounding out tools that are used and will help avoid unsafe sparking.
You will re-use the rubber shields on the positive and starter cables.
You will have to bend the ends a bit to fit. Carefully bend them with a pair of pliers.
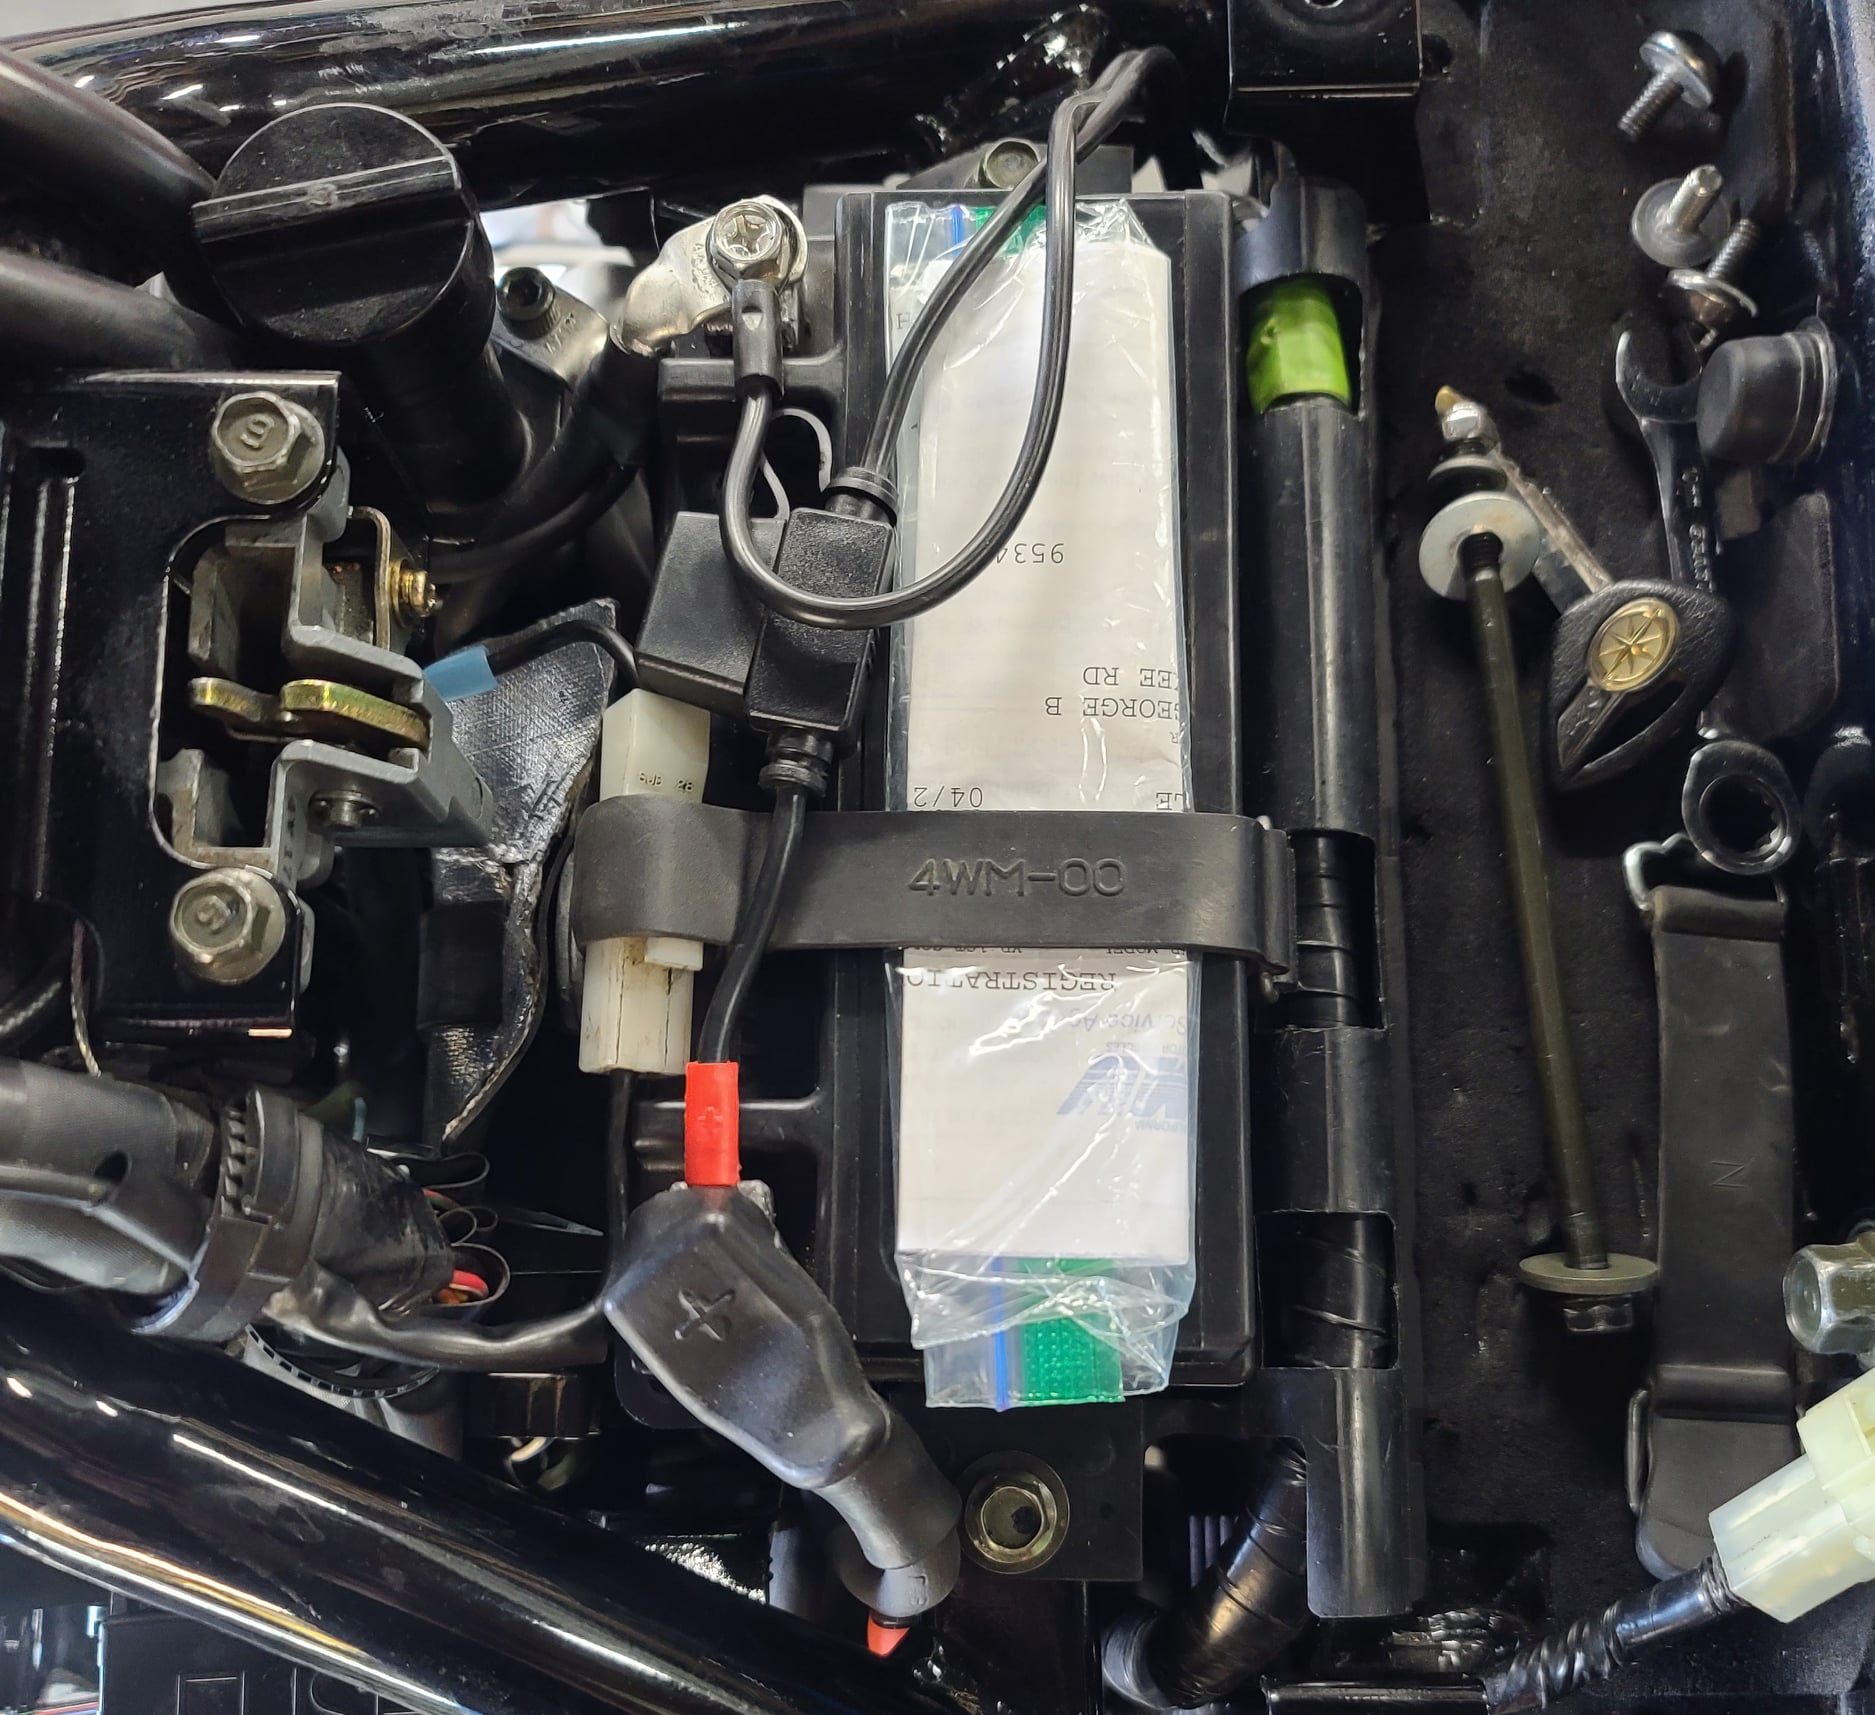
In order to replace the cables you will want to remove the battery box.
- Disconnect the negative and positive cables (in that order) from the battery and pull the battery.
- Pull the left side cover.
- Remove the nut towards front and the bolt (towards the back) that holds the bracket on which all of the electrical components are mounted.
- Remove the battery cable and the starter cable from the starter relay.
You should be able to feed the battery cable through the side of the battery box and remove it. The igniter unit is mounted on the front of the battery box. Unplug the three connectors from it and then you can pull it out.
- Remove the two bolts that secure the battery box and it should pull out.
- Move to the front of the bike
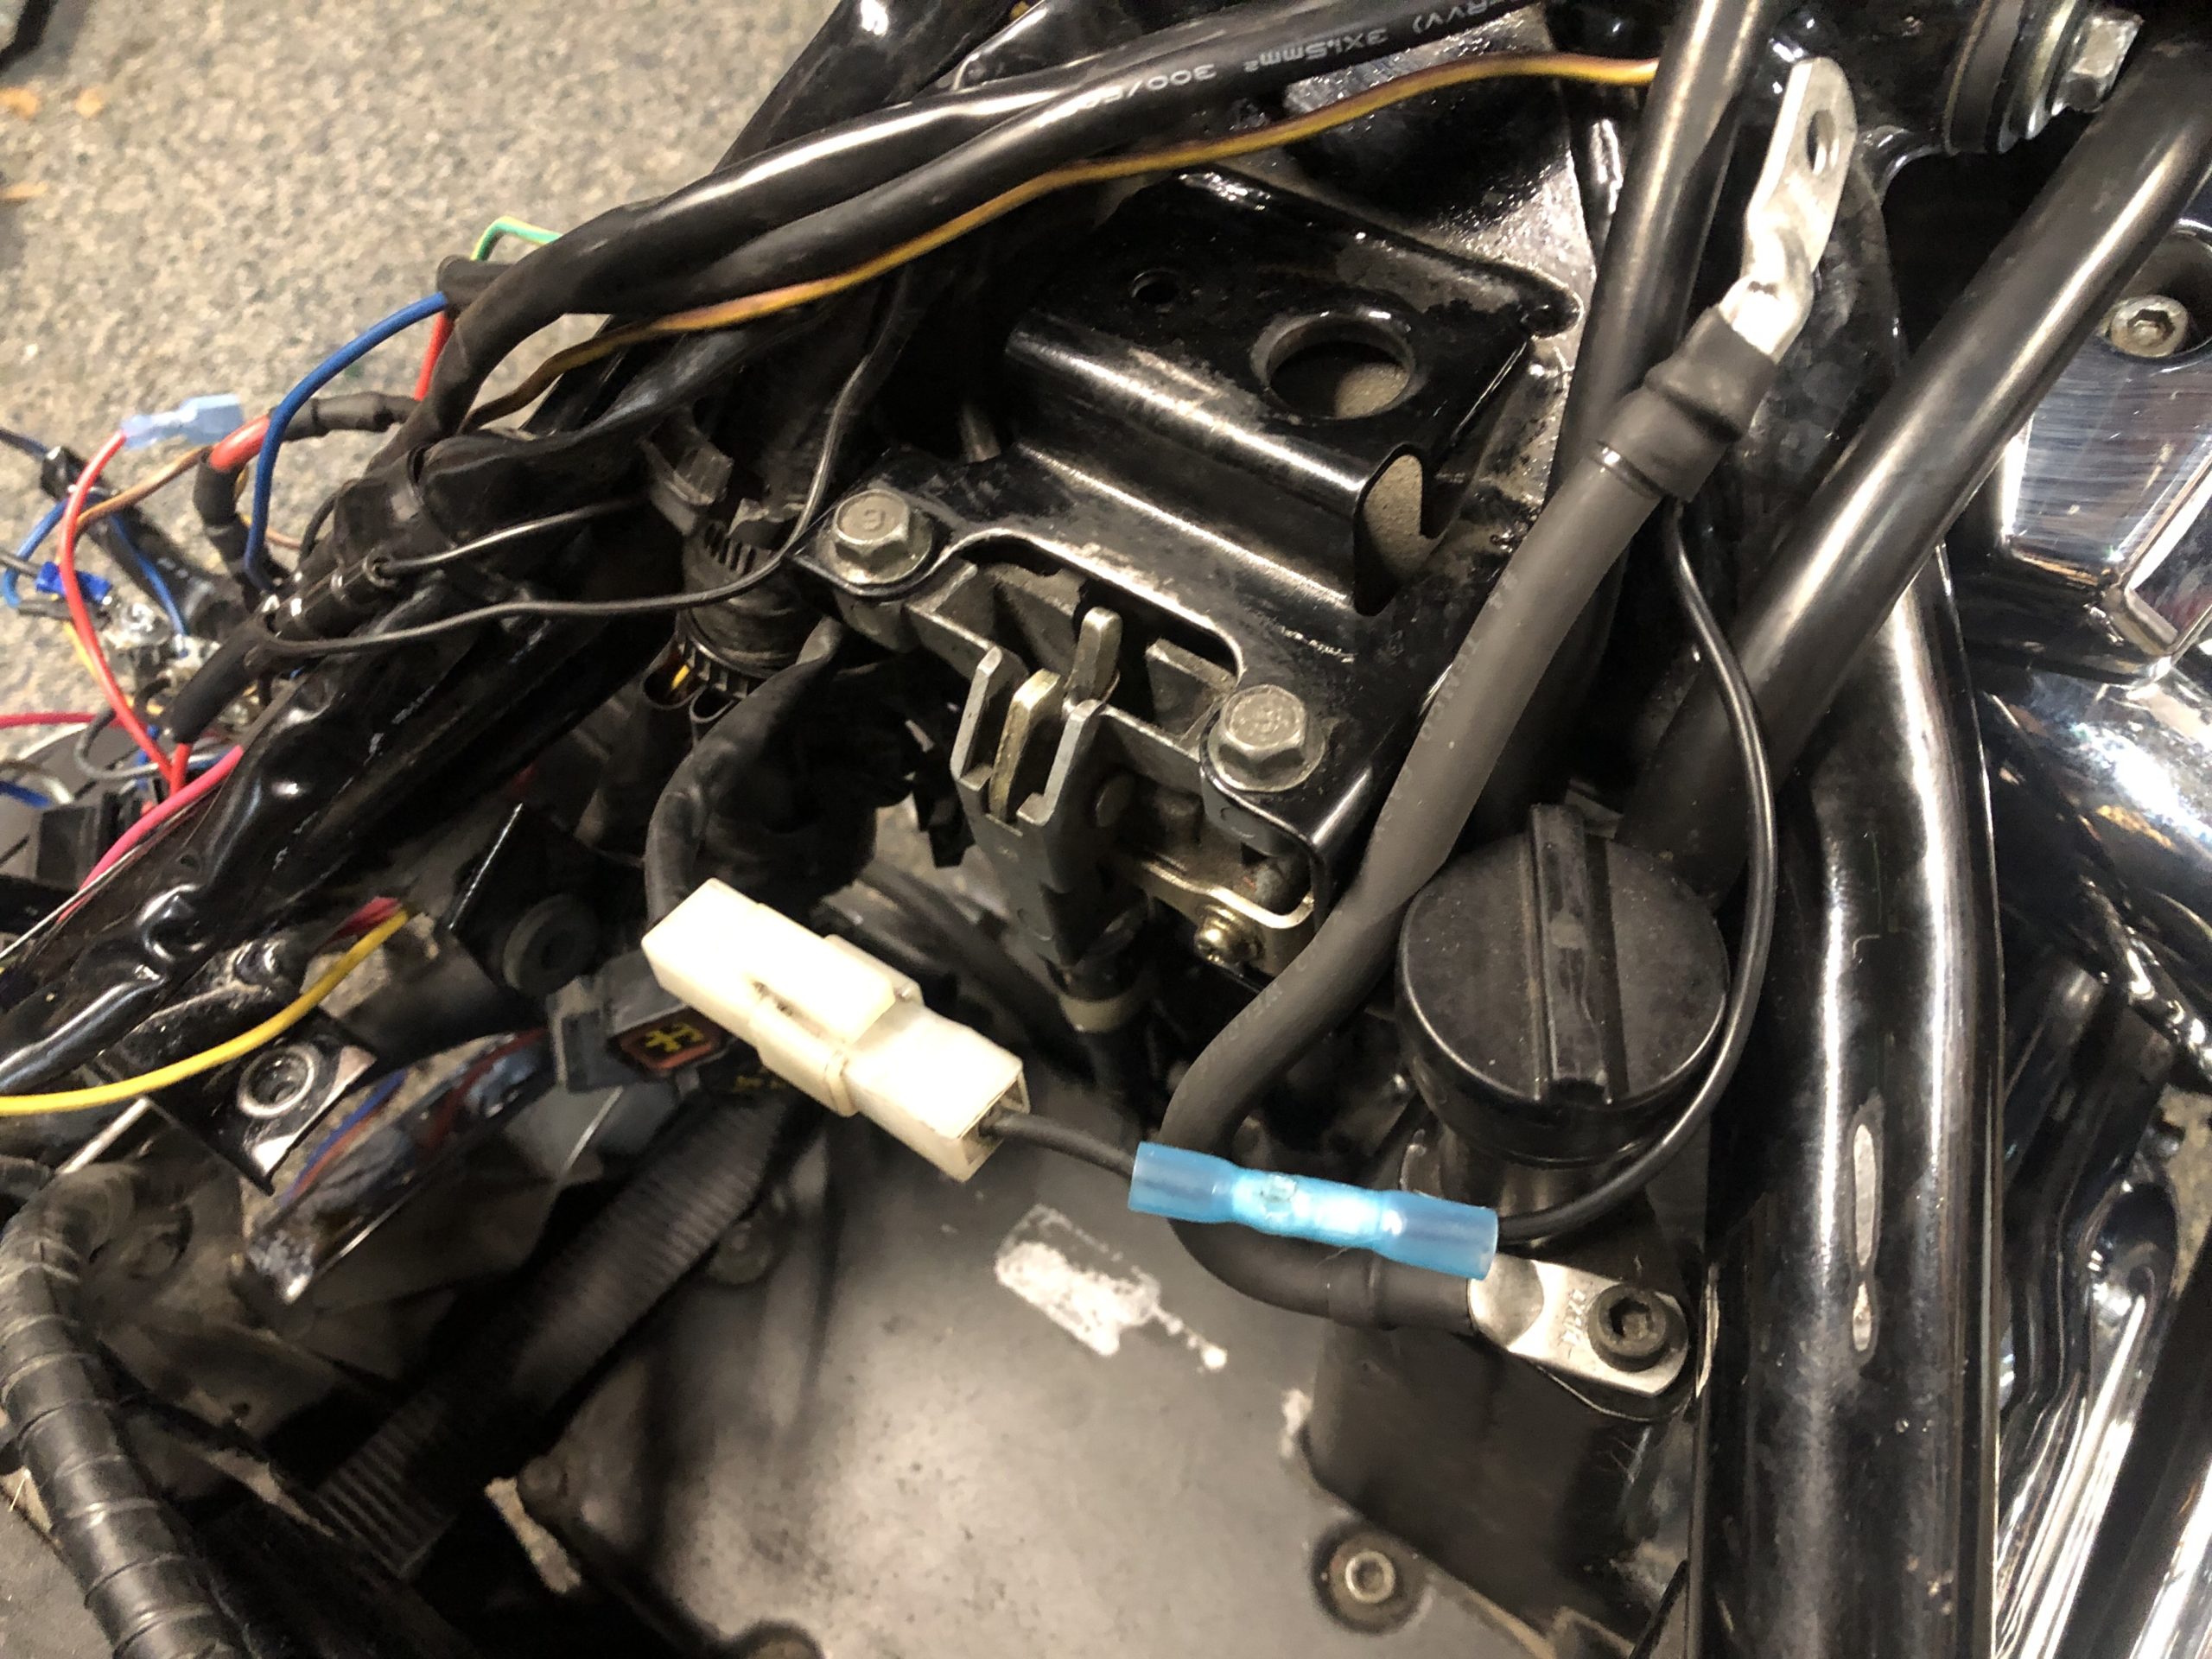
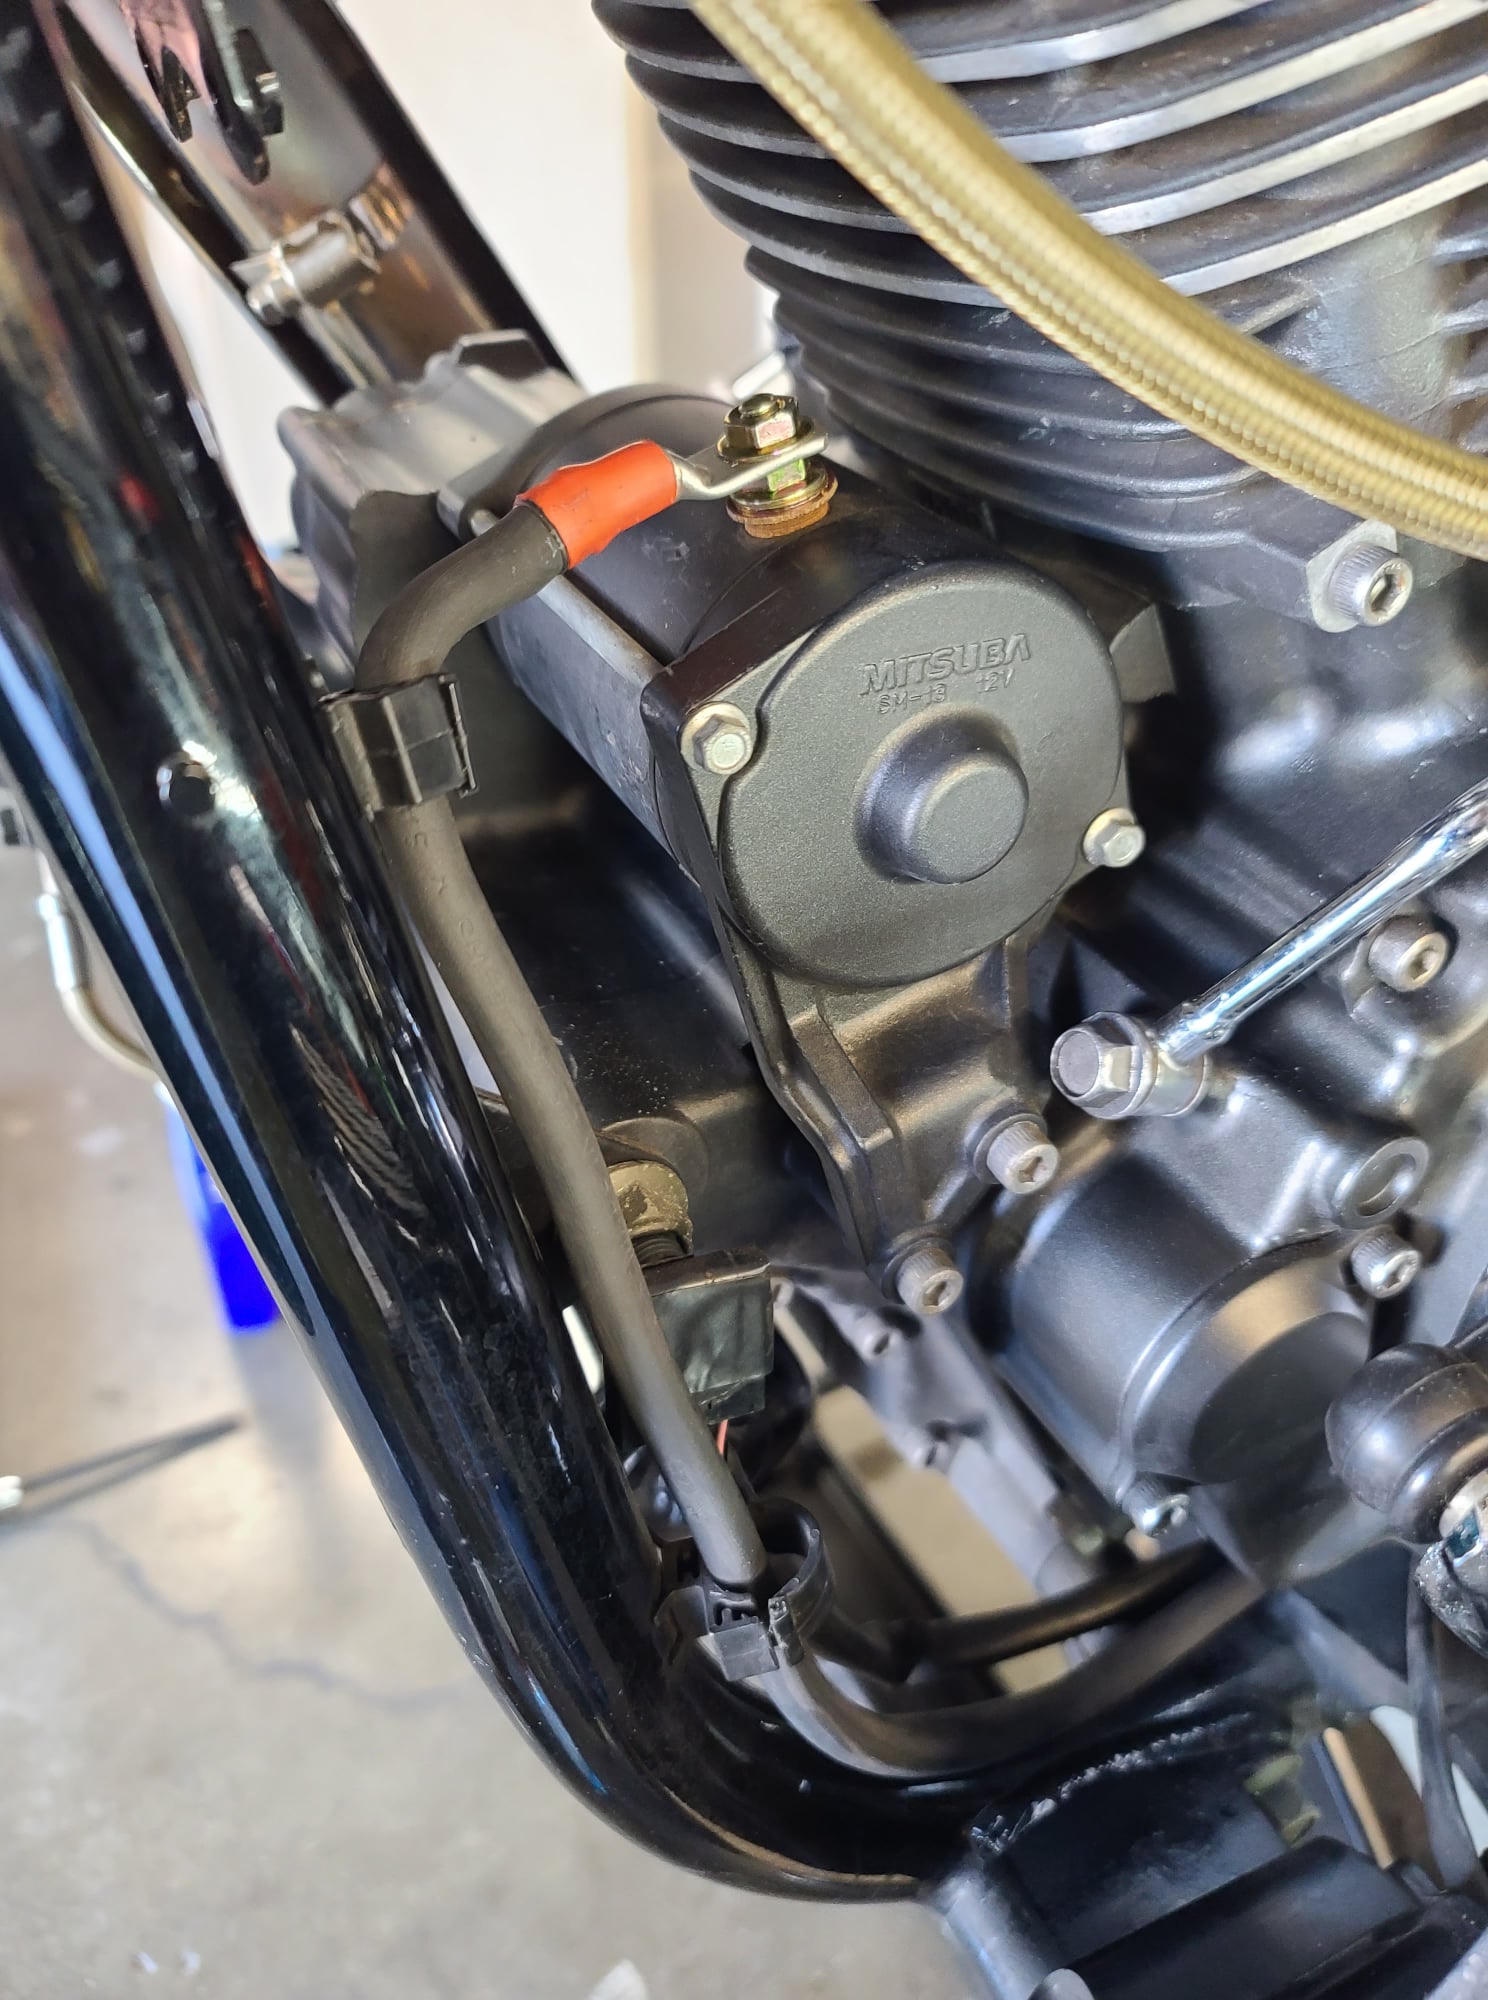
- Using pliers, remove the hose from the AIS line that is near the starter cable connection on the starter.
- Pull the insolater away that is covering the nut on the starter.
- Using a flat head screw driver push down on the cable where it connects to the starter. This allows you to get a wrench in their to loosen the nut. It is tight in there so be careful as you loosen and remove the nut.
- The starter cable is connected to and running down the frame with two clips. You can use a flat head screw driver to pry them open. Now you can pull the the starter cable.
- Pay attention where it feeds so you can feed it that way again. It may not be able to go in exactly the same but do your best. The new wires are thicker. I fed the cable down from the back first, rather than feeding it up. I found that I was only able to use the lower clip on the front of the frame due to the way the new cables were designed.
- Pull the rubber shields on each end of the starter cable and install on replacement cable. Pay attention because, they are different. I waited till it was fed through the bike to do this so it didn’t damage the shields. They go on hard and don’t fit perfectly but work just fine.
- Be sure to tighten the new cable to the starter.
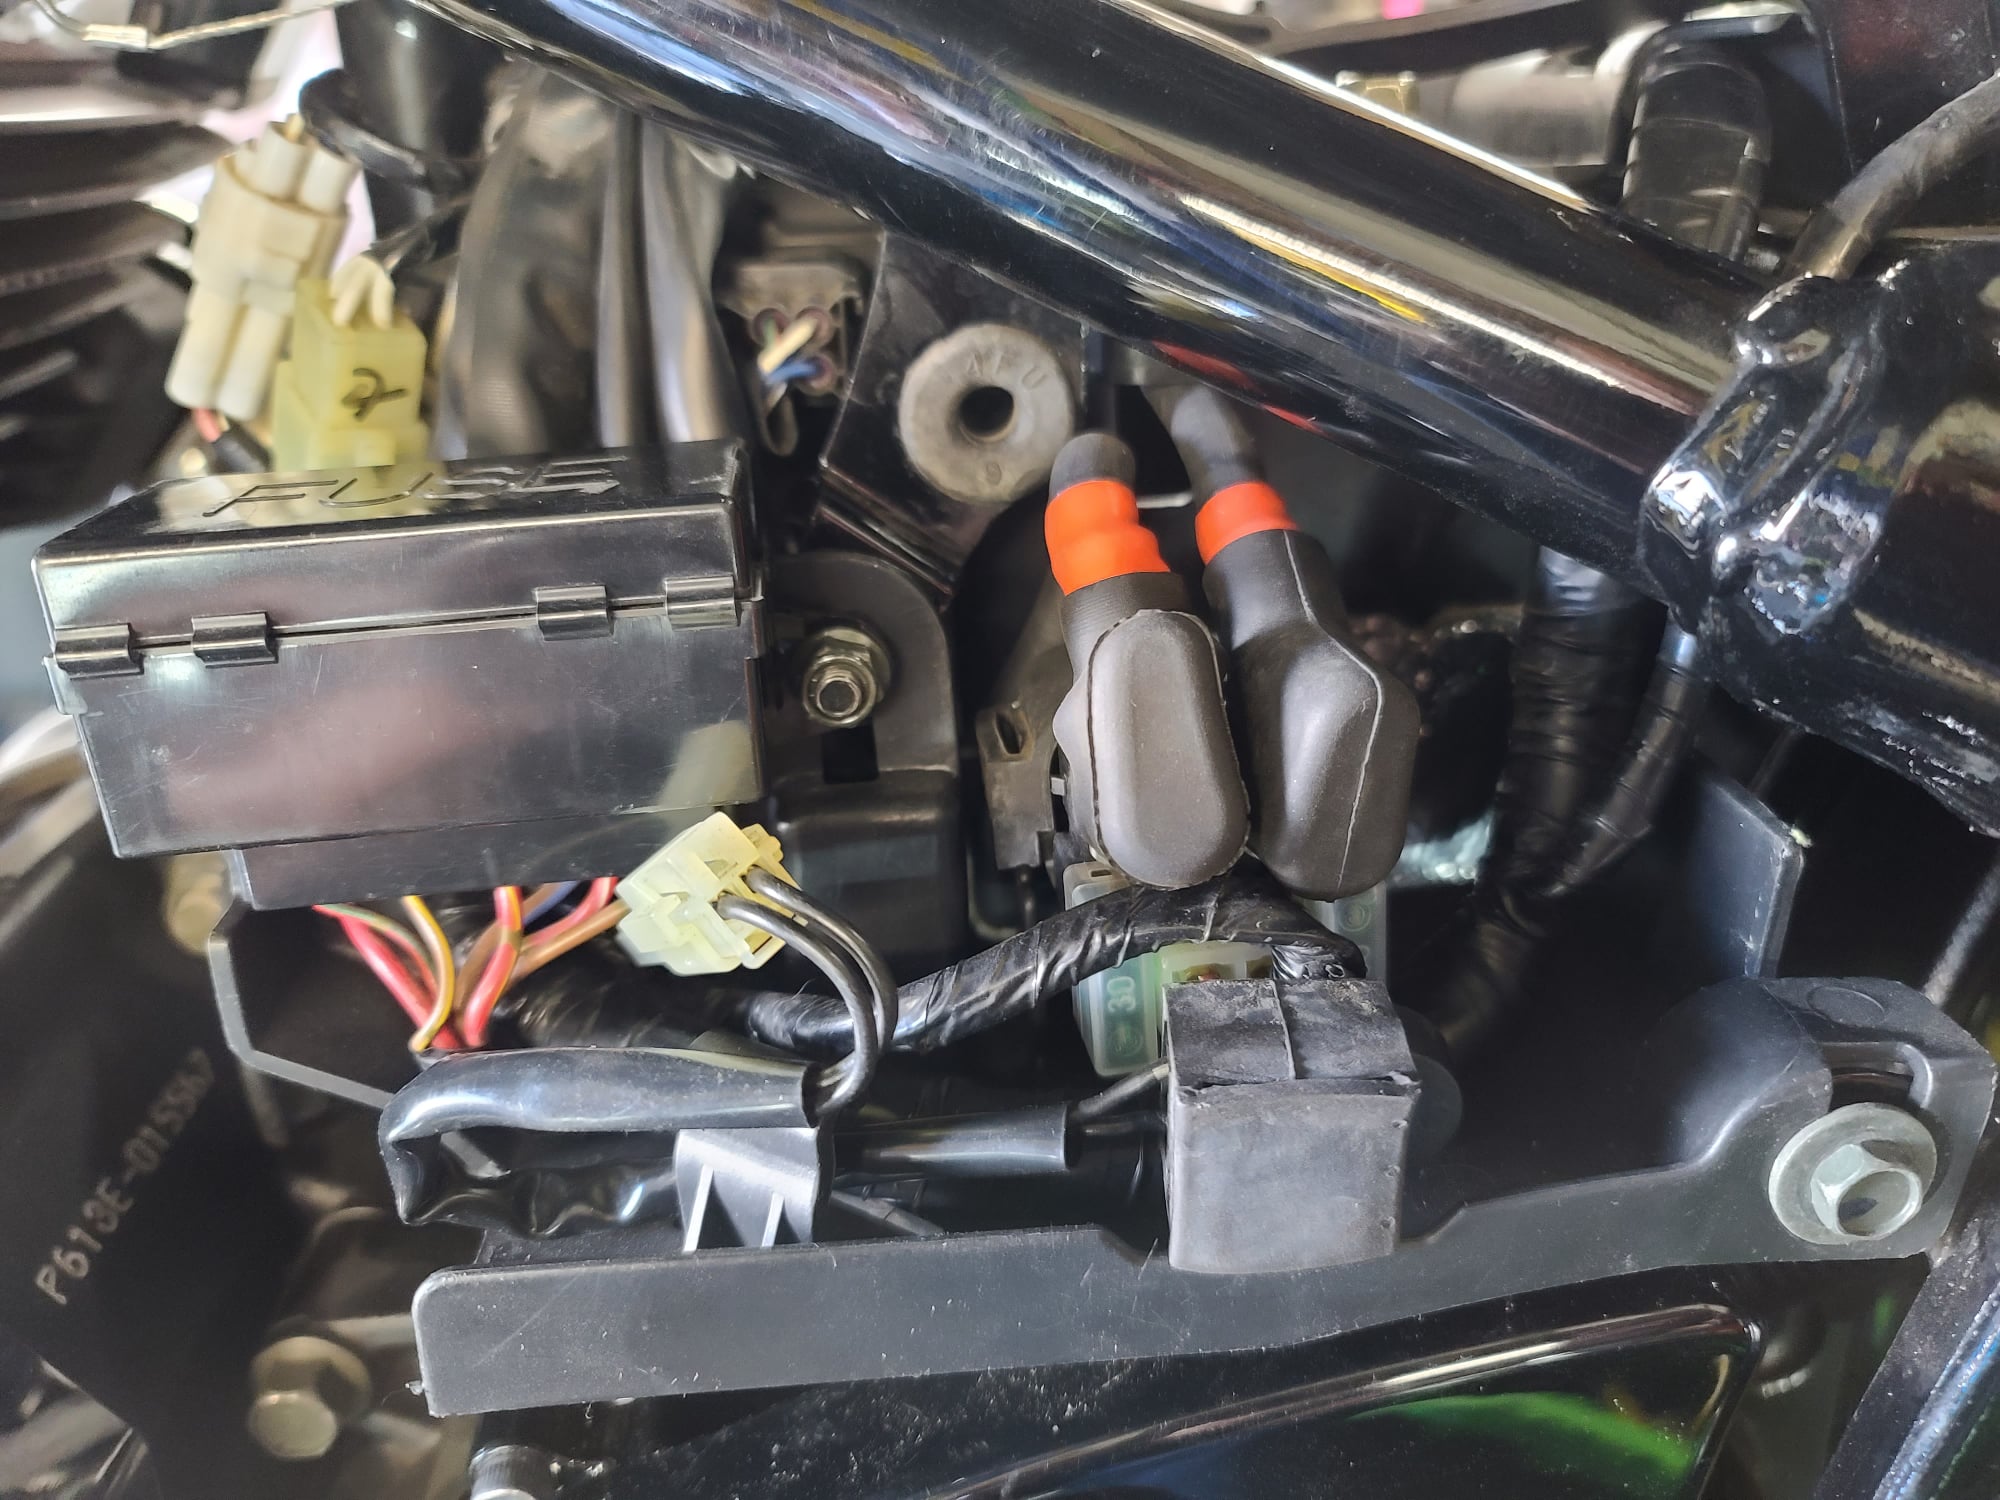
- Connect the starter cable to the starter relay on the S side.
- Pull the rubber shields on each end of the positive cable and replace them on the new cable. Pay attention because they are different.
- Connect the positive battery cable to the starter relay on the B side.
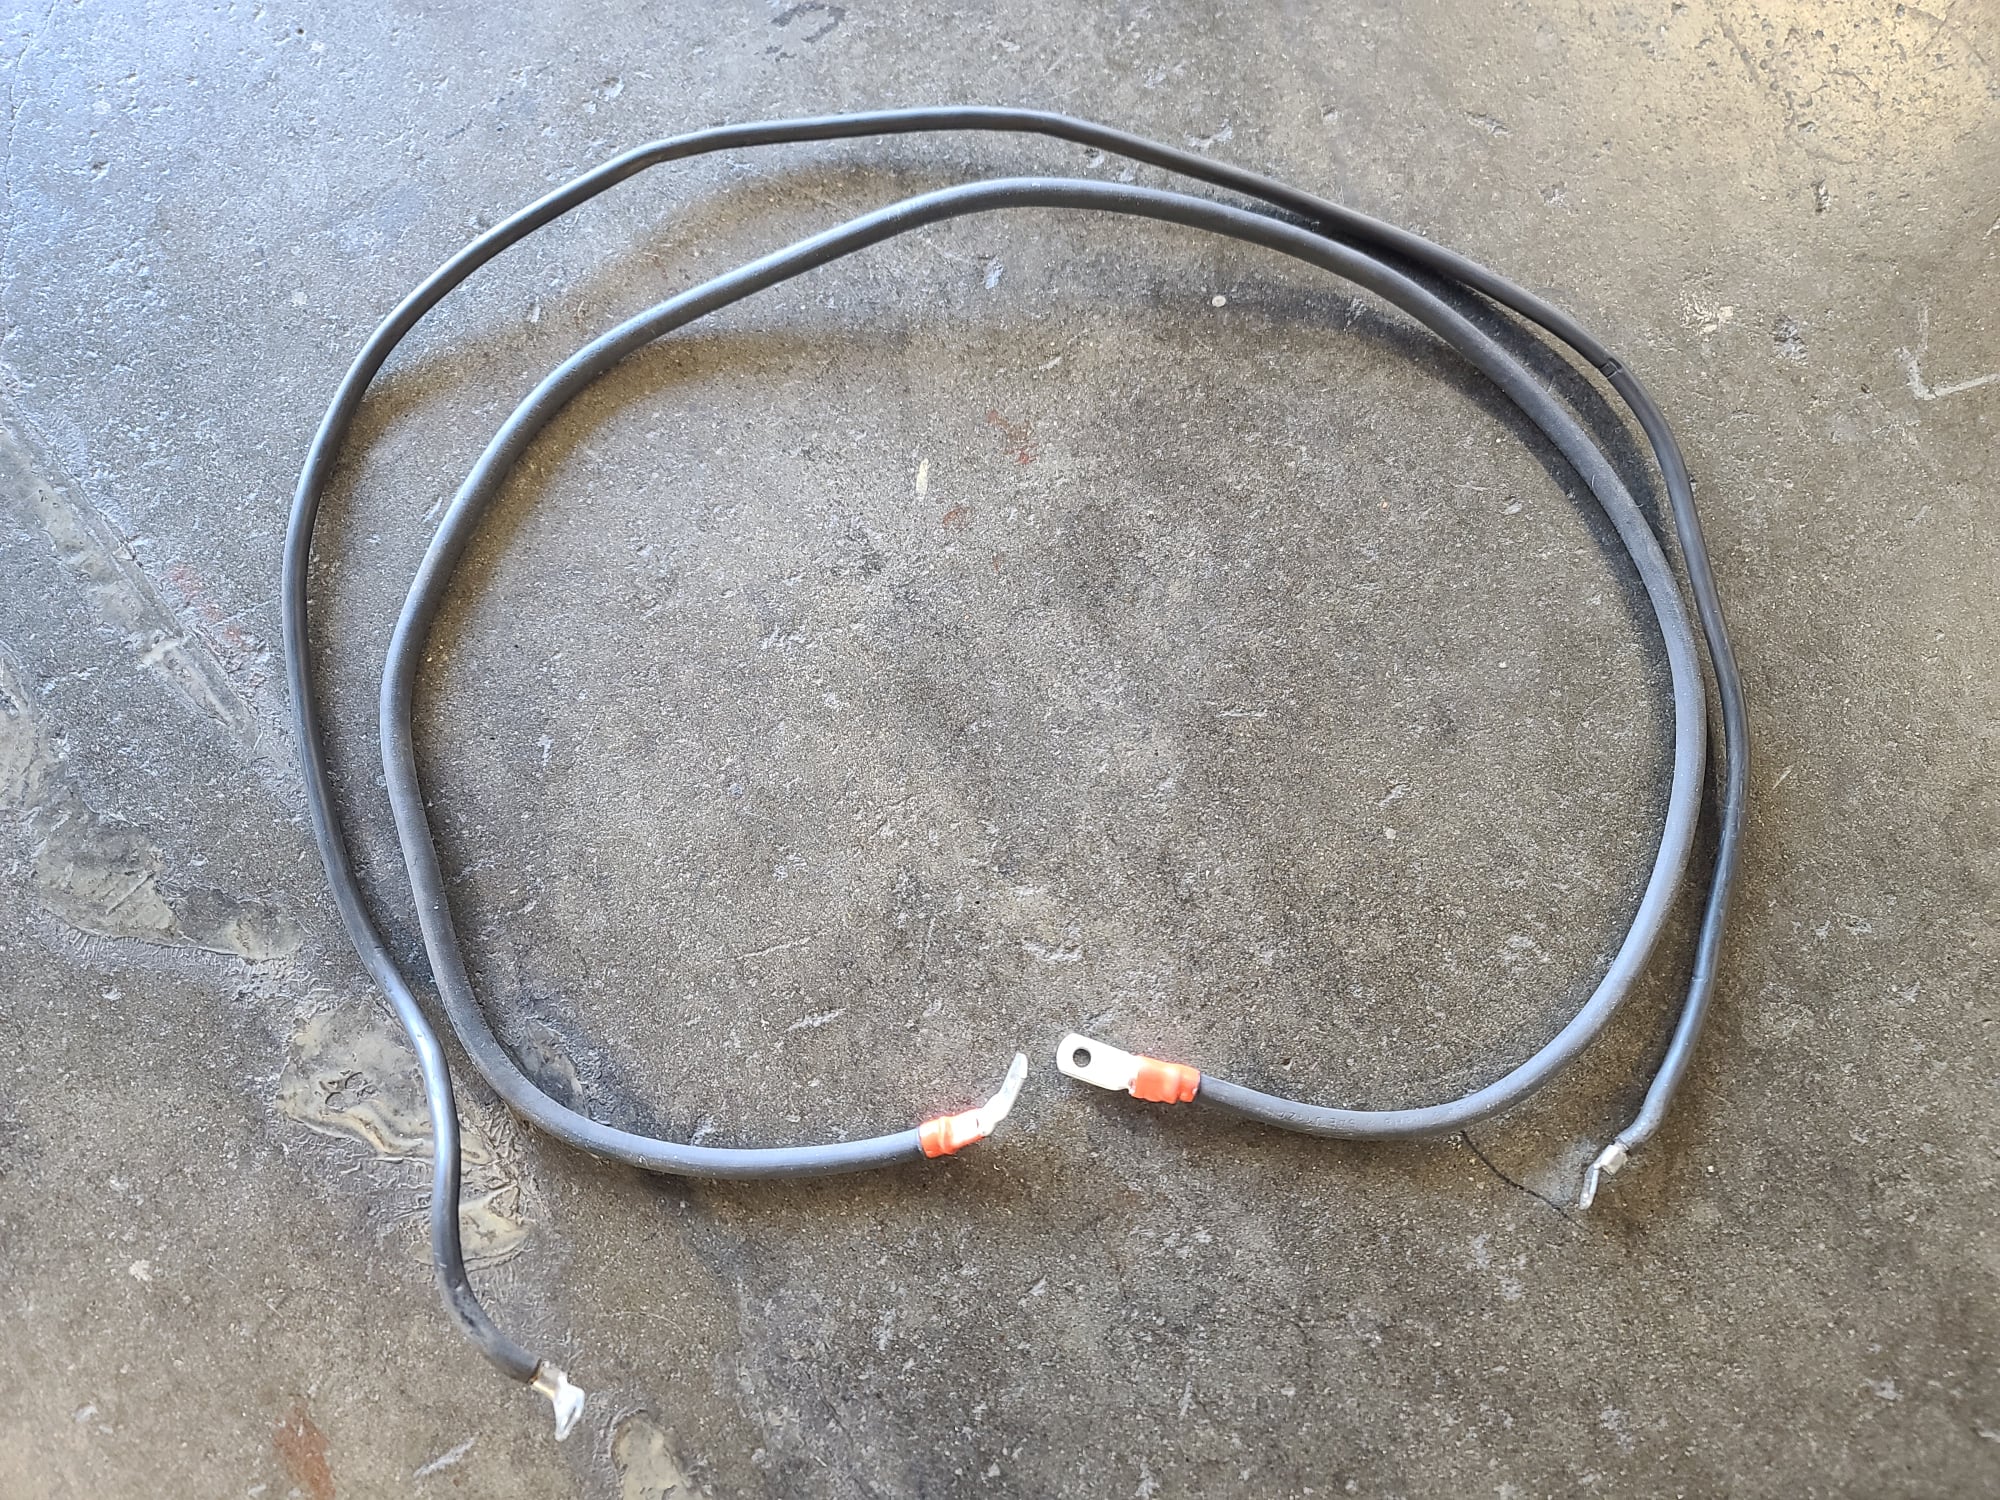
- You will need to cut the white connecter from the old negative battery cable. I cut it about half way. Strip a little bit of the wire on that connected and push it in the open end of the crimp connector on the new negative battery cable. Use a wire stripper tool or crimper to crimp the connector.
- Connect the end without the wire coming off it to the frame, near the oil fill tube. Be sure to secure it in such a way that it won’t get in the way of the battery box.
- Put the battery box back in the bike.
- Before you secure it, slide the ignitor Ignitor unit back into the spot on the front of the battery box and re-connect the plugs.
- Secure the battery box.
- Feed the new positive battery cable through the slot in the side of the battery box.
- Replace the bracket that holds all the electrical items and re-secure the components.
- Examine your set up and make sure everything is connected.
- Replace the left side cover.
- Replace your battery and connect the new wires. Be sure to tighten them down good.
- Happy Riding!