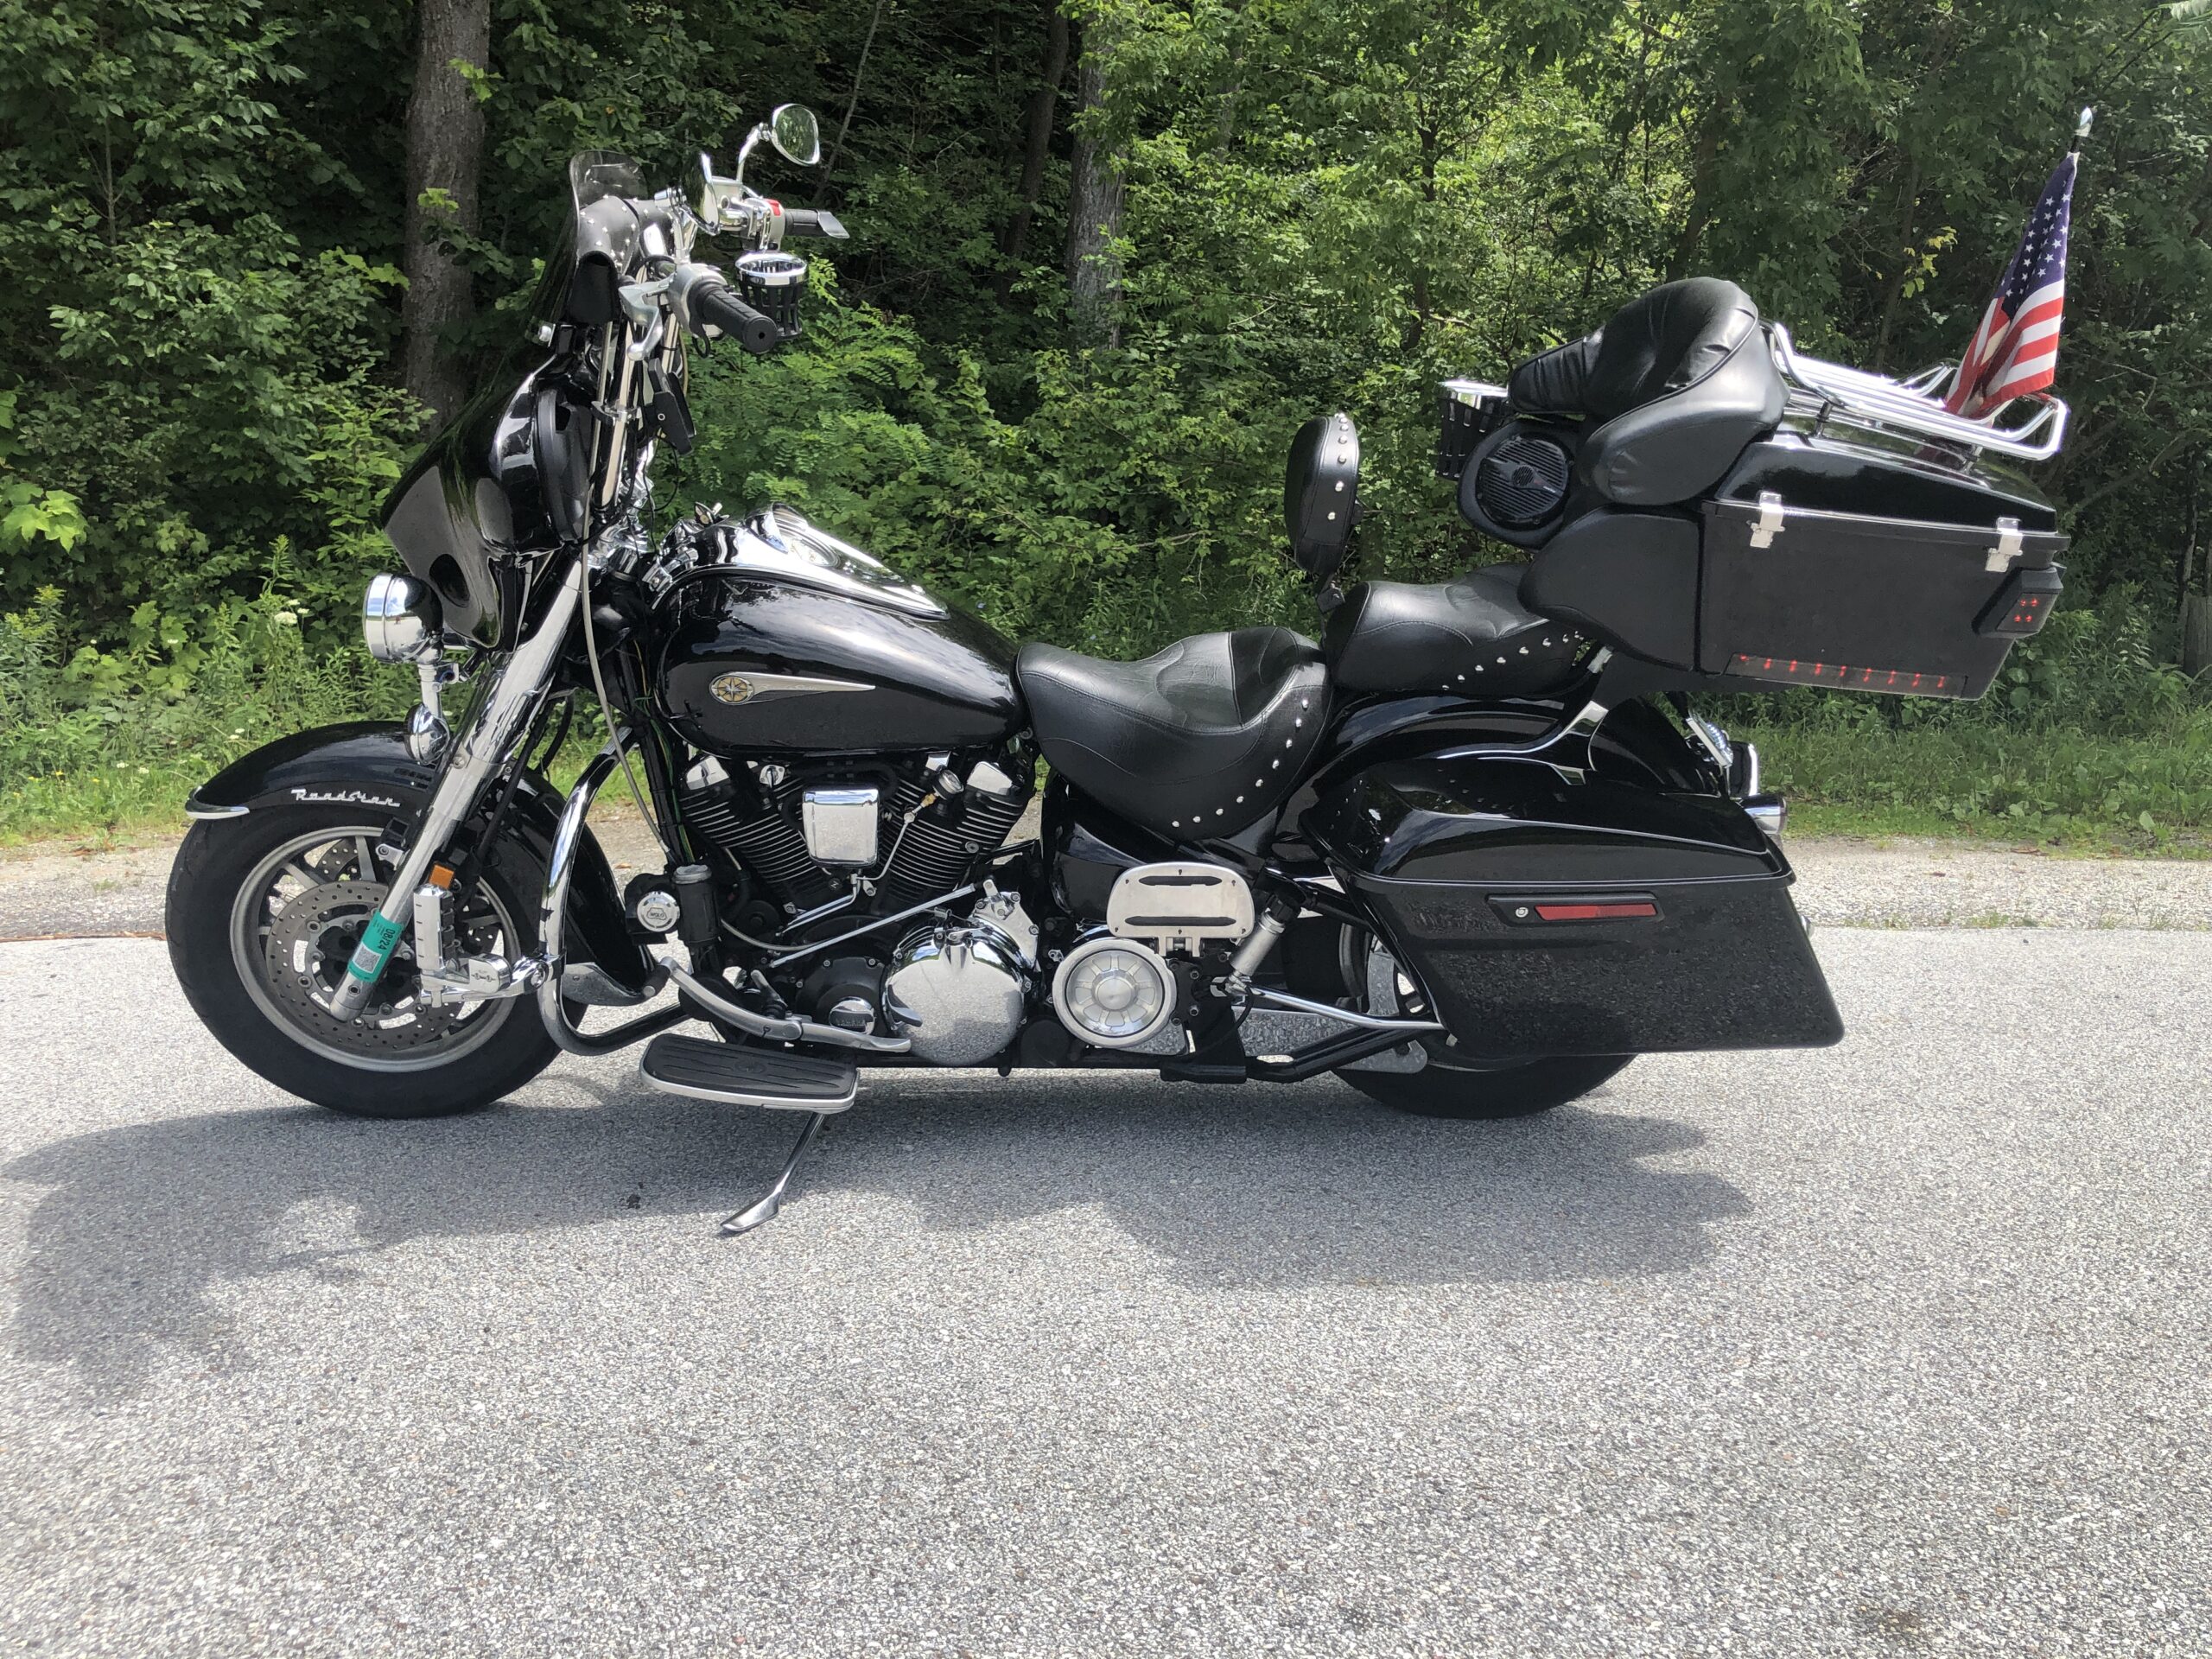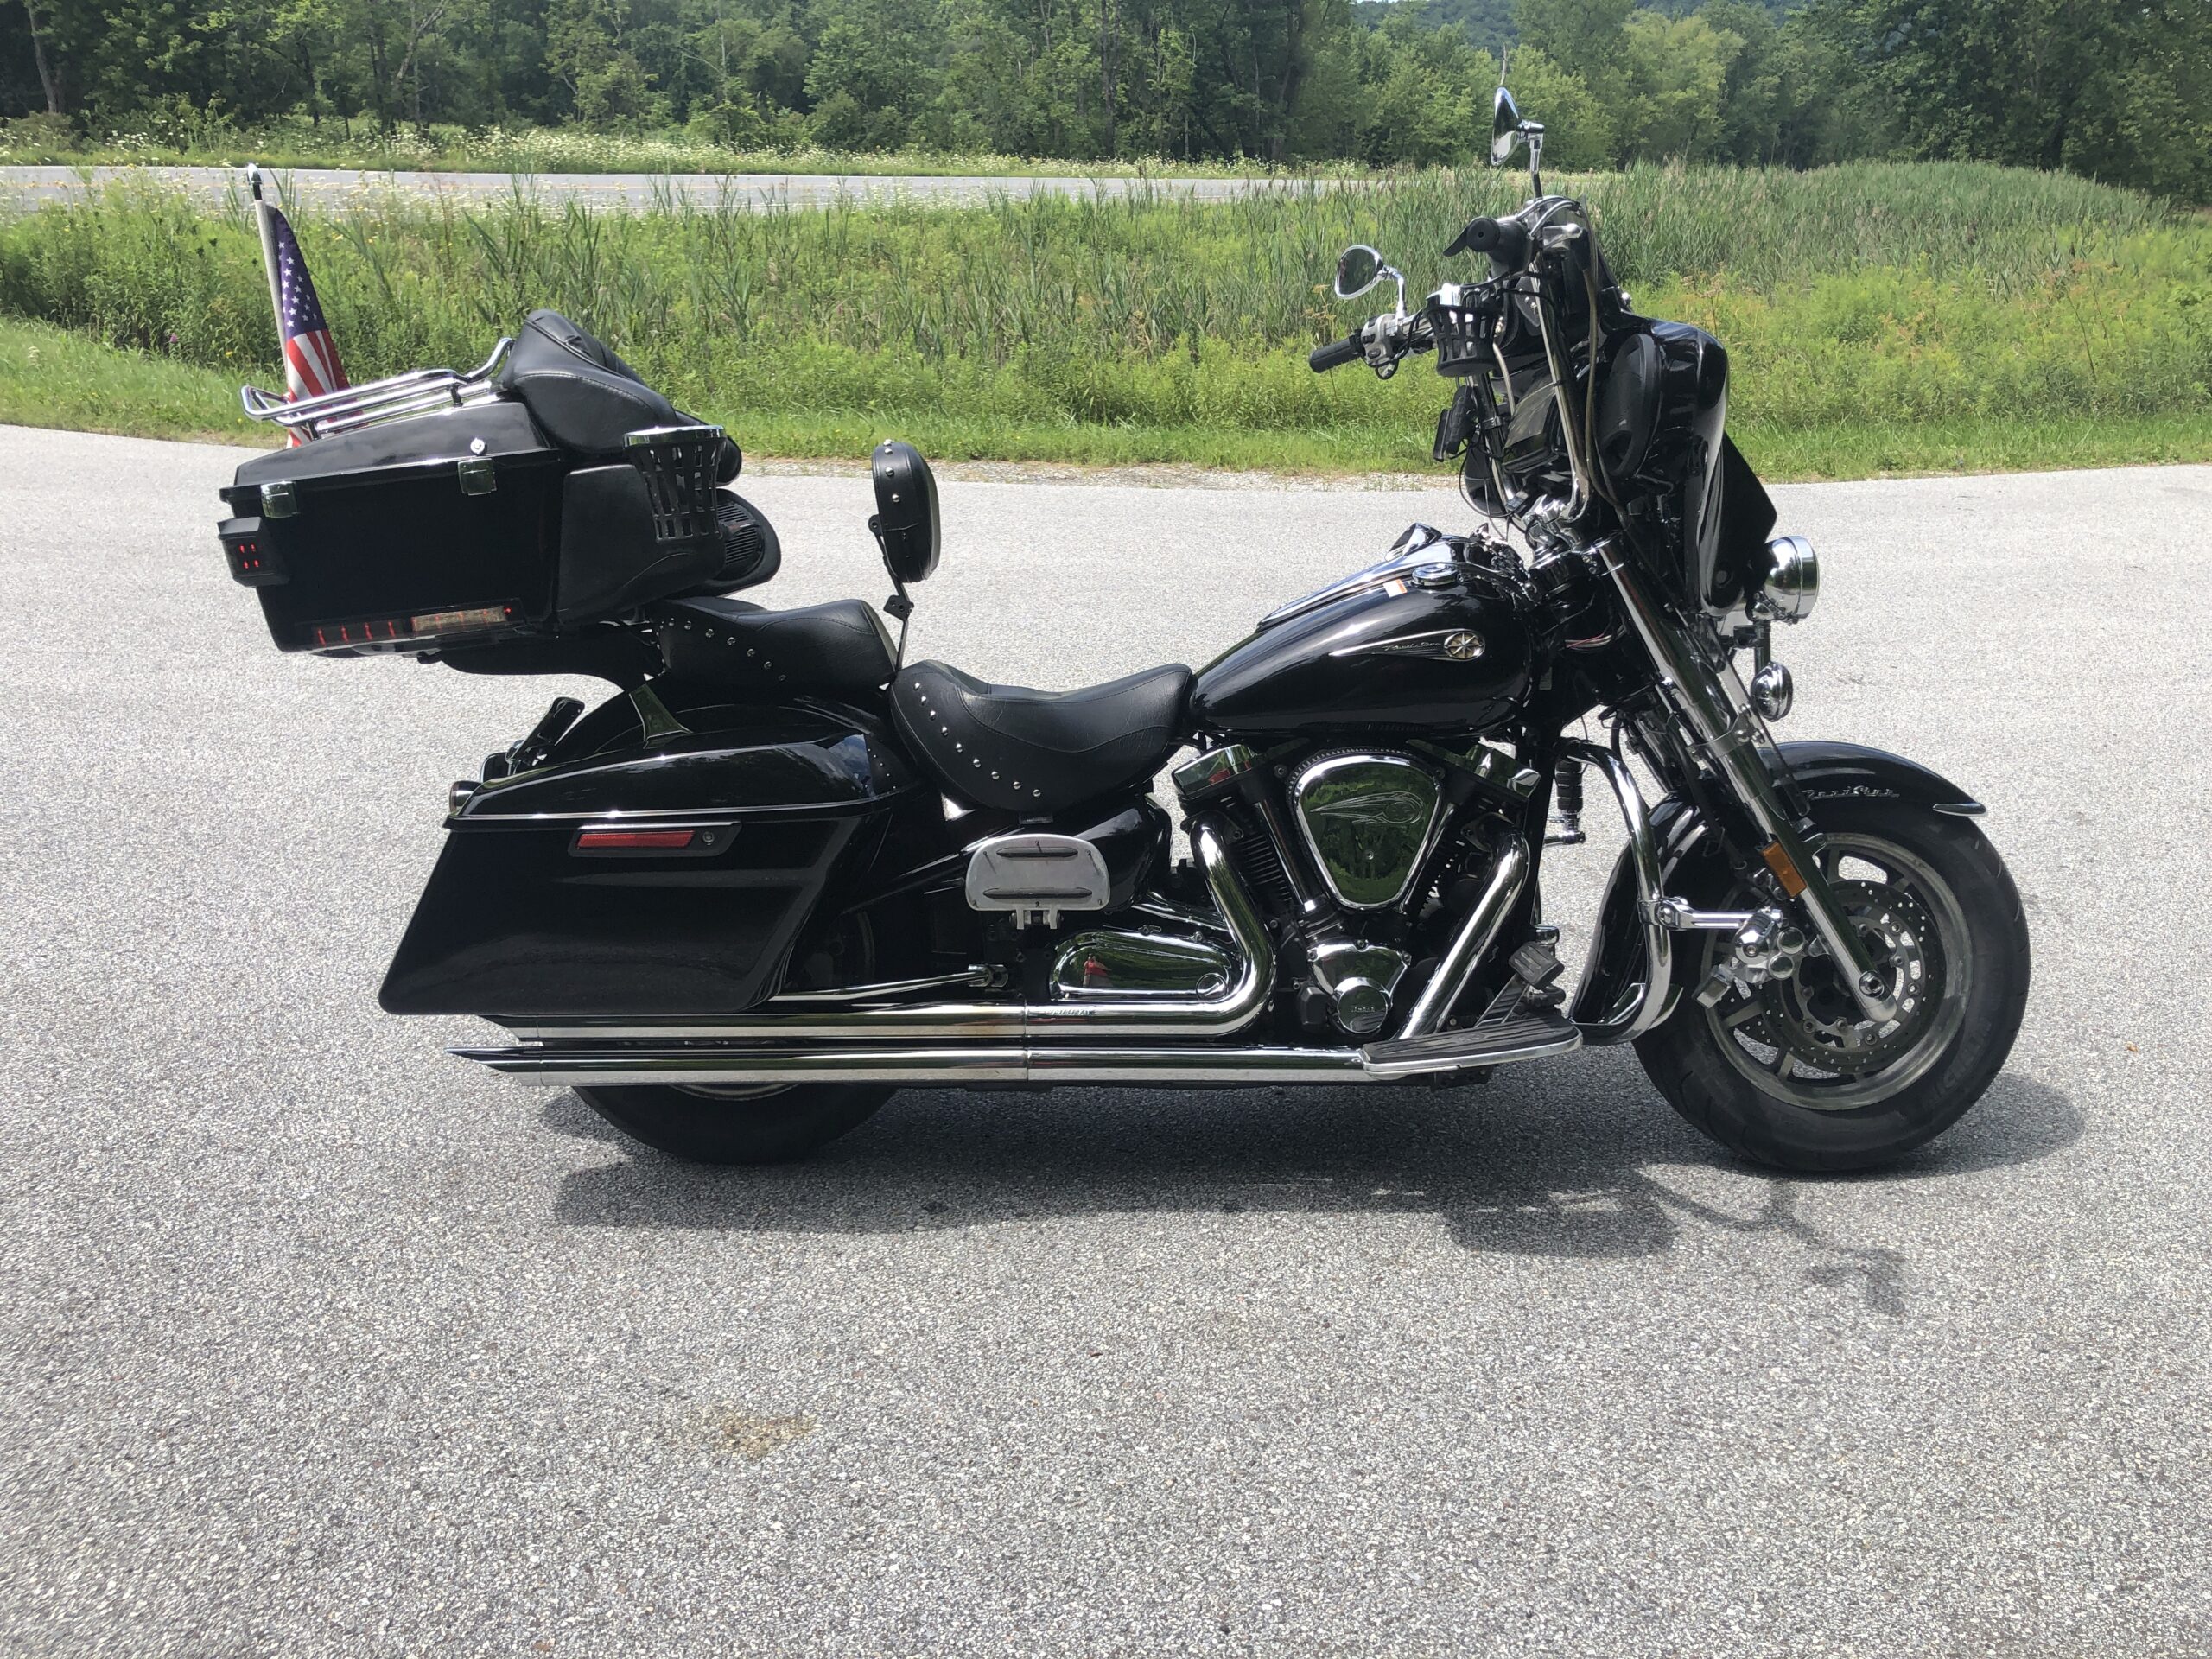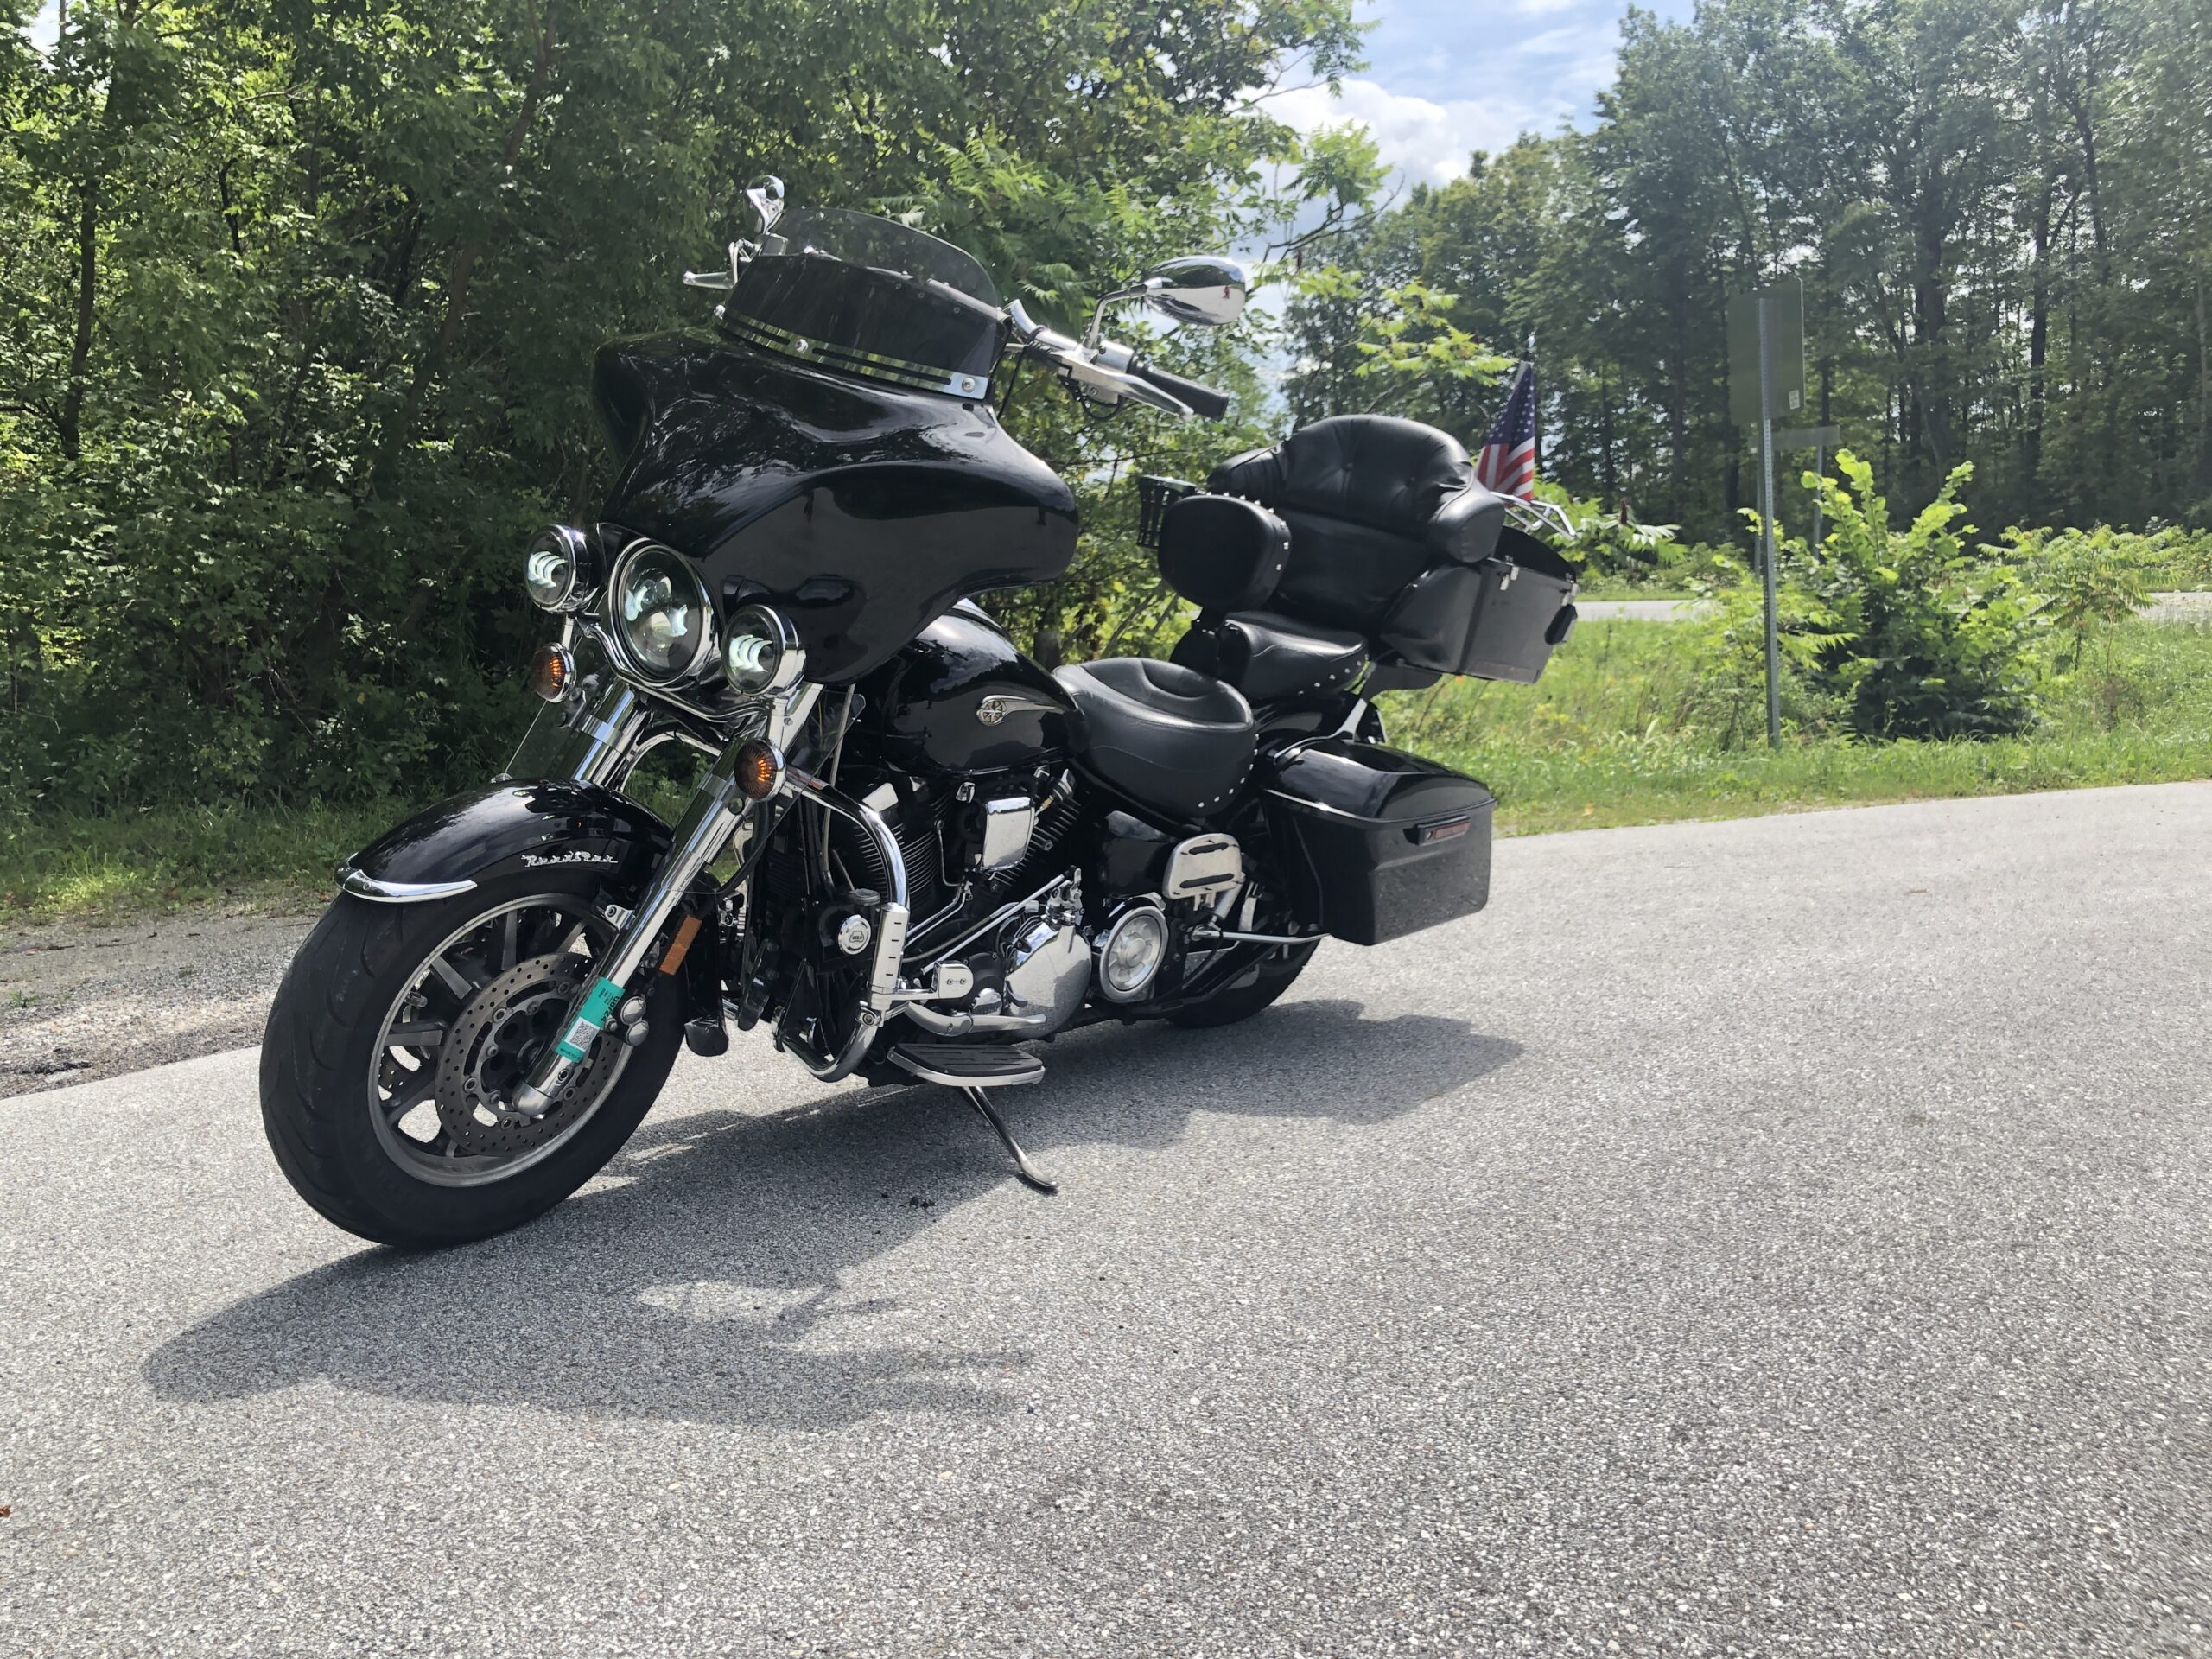
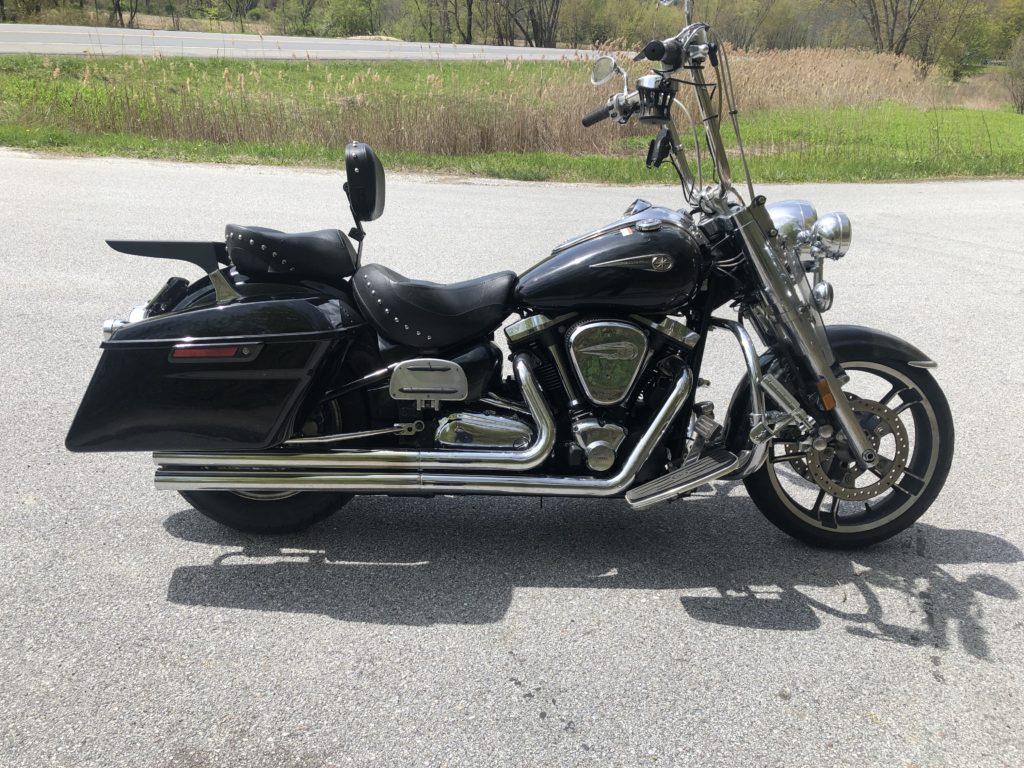
Harley Saddle Bags on a Road Star
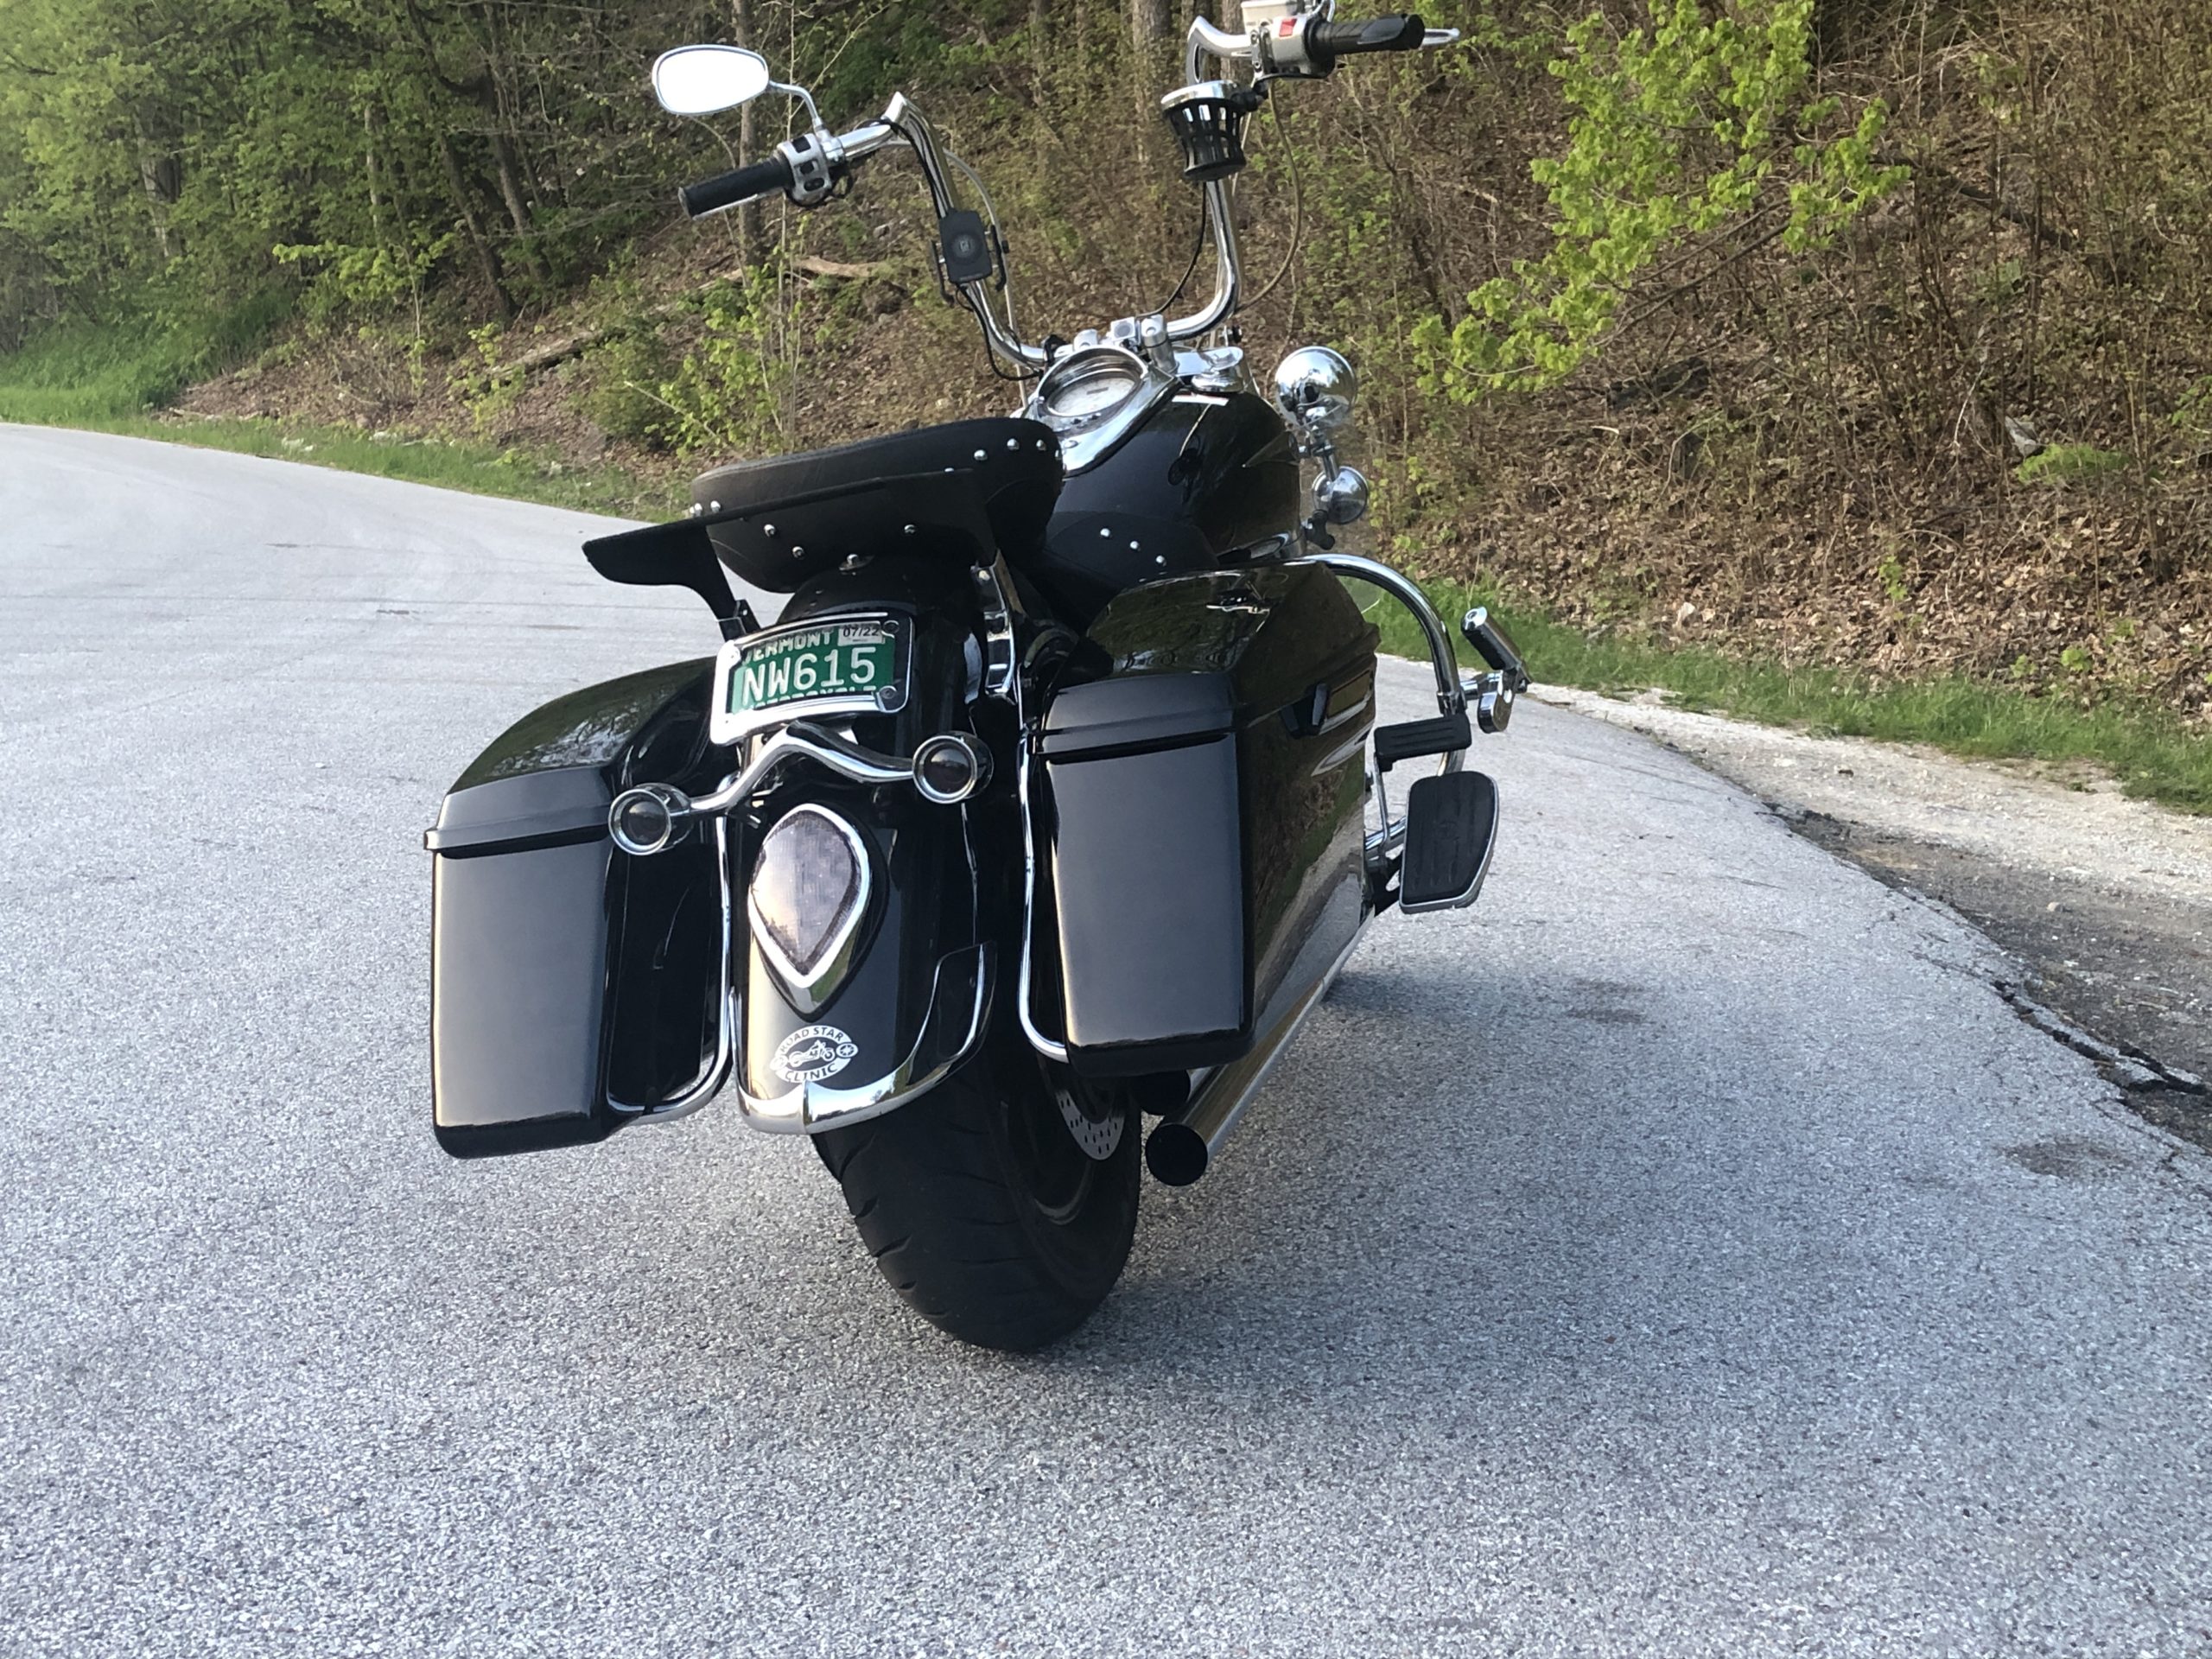
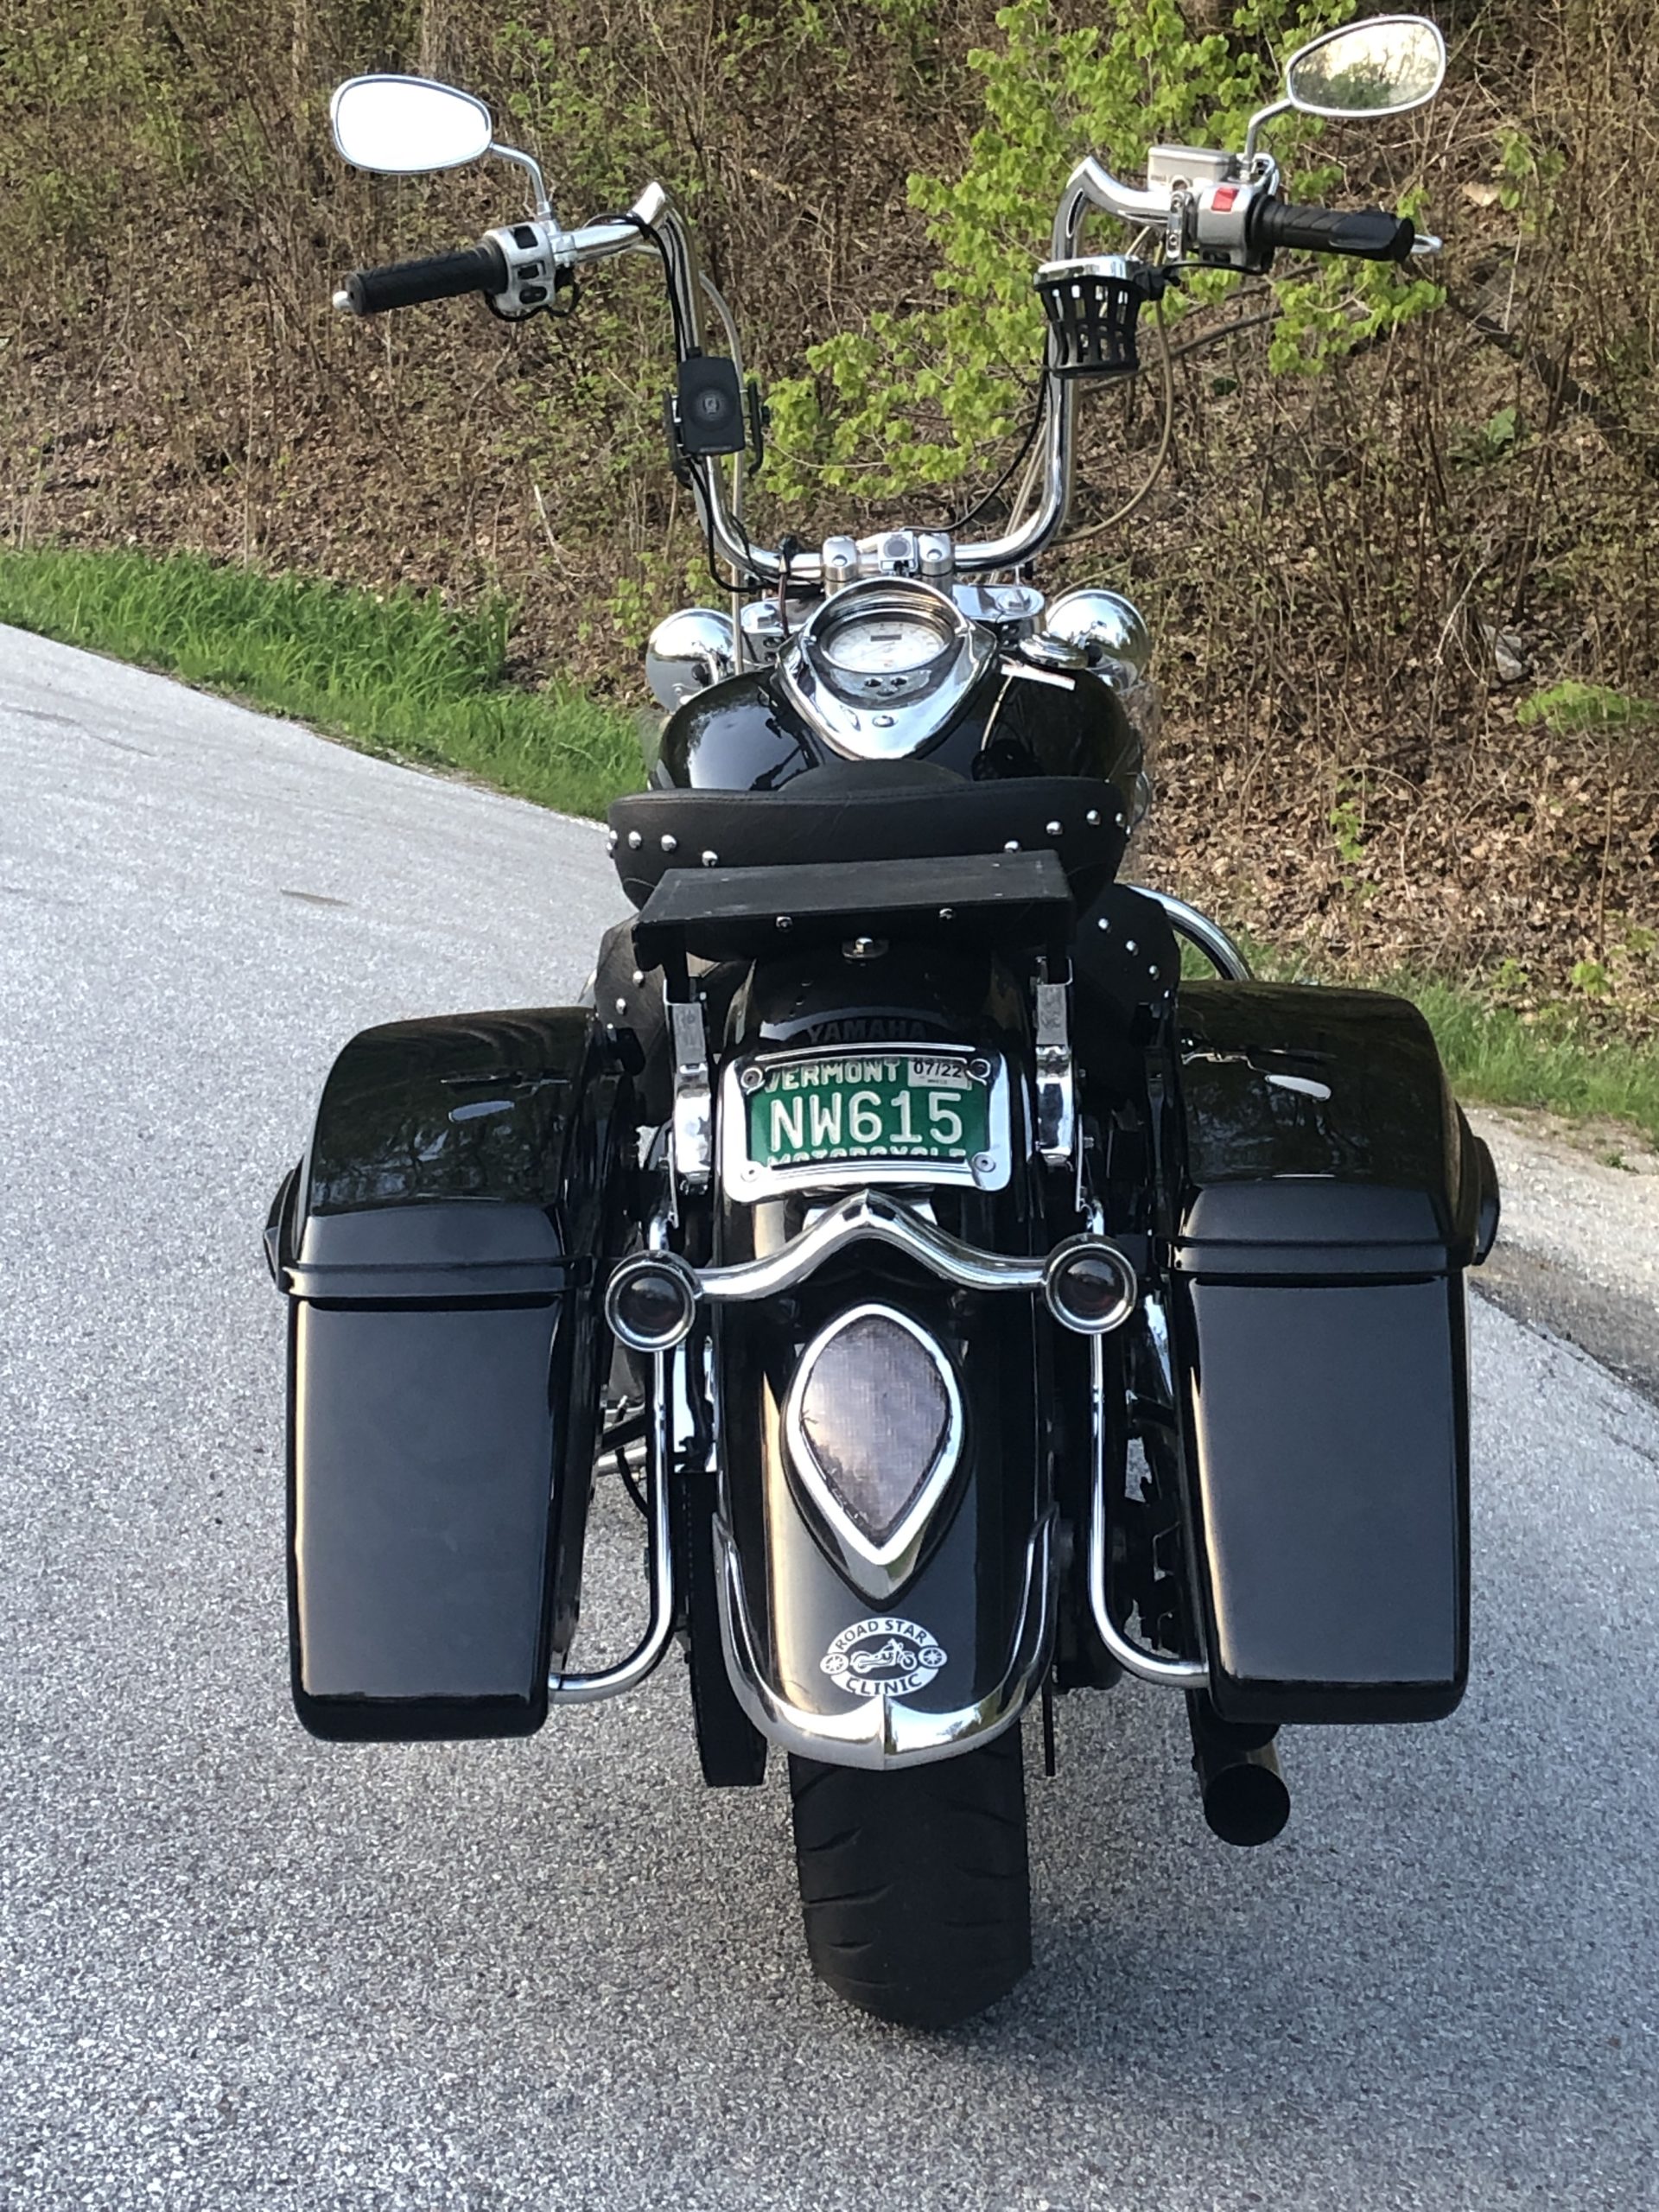
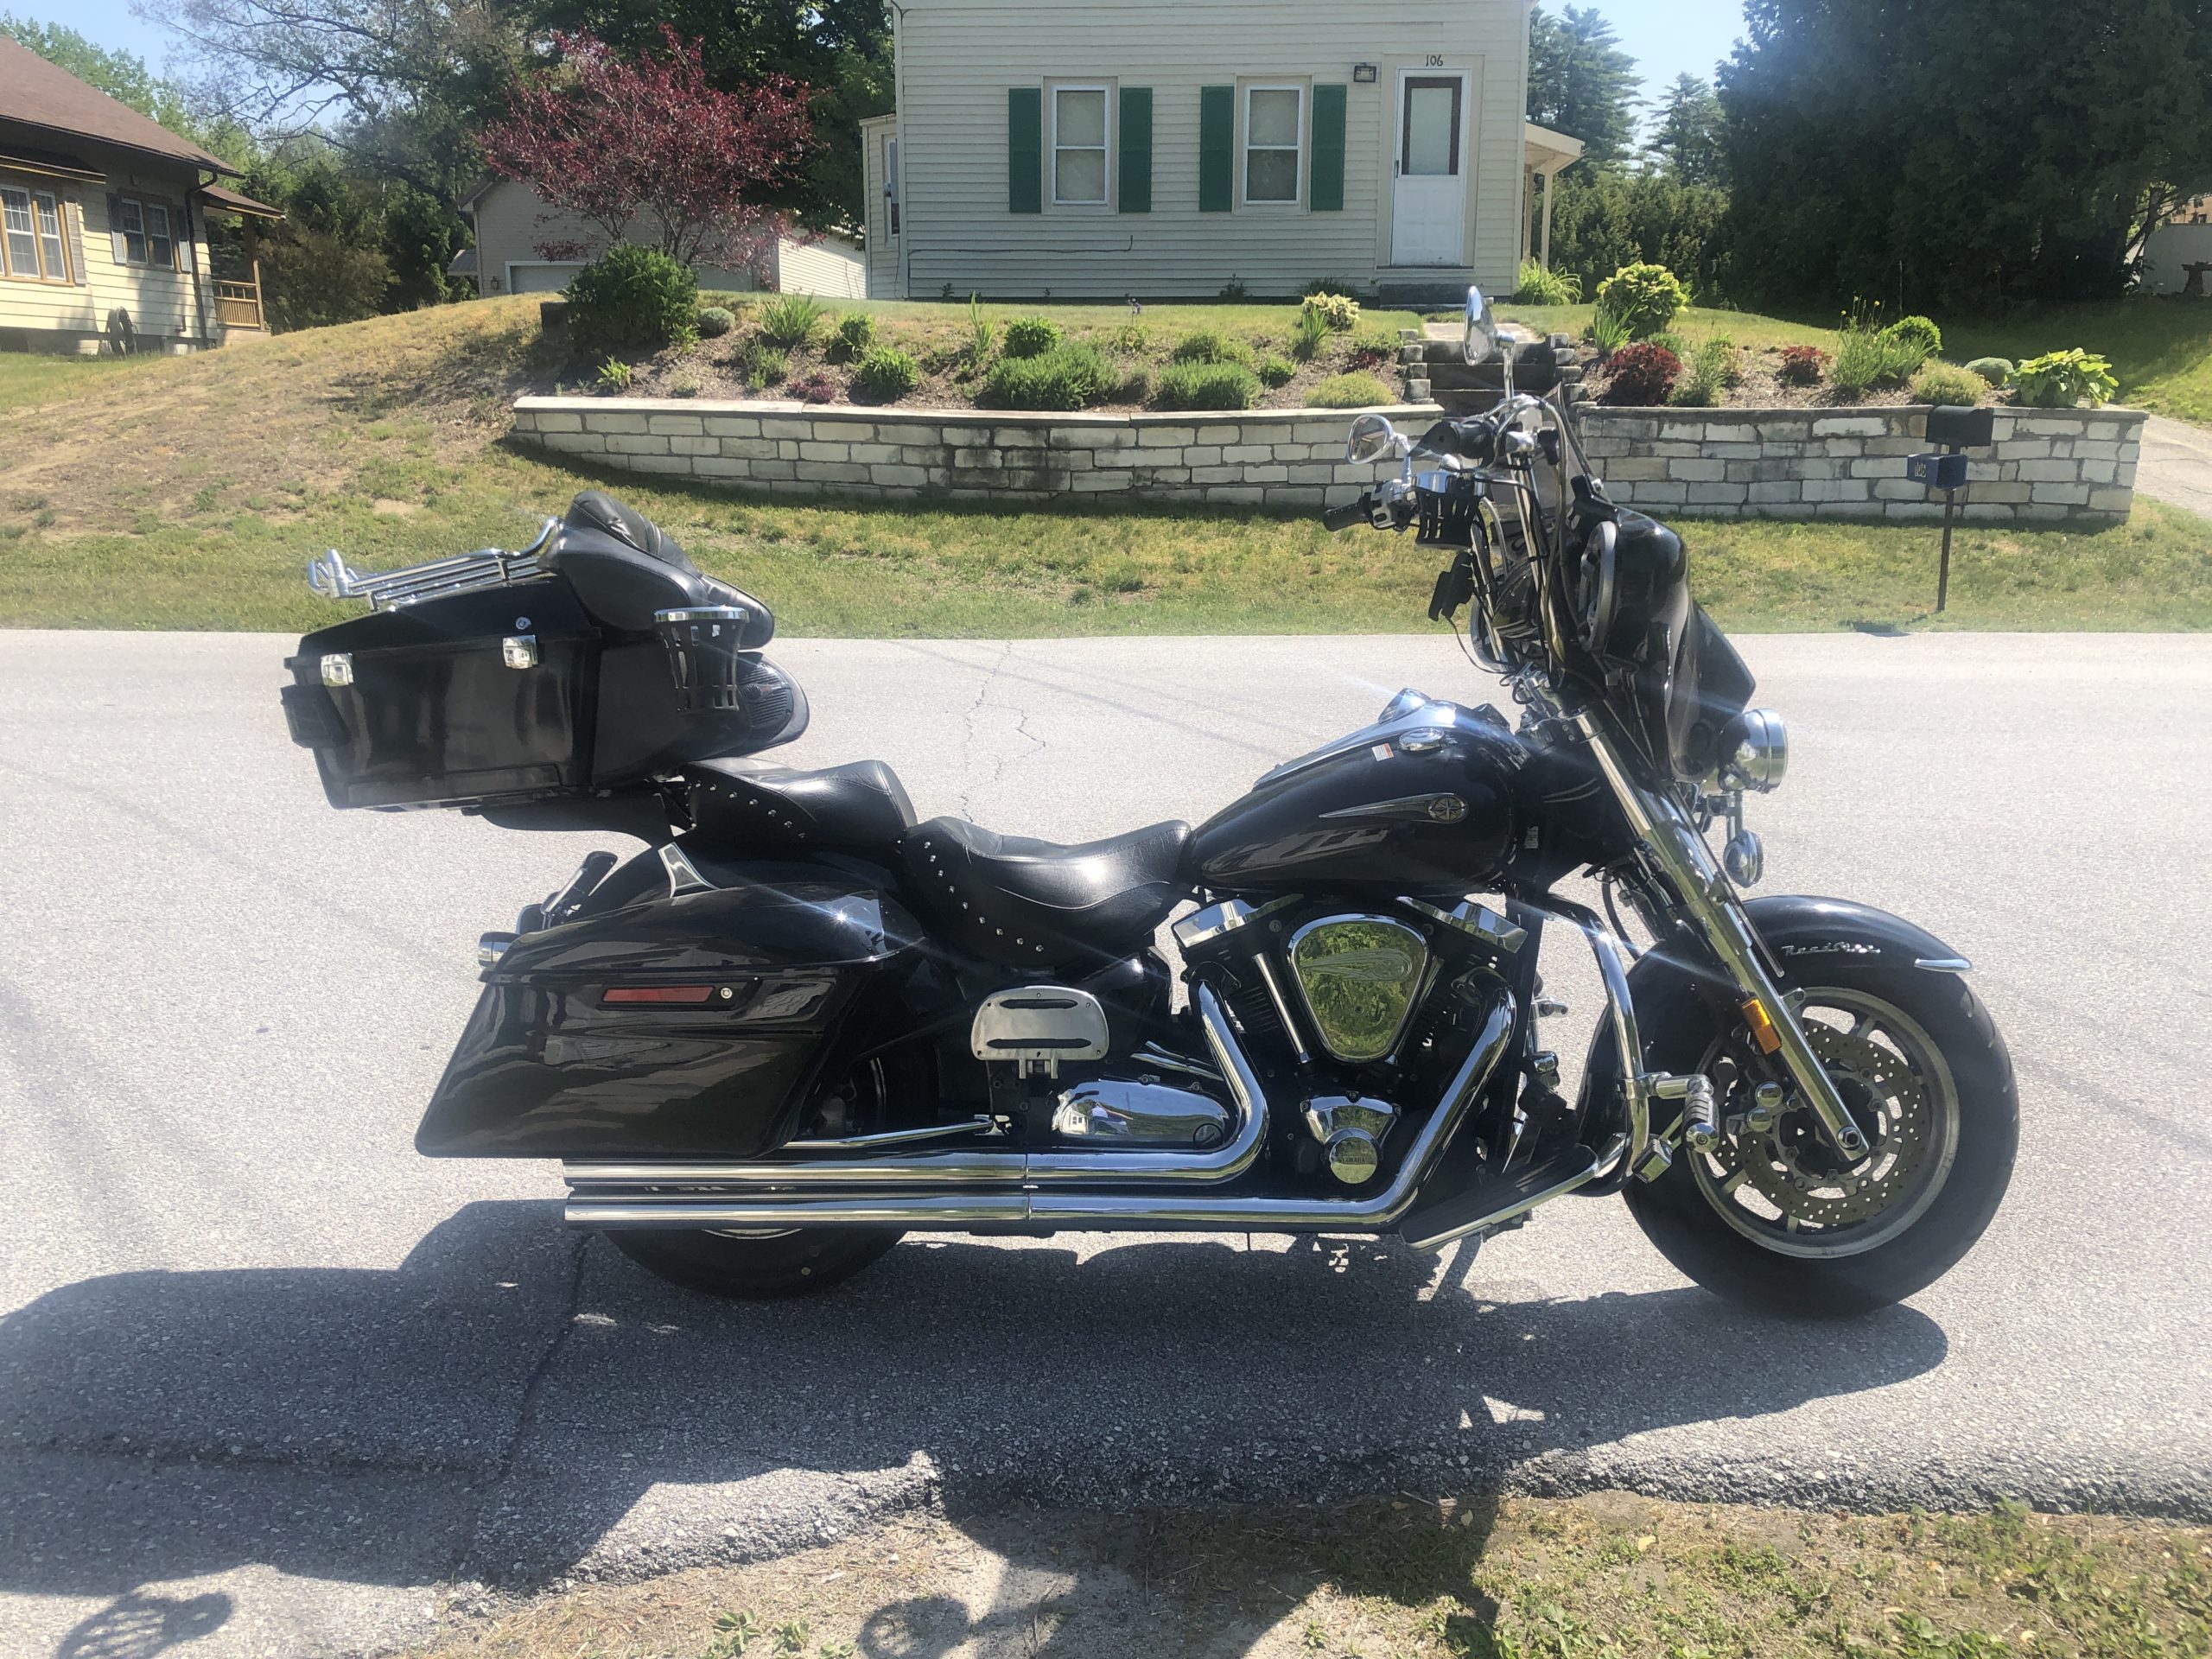
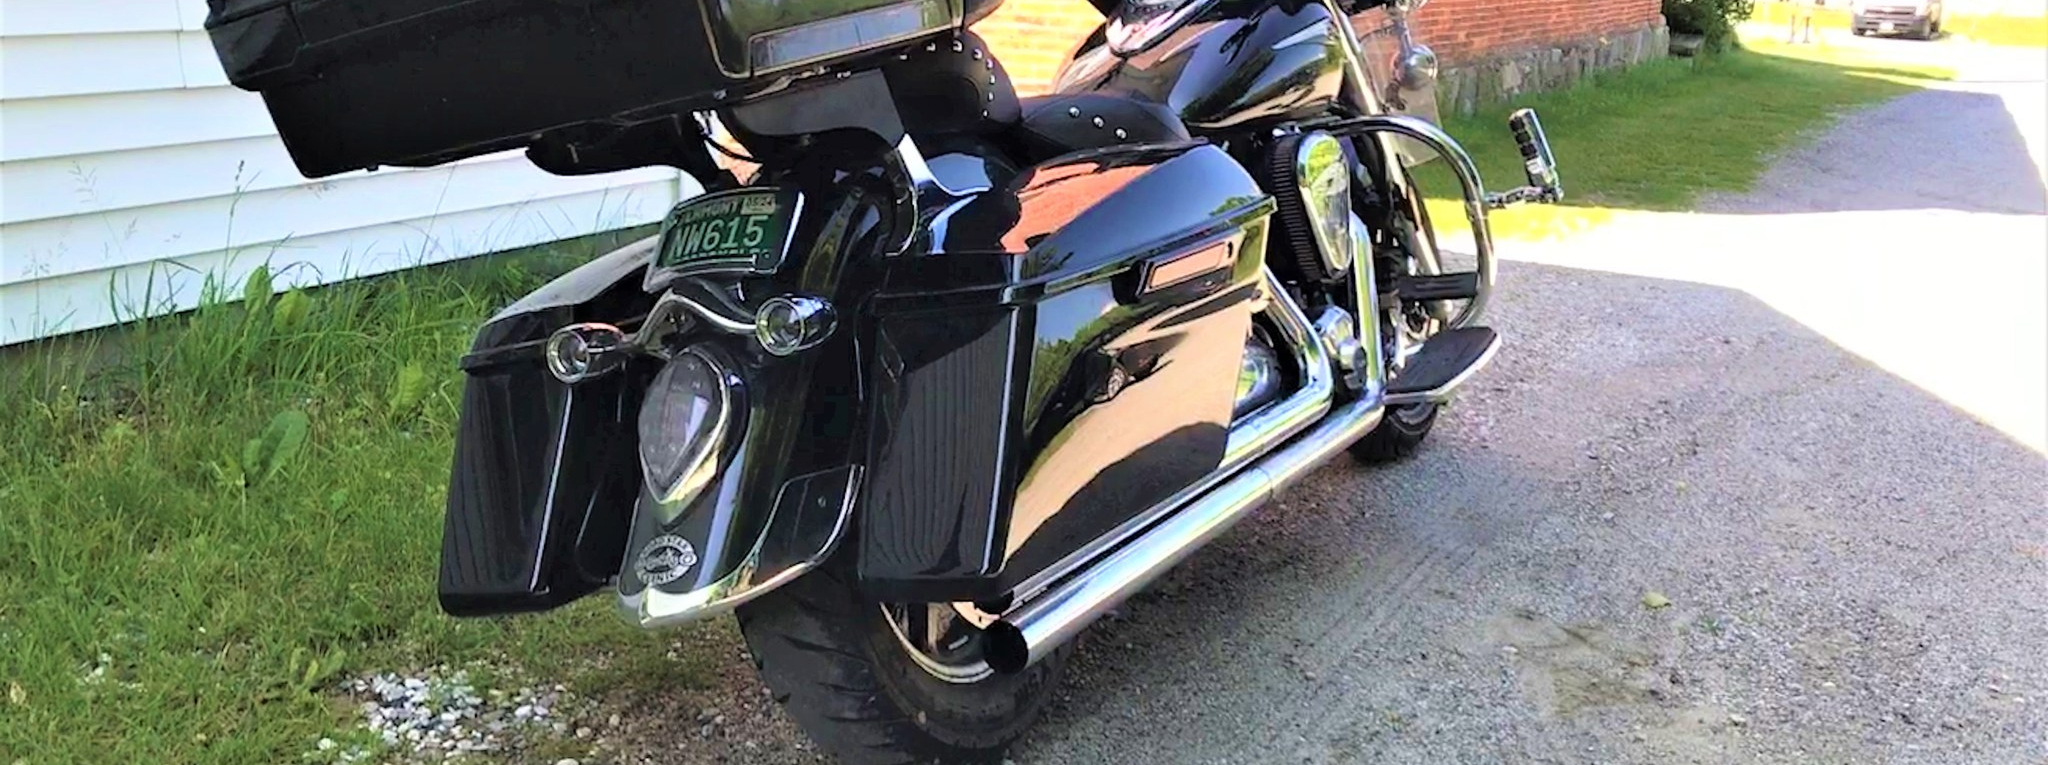
There are a limited number of options for hard saddlebags, when it comes to the Road Star. I bought my Road Star with the firm Leather Saddle Bags. I purchased a used set of the OEM Hard Saddle Bags. I found that neither were deep enough for my liking. My favorite bags were the Tsukayu bags made for the Road Star. I gave them up since they didn’t work with my King tour-pak. I even tried some bags from a V Star. Like many owners I decided to go with the Harley saddle bags. If you cannot secure authentic Harley bags there are some great aftermarket options.
In order to do this the top of your pipes need to be below the rear axle. This will ensure that you have enough room for the bags. In some cases, you can move the brackets up but it will require measuring, leveling, and drilling new holes in the mounting brackets.
I highly recommend the 14+ version saddle bags. They come with a easy open handle, which is a huge upgrade over the old version.
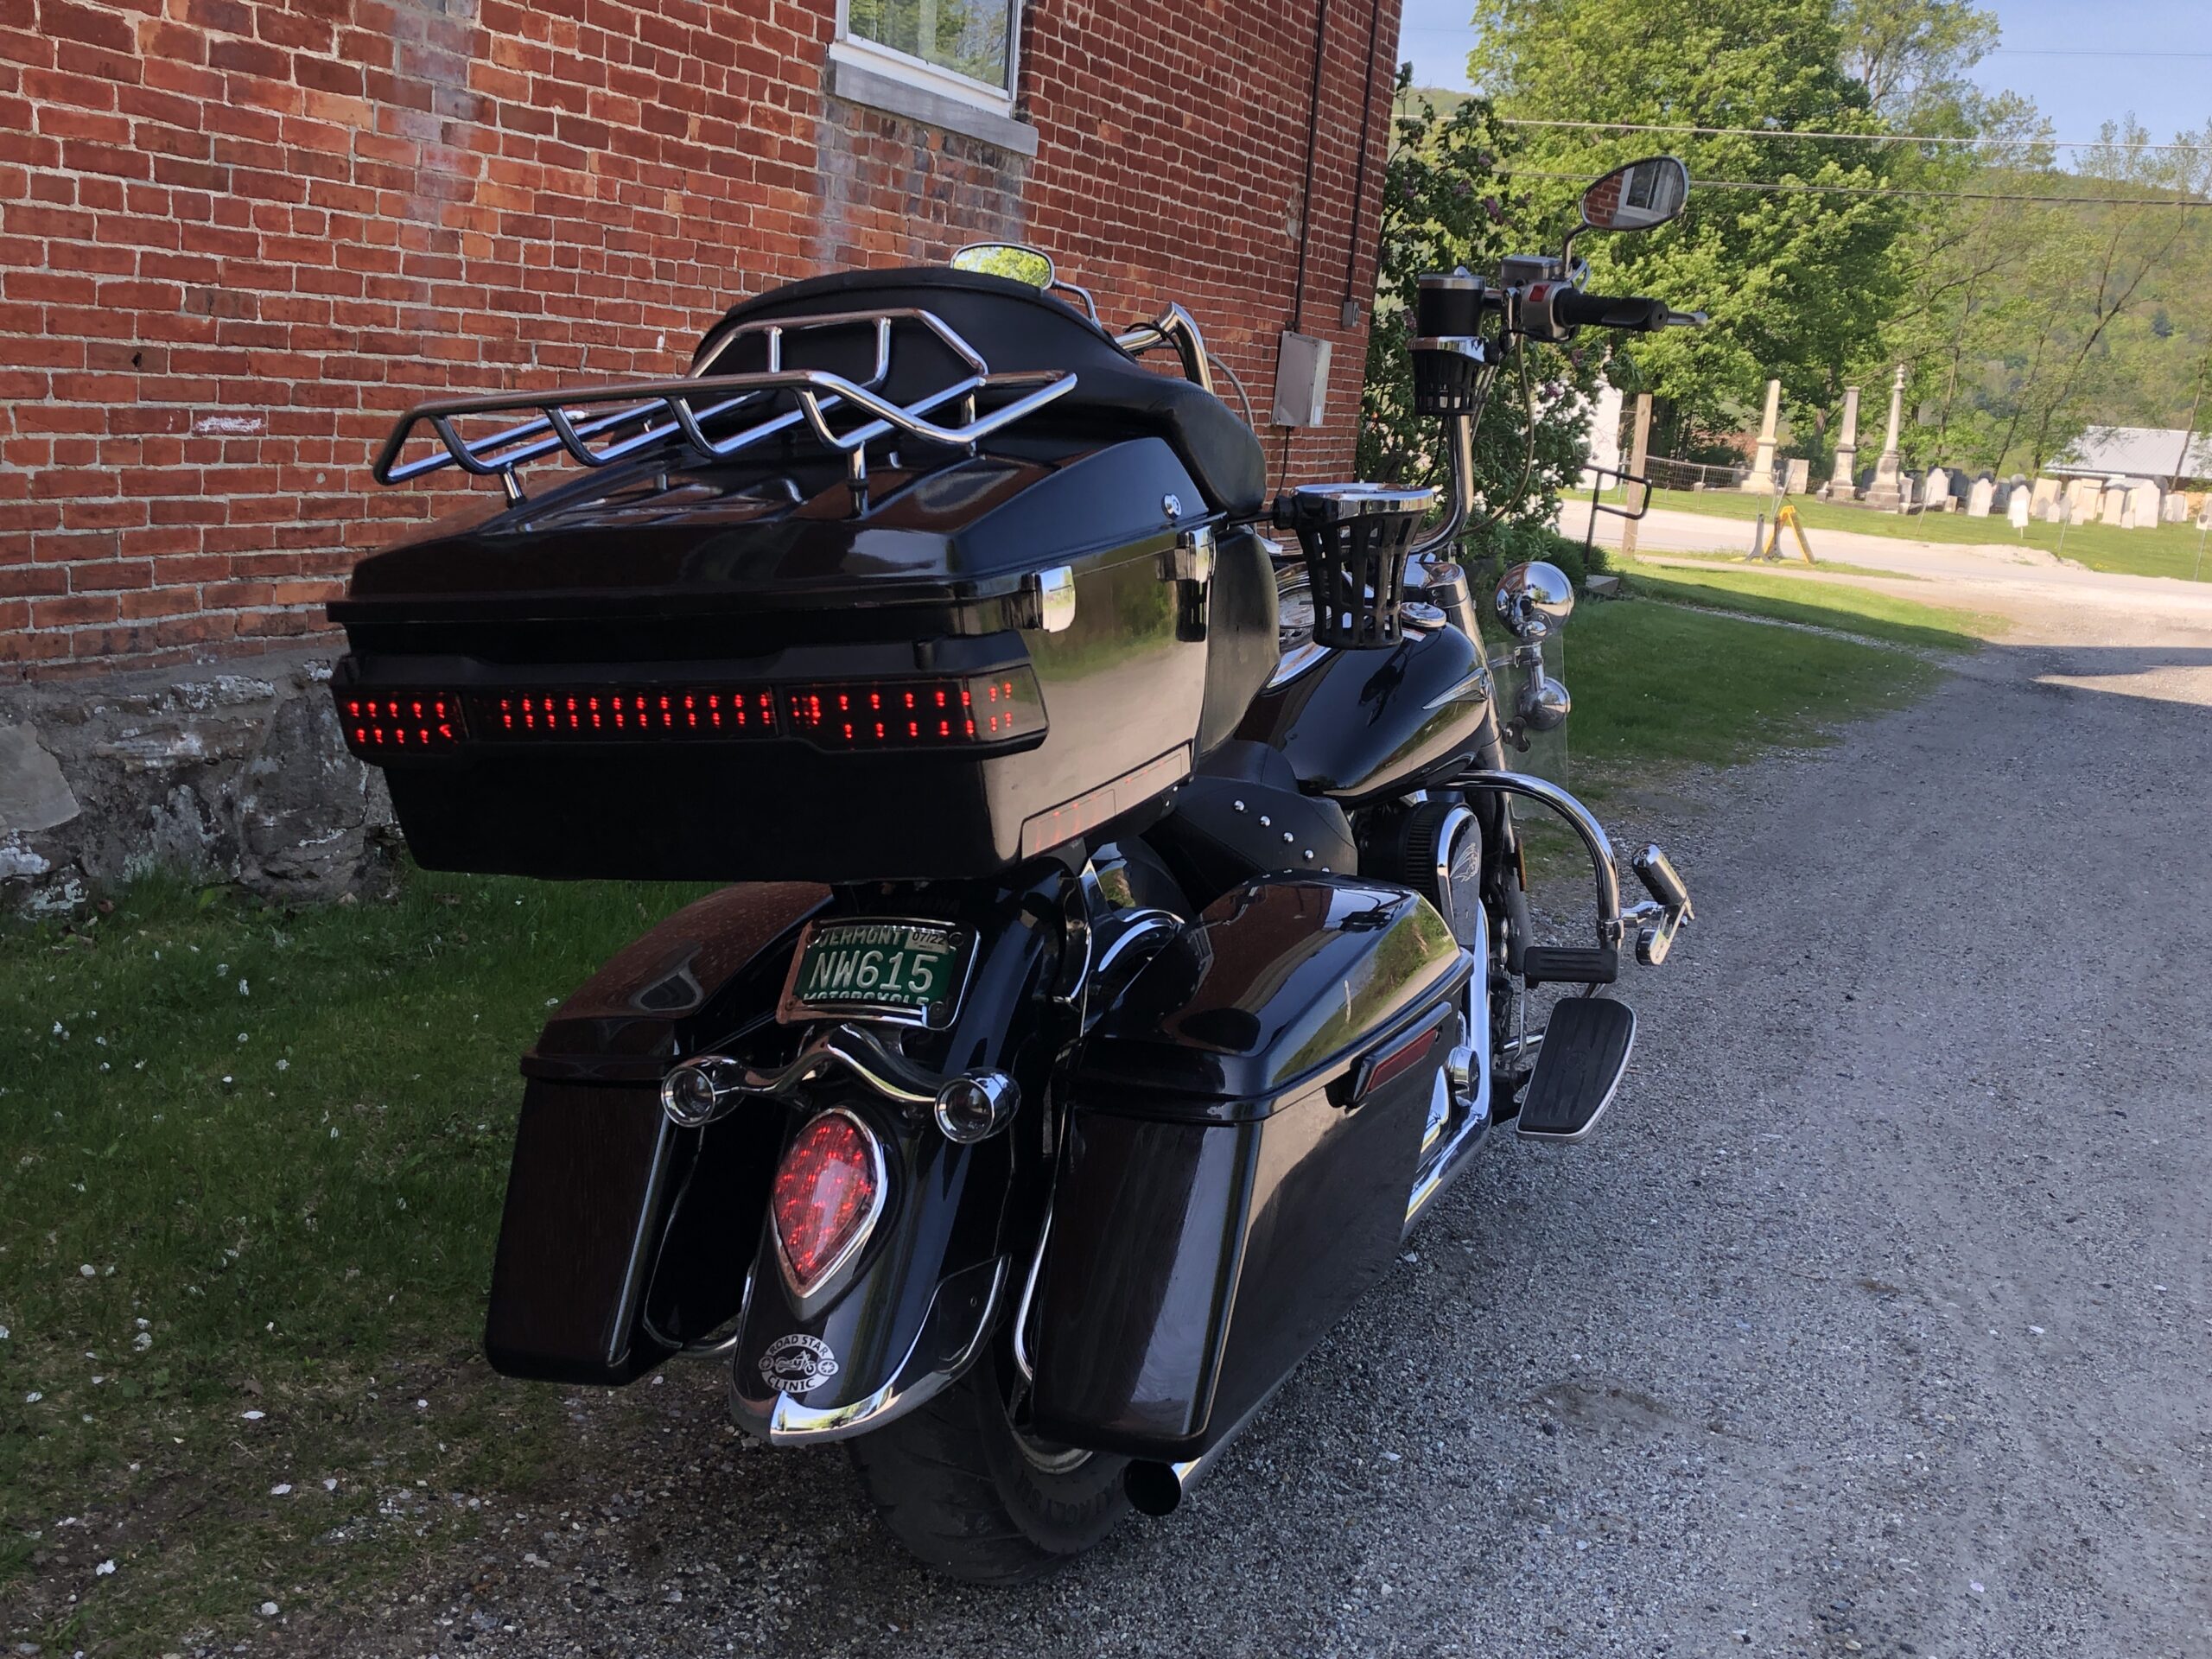
You want to search for the 14+ Harley Touring bags. There are a number of vendors offering the bags we can use. For the most part they are all the same but made by a few different companies. Since this is the case, vendors will use different names for the same bags. I purchased TCMT Vivid Black Hard Saddle Bags W/Black Latch For Harley Touring Models 14-23. The TCMT bags are decent quality and look great. They are the larger of the aftermarket bags out there. I love that mine came with the liners. Not all bags do. Sellers list TCMT for the brand in the Item Specifics section. Here is an example (https://www.ebay.com/itm/224249853790).
You have a couple options for easy install on the Road Star.
OPTION ONE
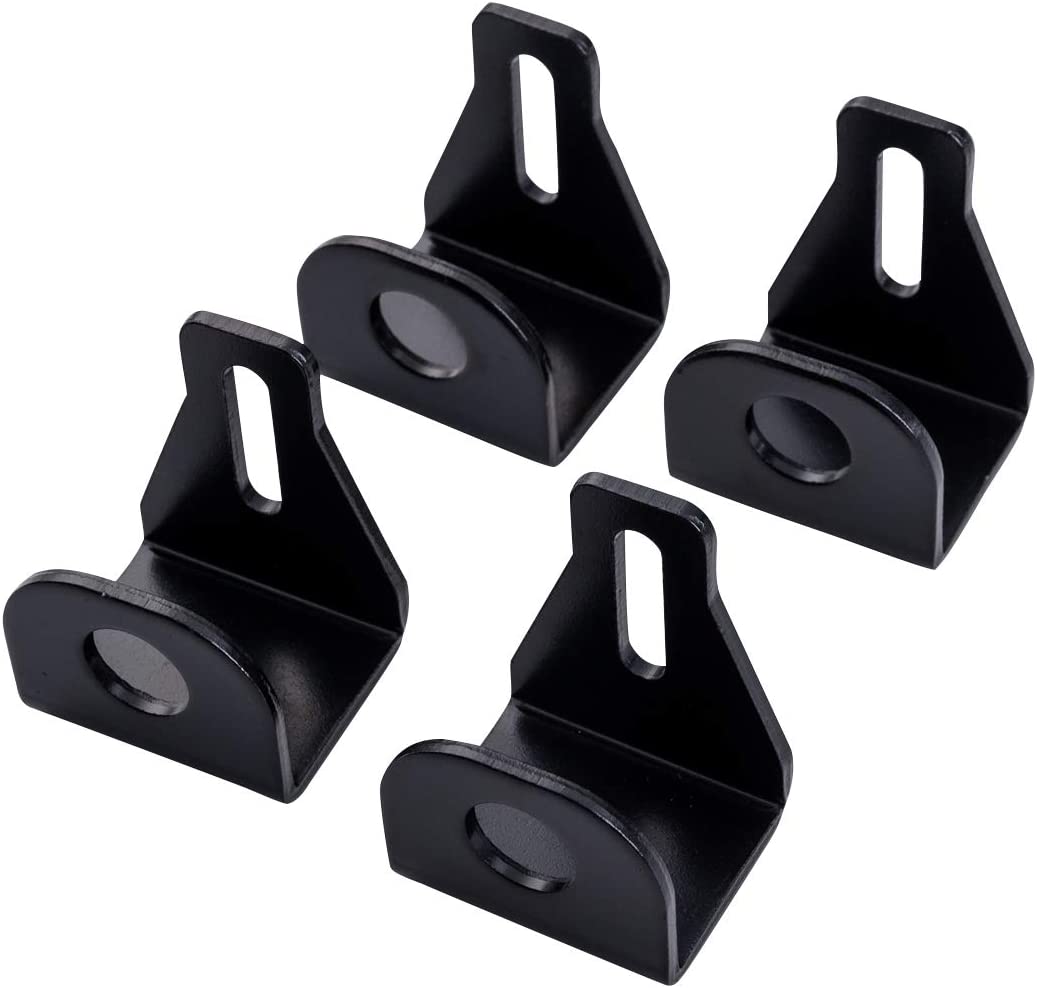
Soft tail conversion brackets. (https://www.amazon.com/Saddlebag-Conversion-Brackets-Davidson-Hardware/dp/B07VX67CNQ/)
You can get the bags, liners, and brackets together but I found it cheaper to purchase the brackets separately. They mount to the fender bolts. You mount them over the sissy bar bracket or eyebrows. You will want to use a little plastic washer between the bag brackets and bike bracket or eyebrows.
Install instructions are below.
OPTION TWO
DChopper Customs Bag Brackets (https://www.dchoppercustoms.com/productspricing.html)
I am told that these are quality brackets. The only issue is that you will likely have to wait for them. The guys who make them do so on nights and weekends, when they find the time. They are not very good at staying in contact while they are making them so you will have to be patient. You can find install instructions on their website.
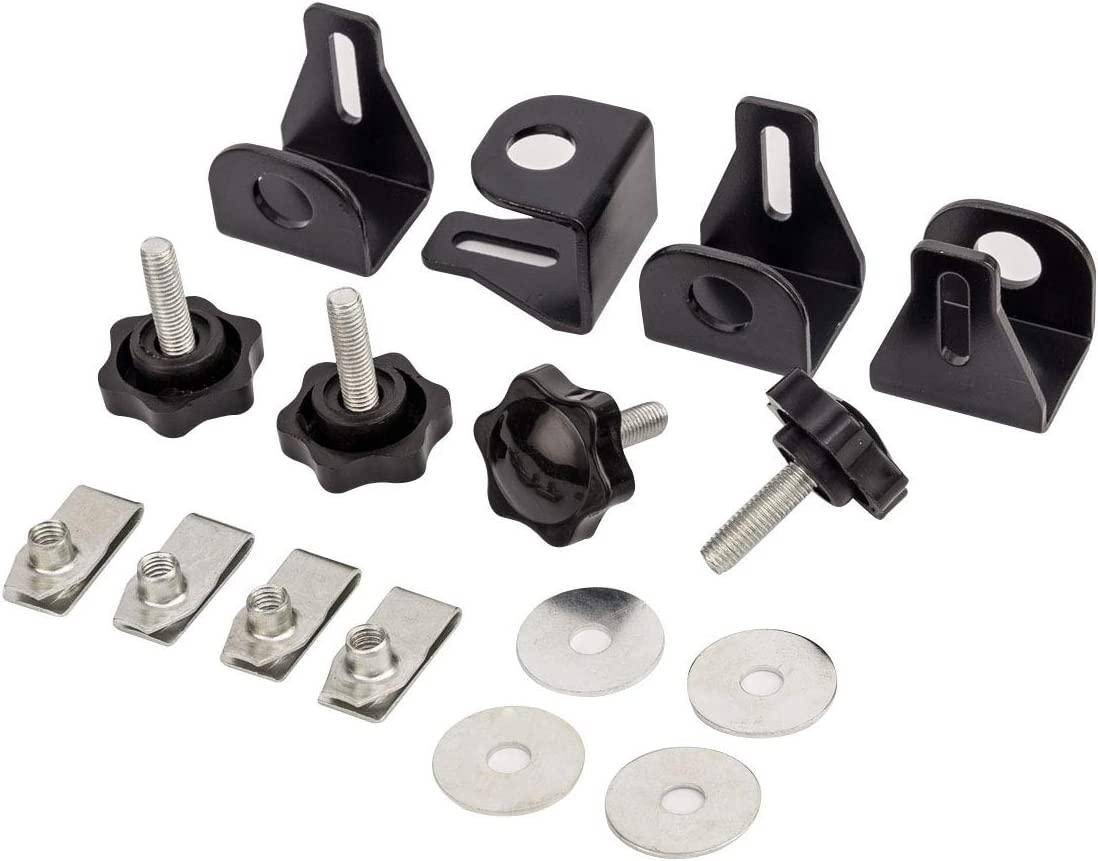
Soft tail conversion brackets install instructions.
My saddle bags included touring brackets so I decided to install them while I waited for my DChopper Brackets to arrive.
Parts list:
- Harley touring saddle bags (https://www.ebay.com/itm/224249853790)
- Harley soft tail conversion brackets (https://www.amazon.com/Saddlebag-Conversion-Brackets-Davidson-Hardware/dp/B07VX67CNQ/)
- Hard Saddle Bag Safety Bolts Mouting Security System (https://www.amazon.com/gp/product/B07XB14MWR)
- Zip Ties
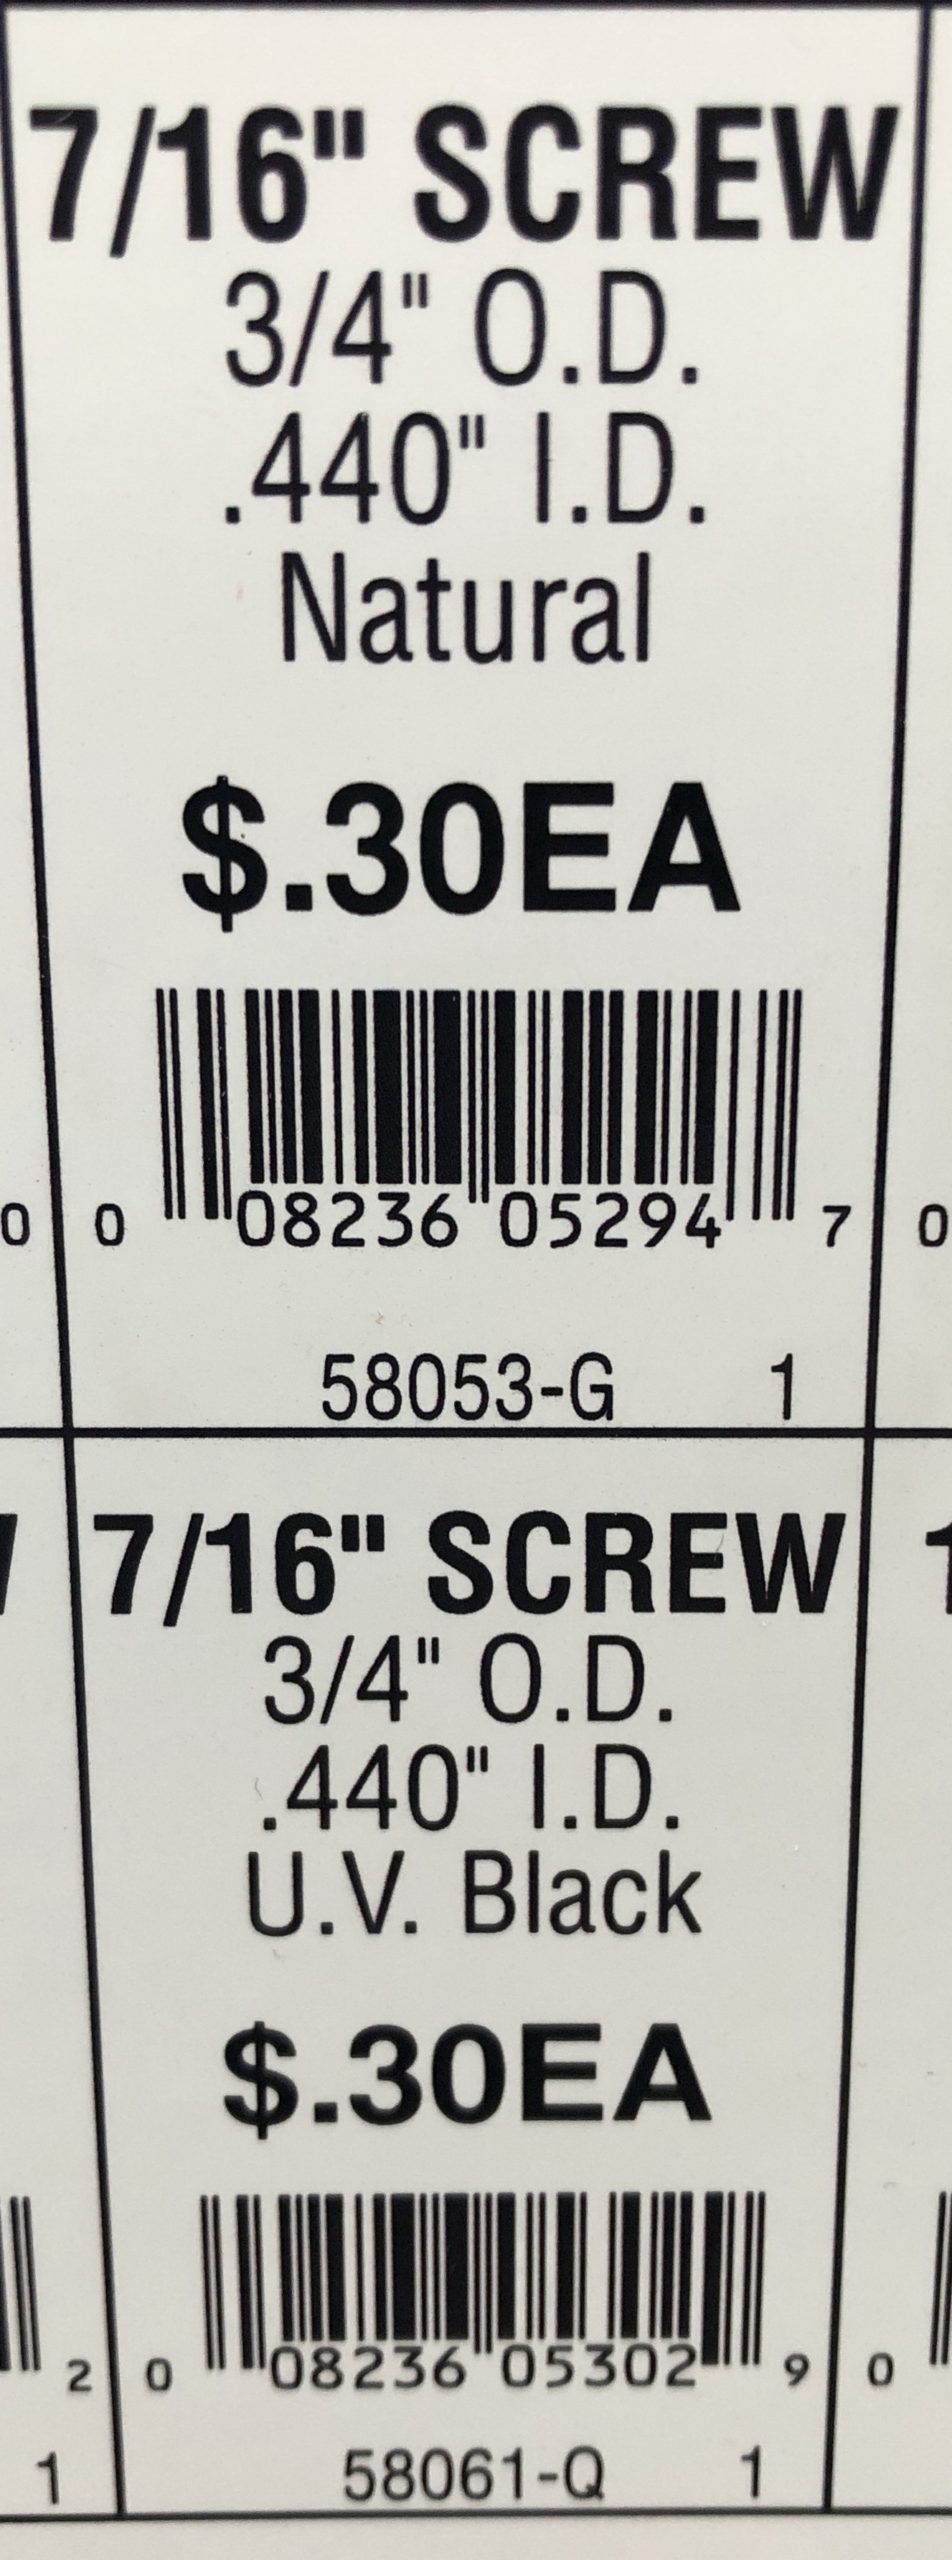
- Plastic washer – Here is a picture with dimensions, etc. I got the black one.
- Various tools
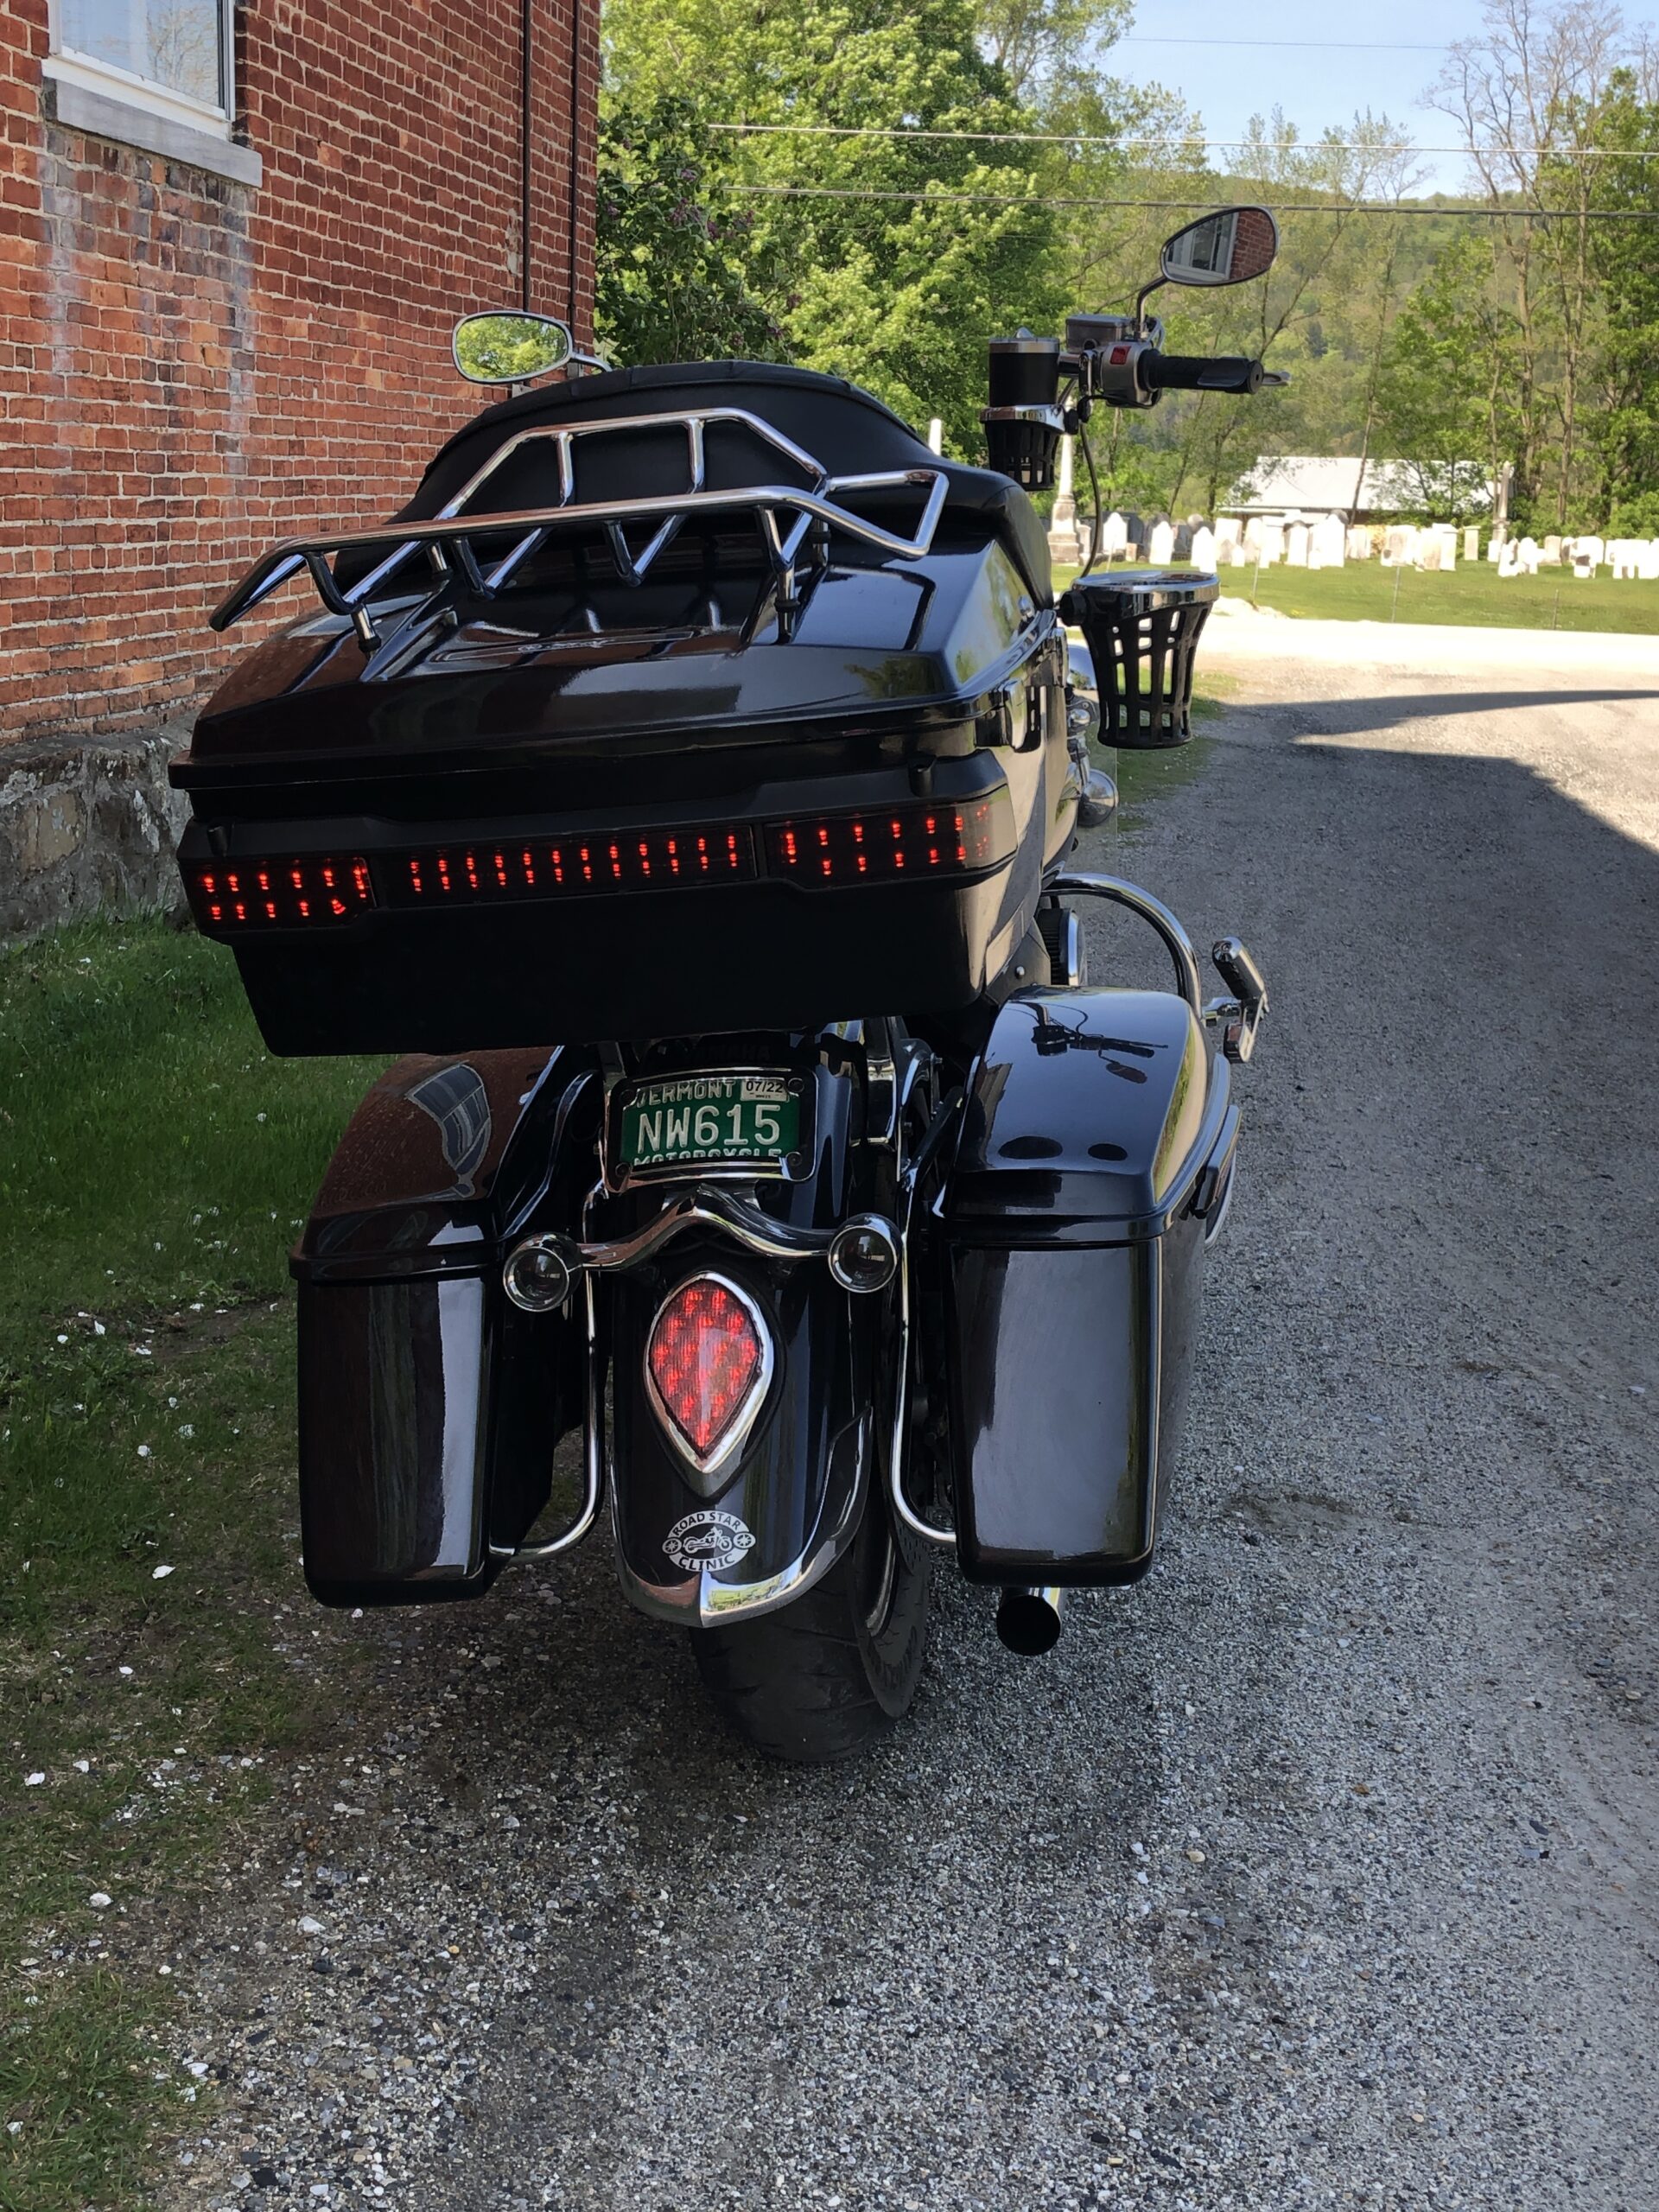
Install is pretty straight forward. I started by installing the alternate mounting brackets (security bolts) to the soft tail brackets before mounting them on the bike. Don’t tighten them down yet. I had to use the nuts and bolts from the original mounting brackets.
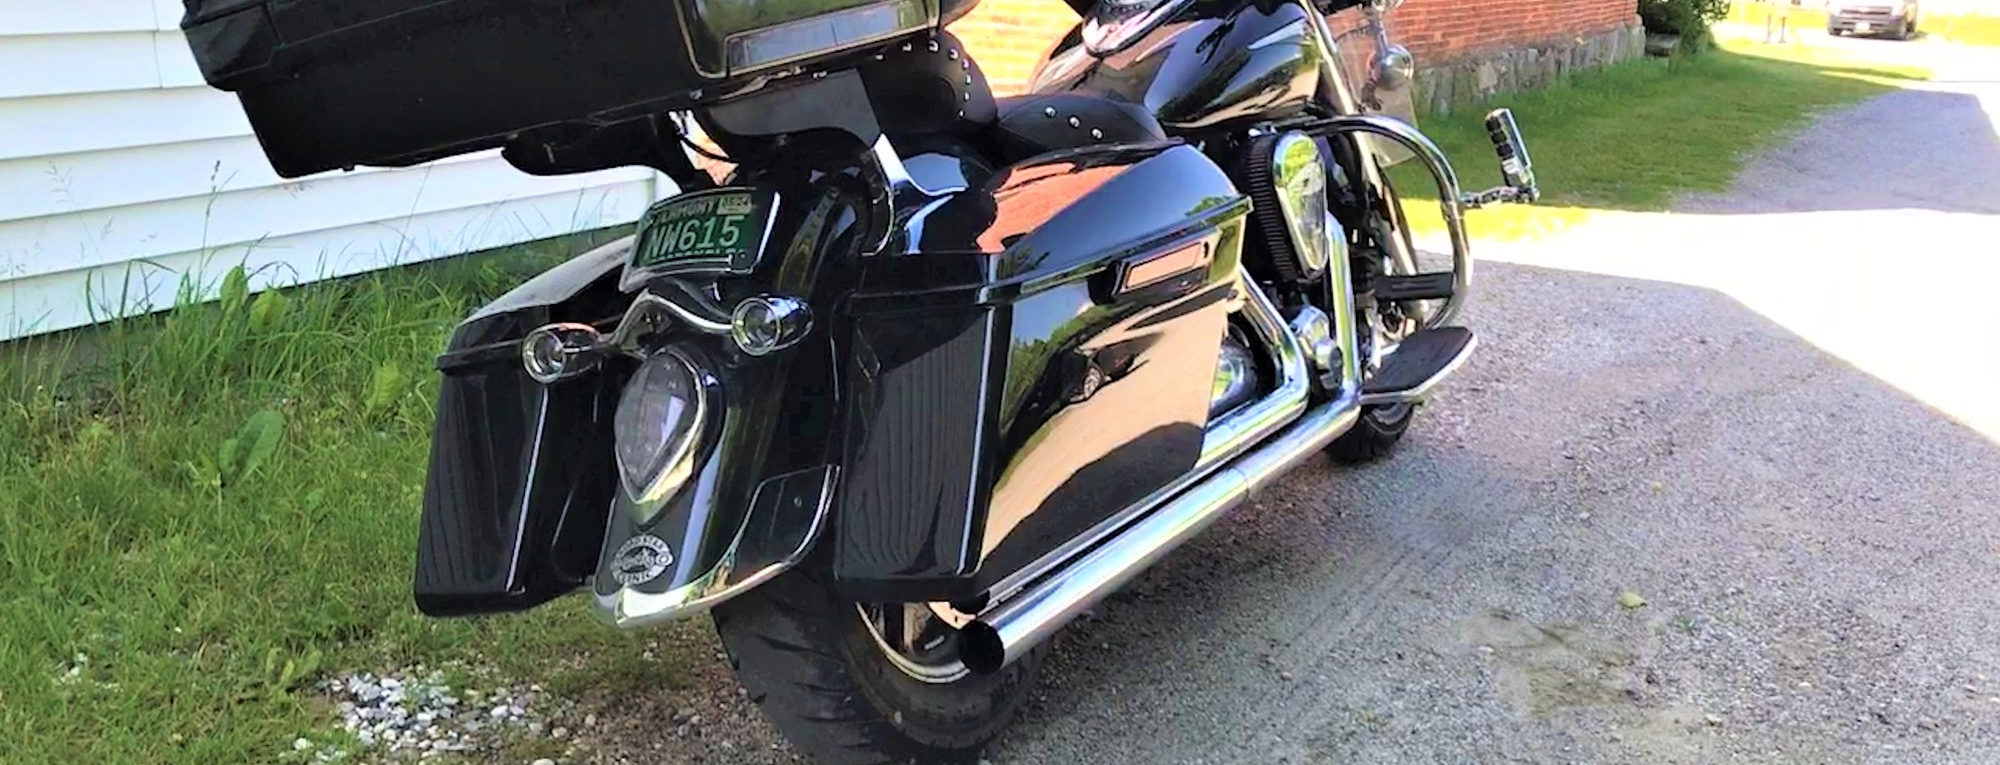
Next I mounted the brackets to the fender bolts and used the plastic washers between the sissy bar/eyebrows and the soft tail brackets. The fender bolt torque is 22 ft lbs. Instead of drilling a hole in the frame to mount the front of the brackets I pulled the bolt below and added the washer mentioned above. I had it left from a former project. To keep the bags level you will have to remove the cap over the swing arm bolt access hole. That bolt is torqued at 36 ft lbs.
Make sure you insert the mounting hardware on the bottom of the bags. My bags had them installed already so I didn’t need the ones that came with the hardware kit.
My saddle bags came with free liners. You have to remove the hardware in the bags to install them. They aren’t a perfect fit but work great to cut the noise that bare bags create. Make sure the holes line up for the mounting screws.
Be sure that the bags have the grommets installed. Install the clips on the mounting hardware and then feed the security screws from the inside of the bags. Mount the bags and make your connections and tighten to your preference.
You can either drill a hole for the front mounting point on the frame (I hate drilling holes like this) or you can remove the cover in the picture below and use some zip ties to secure it to the frame. That is what I did and it is working well.
The bags are not level when you mount them to the holes in the Harley brackets. I secured the front bolt and then raised the back of the bags and leveled the bottom of the bags with the pipes. I eyed the spot where I needed to drill a new hole in the back mount. I measured the hole location and mimicked in on the left side bracket.
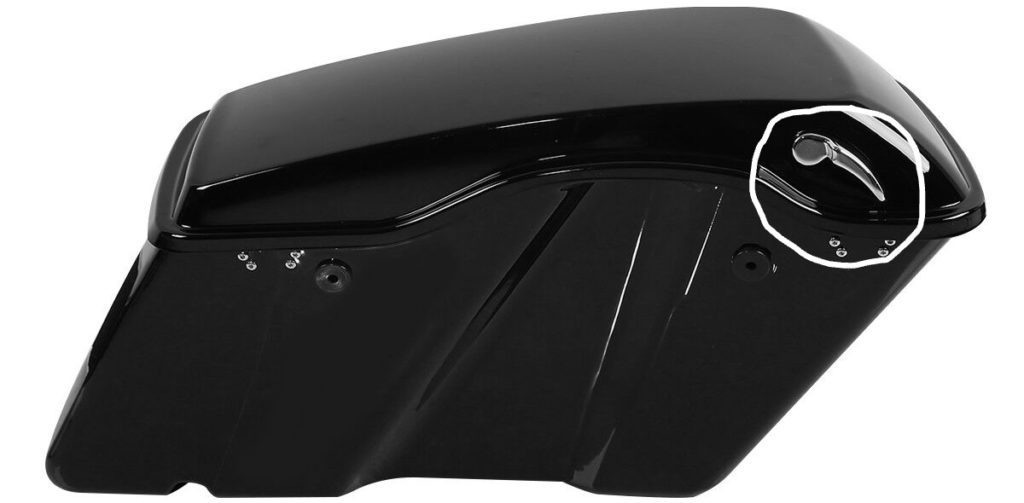
I found that the mounting pieces (pictured below) that came with the brackets did not line up, nor did they insert in to the bags that well. Even if they did, the clip on them is very hard to install.
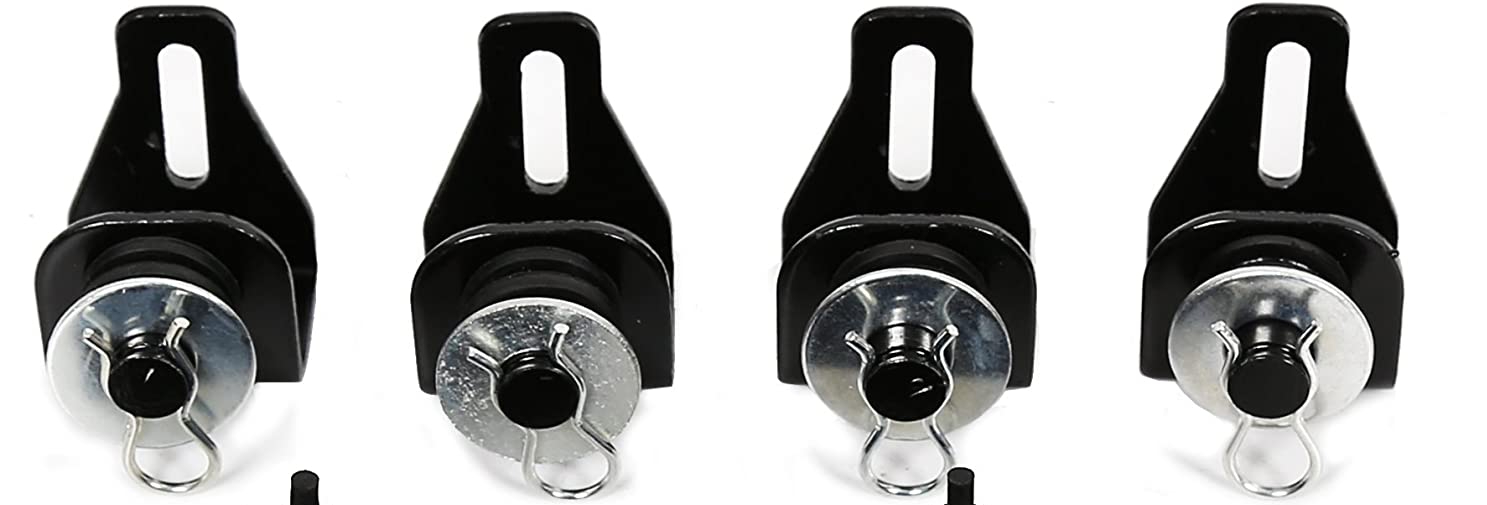
(https://www.amazon.com/gp/product/B07XB14MWR). It also ensures that your bags won’t fall off. Some guys report losing their bags on the road with the clips that come with the brackets.
Instead I purchased a Hard Saddle Bag Safety Bolts Mounting Security System on Amazon
Here is a video by TMCT showing how to mount the brackets on a Harley. It will give you an idea of what is involved.
Watch a walk-around video.