Cluster – LED Strips
Thanks go out to Christopher Whelpley for putting these directions together. He also provided the pictures that are numbered with notations, etc.
If you want to do the LED Wed light install directions you can find them here. I didn’t do the LED Strips upgrade.
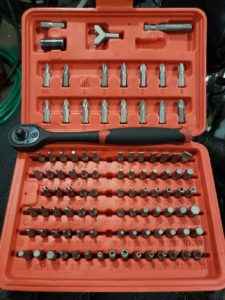
Christopher likes to use his 100 piece Security Bit Set from Harbor Freight ($10) with 1/4″ ratchet for jobs like this. Has all you need to complete this task.
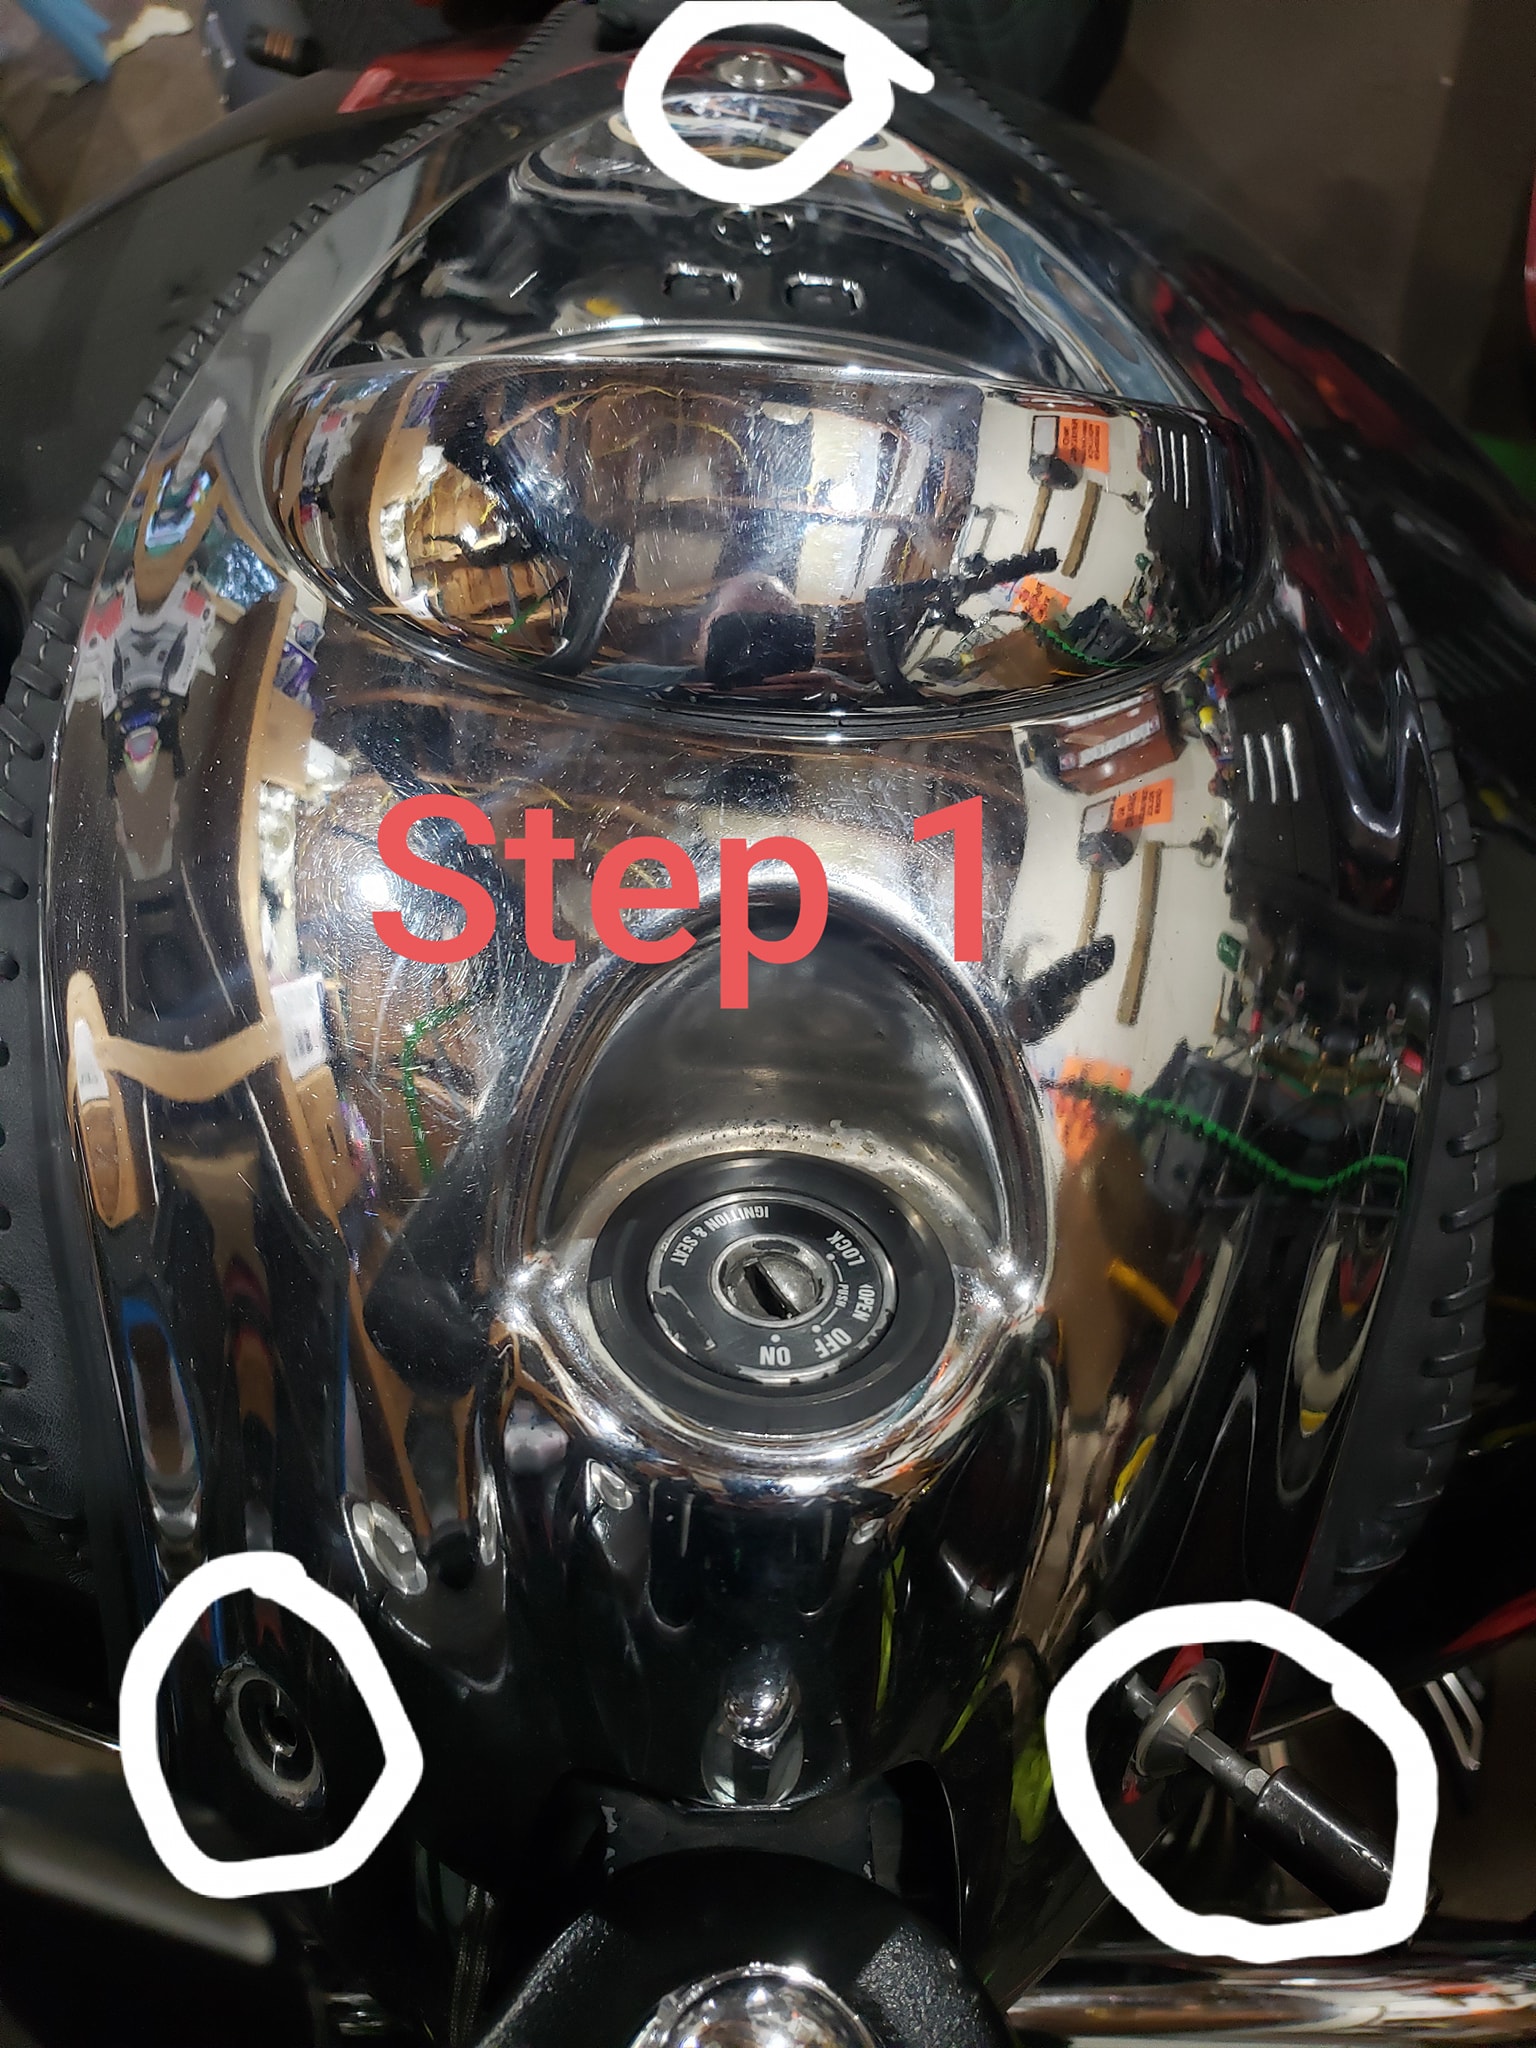
*Step 1. Use #5 Hex to remove the 3 bolts that hold the bezel to the tank.
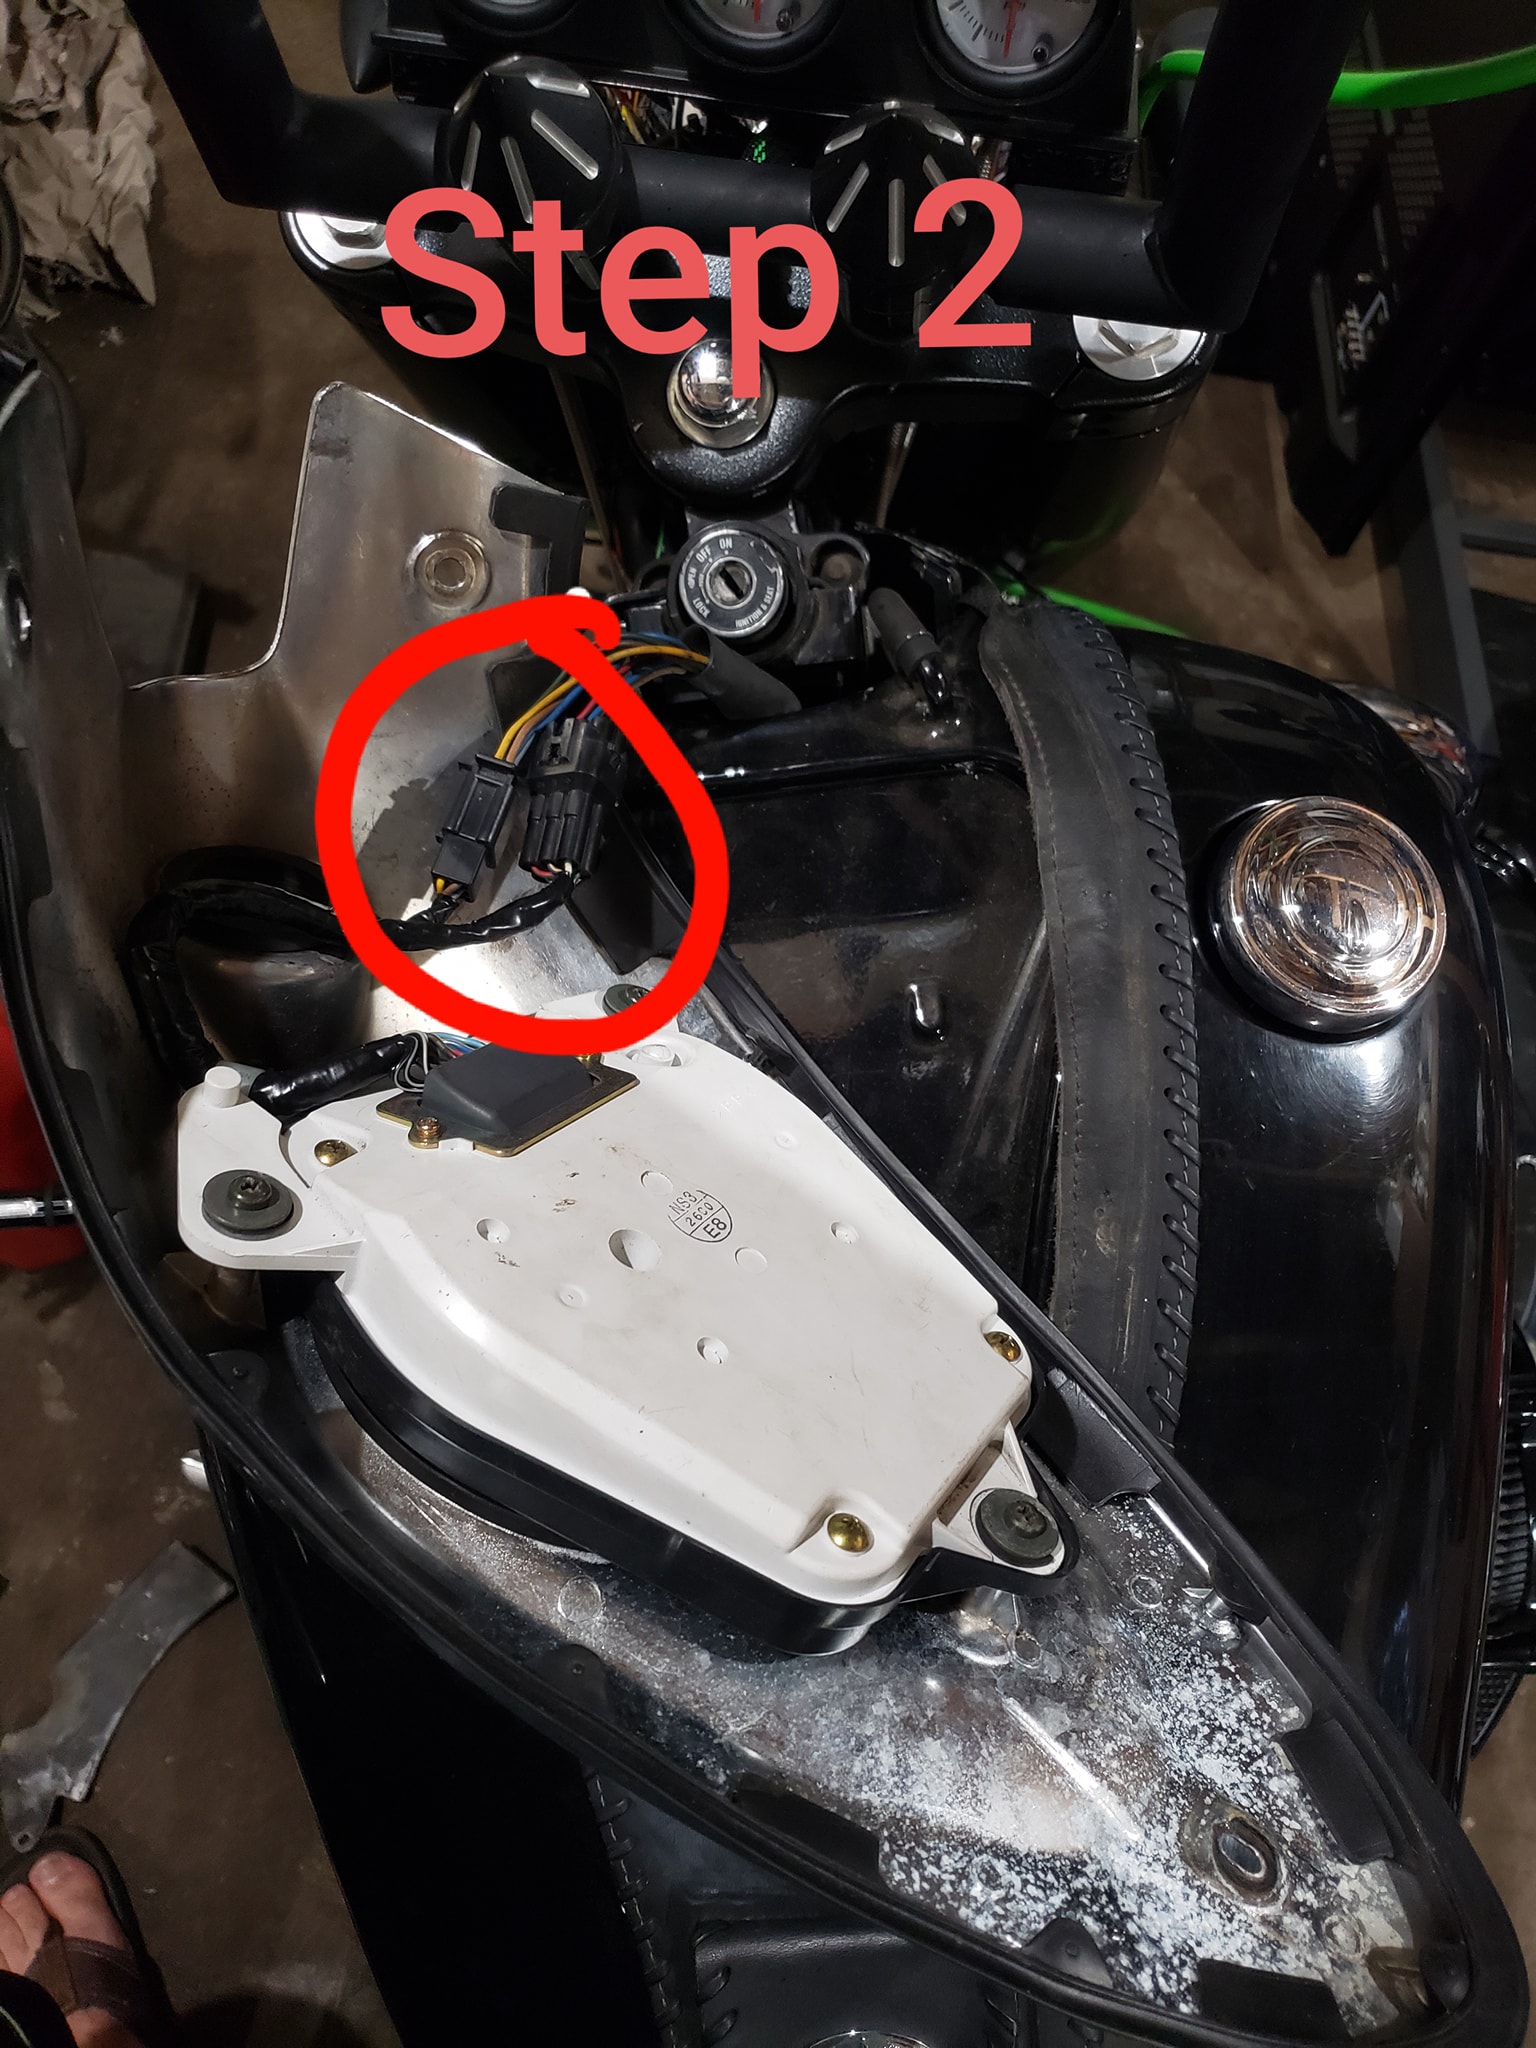
*Step 2. Carefully lift away from tank and unplug both harness plugs and move to table/bench for better work area.
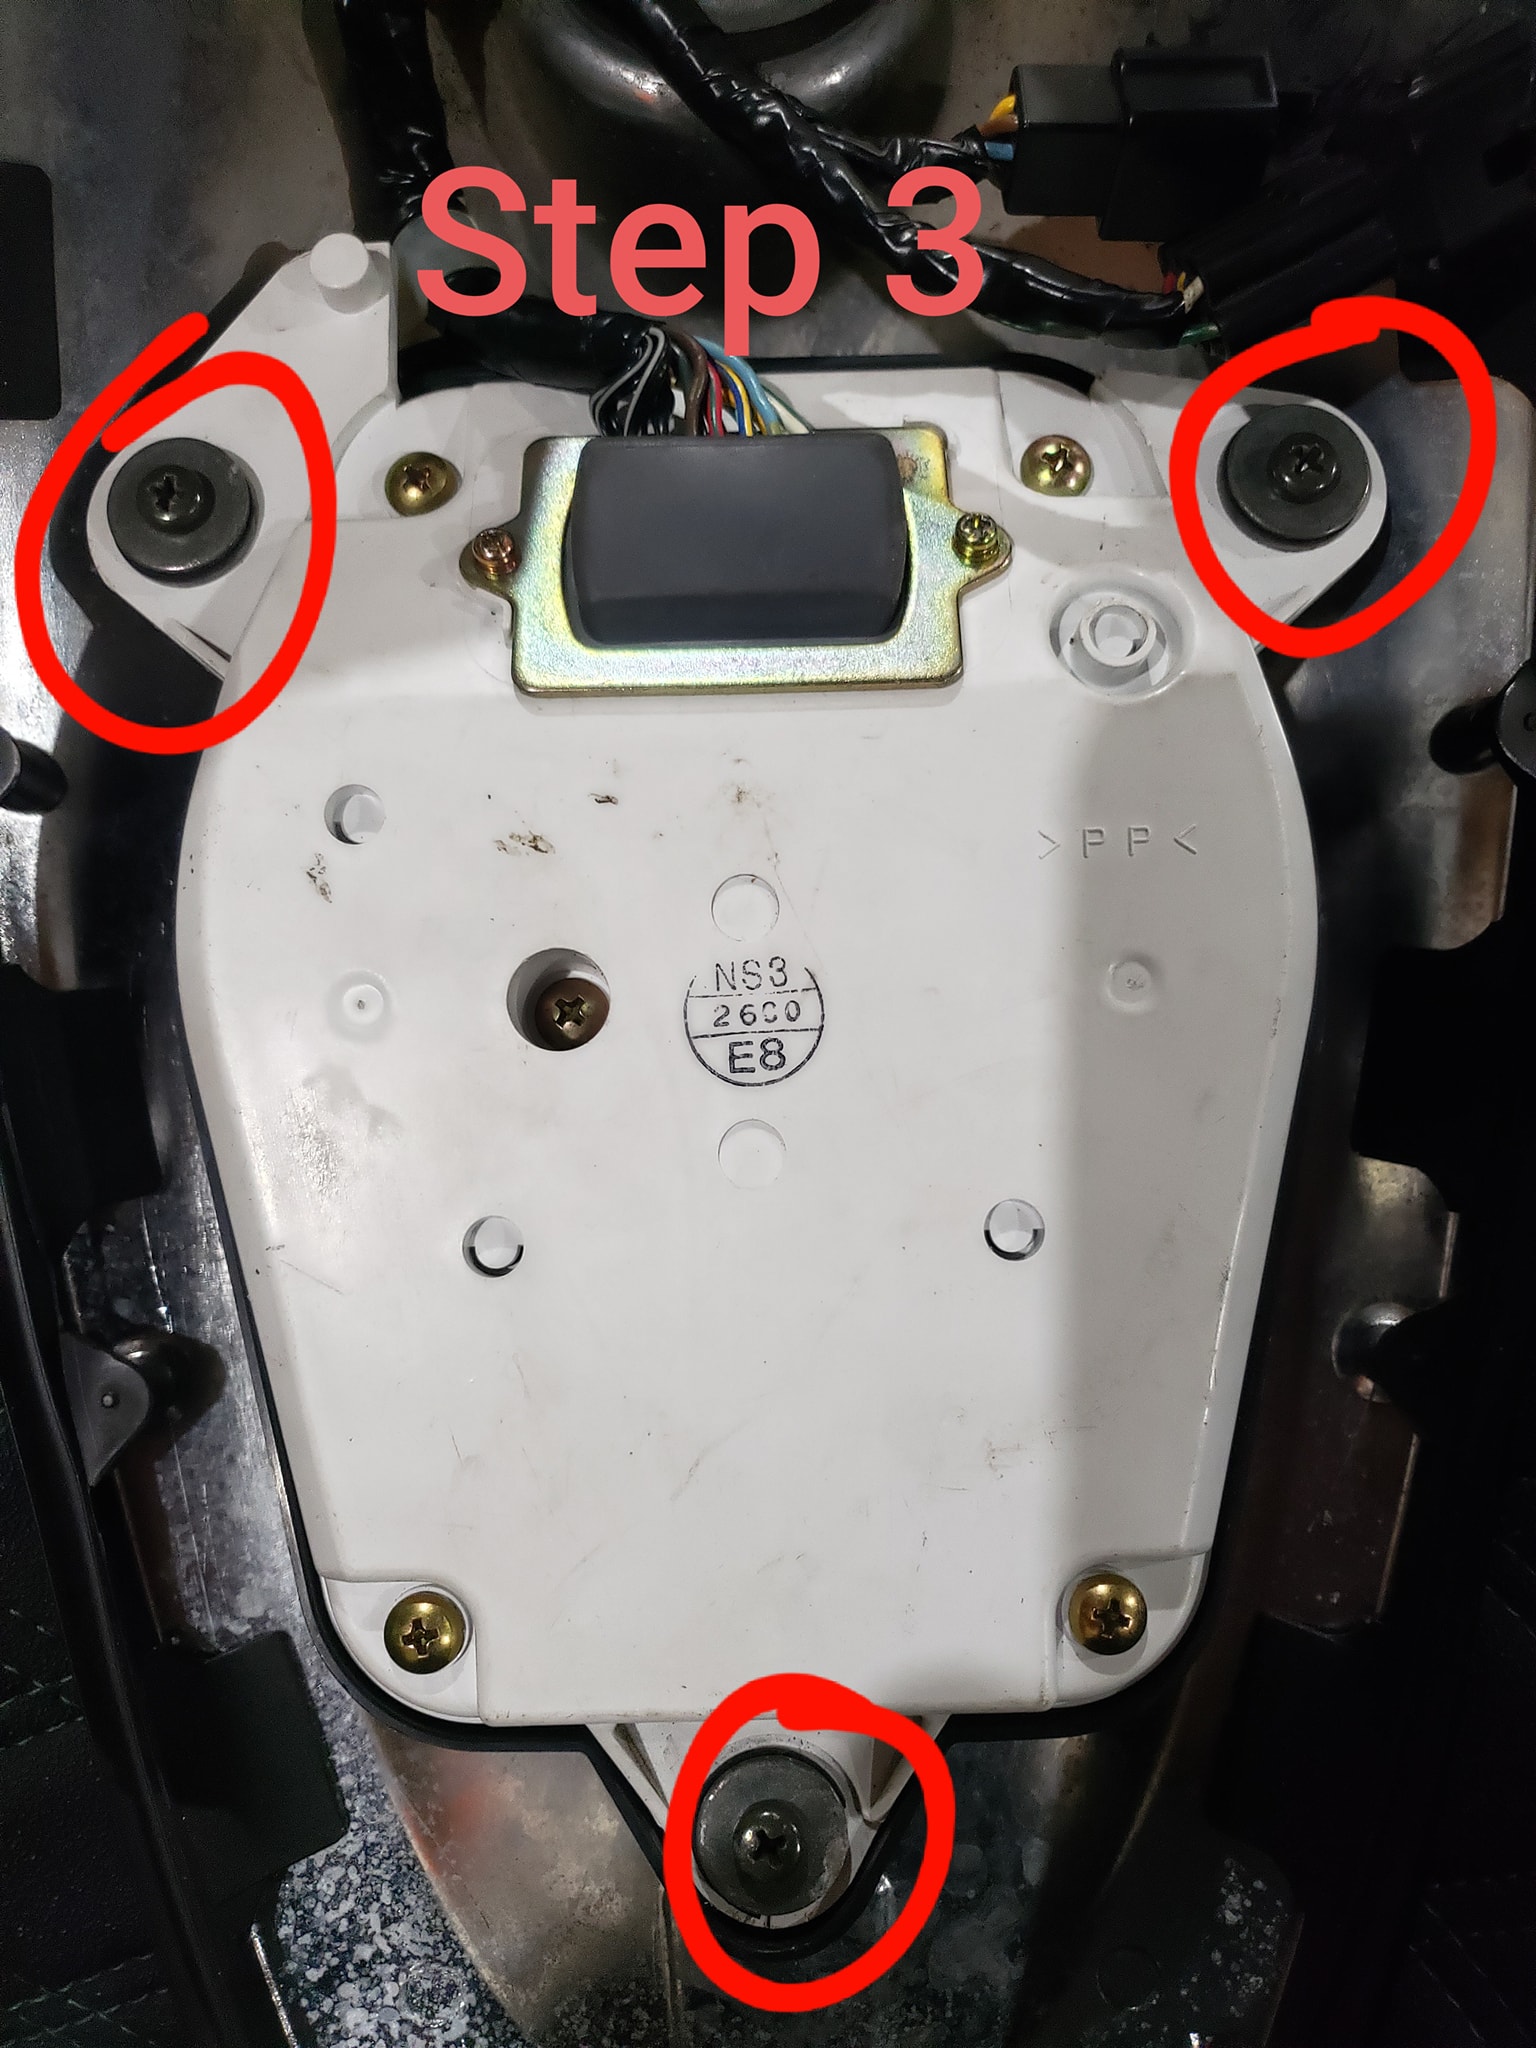
*Step 3. Use #2 Phillip’s to remove the 3 screws that hold the cluster into the bezel, and separate.
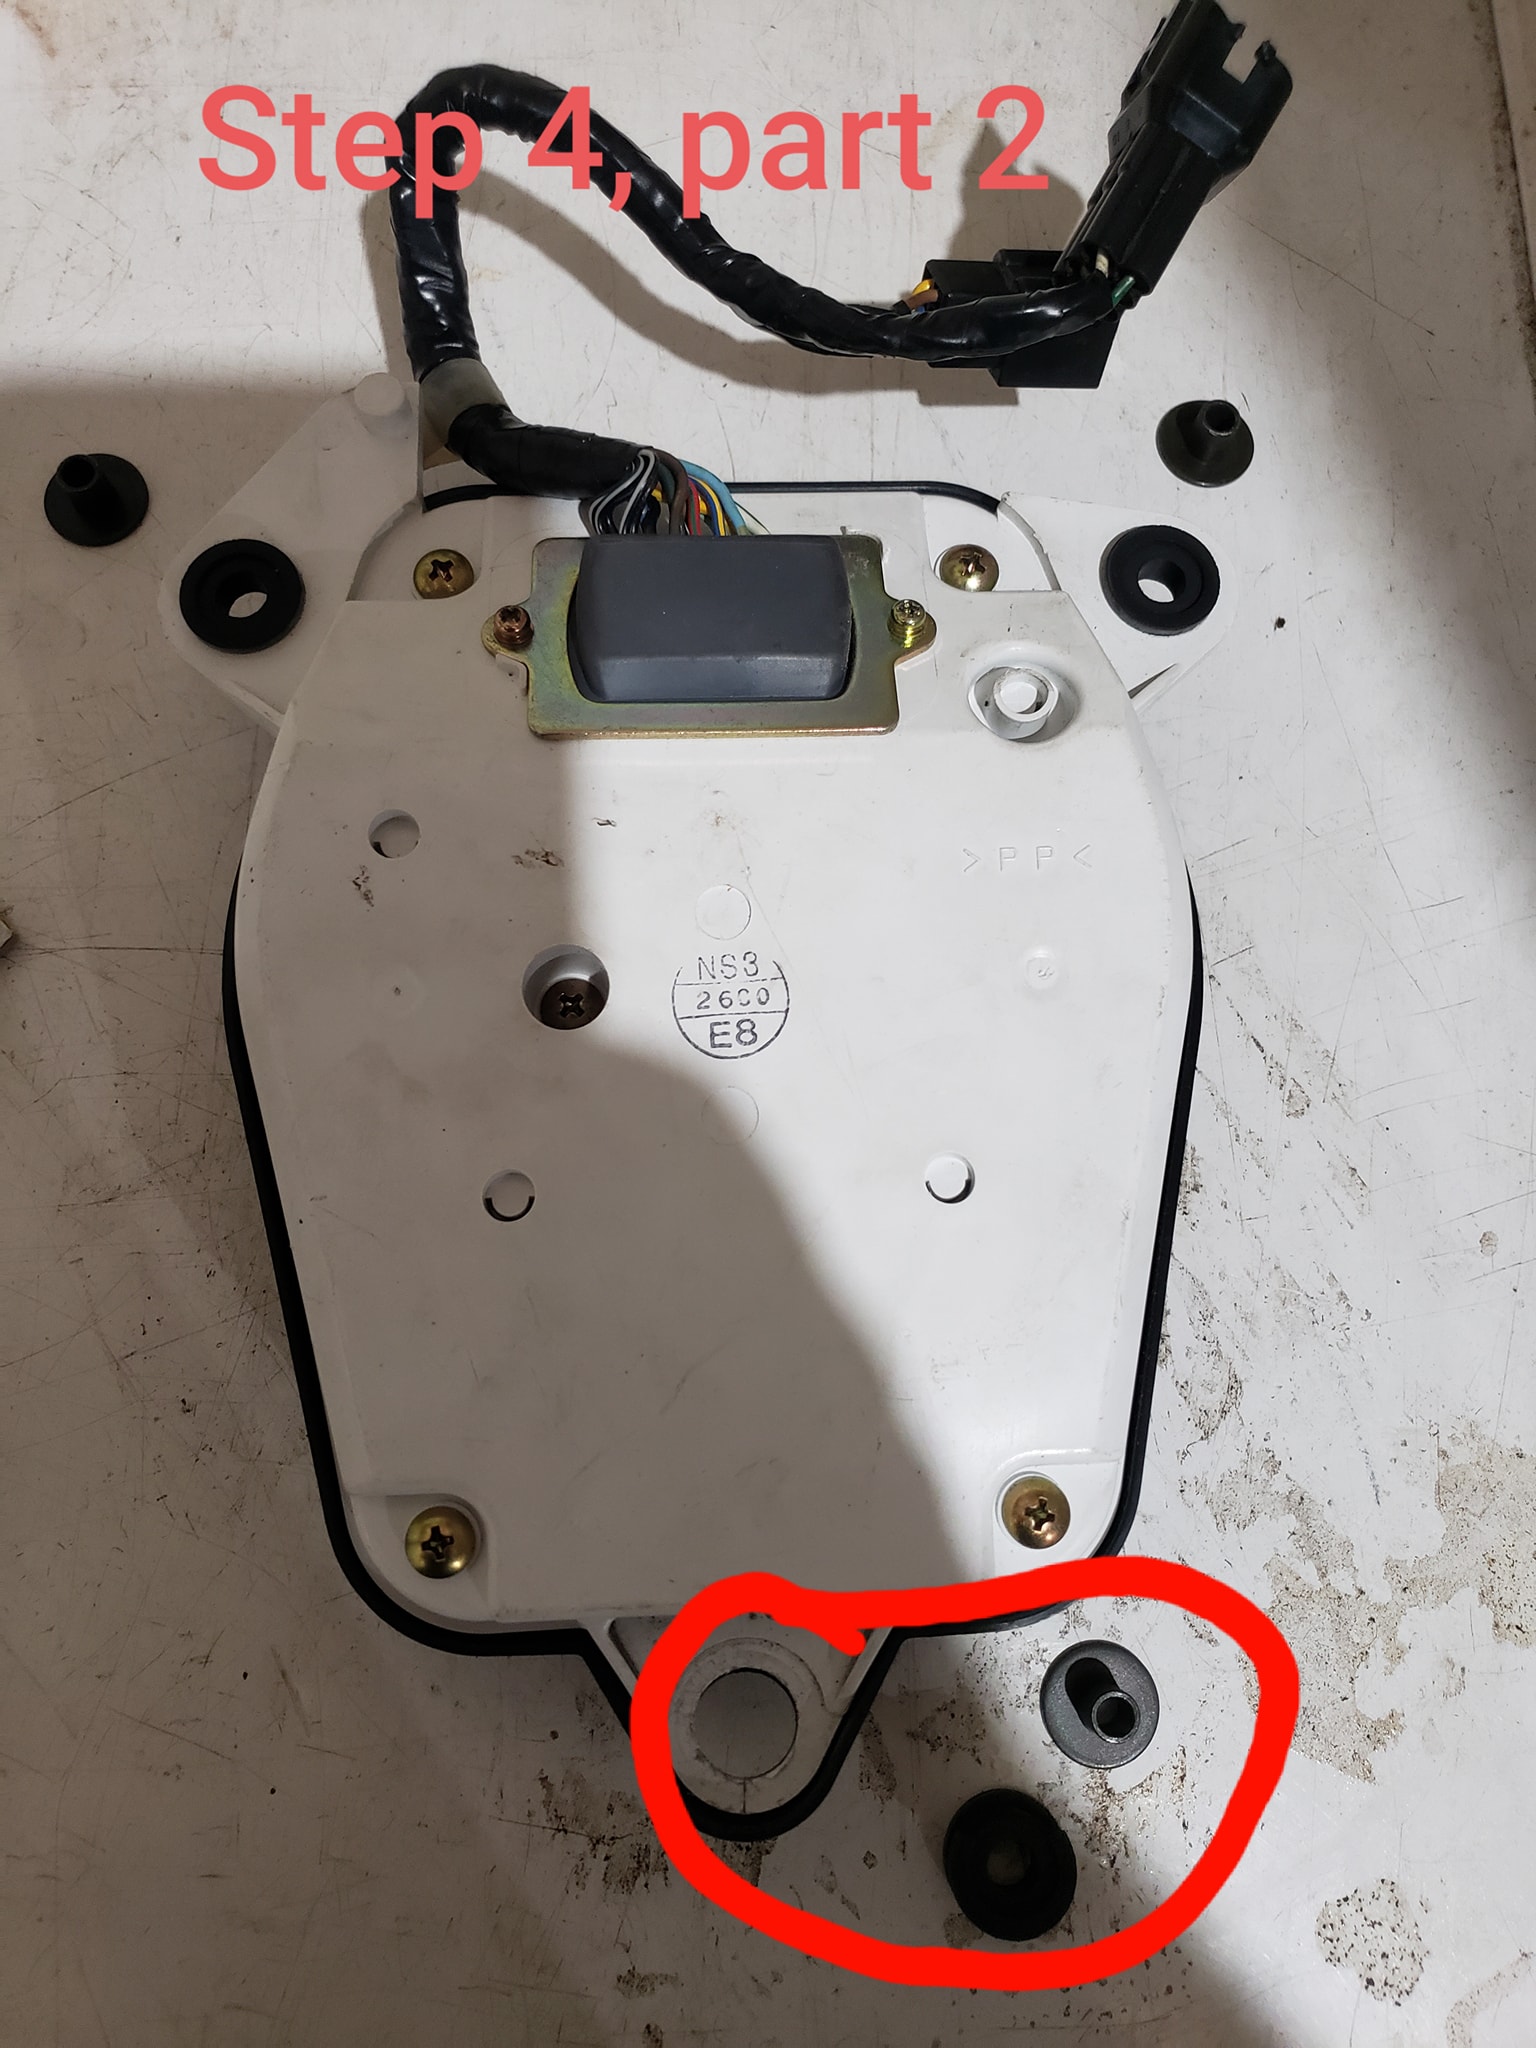
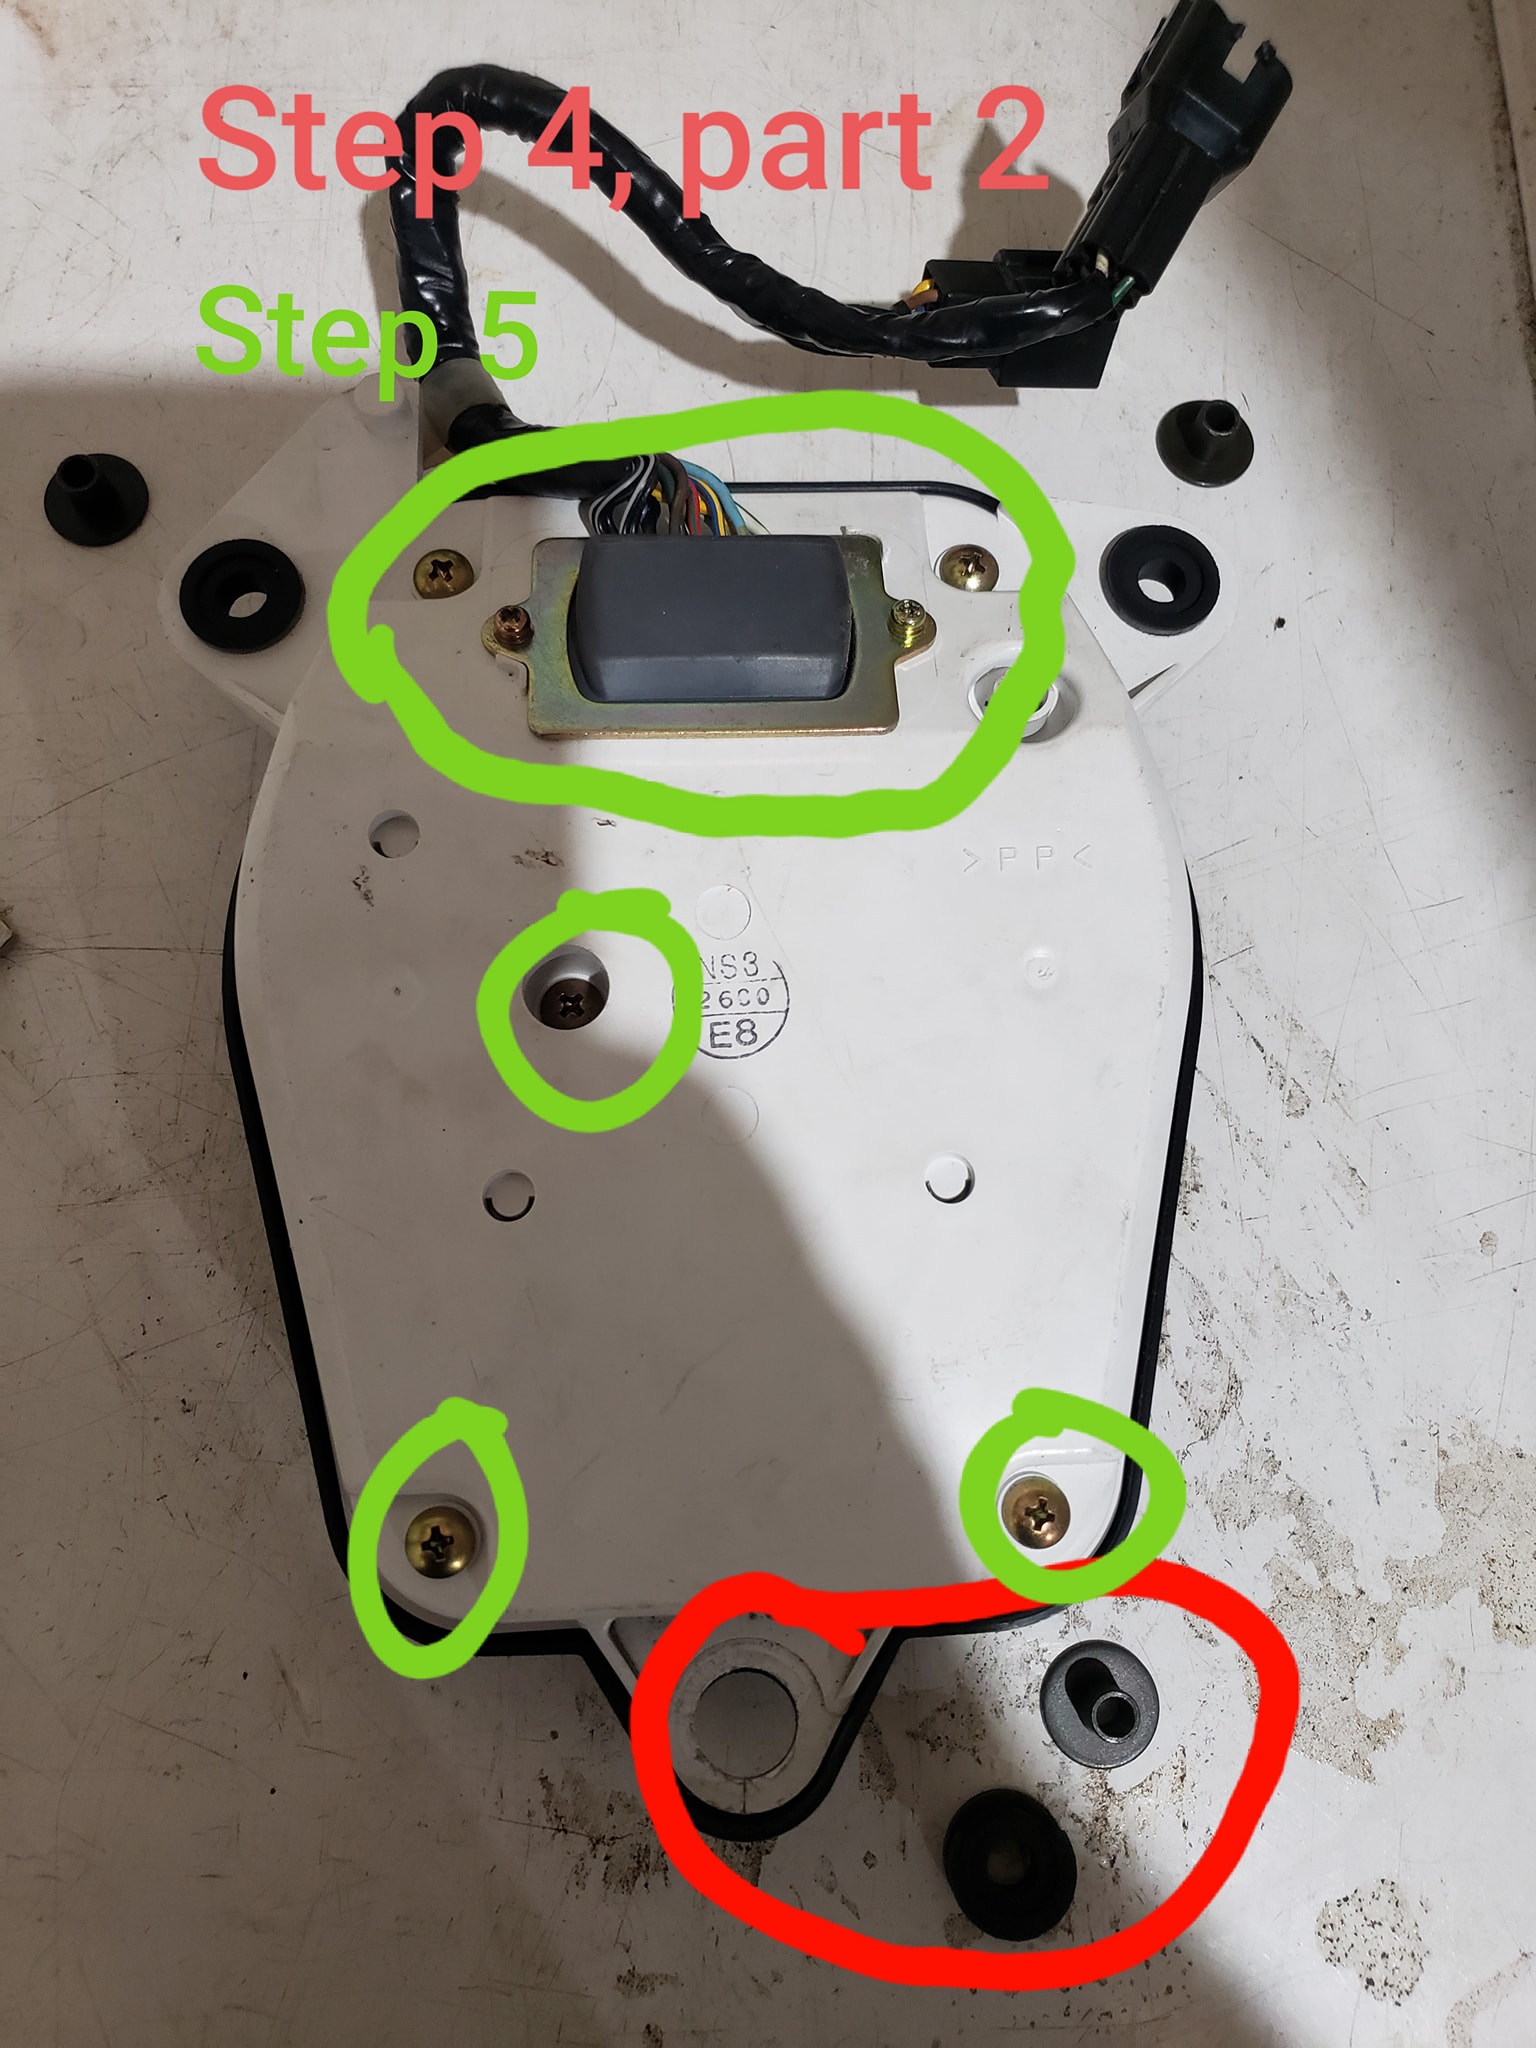
*Step 4. Remove the 3 spacer washers so they dont get lost and pop out the bottom grommet (carefully)

*Step 5. Remove the 5 brass, #2 Phillip’s screws on back and 1 on the face side, along with the 2 small #0 Phillips screws and wire grommet ring.
*Step 6. BE EXTRA CAREFUL HERE… Carefully separate the black and white pieces while feeding rubber harness grommet and plugs through the back of the white piece. You can now change them by giving them a 1/4 turn to the left and pull out. Replace with T3 NEO LED wedge. Before reassembly, plug harnesses back in to make sure the lights illuminate, if some dont, remove them and turn 180° and reinstall.

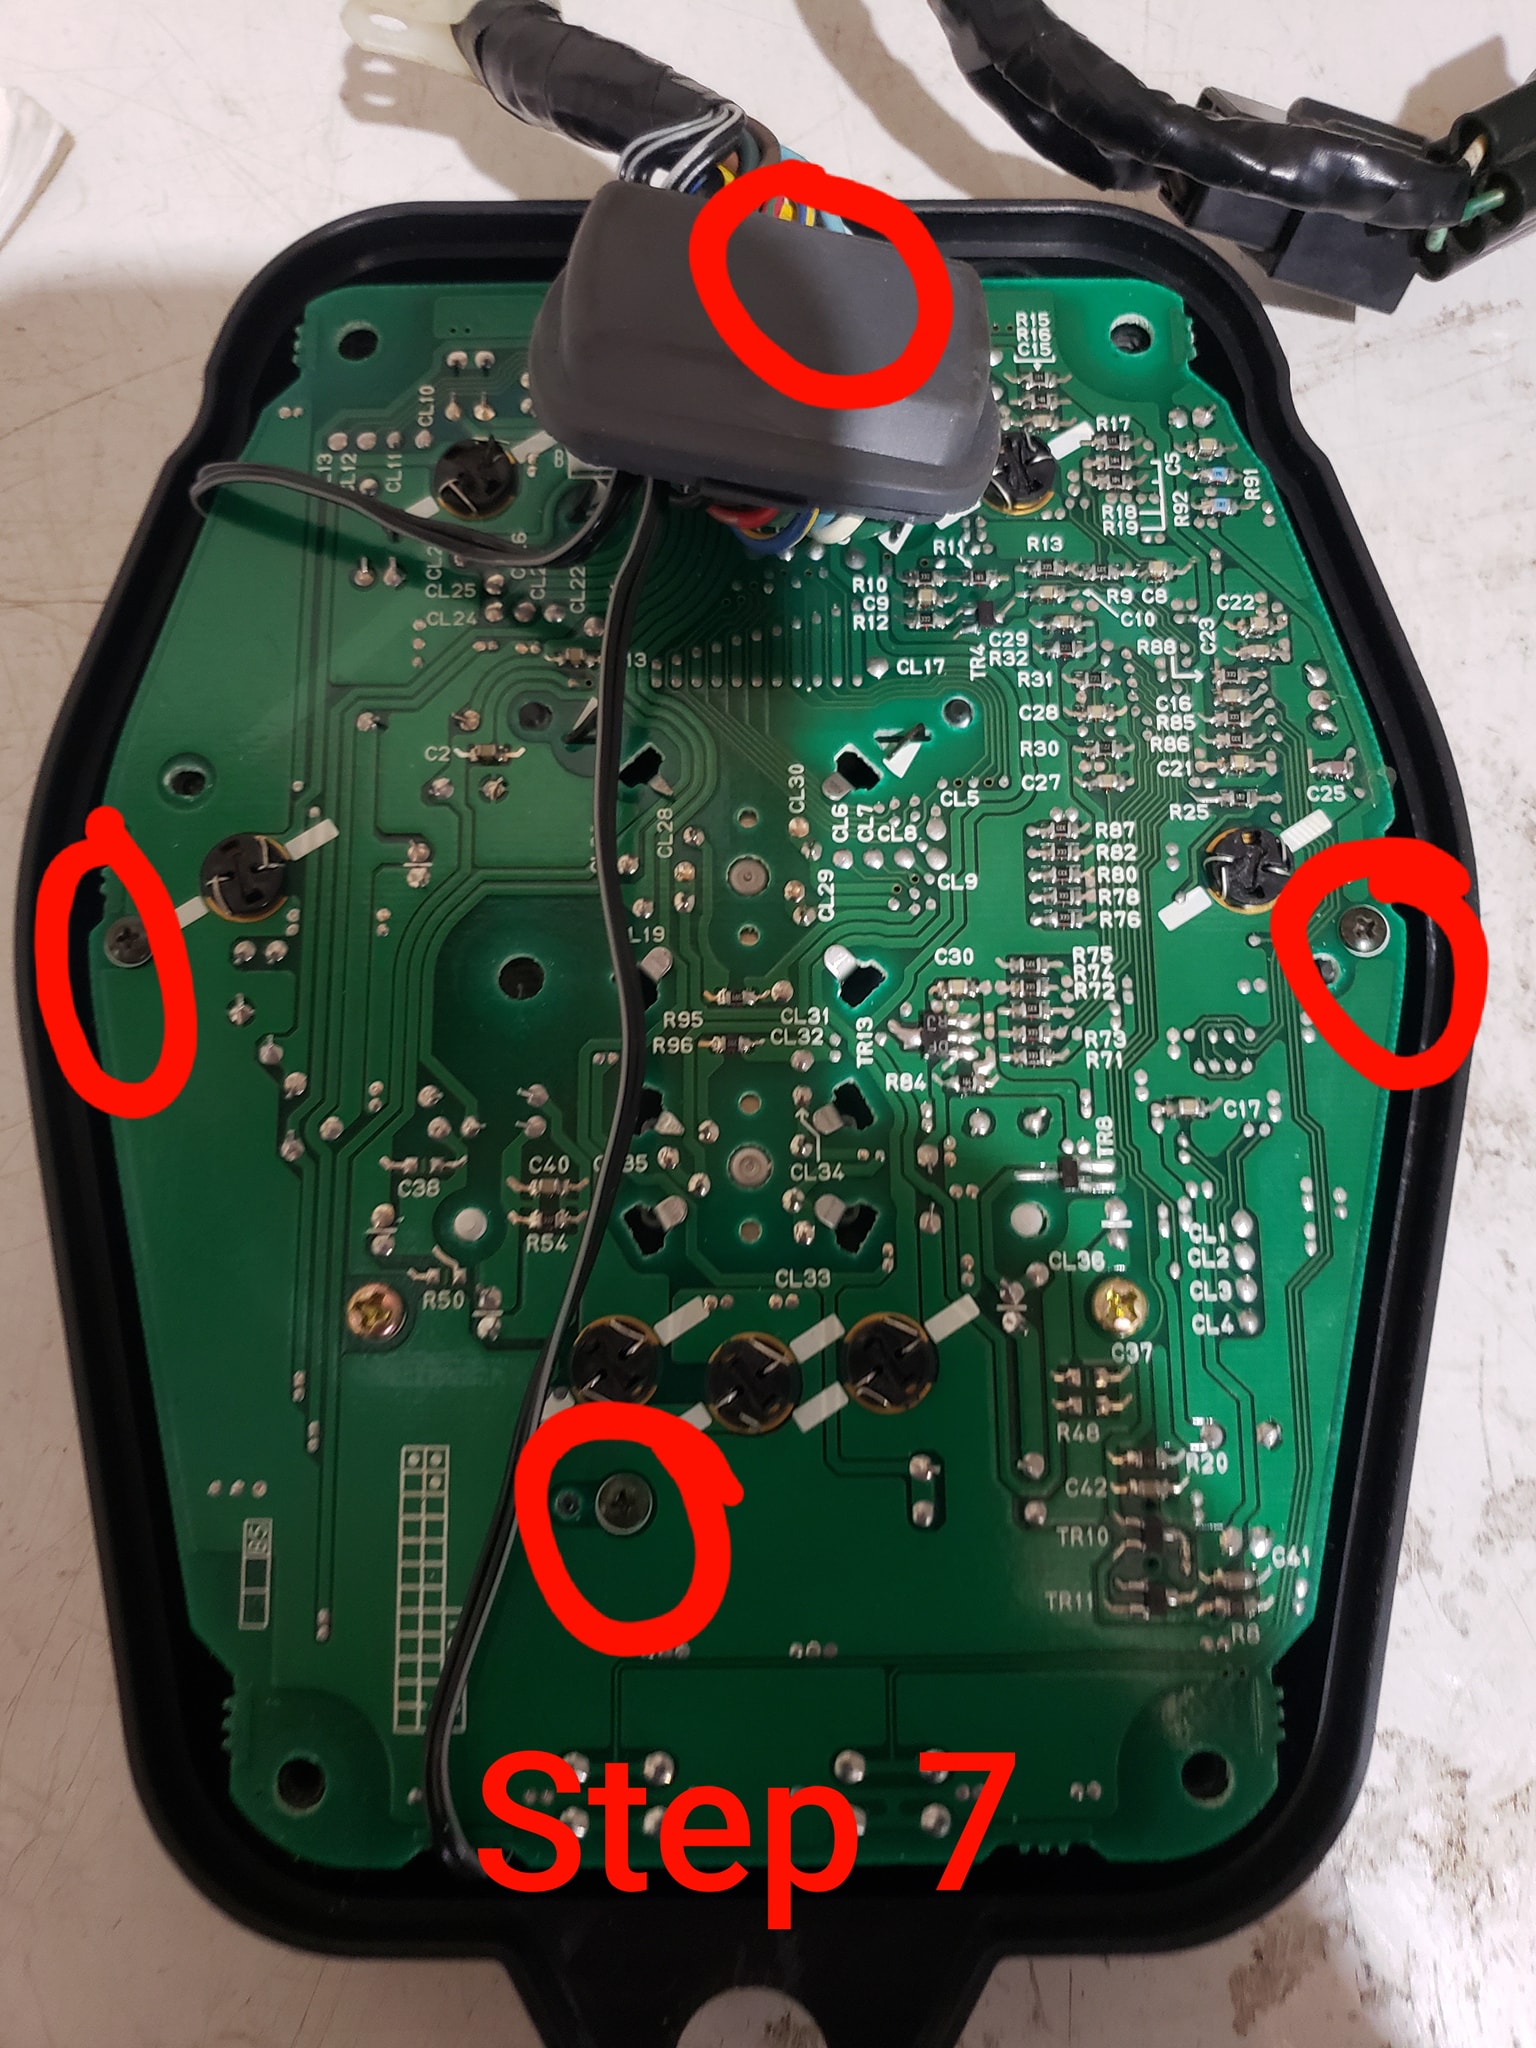
*Step 7. Carefully lift away the circuit board unit from the black housing to begin adding strips. I loosened (not removed) the 4 small black #0 Phillip’s screws to give better clearance for adding the 3, 4″ strips.
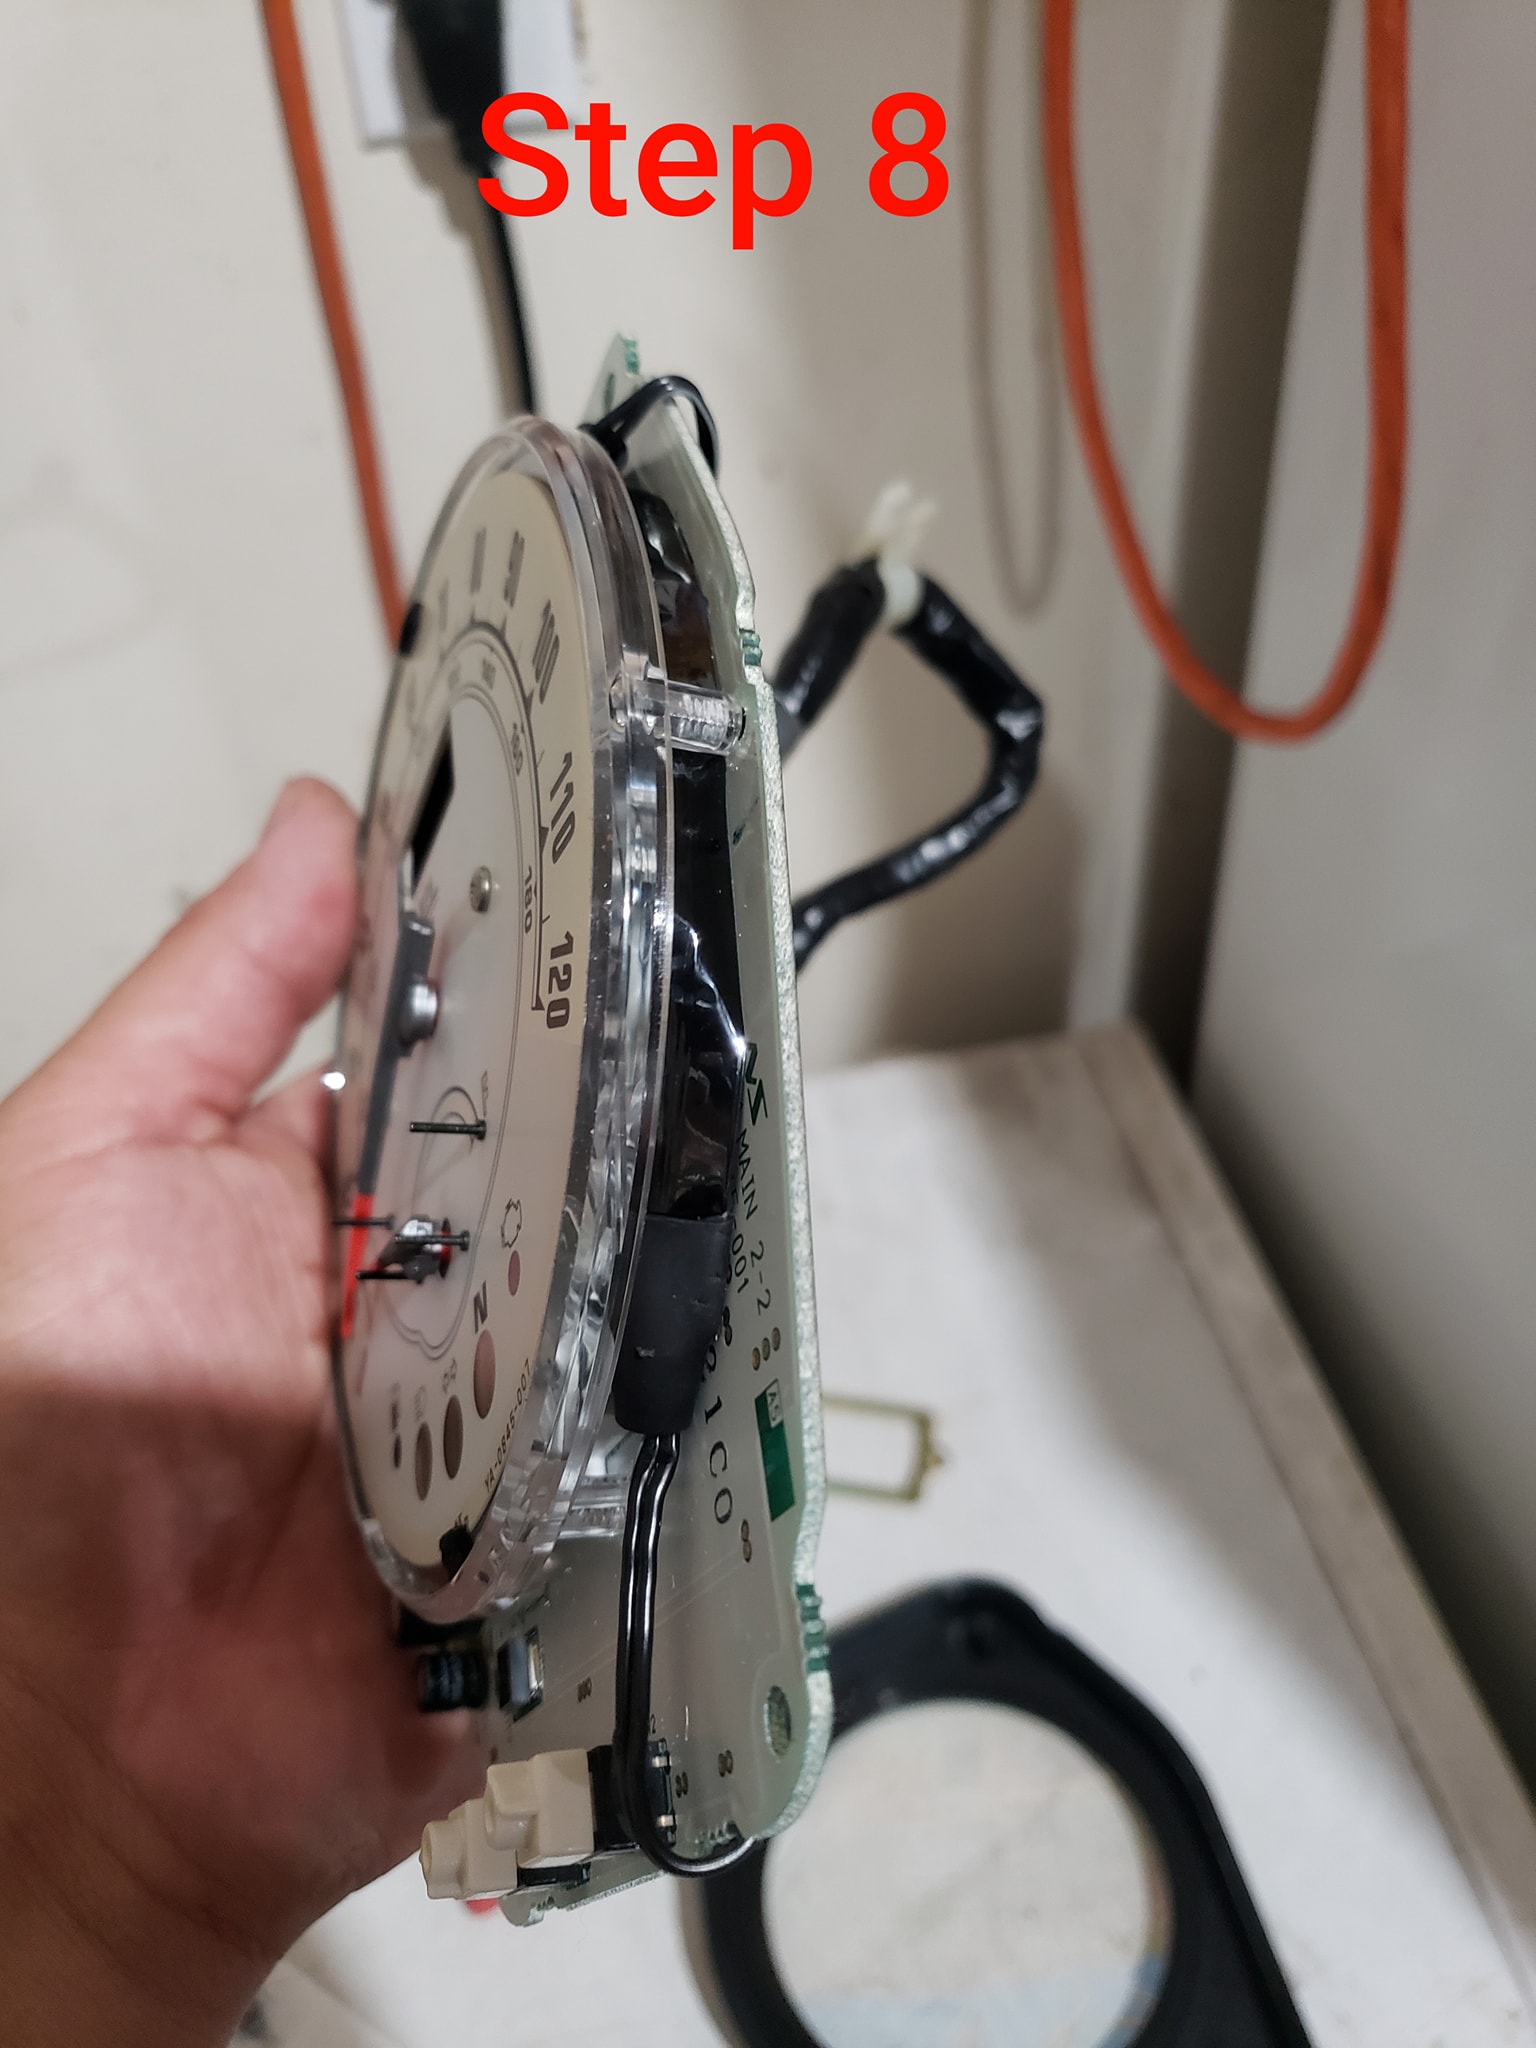
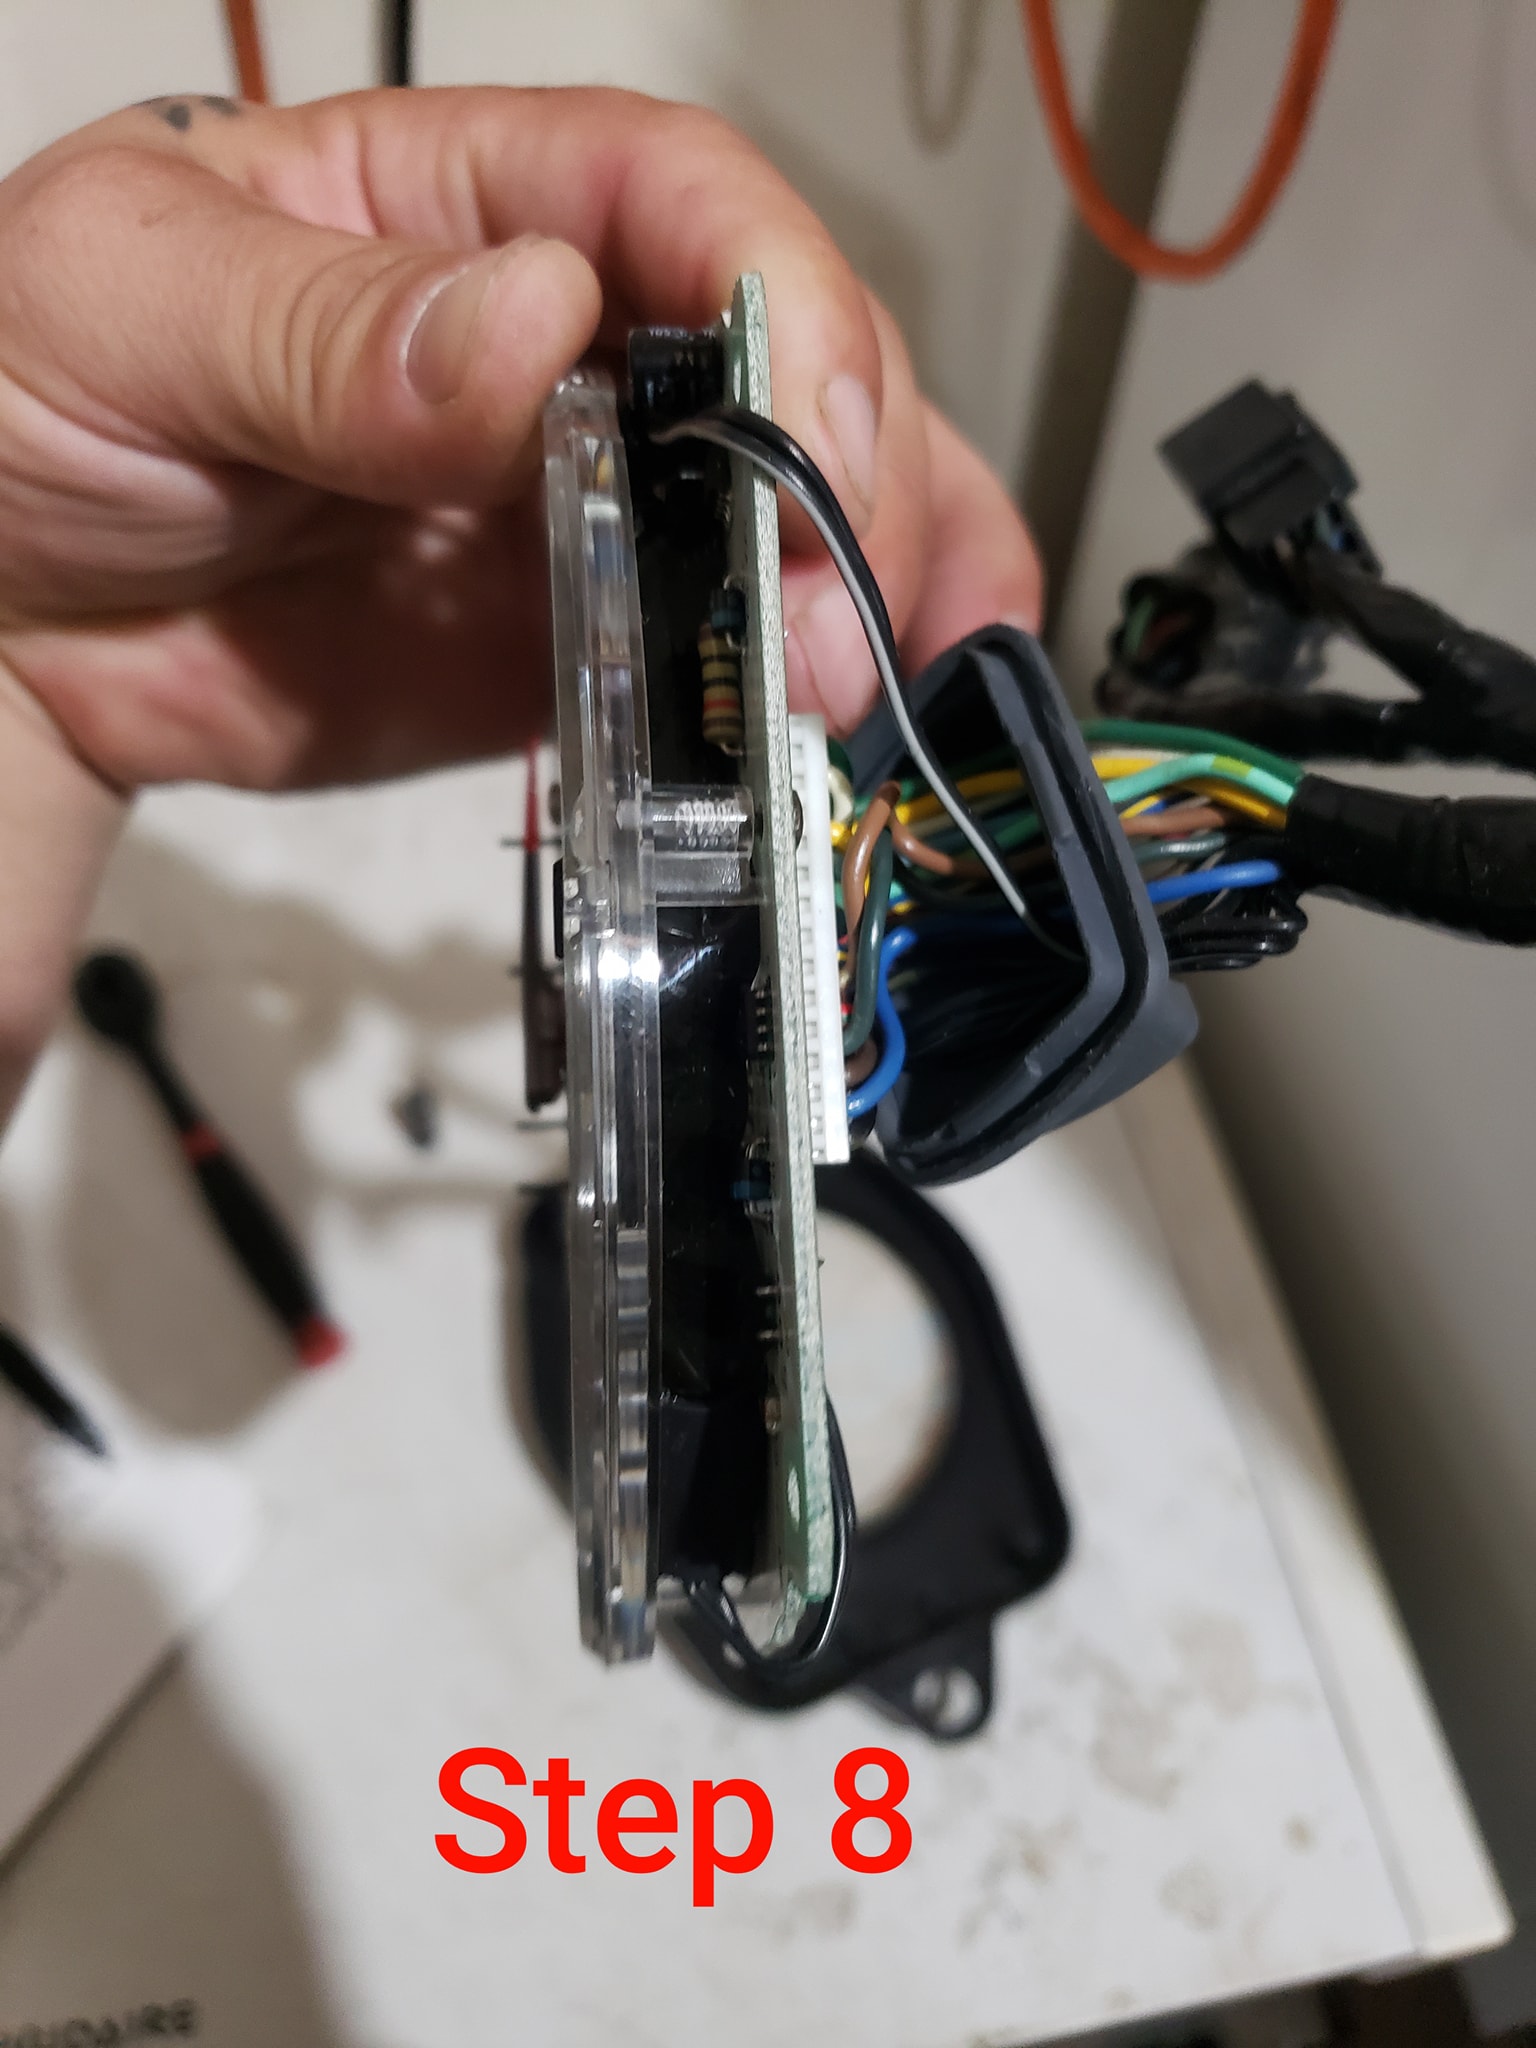
*Step 8. Route wires as needed and poke a hole in the rubber wire grommet to route the wires through and up the harness. I heated up a finishing nail to melt a clean, effortless hole.
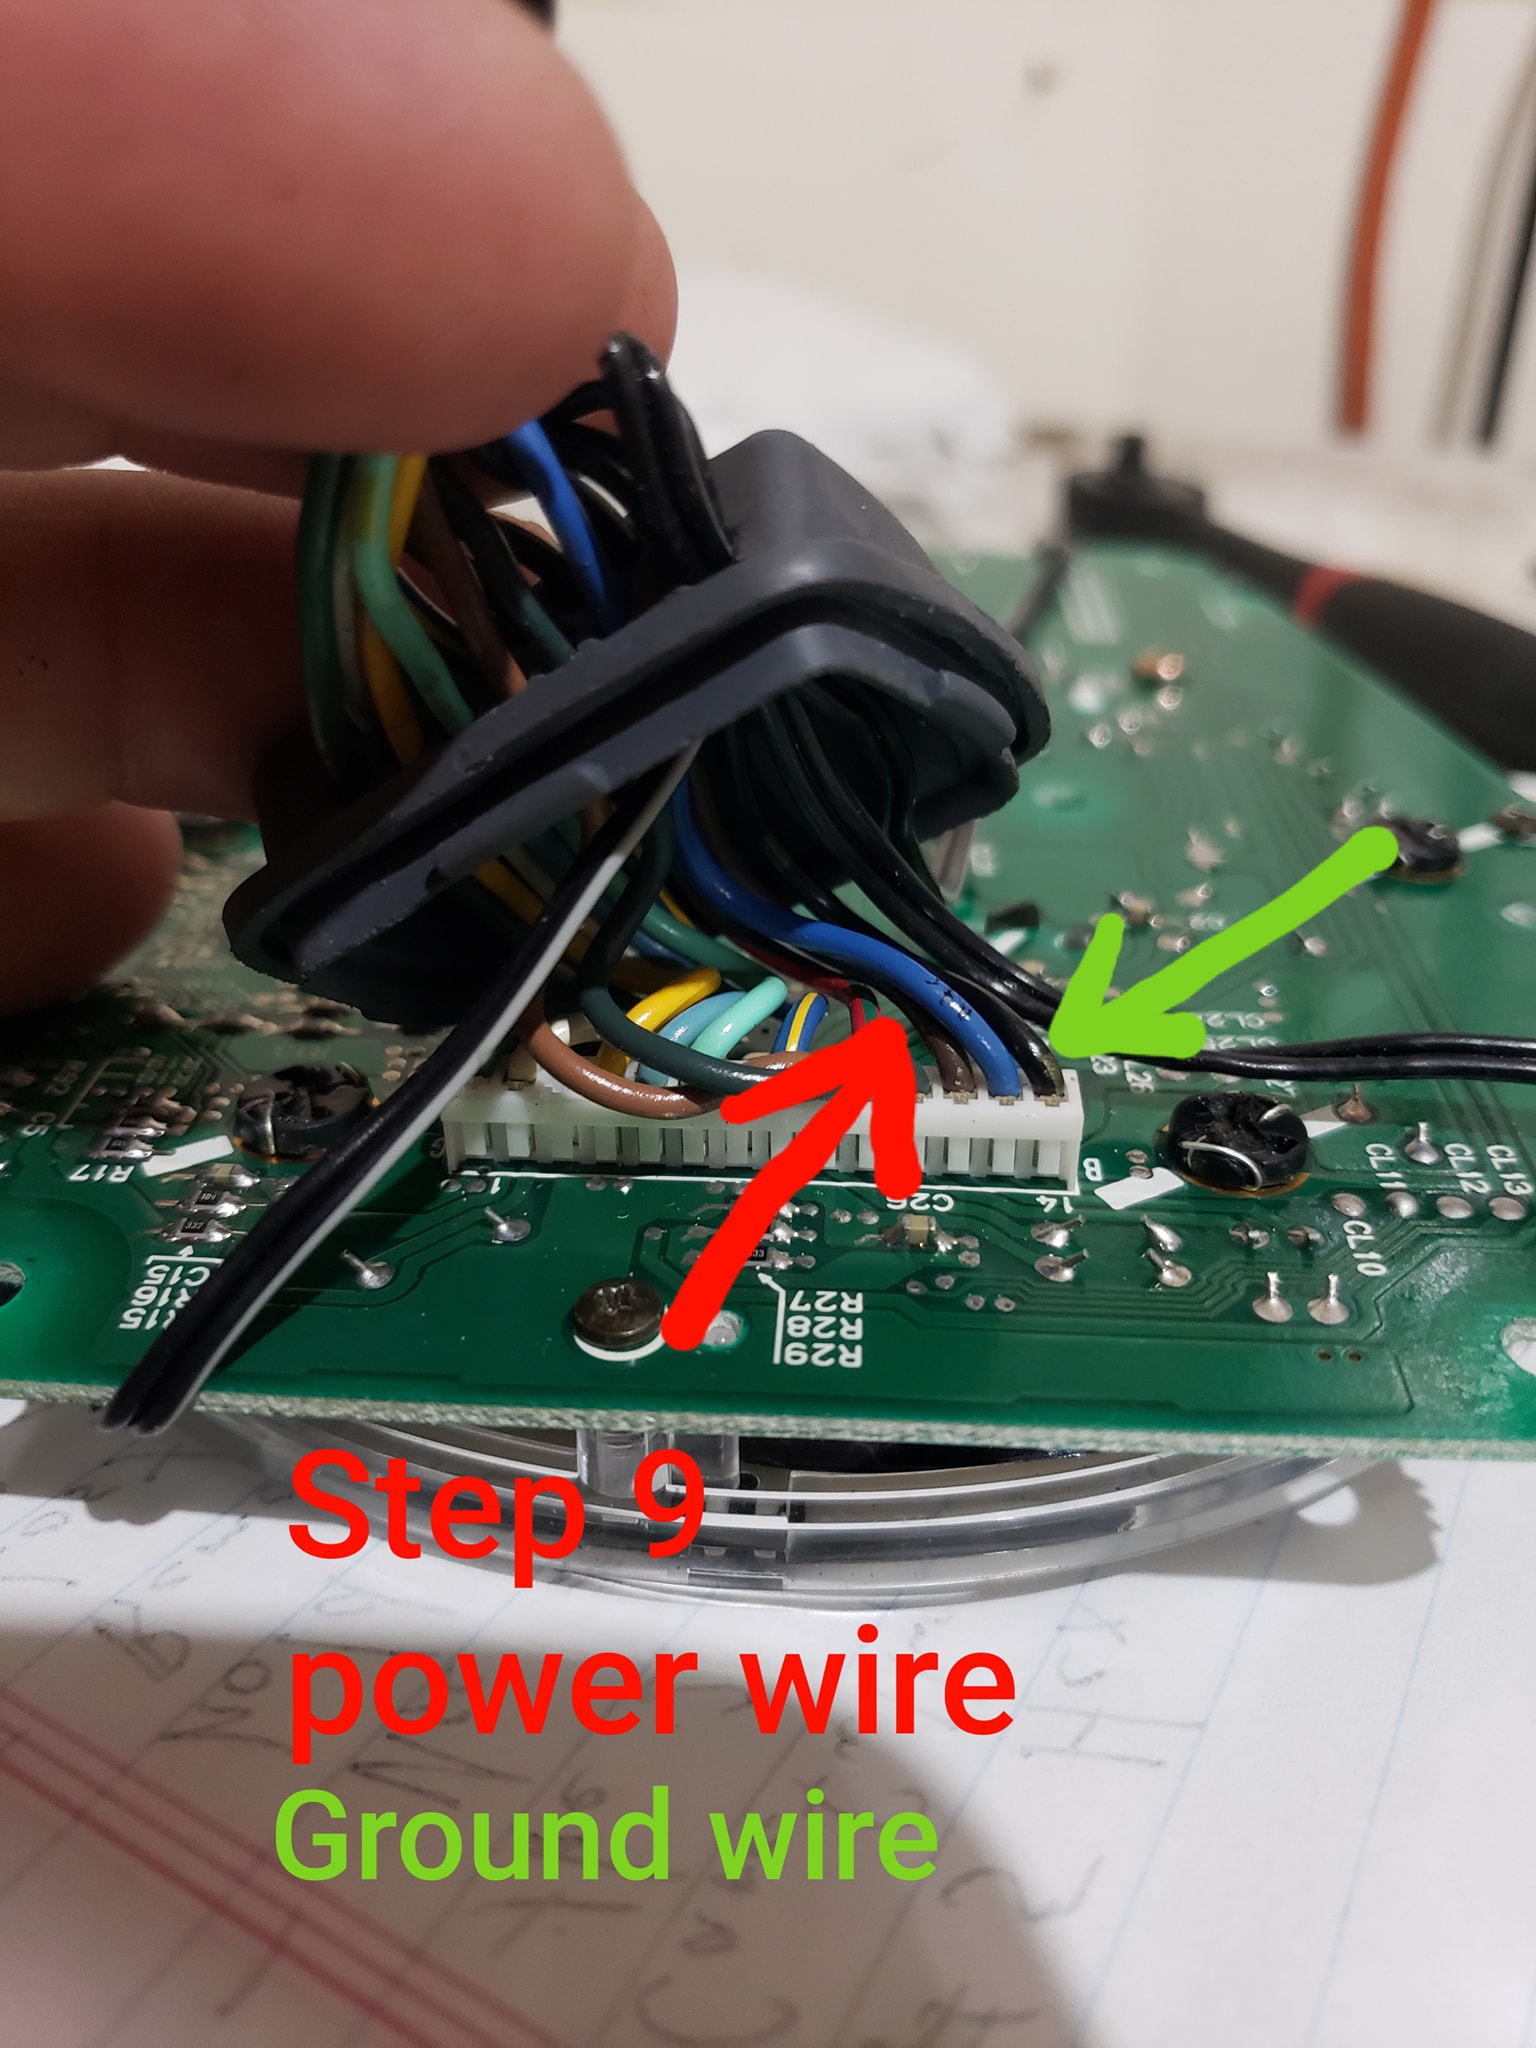
*Step 9. Splice power wire into the darker of the blue wires on the smaller harness, and the ground into the black wire on the larger harness and wrap with electrical tape when finished. I like to use the heat shrink solder wire connectors for a clean, secure connection. Use what you prefer, but you have limited room for large connectors.
*Step 10. Reassemble…you’re almost done!
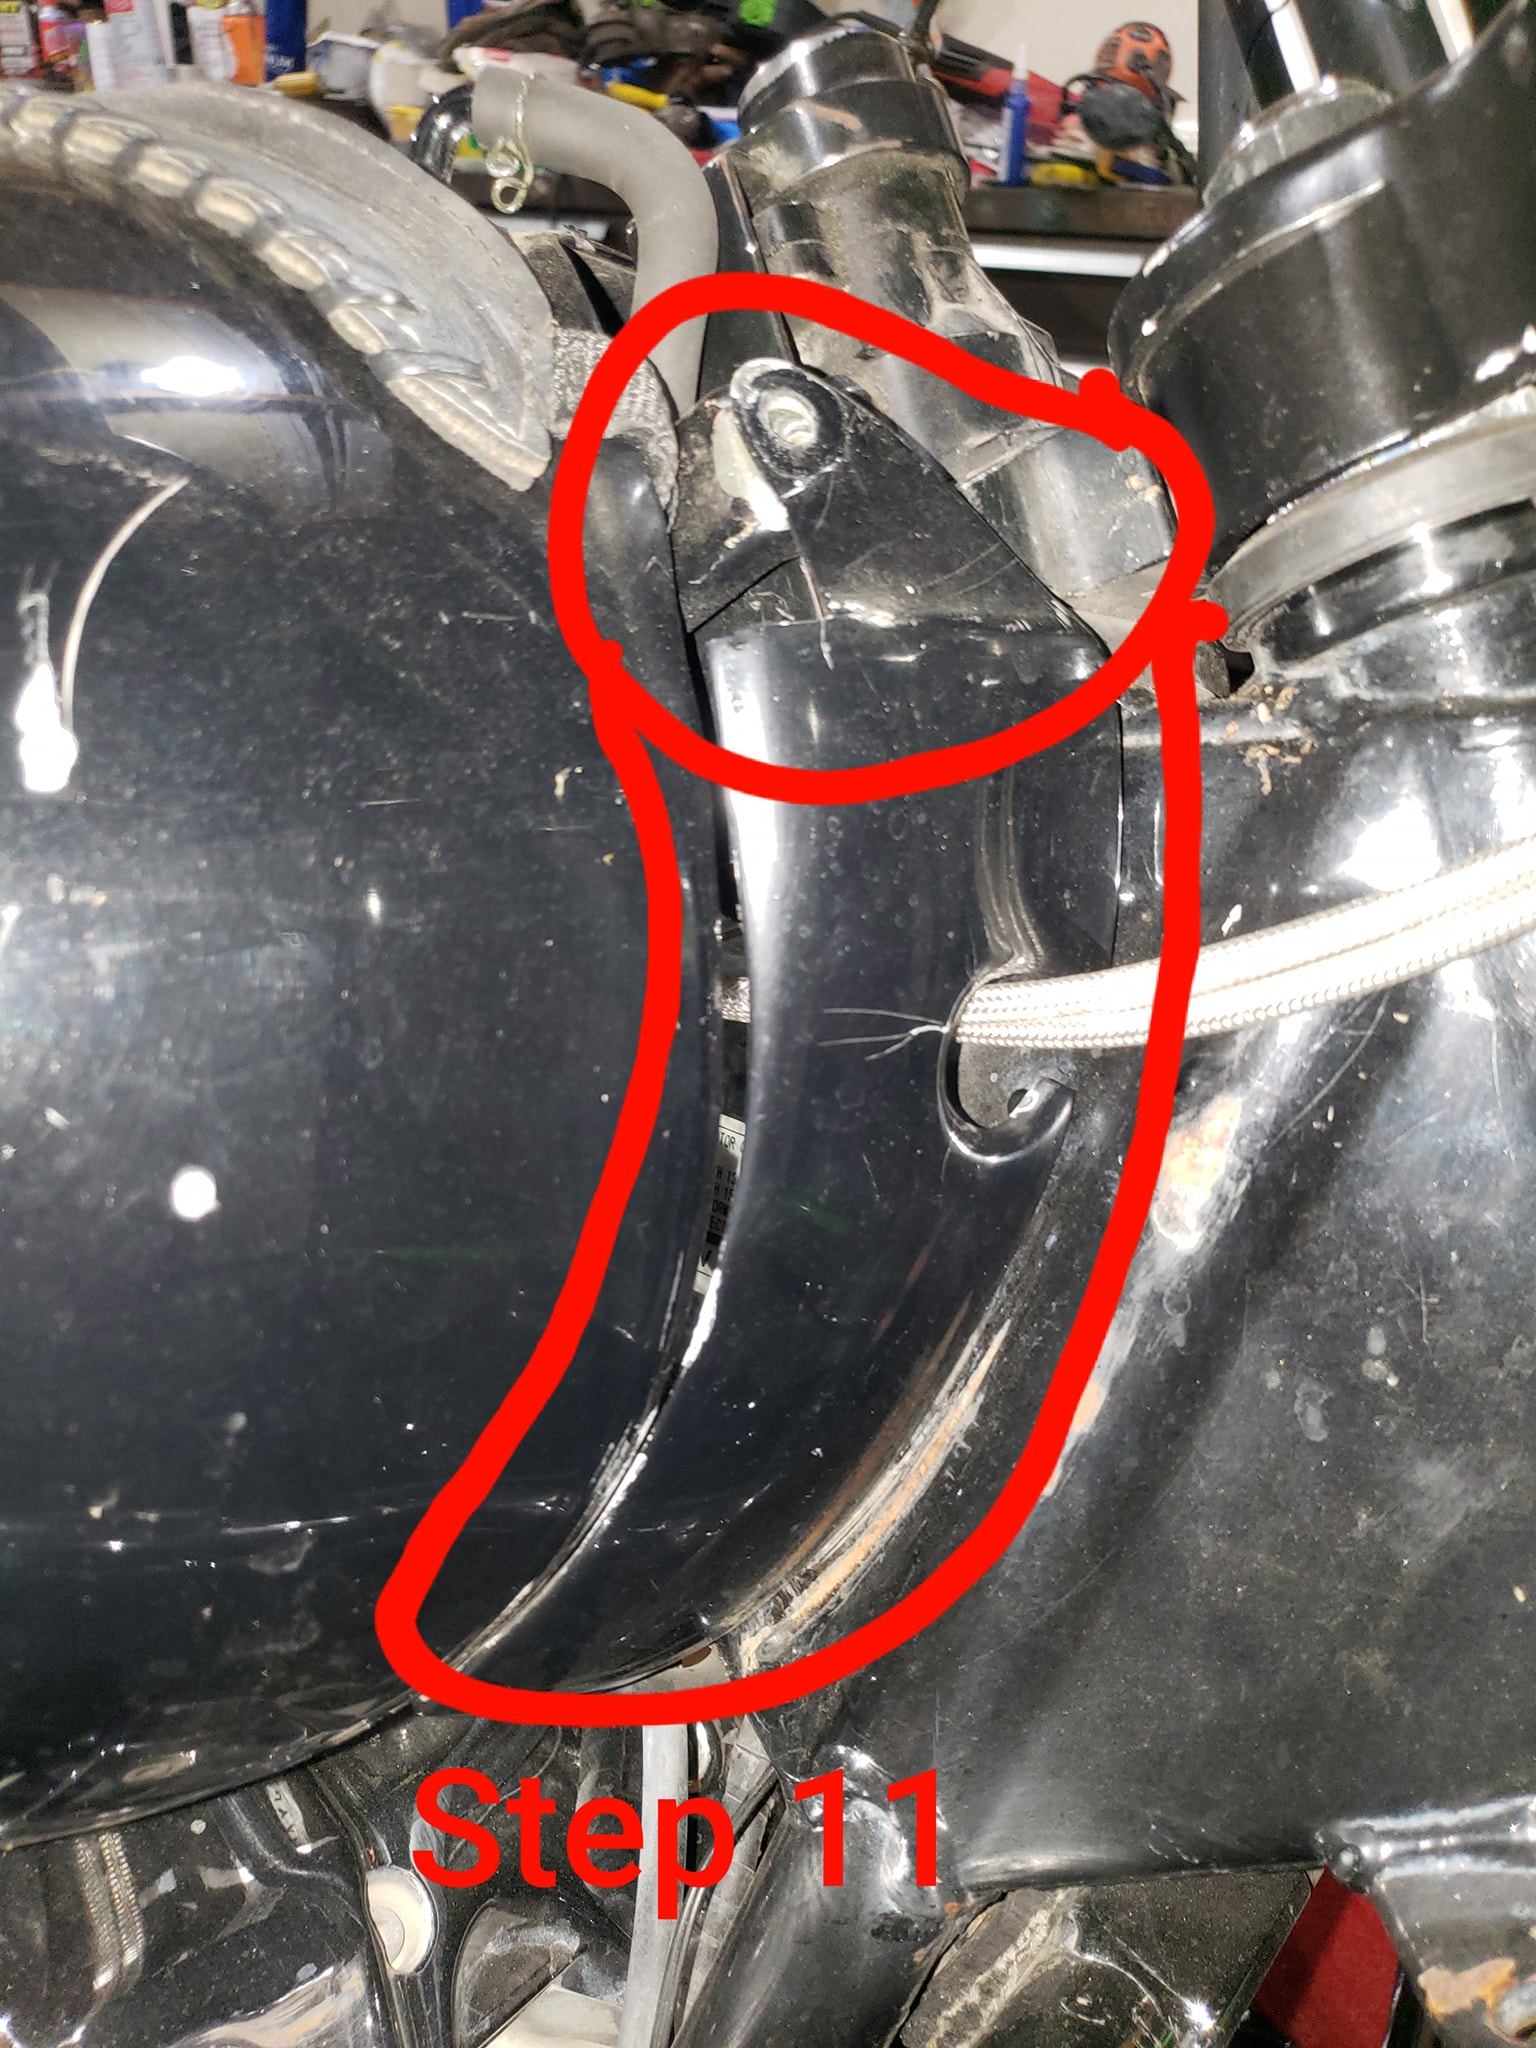
*Step 11. You may have to fight with these… when reassembling the bezel to the tank to line up all 3 pieces and holes.
*Step 12. Have fun, ride safe!!
Sincerely: one of you’re up and coming gurus –Christopher Whelpley
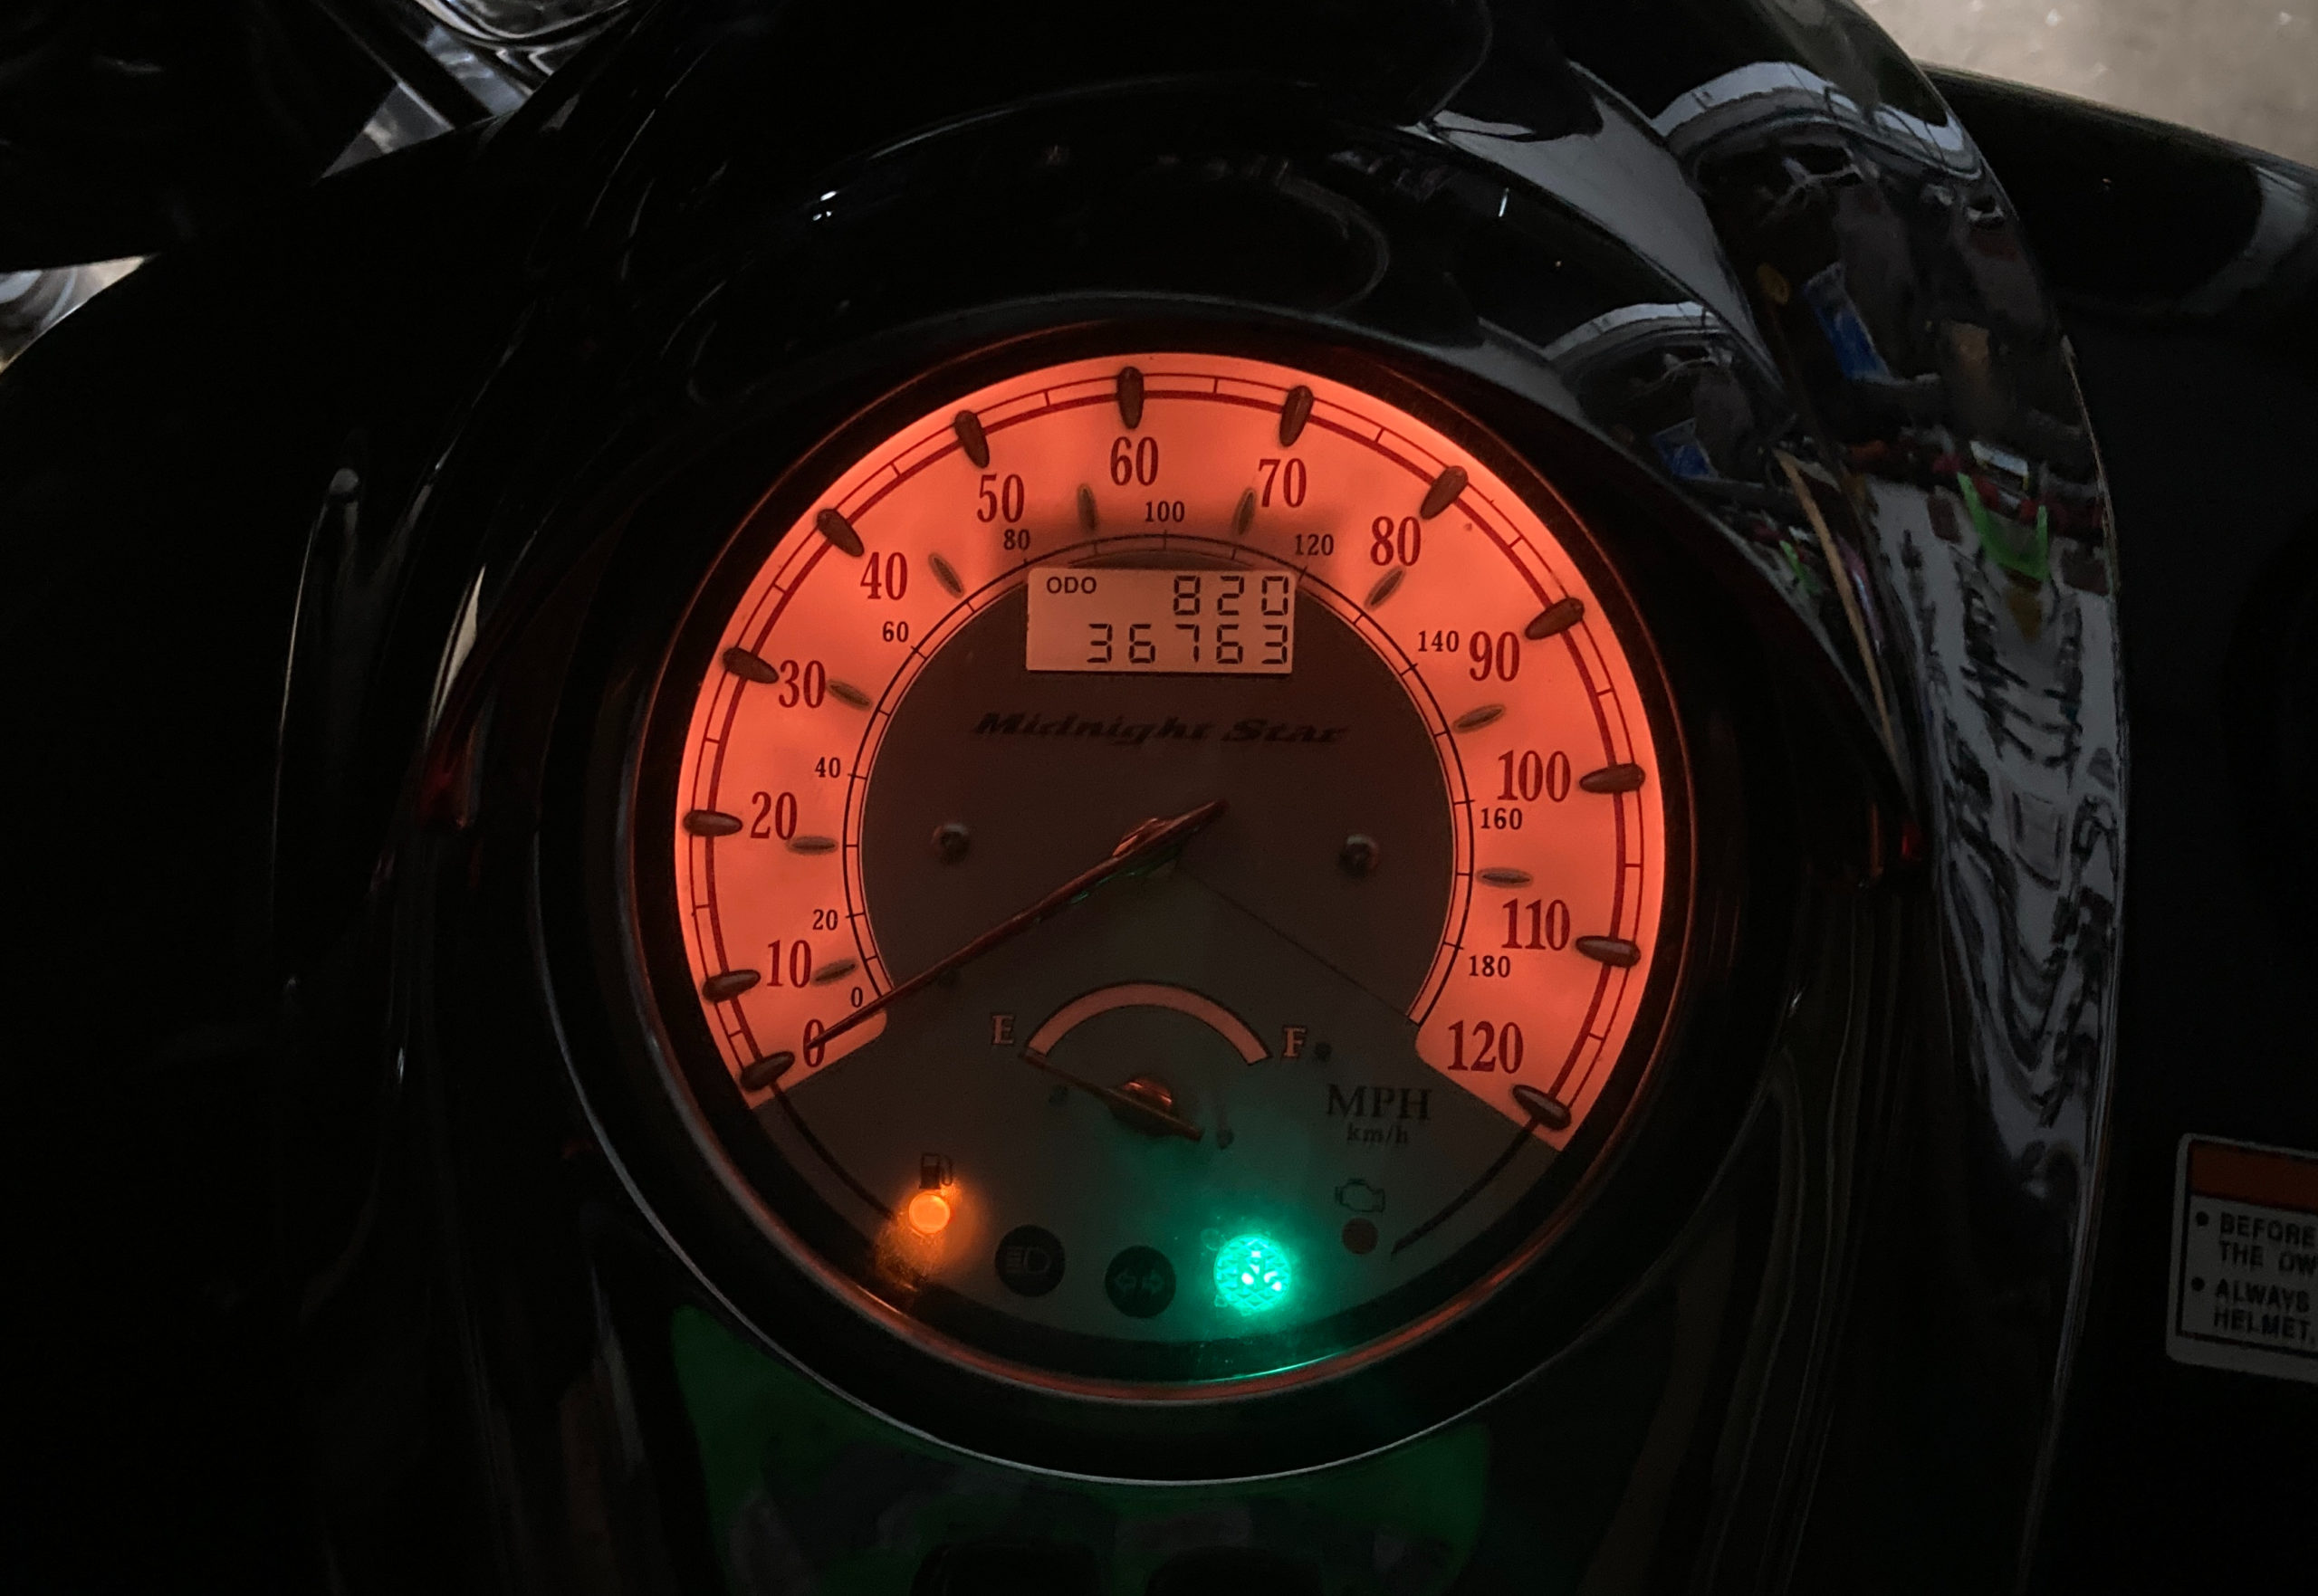
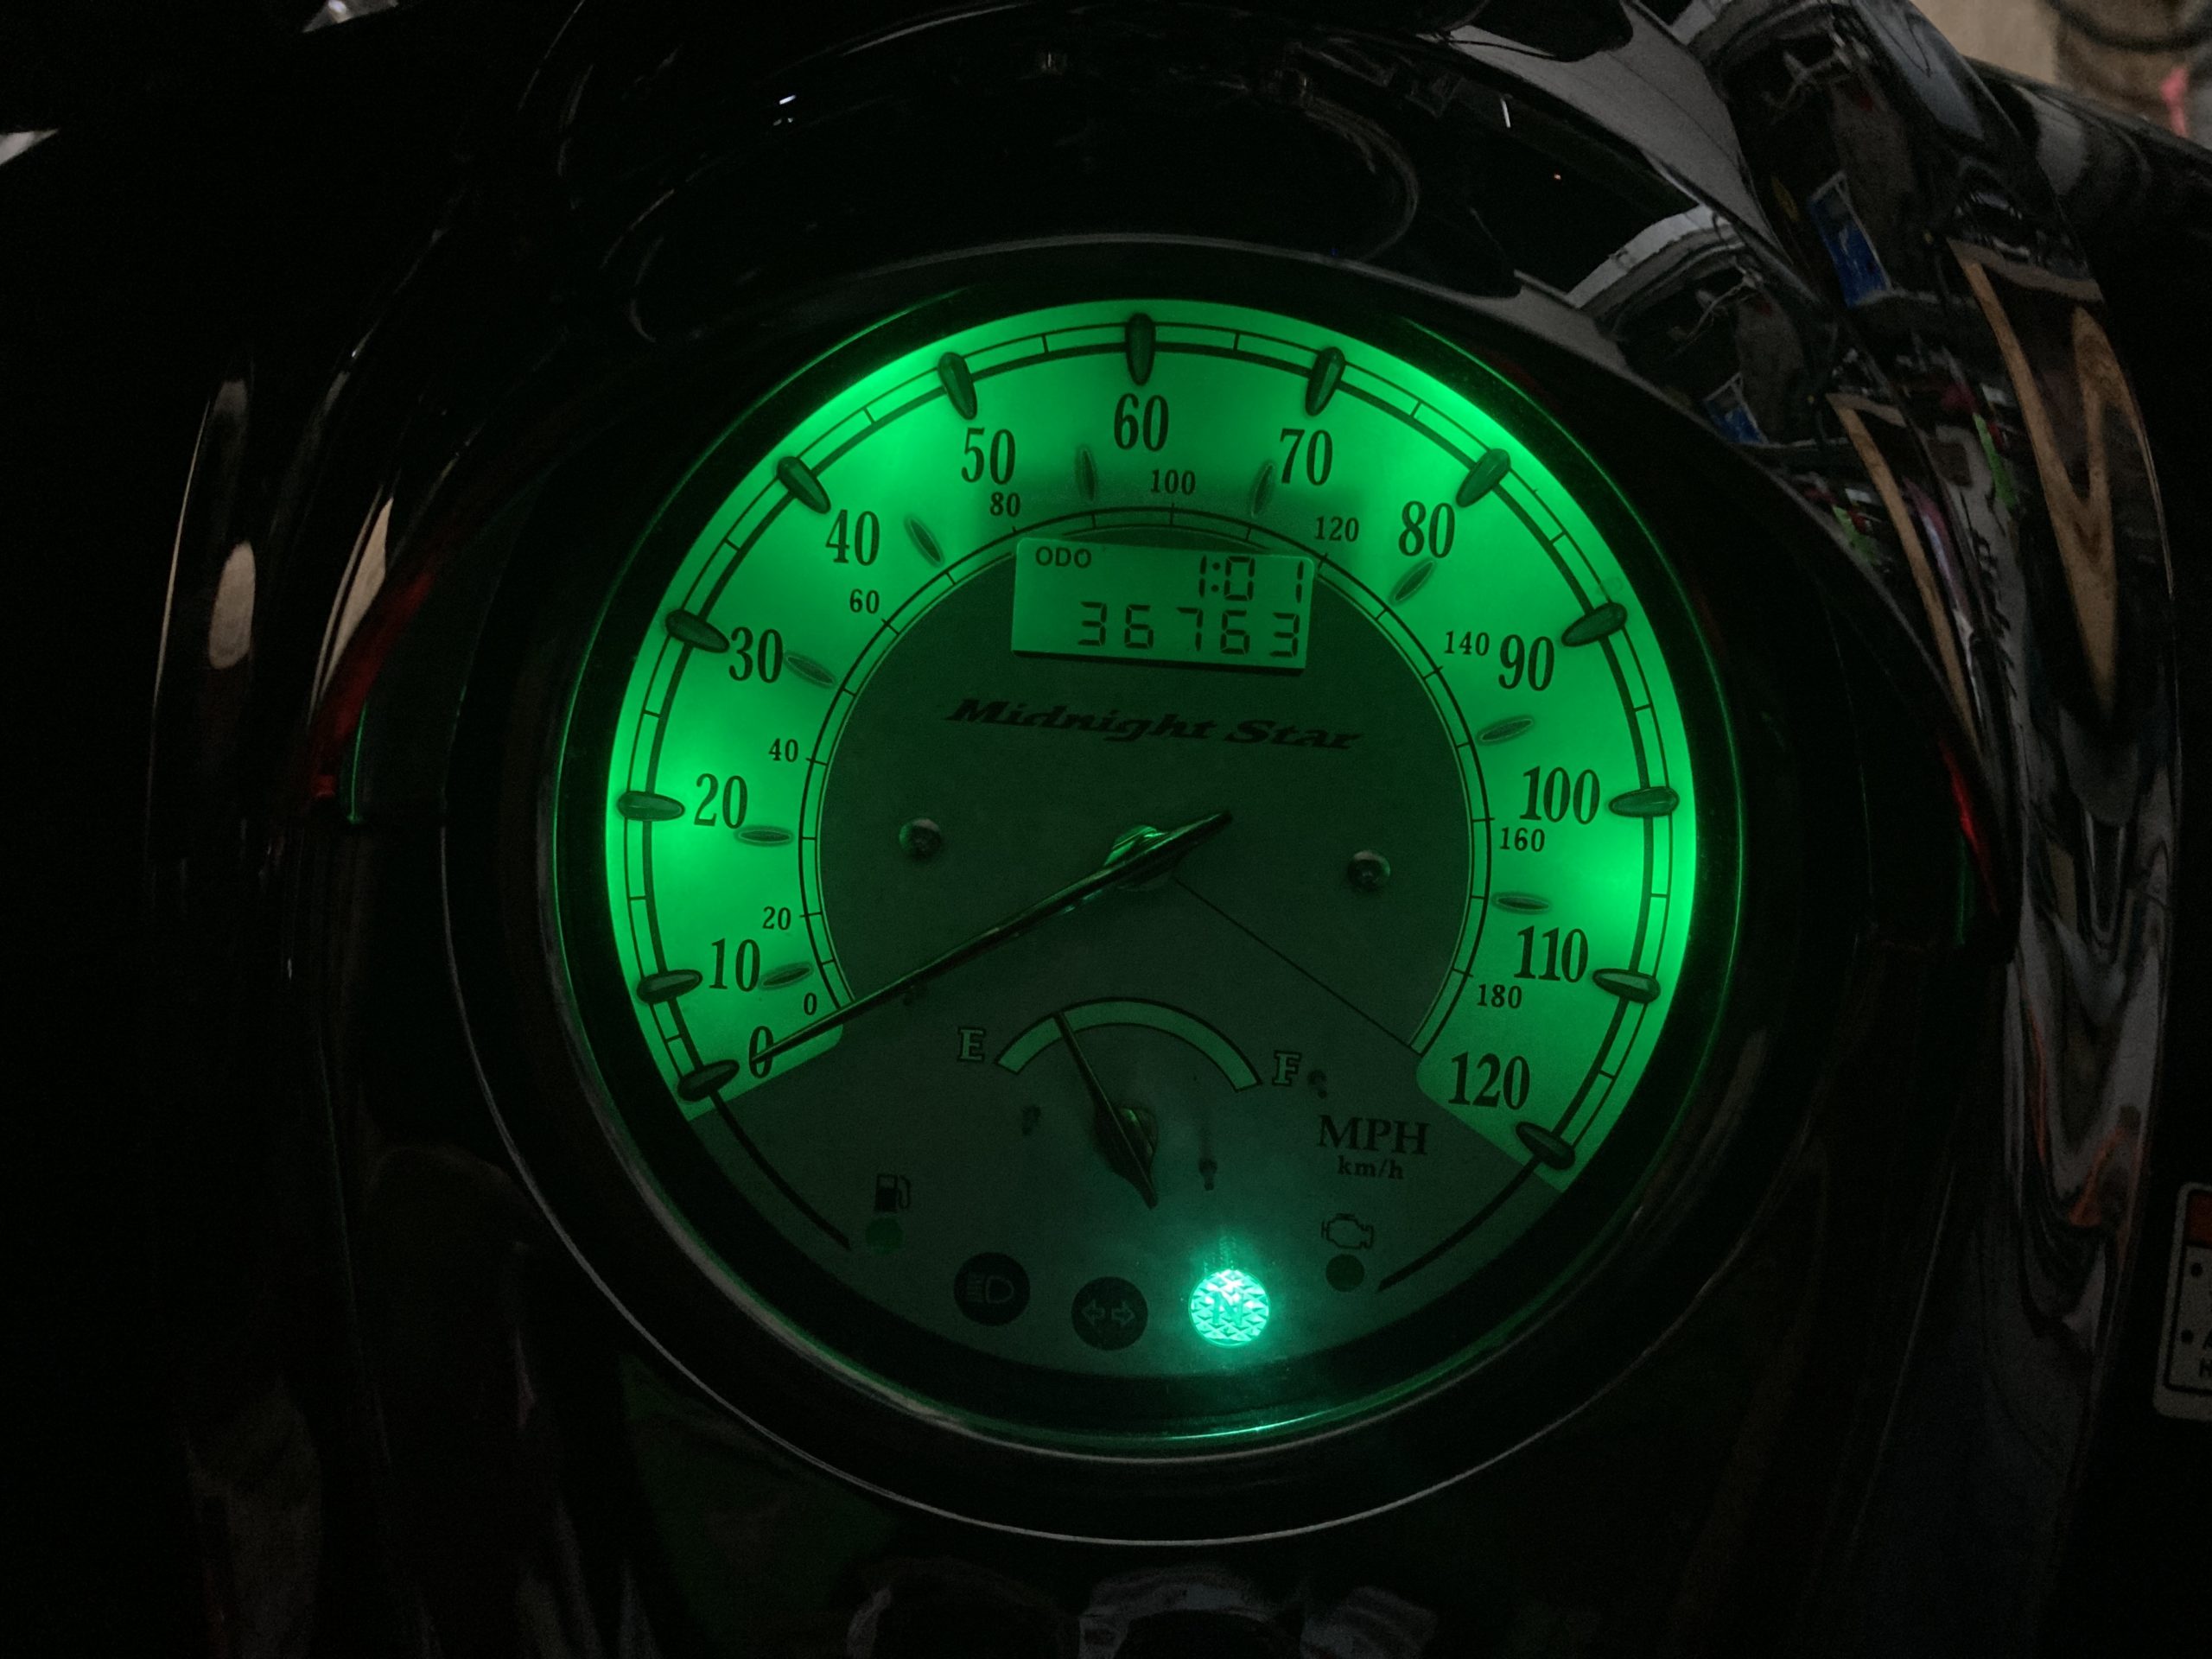
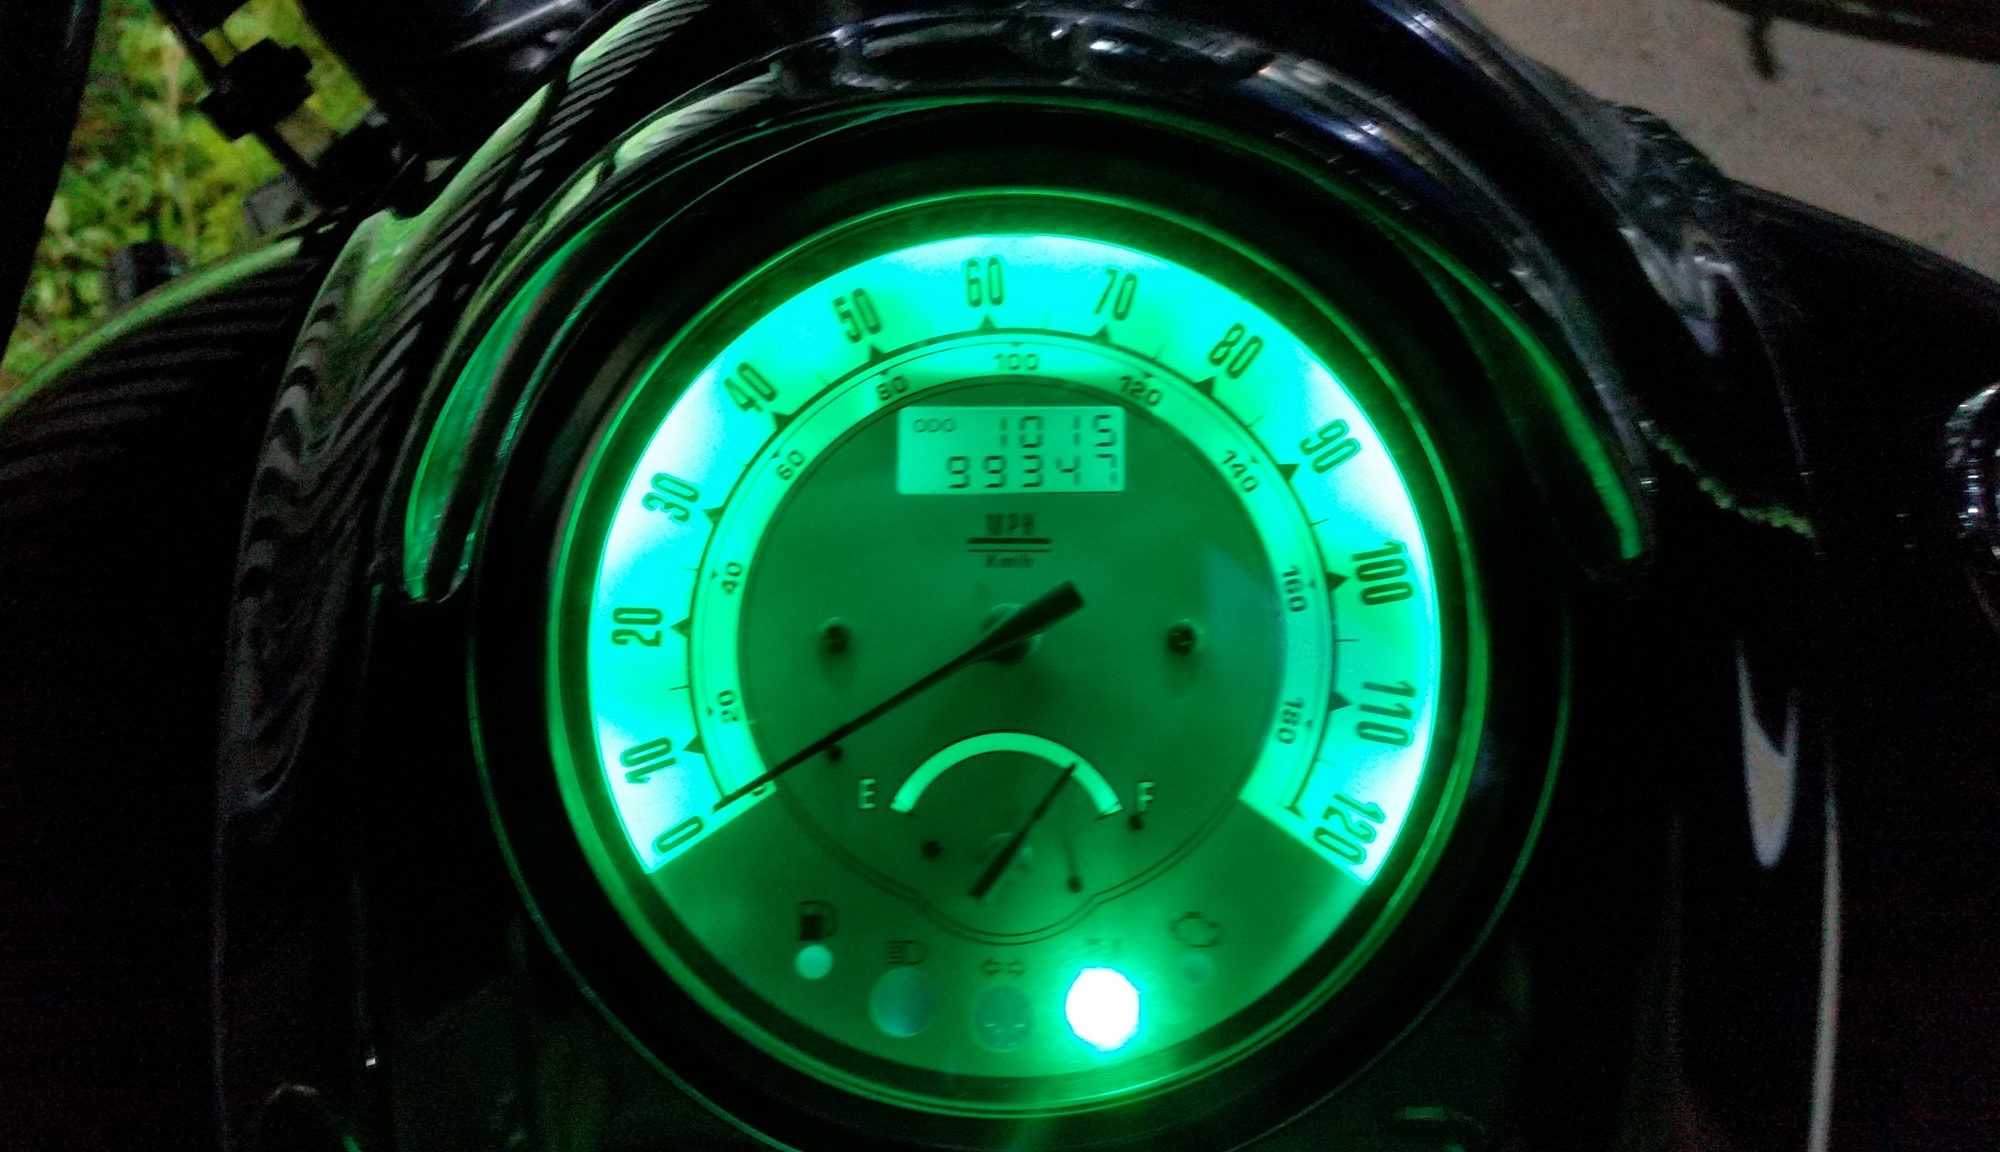
This is what Chris’s looked like with Wedges and LED Strips.

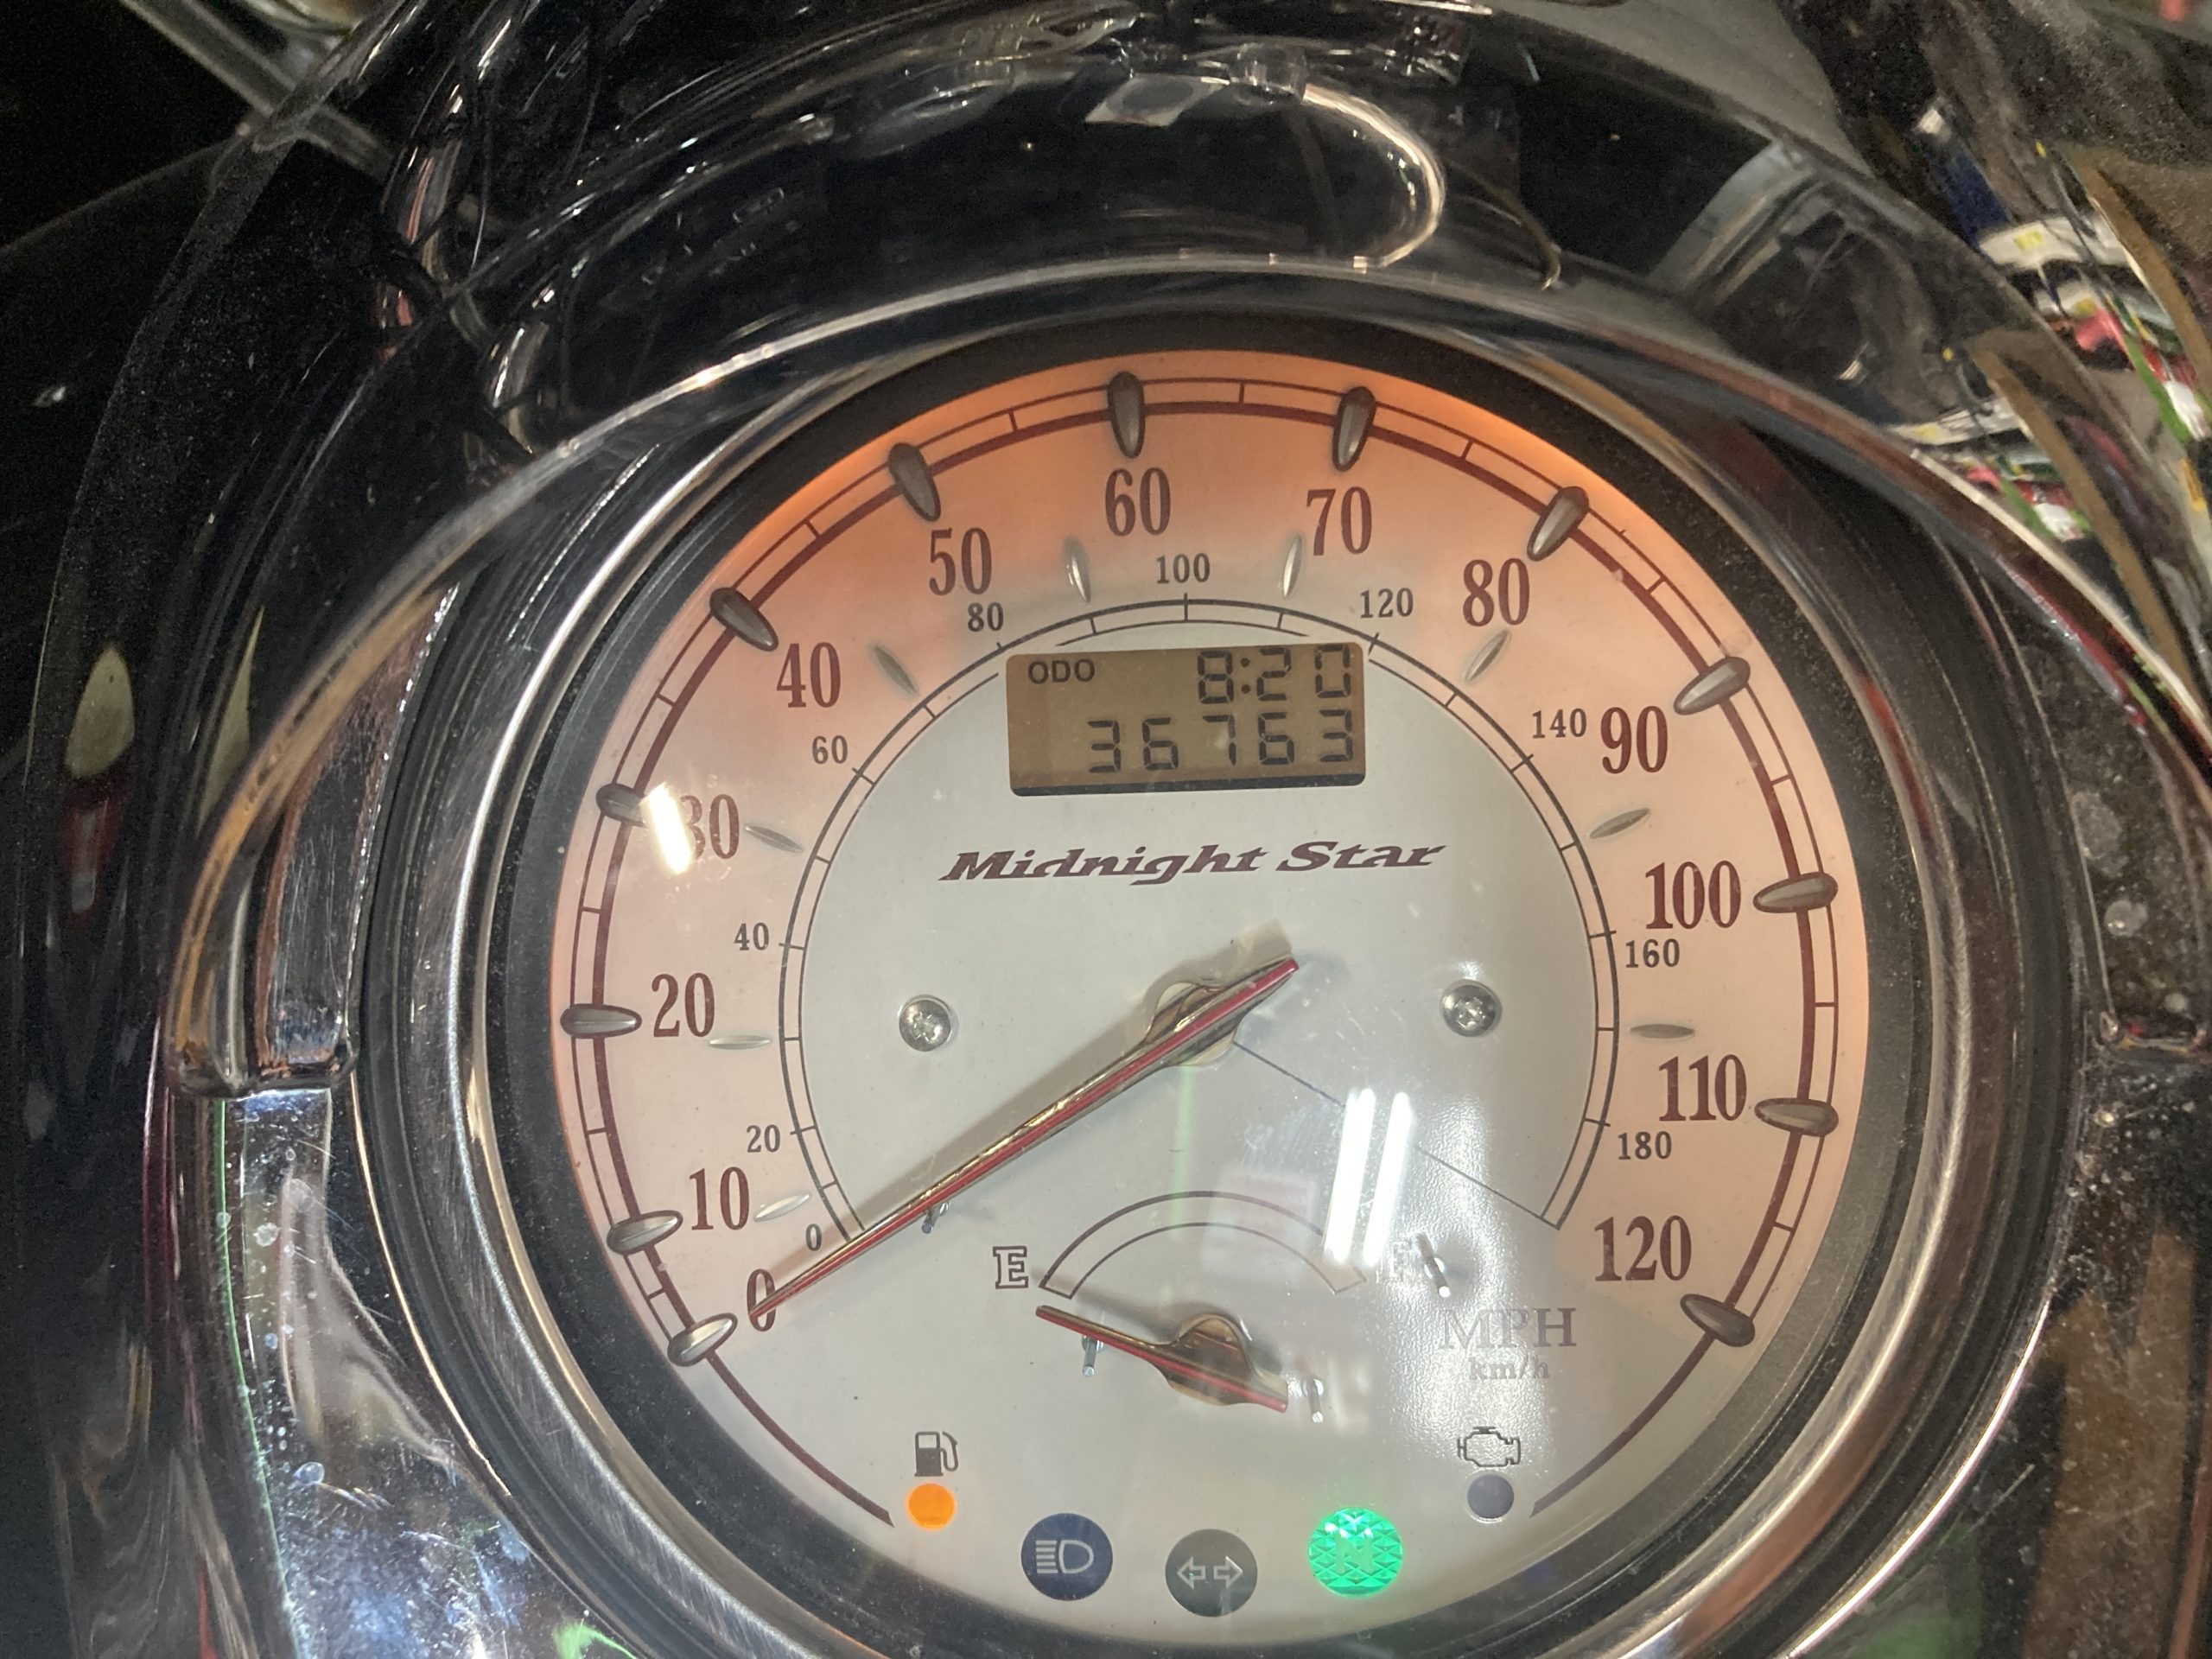
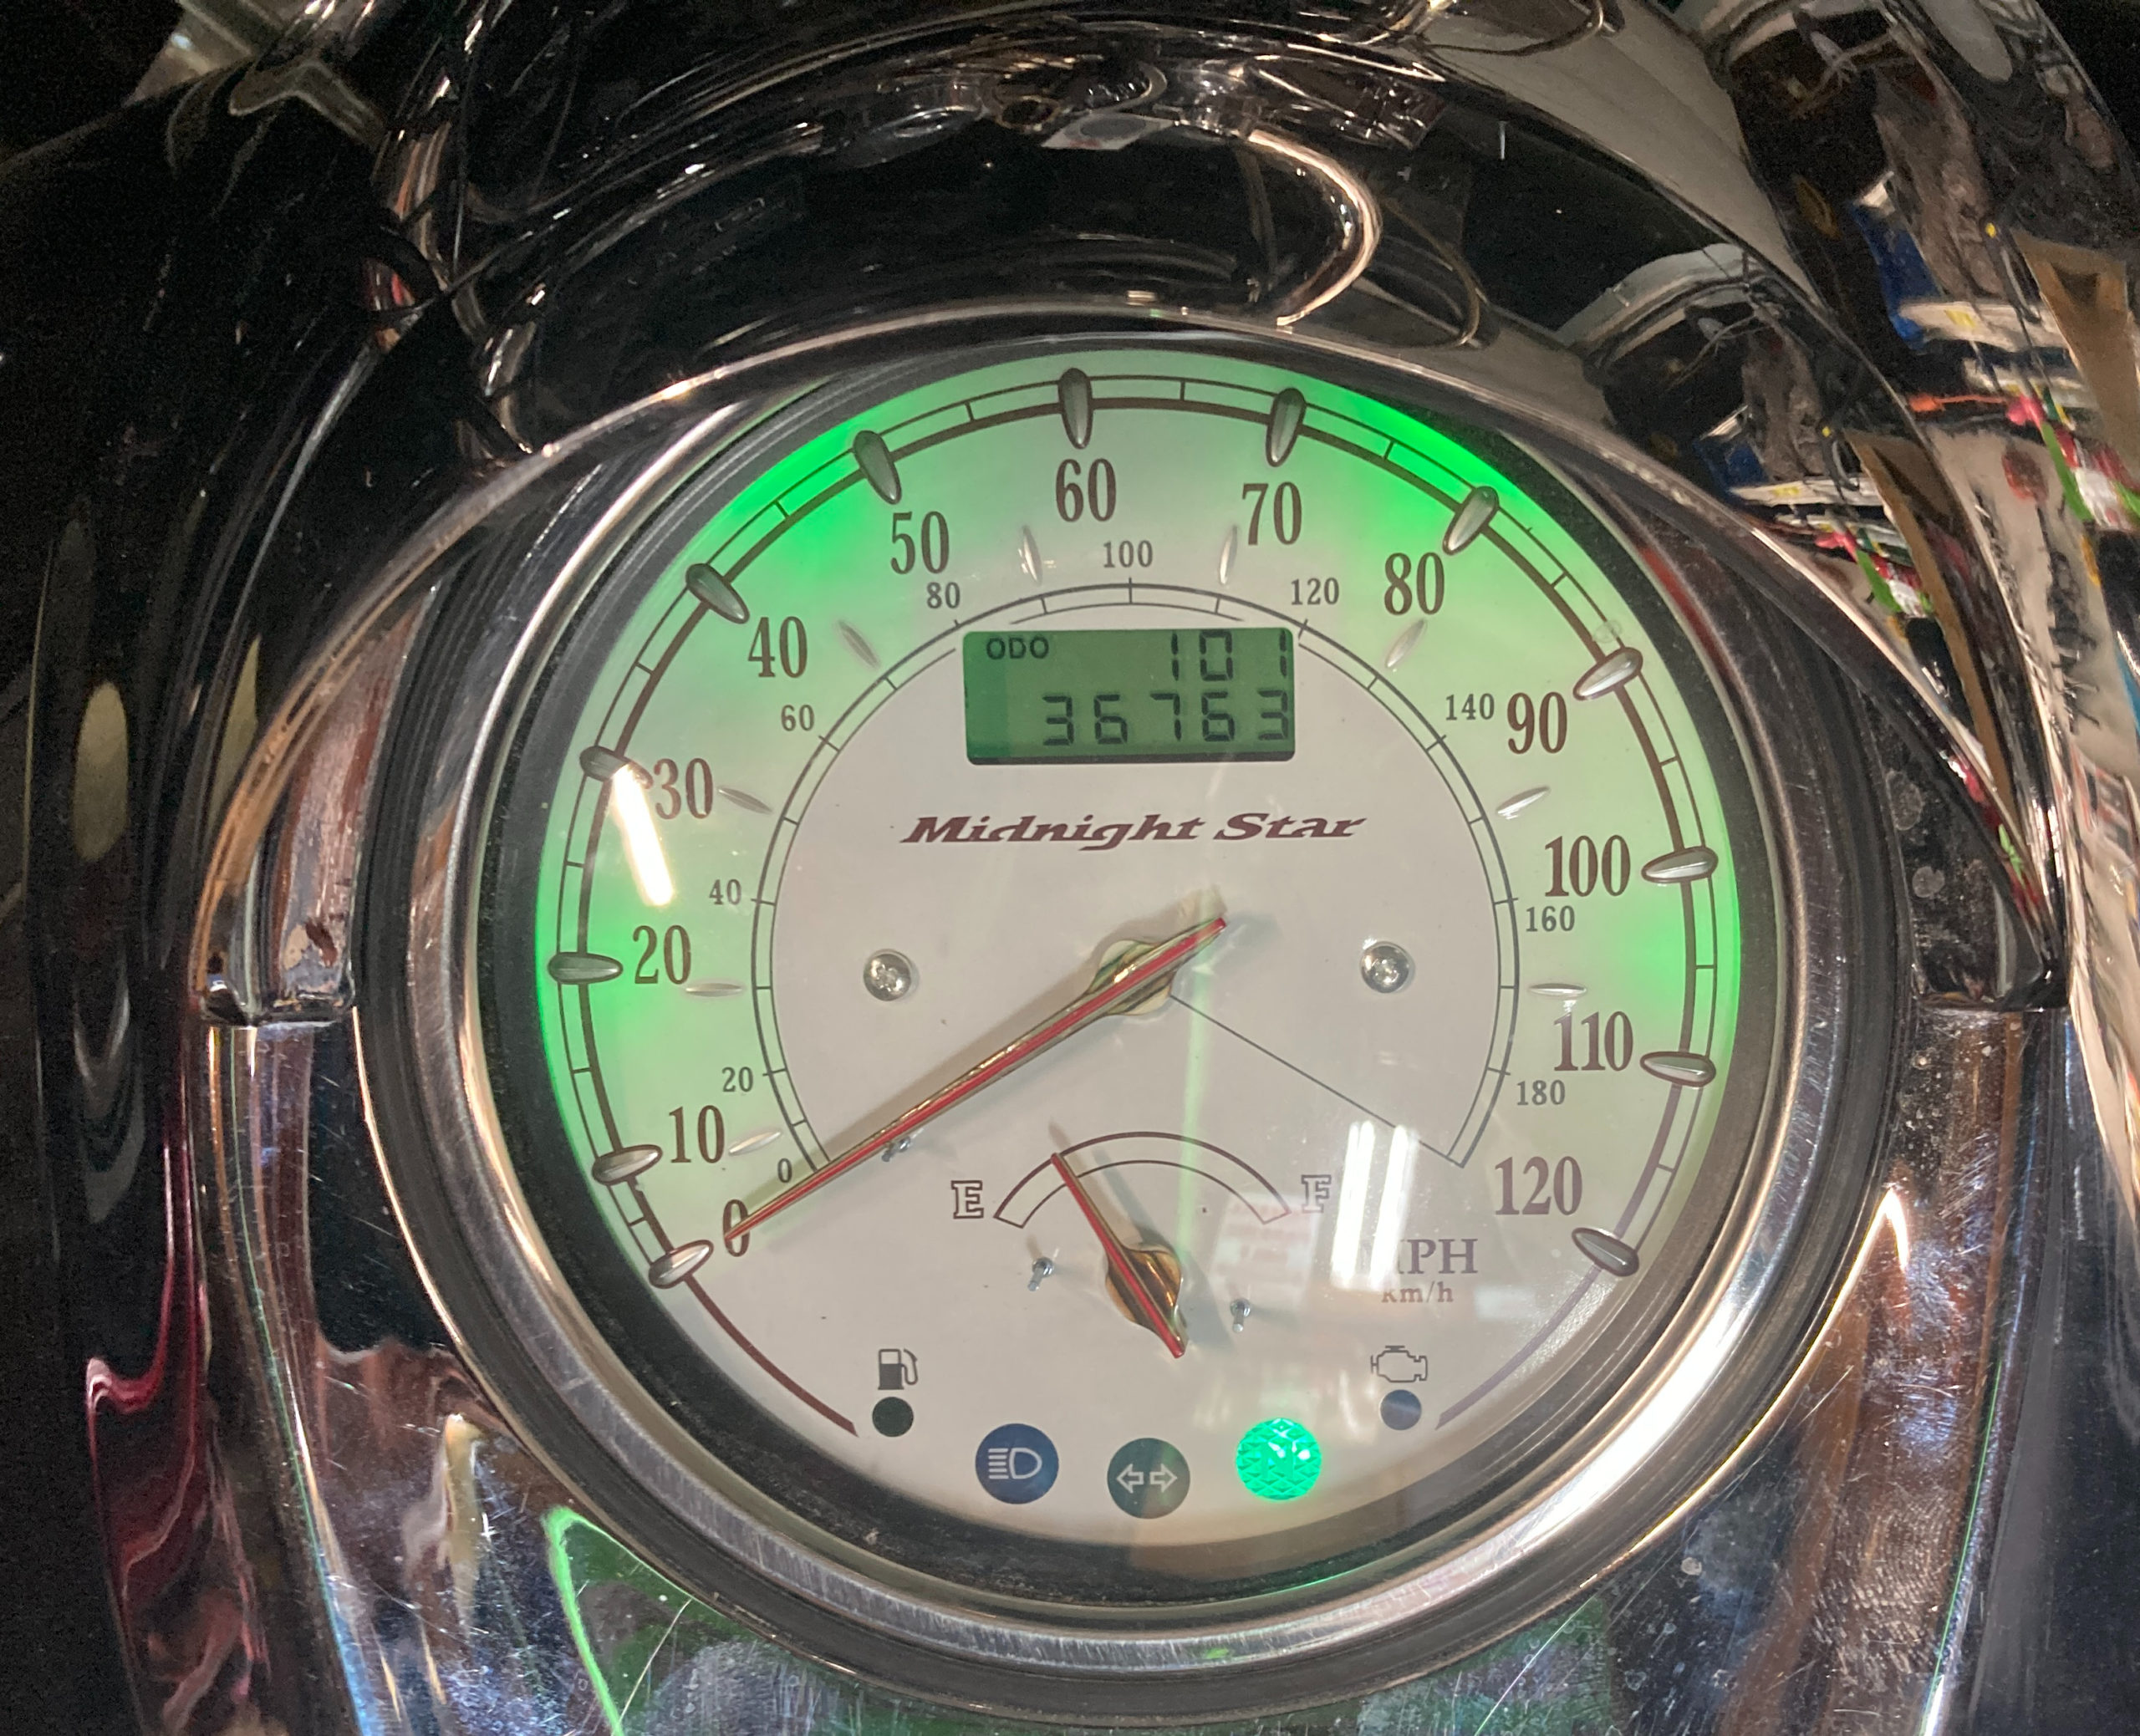
This is what mine looked like before and after. with just the LED wedge upgrade.