Neck Bearing Replacement
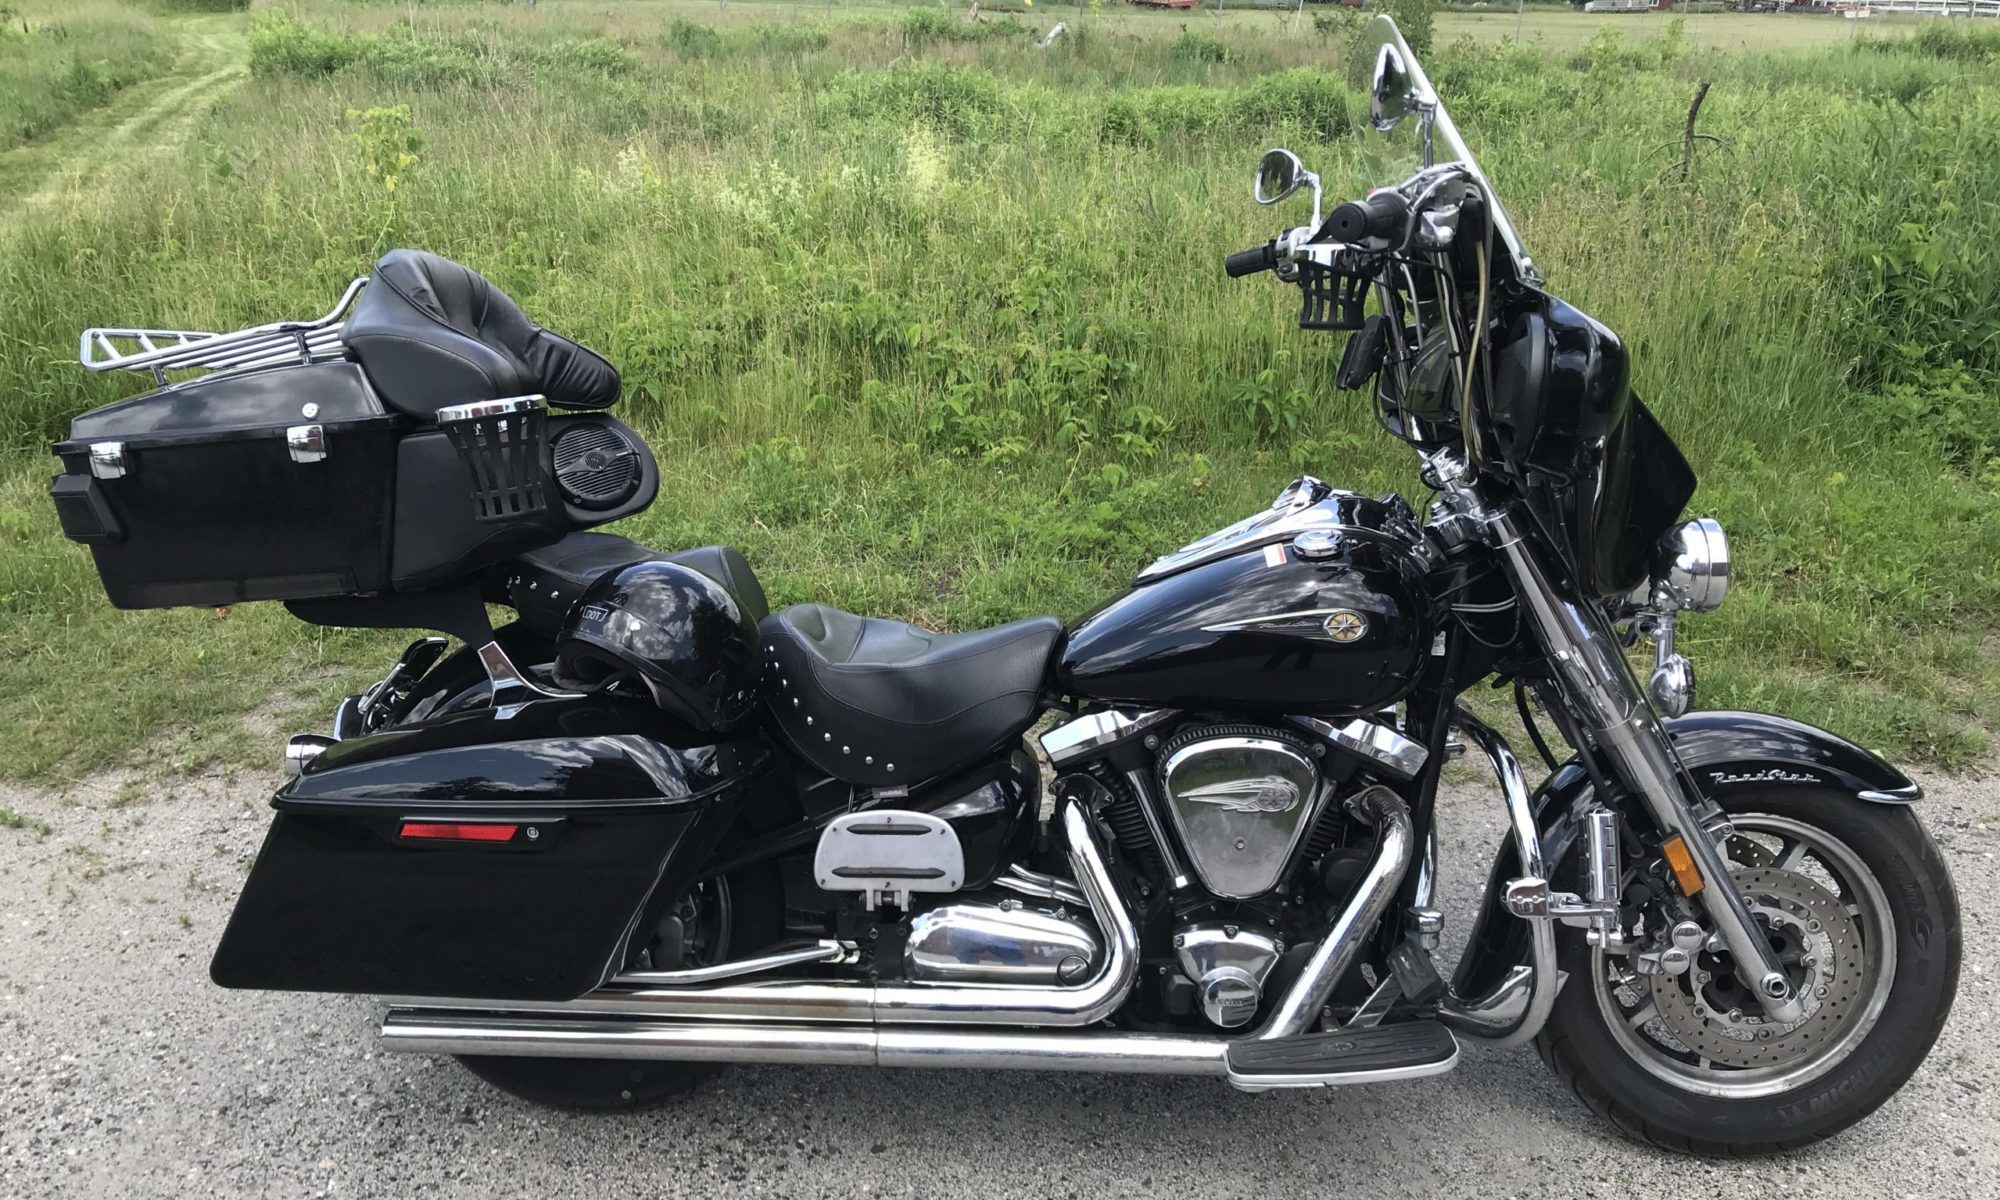
I have a 2004 Road Star with about 33,710 miles on the odometer. At the time of writing these instructions it is 19 years old. The neck bearings are due to be replaced. Mine looked pretty good compared to some of the other ones I have seen. Nevertheless, the races were grooved and just asking to be tossed.
To do this job you will need some special tools or a mechanic you can bring your lower triple tree to, in order to remove the bottom bearing and seal.
I used the All Balls Racing 22-1004 neck bearing kit without issue.
I removed the races with a very long 3/8″ socket extension. I used the side where the wrench connects to sit on the edge of the race. You can tap the top one out on all sides. The bottom race only has two notches where you can get the tool in there. With both of them you want to tap them out evenly so you will want to tap each side a couple times then move around to the next side.
The lower bearing (on steering stem) gave me some trouble. There are special tools you can buy to pull them. I ended up snipping the cage with wire cutters and pushing the inner race off with a angled chisel and hammer. I had to be careful not to mar the steering stem. I nicked it up a little but was able to file it smooth and was good to go. I provided a couple videos on details for removing it.
To reinstall the lower beating on the steering stem I used the old inner lower race and a 1-1/4″X10″ pipe. I then pushed off the old inner race with the same method as before. It came off easier the second time.
I provided a PDF with the sections of the manual applicable to this job as well as the fork rebuild, since I did them at the same time. Something to note when you are re-installing the neck and triple trees is that the second torque on the lower ring nut was corrected in later manuals from 2.2 ft lb. to 14.4 ft lb. Some guys indicate that 16 ft lb is the sweet spot. You will see that note in the PDF I provided.
I did a fork rebuild at the same time. You can find details here.
The rubber washer between the lower and upper neck bolt will tweak out when you attempt to finger tighten the top neck bolt (after the bottom one is torqued). I put a little grease on that washer. It still tweaked out a little. My top fork covers had a little play in them to the point that they would rattle if I didn’t lock them down. You will want to make sure that you out the washer and rubber spacer on before you put the top fork cover on. If you have play then the only way to correct that is by tightening the top neck bolt. Again, the rubber washer will tweak out. I gave it a couple turns and it was enough to lock down the top fork covers.
Download the PDF of applicable instructions for this job.
Here are some videos that I found helpful and informative. I would suggest that you watch each of them at least once.
Once you get it all back together you will want to do a flop test to be sure you tightened the neck bearing bolts properly. There is a video below by James Darren Daniel that offers some great detail and tips for getting it dialed in.
This video provides some details on the neck bearings and pushing out the top and bottom races in the neck.
Remove and replace details – tools
This video provides some details on removing the bottom bearing/race on the steering stem. This is what I did
This video provides details for installing new races and packing the bearings.
This video shows you how to back the bearings and then push the lower bearing on the stem. I used the first method but used a pile as I couldn’t get my vice to hold the lower triple tree.
Flop test
If you have questions and I can help in any way feel free to reach out to me.