Front Fork Upgrades and Maintenance
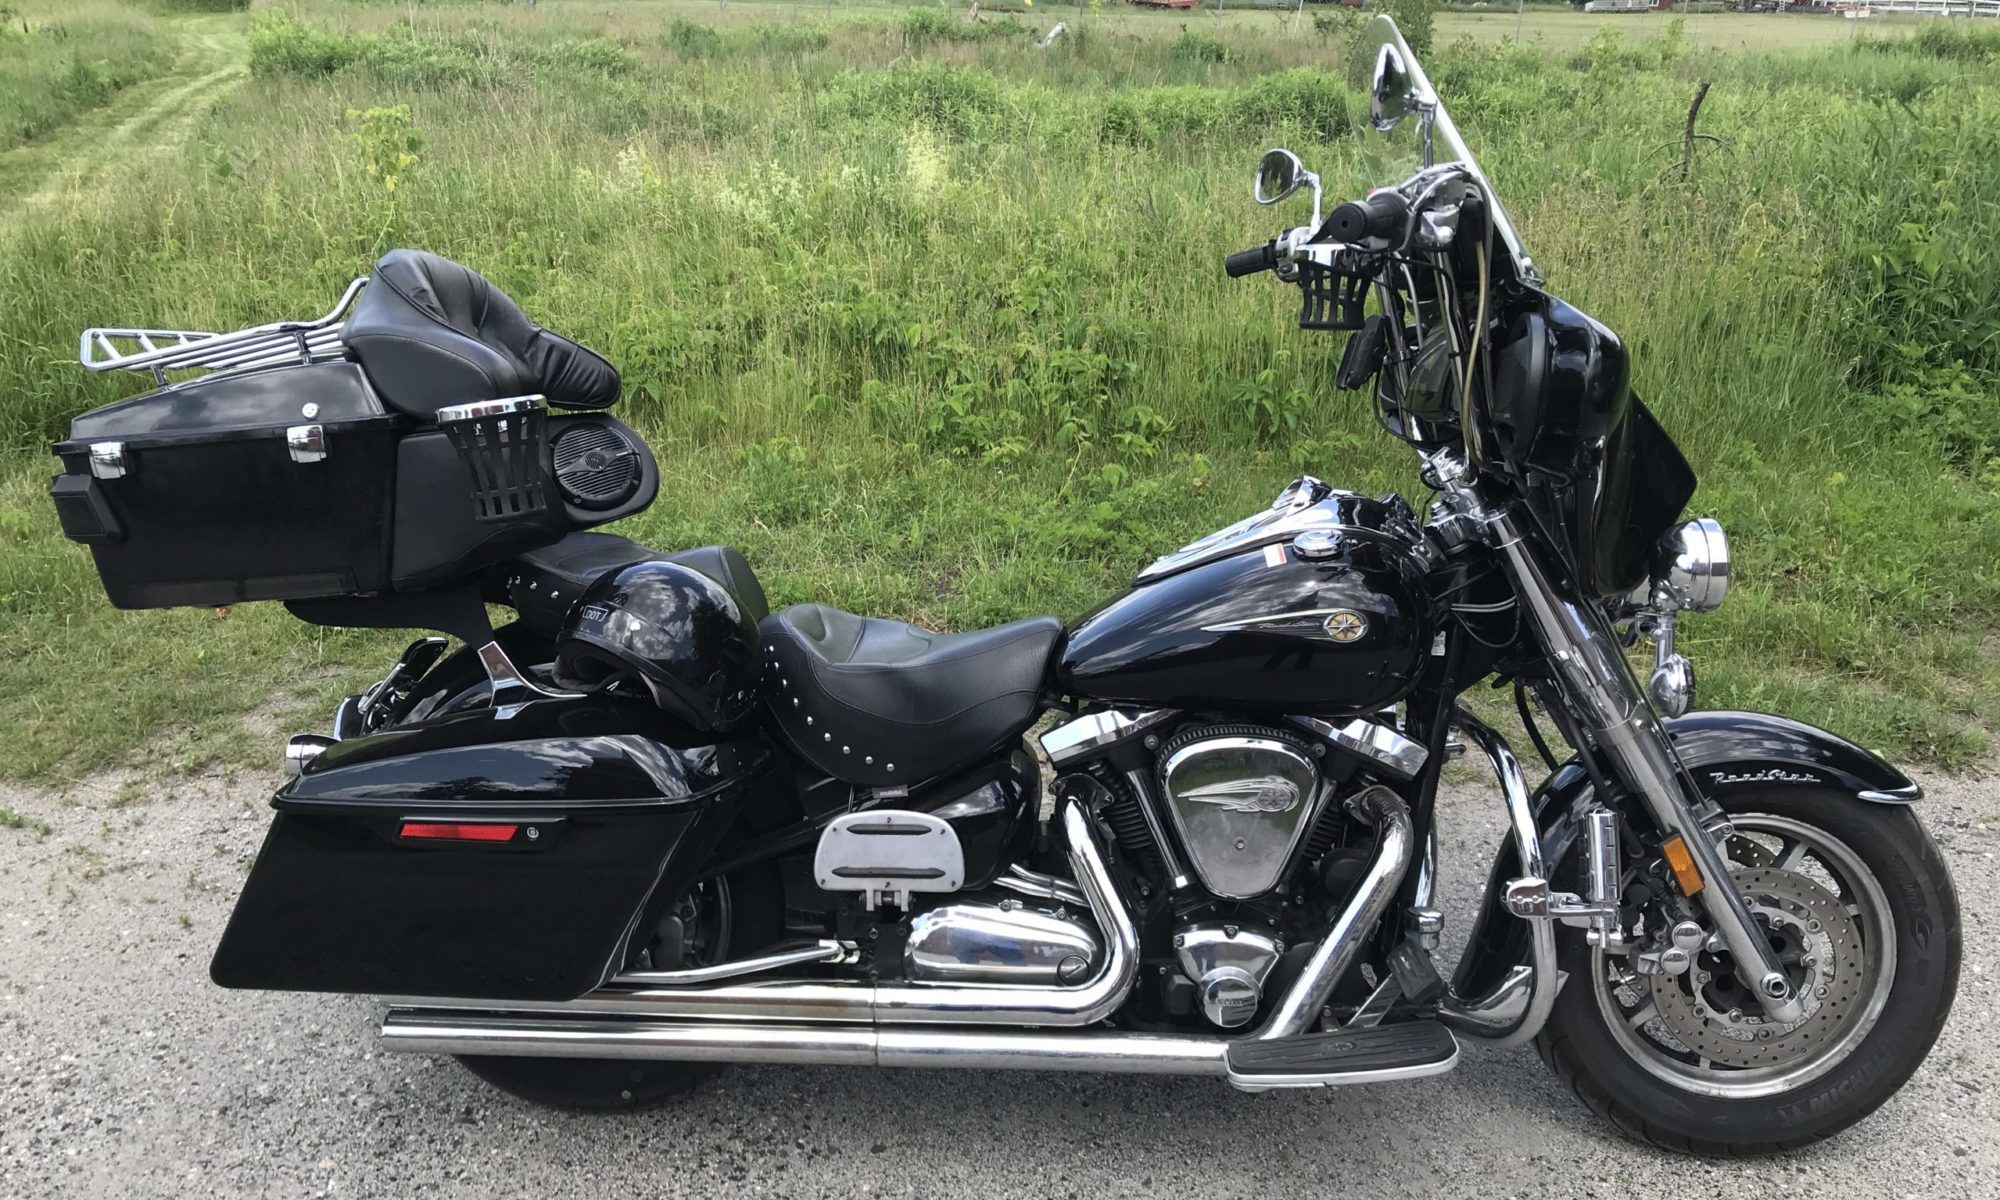
At the time of writing these directions my bike is 19 years old. I upgraded to a RoadWing but my forks are too soft and and I added a batwing fairing so I needed to upgrade my fork springs. I decided to also change the oil and update the bushings and seal. There are a few videos that proved helpful instructions and details for this process and they are provided below. I will also share some insight from my experience, tools, and parts that are needed for each aspect of the upgrade.
James Daniel (video below) indicated that if you’re up to about 190 pounds, it can be set up with some pre-load to work pretty decent with stock springs. If you’re over 200, the stock springs are never going to support the load correctly. Fluid viscosity is tailored to work with your spring rate. Too light and it’ll be bouncy. Too heavy and it’ll be harsh and not offer any feel.
There are a couple choices when it comes to springs. You can go with a Progressive spring or a Race Tech spring. After chatting with James, he recommended I go with Race Tech. I found the Race Tech Website to be very helpful. You can add your bike and they will tell you what you need. You can also tell them your preferences for a soft or stiff ride, add your weight, indicate whether your front end is lowered or not and they will tell you exactly which spring rate they recommend, fluid weight, fluid height and pre-load amount. I used the part numbers to search eBay and got a better deal on the parts, from an authorized Race Tech Dealer.
I decided to change the bushings and seal while I had the forks off. James’ video (below) as well as the third video provide details on pulling them apart, etc. I followed the directions for taking them apart, in the third video (Yamaha XV1600 Road Star how to lower front forks without buying lowering kit WOW !!!).
I am not going to provide directions, as the videos will inform you. I have provided a PDF of the applicable pages from the manual for the neck bearings and fork rebuilt together. I added some notes (in blue) so be sure to pay attention to them. One of them has to do with and updated torque spec on the lower ring nut.
I didn’t buy any special tools to do the forks. You could purchase a seal driver but the videos below provide details on other options. I found success using those methods.
I have a batwing faring so I needed to dial in the lower ring nut. Manual says 2.2 but it is actually 14.4 ft lb. Some guys report that 16 ft lb is the sweet spot. I did this by pulling the steering stem nut, loosening the upper bracket pinch bolts and I had to remove the fairing top mount bolts. You just need to be able to raise the top triple tree enough to get under it and loosen or tighten the lower ring nut with a punch.
Download the PDF of applicable instructions for this job.
NOTES:
You will want to read the details in the excerpt from the manual I provided. Key information like torque specs and oil level can be found in the PDF.
Each fork may be slightly different so you want to cut your spacer by measuring each. You will do this before you add oil Put your new spring in, put two washers in and then put the spacer in. Extend the fork all the way up and mark the spacer at the top. This will make it so the spacer is level with the top of the fork when completely extended.
My springs came with three washers. One under the spring, one between spring and spacer and the third between the spacer and cap bolt.
When I was ready to add oil to the forks I added an entire bottle (16 oz) and some more from a second bottle. You can always pull it out so putting too much in is not a bad idea. I pumped the fork slowly till I stopped seeing bubbles. I then used the Fork Oil Level Gauge to remove the oil and get it to the proper level. I then let them sit for about an hour.
James offers a great idea to help get the top bolt on without cross threading the fork.
If you replaced the neck bearings, like I did then you will need to deal with the neck bolts. The rubber washer between the lower and upper neck bolt will tweak out when you attempt to finger tighten the top neck bolt (after the bottom one is torqued. I put a little grease on that washer. It still tweaked out a little. My top fork covers had a little play in them to the point that they would rattle if I didn’t lock them down. You will want to make sure that you out the washer and rubber spacer on before you put the top fork cover on. If you have play then the only way to correct that is by tightening the top neck bolt. Again, the rubber washer will tweak out. I gave it a couple turns and it was enough to lock down the top fork covers.
When putting the forks back together, I installed the washers, spring and spacer which allowed me to torque down the bottom bolt. You should use a new crush washer on that bolt. They are 8mm crush washers. I did this before adding oil
I hand tightened the fork cap bolt and then torqued it down after I installed it.
Parts List
- OEM – 4nk-23135-00 – big bushing – you need two
- OEM – 4nk-23125-00 – small bushing – you need two
- All Balls Racing Fork Seals KIT 55-120 – comes with both (better than OEM)
- 3 bottles of fork oil. You need to decide on weight. I used Lucas brand fork oil.
Tool list (to do forks) Not a complete list.
- 22mm socket or wrench, if you are not pulling the handlebars
- Strap wrench (I prefer to torque it this way) – I did’t need this.
- Long 6mm hex bit socket (https://www.amazon.com/dp/B07CT9W53H)
- Fork Oil Level Gauge (https://www.ebay.com/itm/364067955010)
- Torque wrench
Since I was going to have the forks off, I decided to change out my neck bearings as well. Here are the instructions for that job.
Videos
Here are a few videos I found very informative and helpful. I would suggest watching each of them at least once.
This video provides instructions on a fluid dump and fill on a V-Star. While the specs and amount of oil may differ, the process is the same. I found this video very informative.
This video is presented by James Daniel (fellow Road Star Clinic member and admin). He provides lots of tips, details, and instruction. It is worth your time to get a good idea of the work it takes to change out the bushings and seal.
This video shows you how to separate the different parts of the forks. I didn’t shorten my forks but this video was helpful for certain aspects of the work I needed to do. I used this method to disassemble the fork tubes.
Fork seal driver
You may need to make or purchase a seal driver. My research tells me it is a 43mm driver. Or you can follow the advice of the guy in this video.
If I can help in any way please feel free to reach out to me.