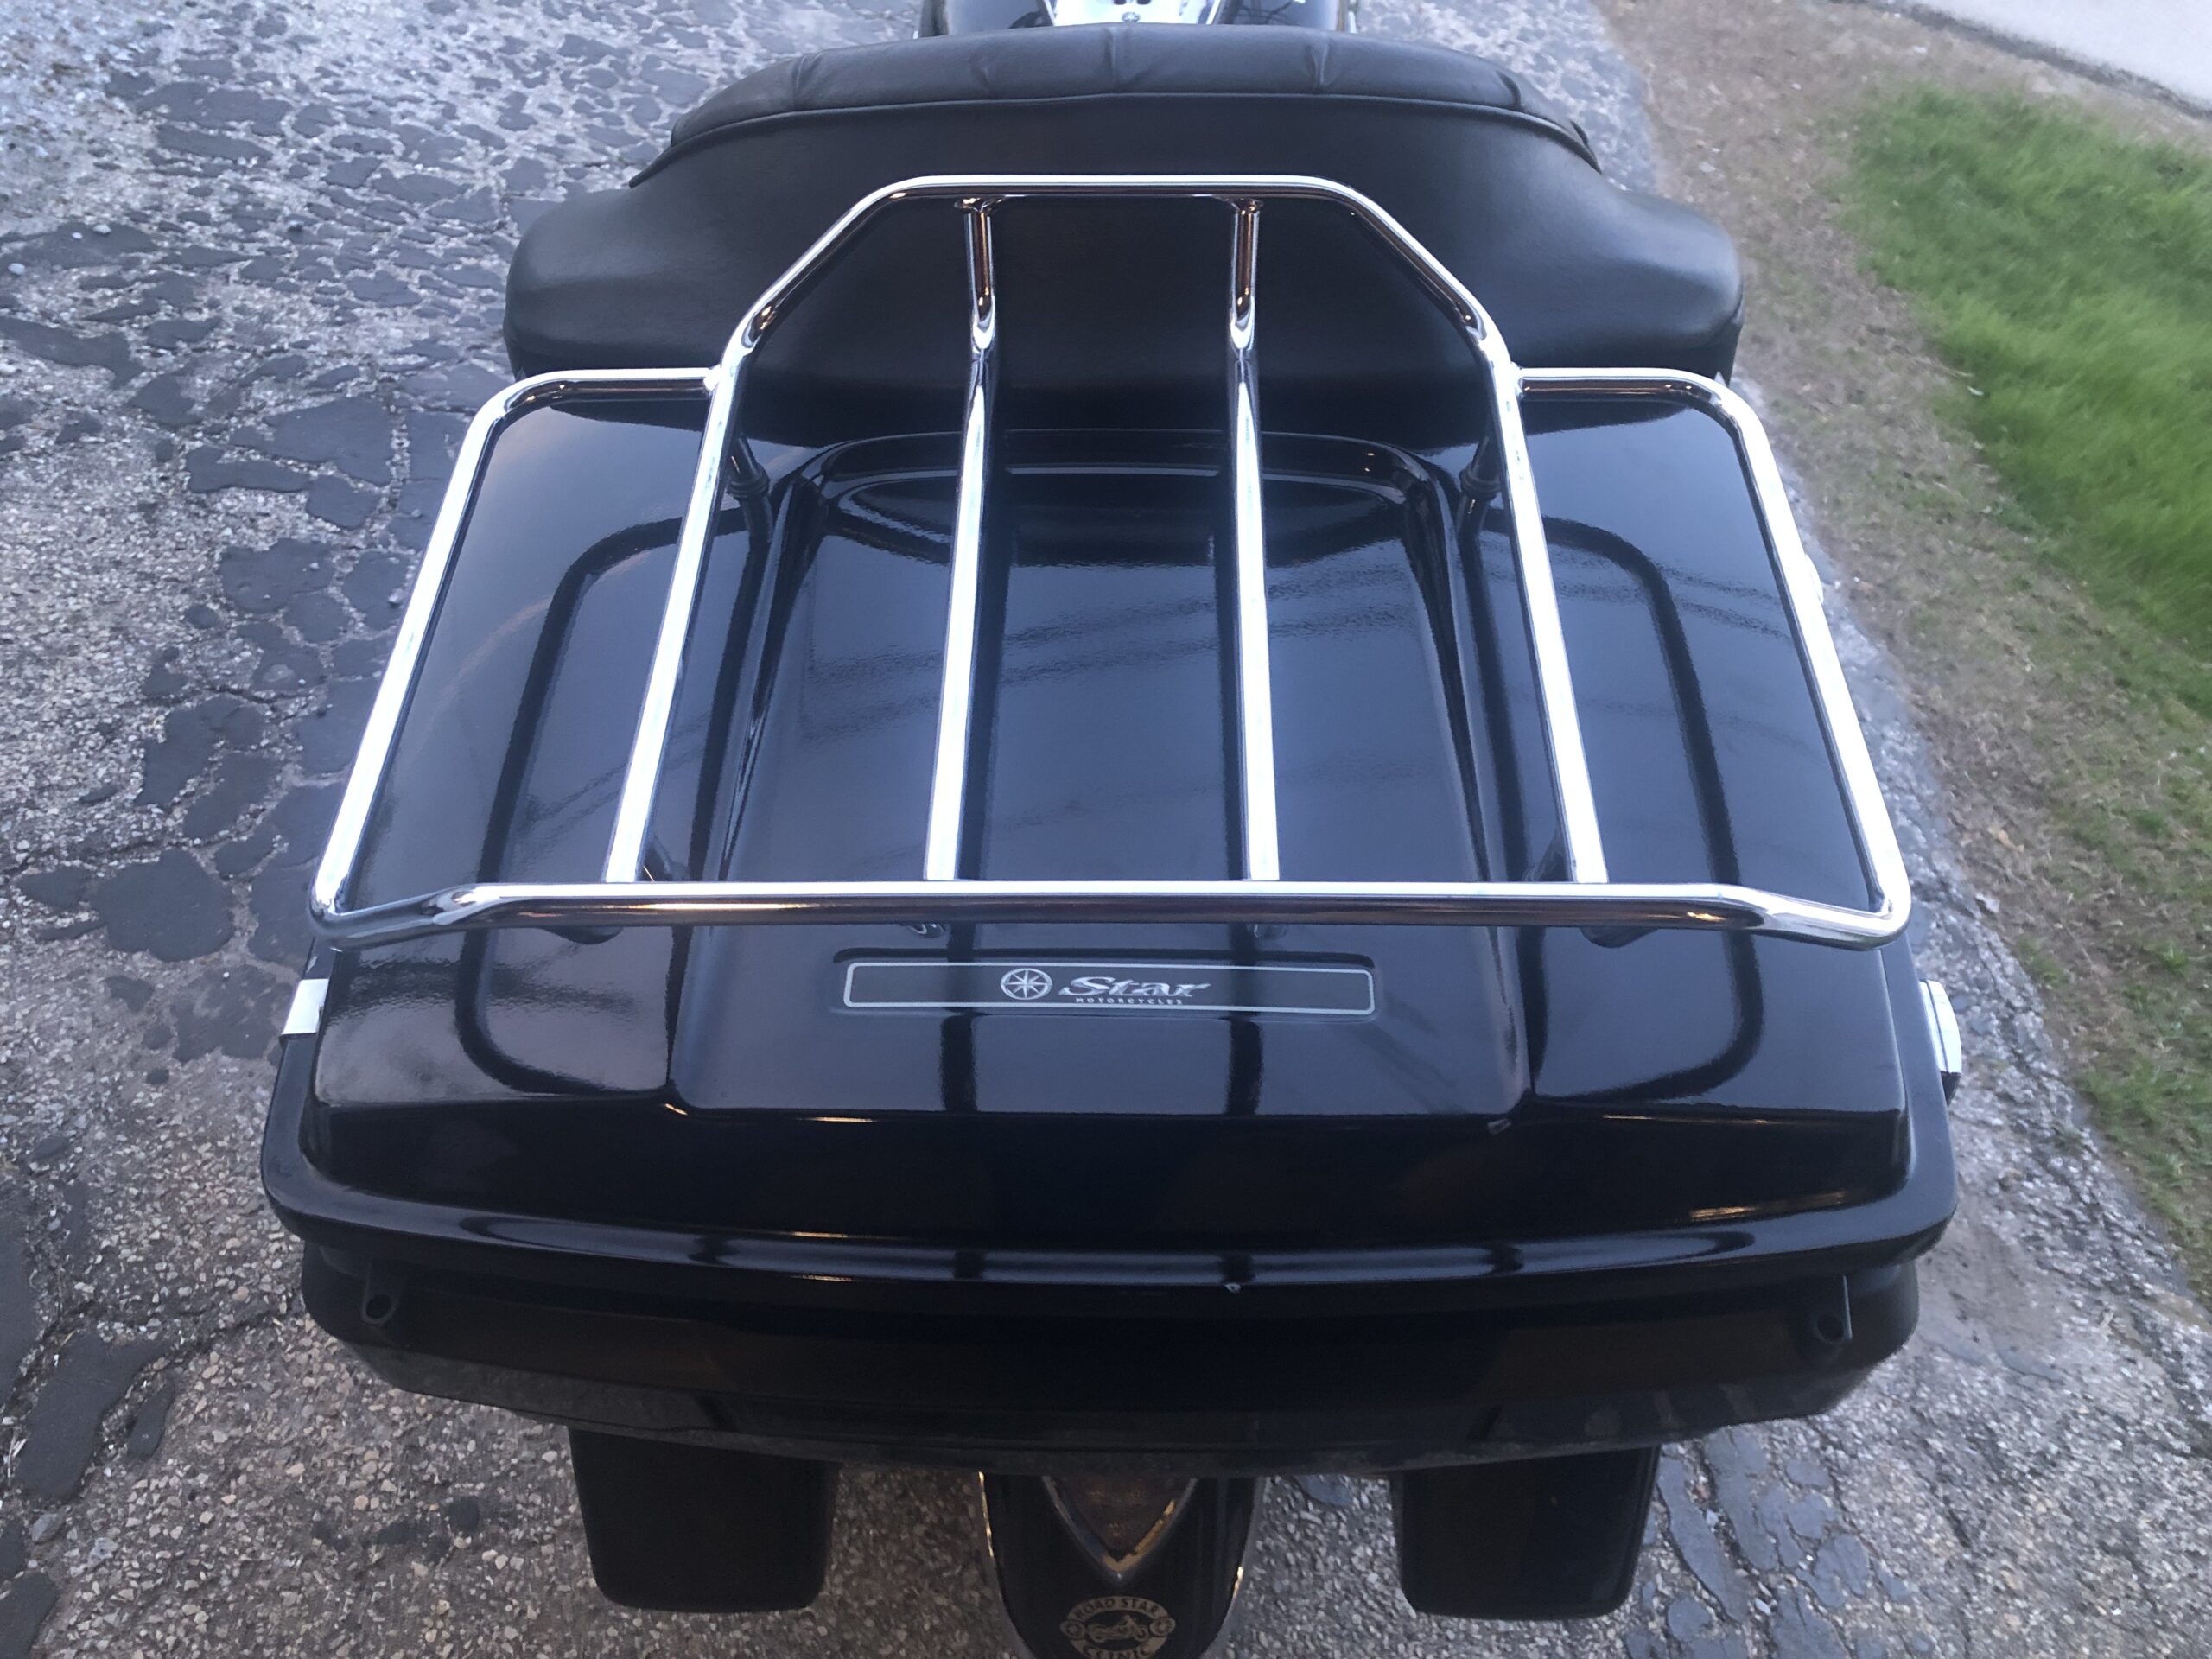
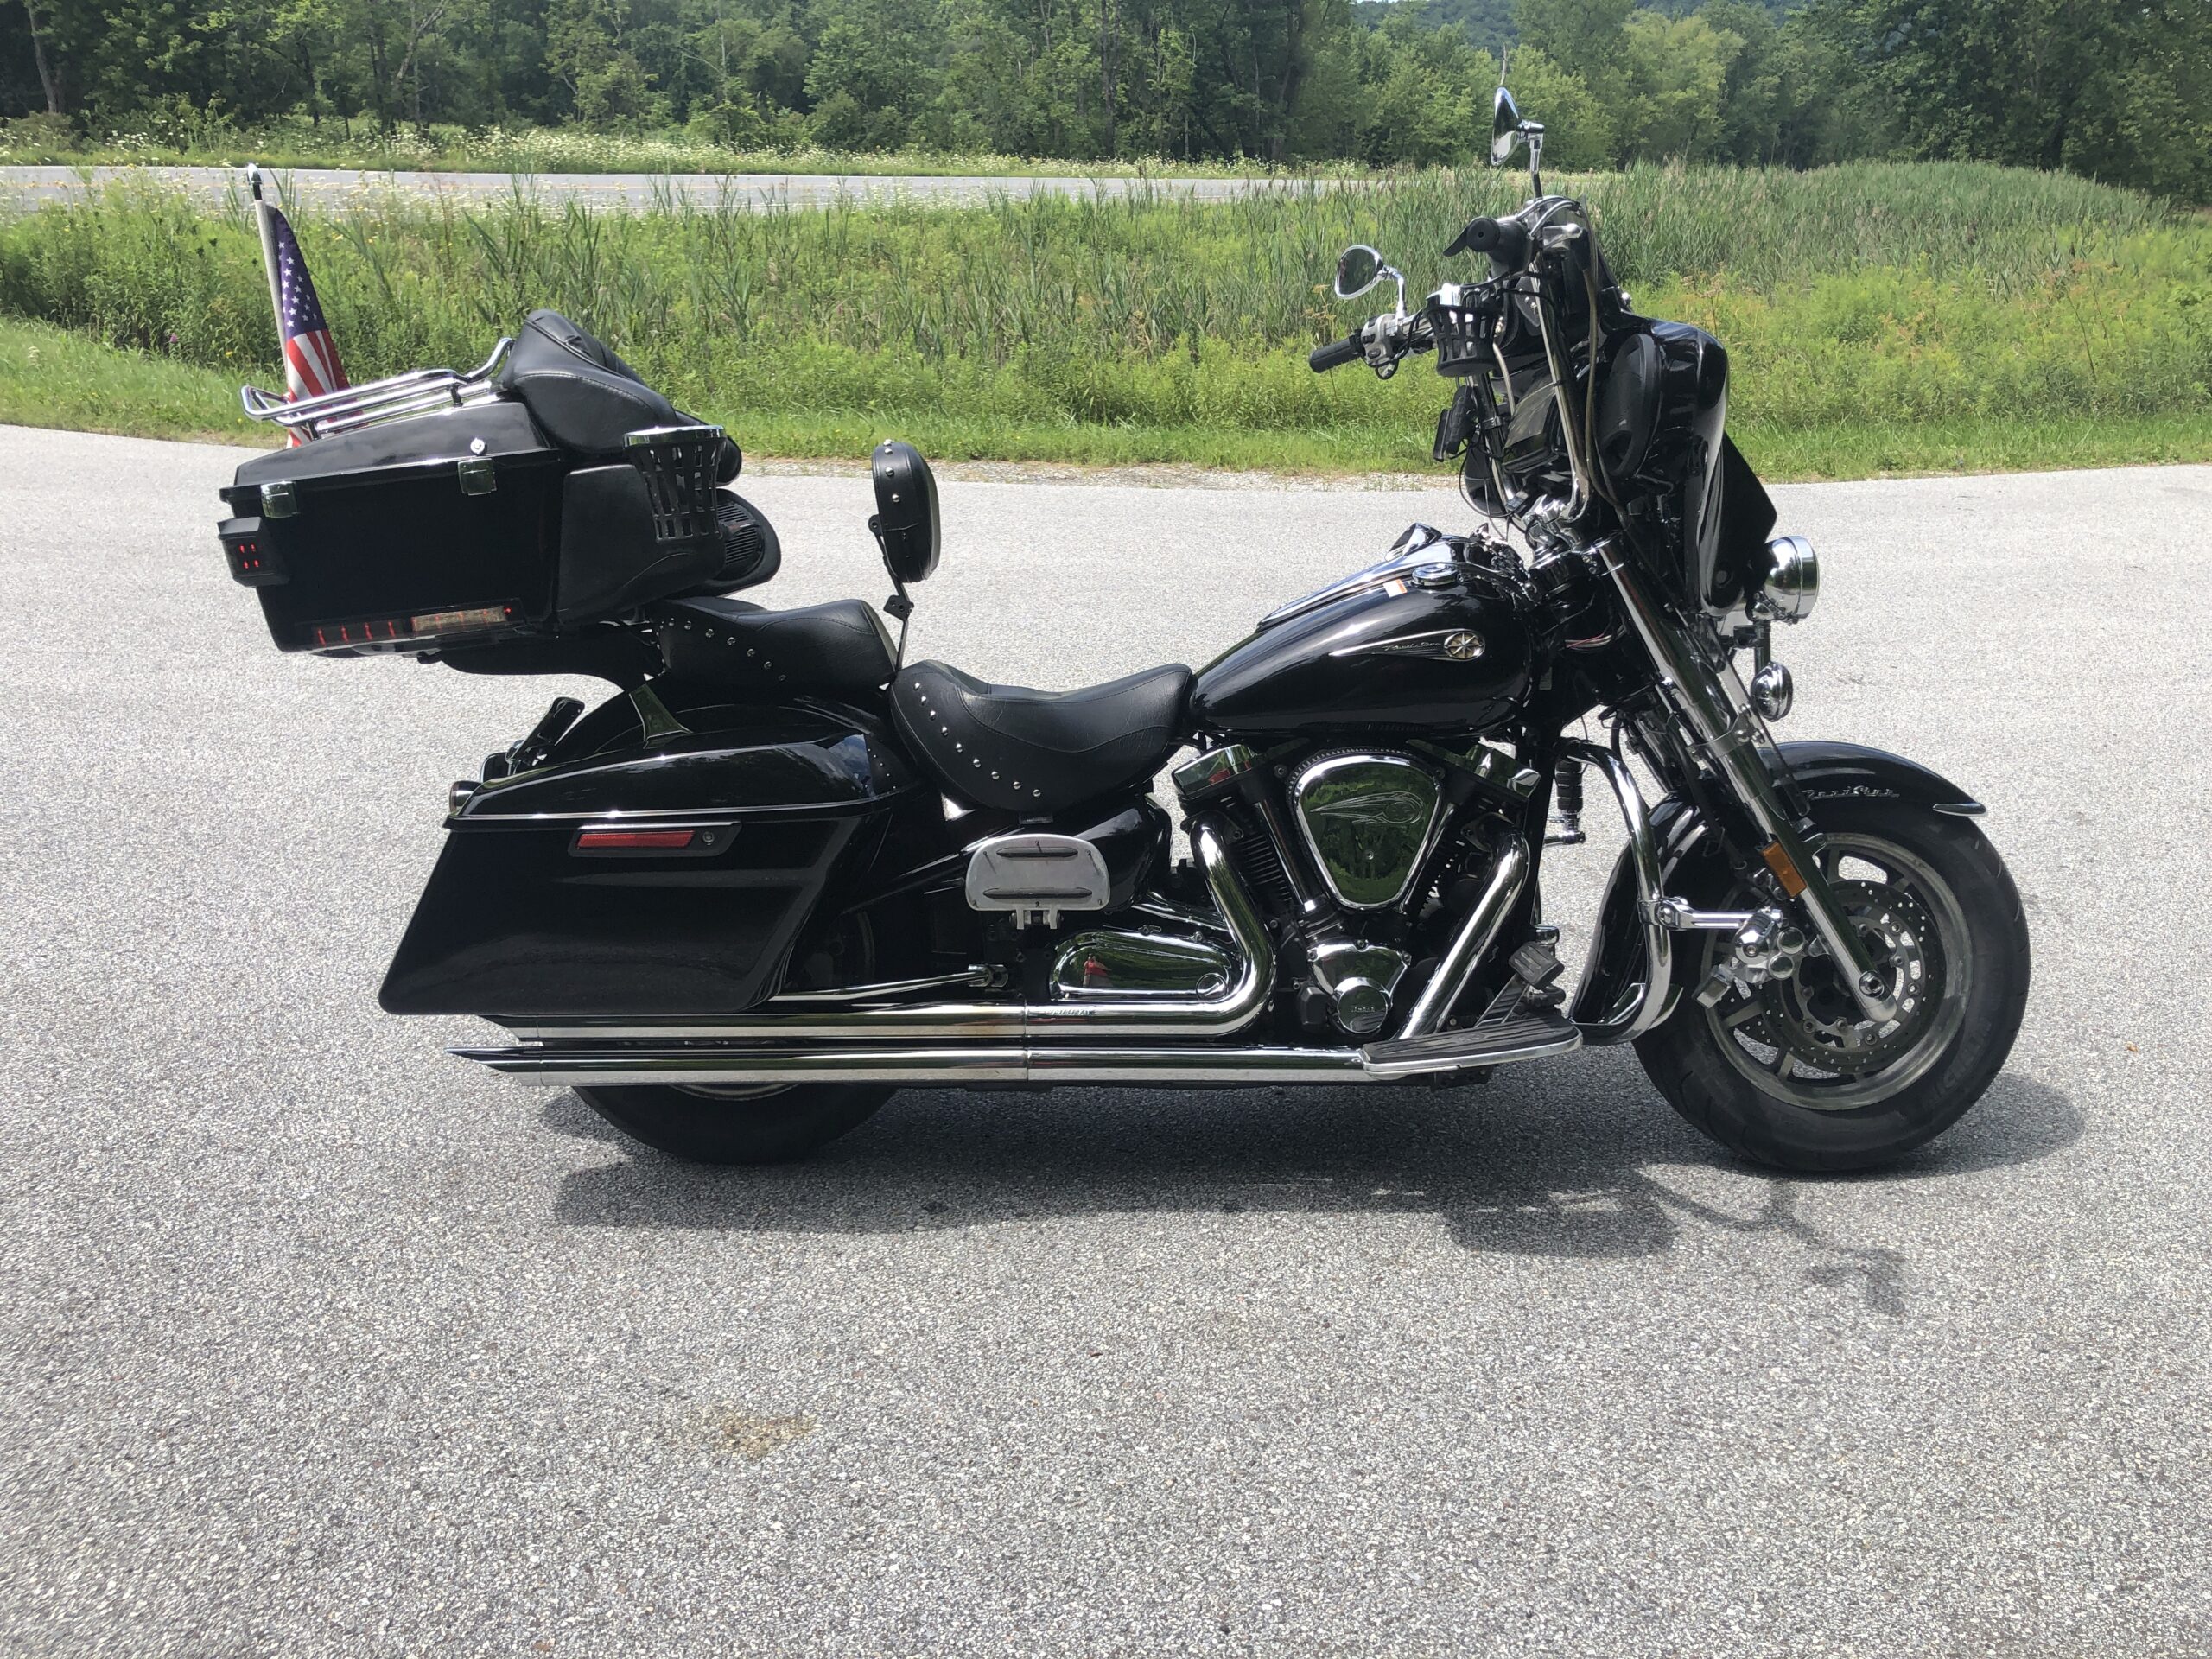
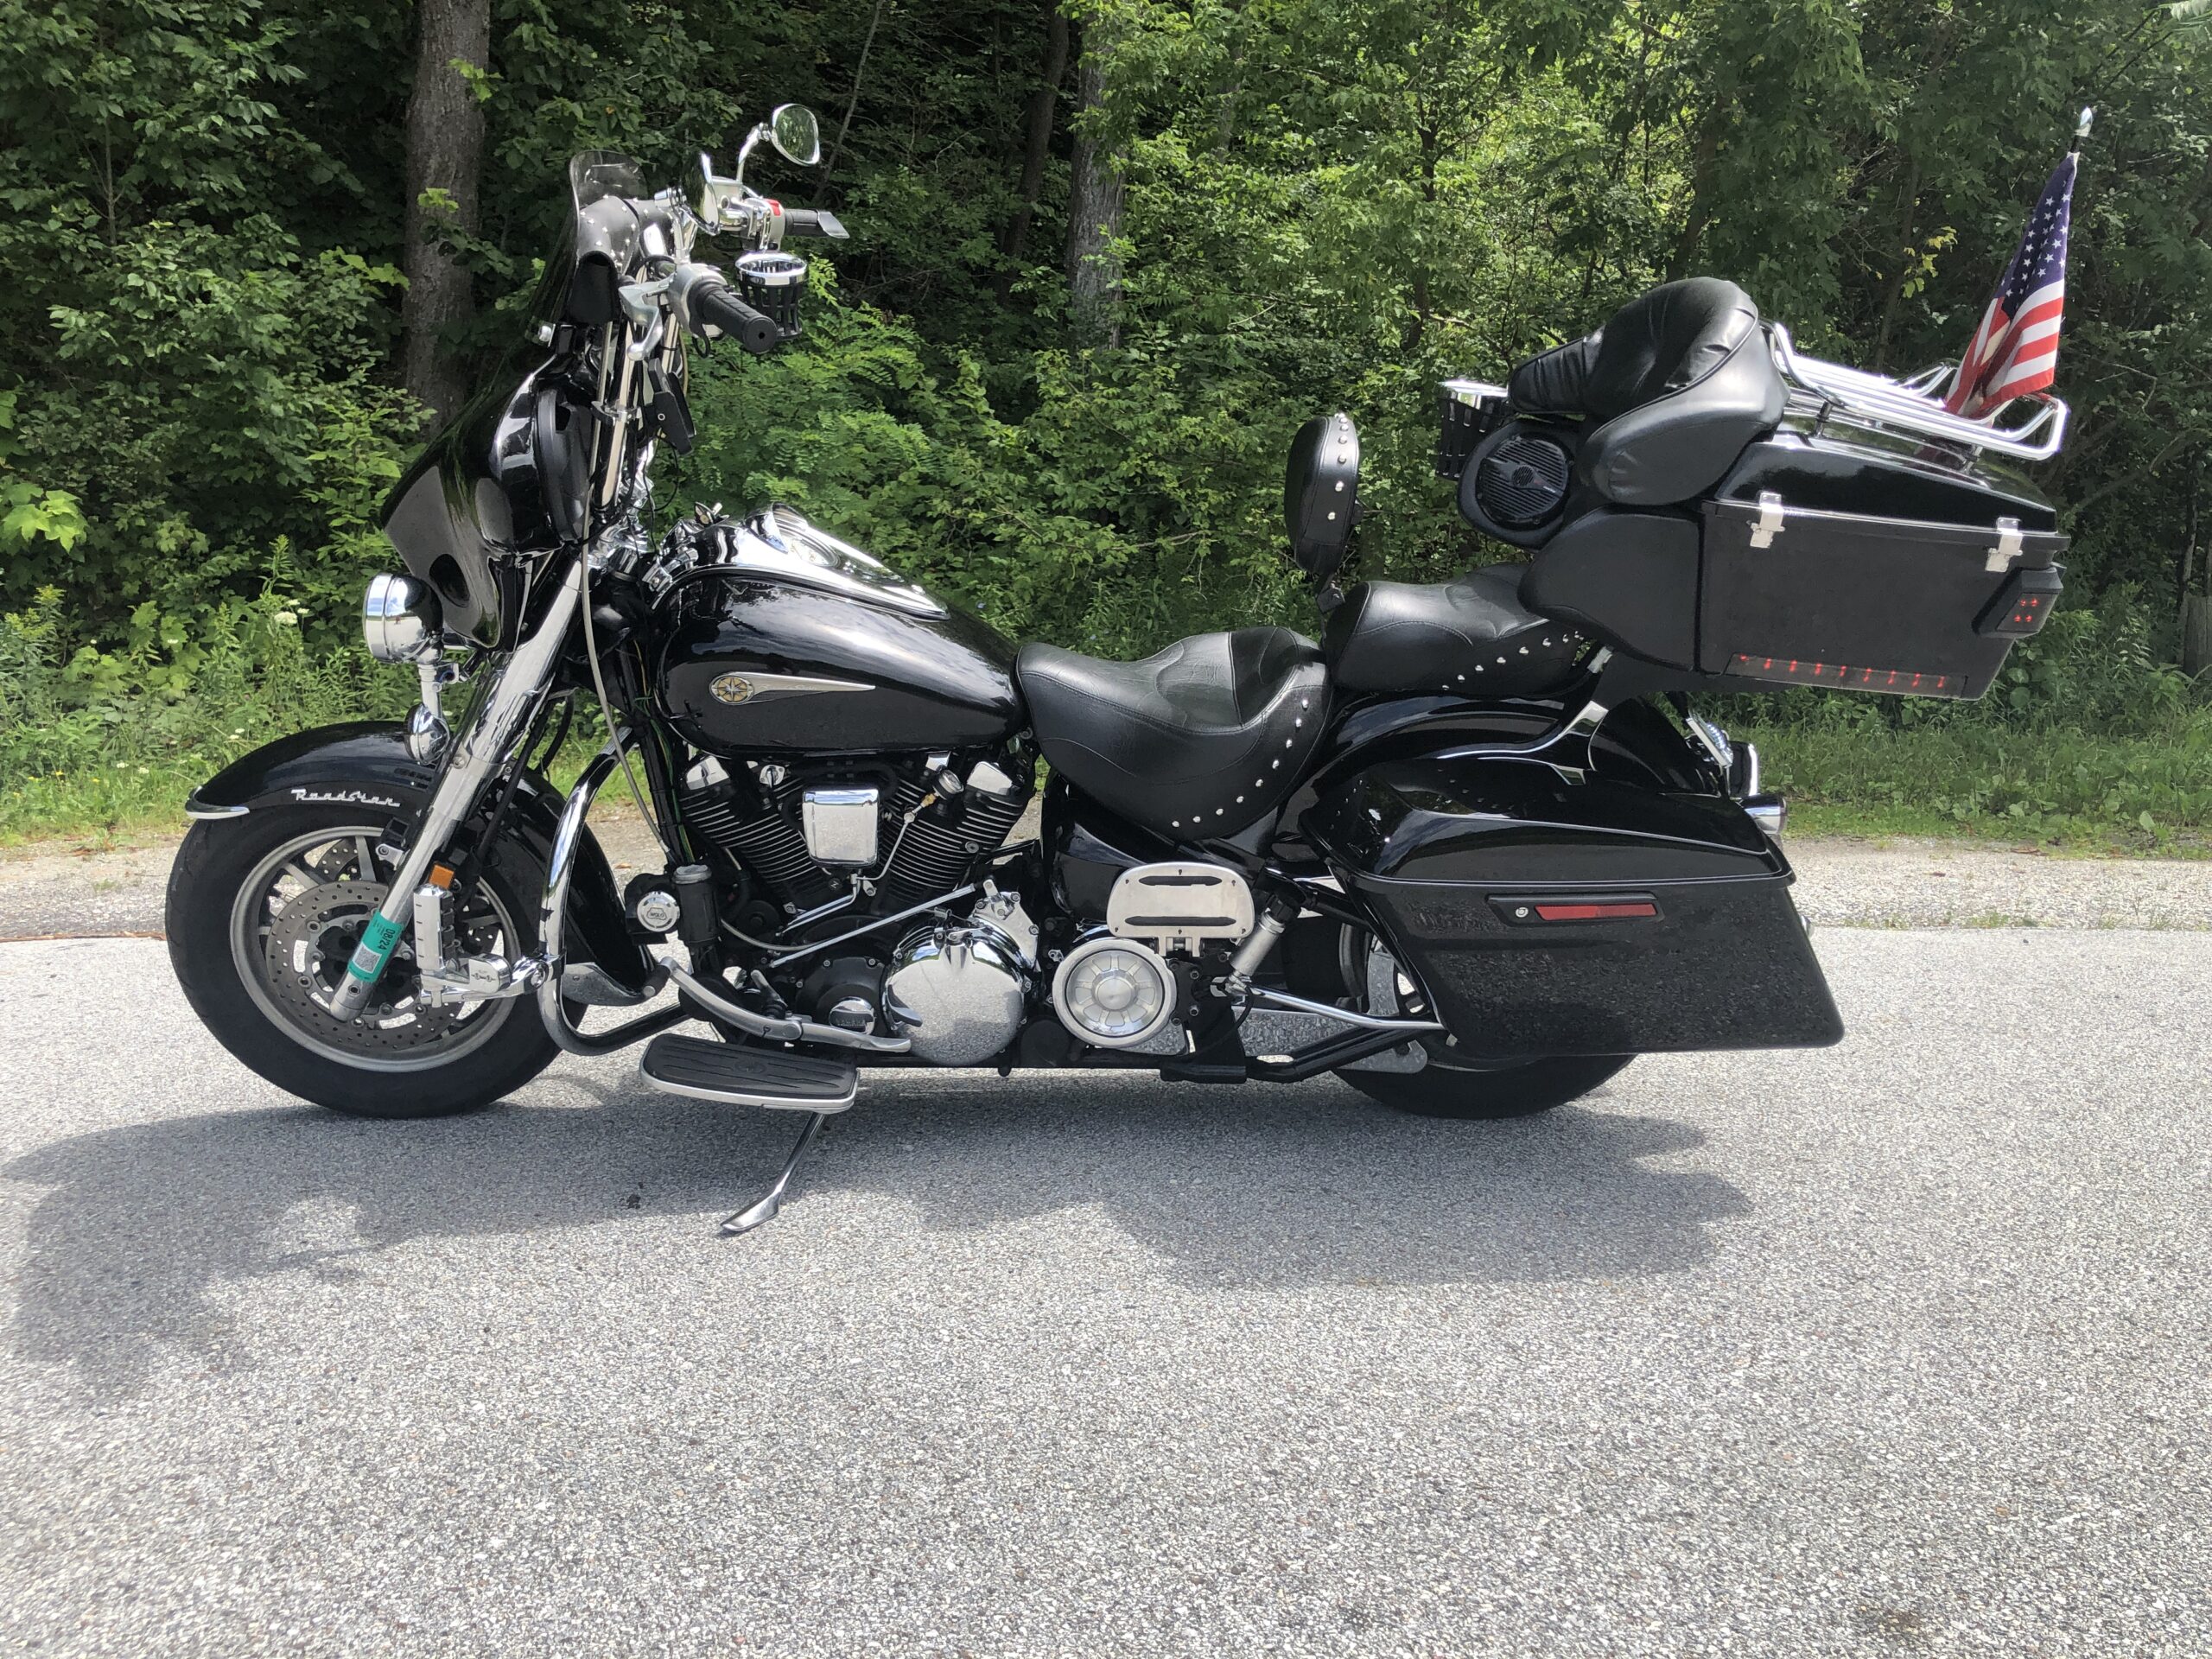
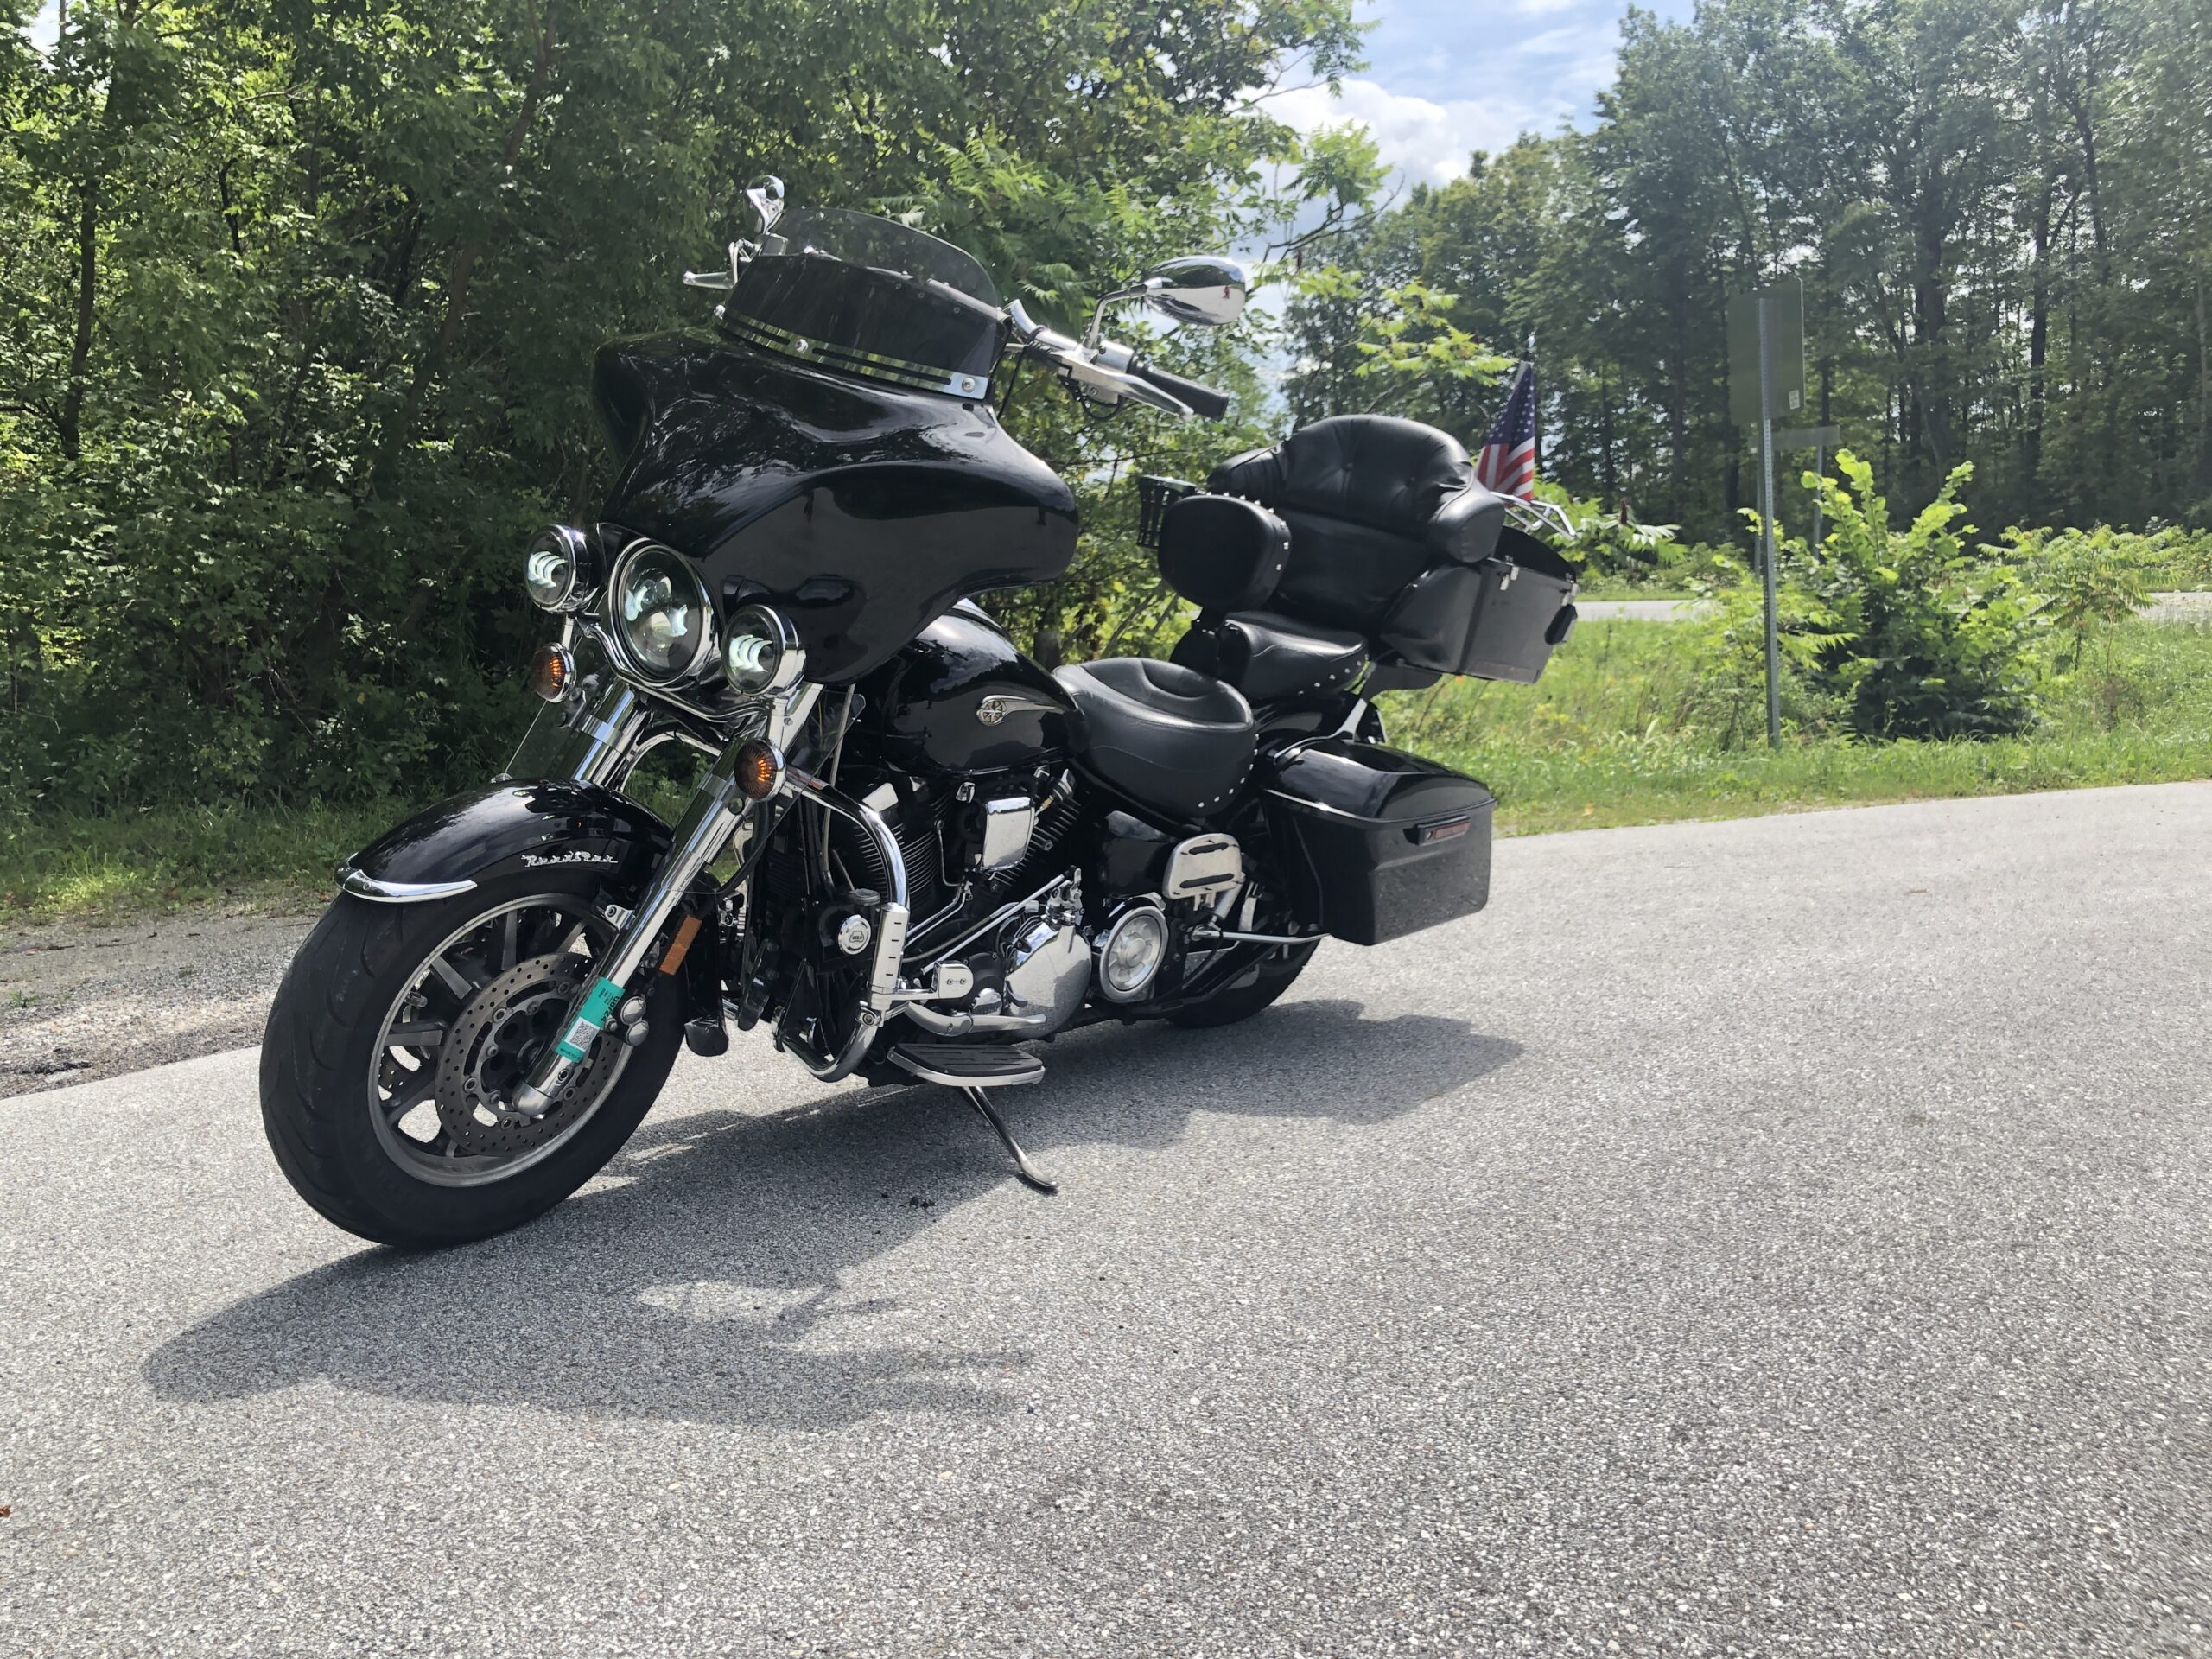
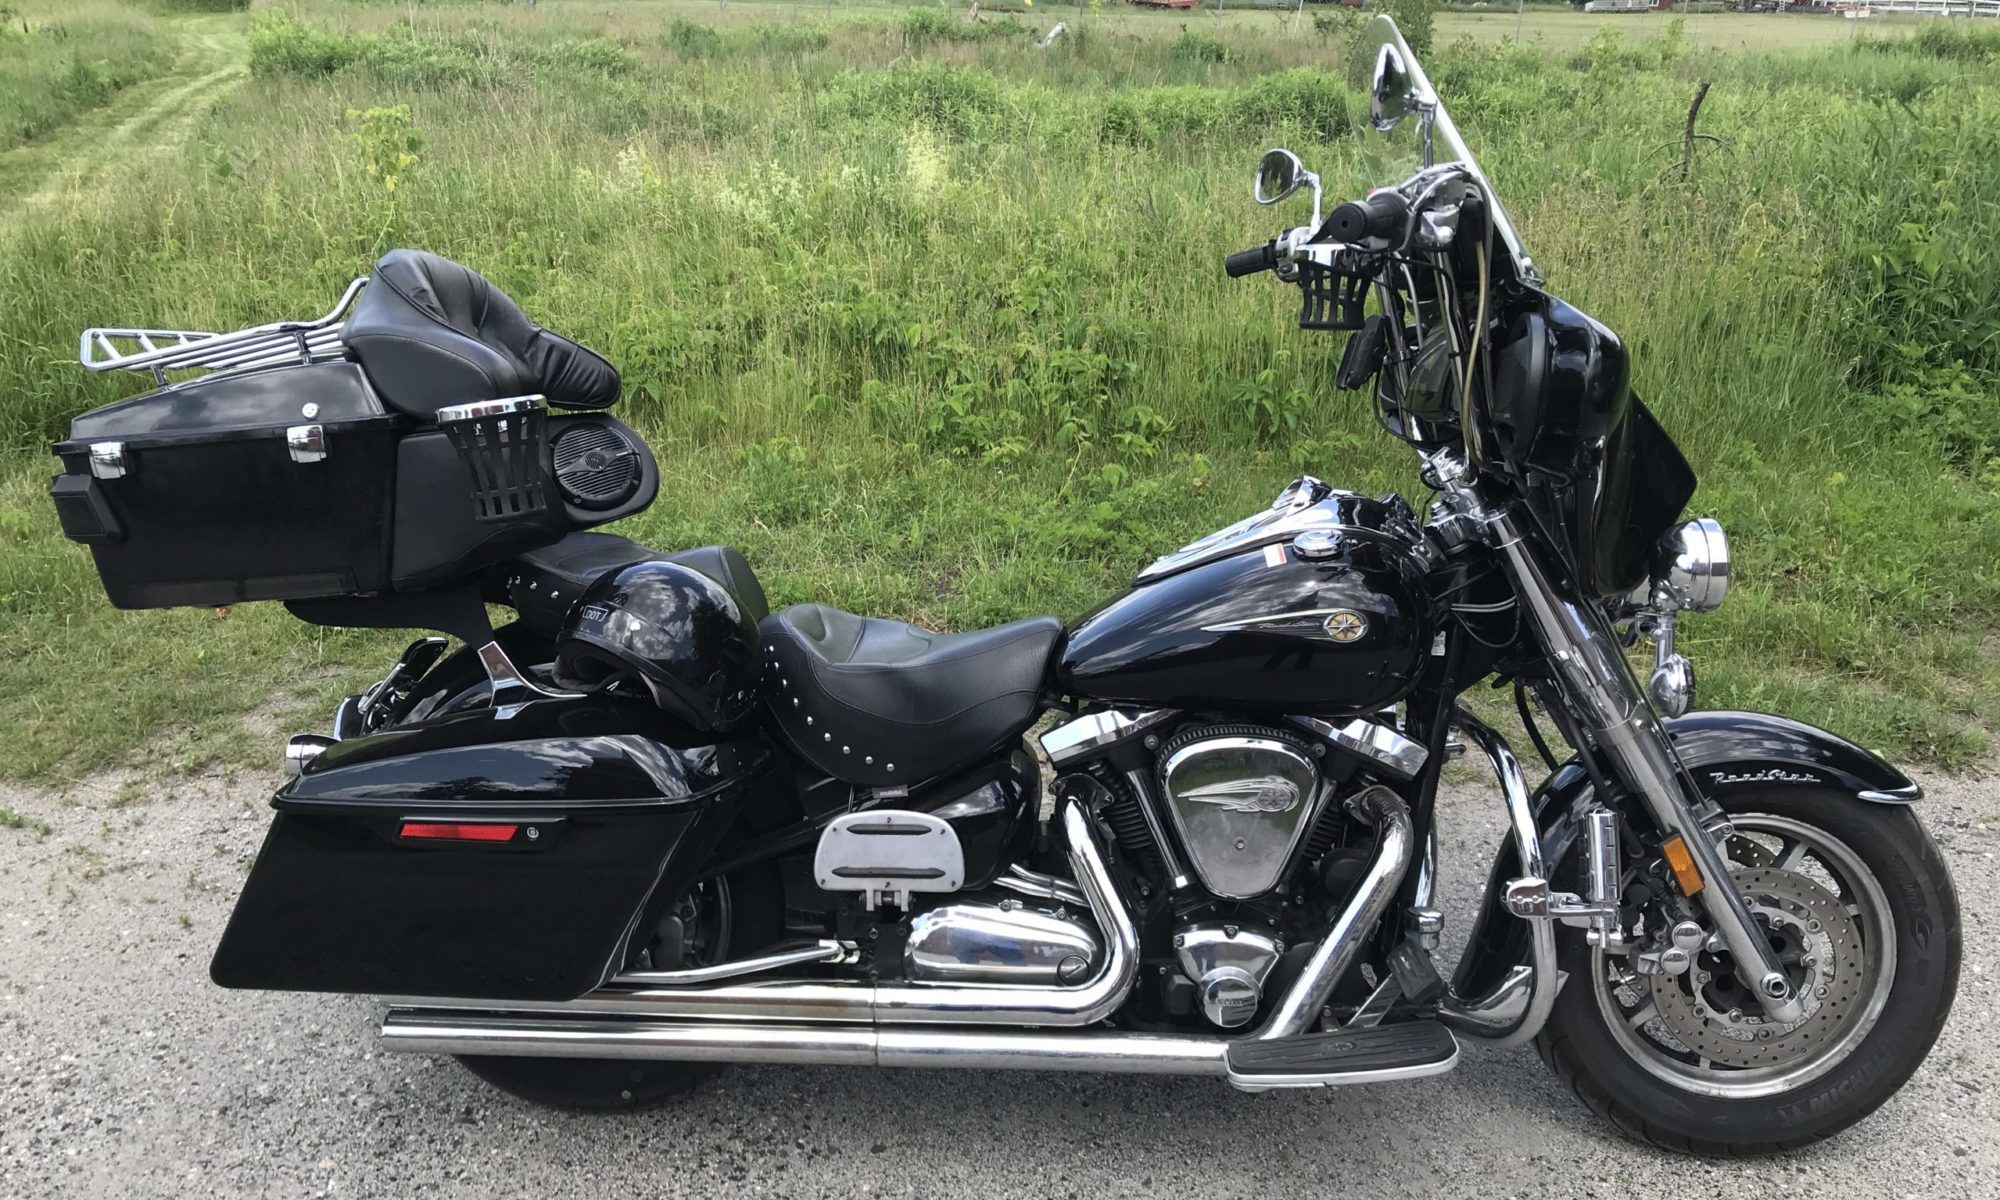
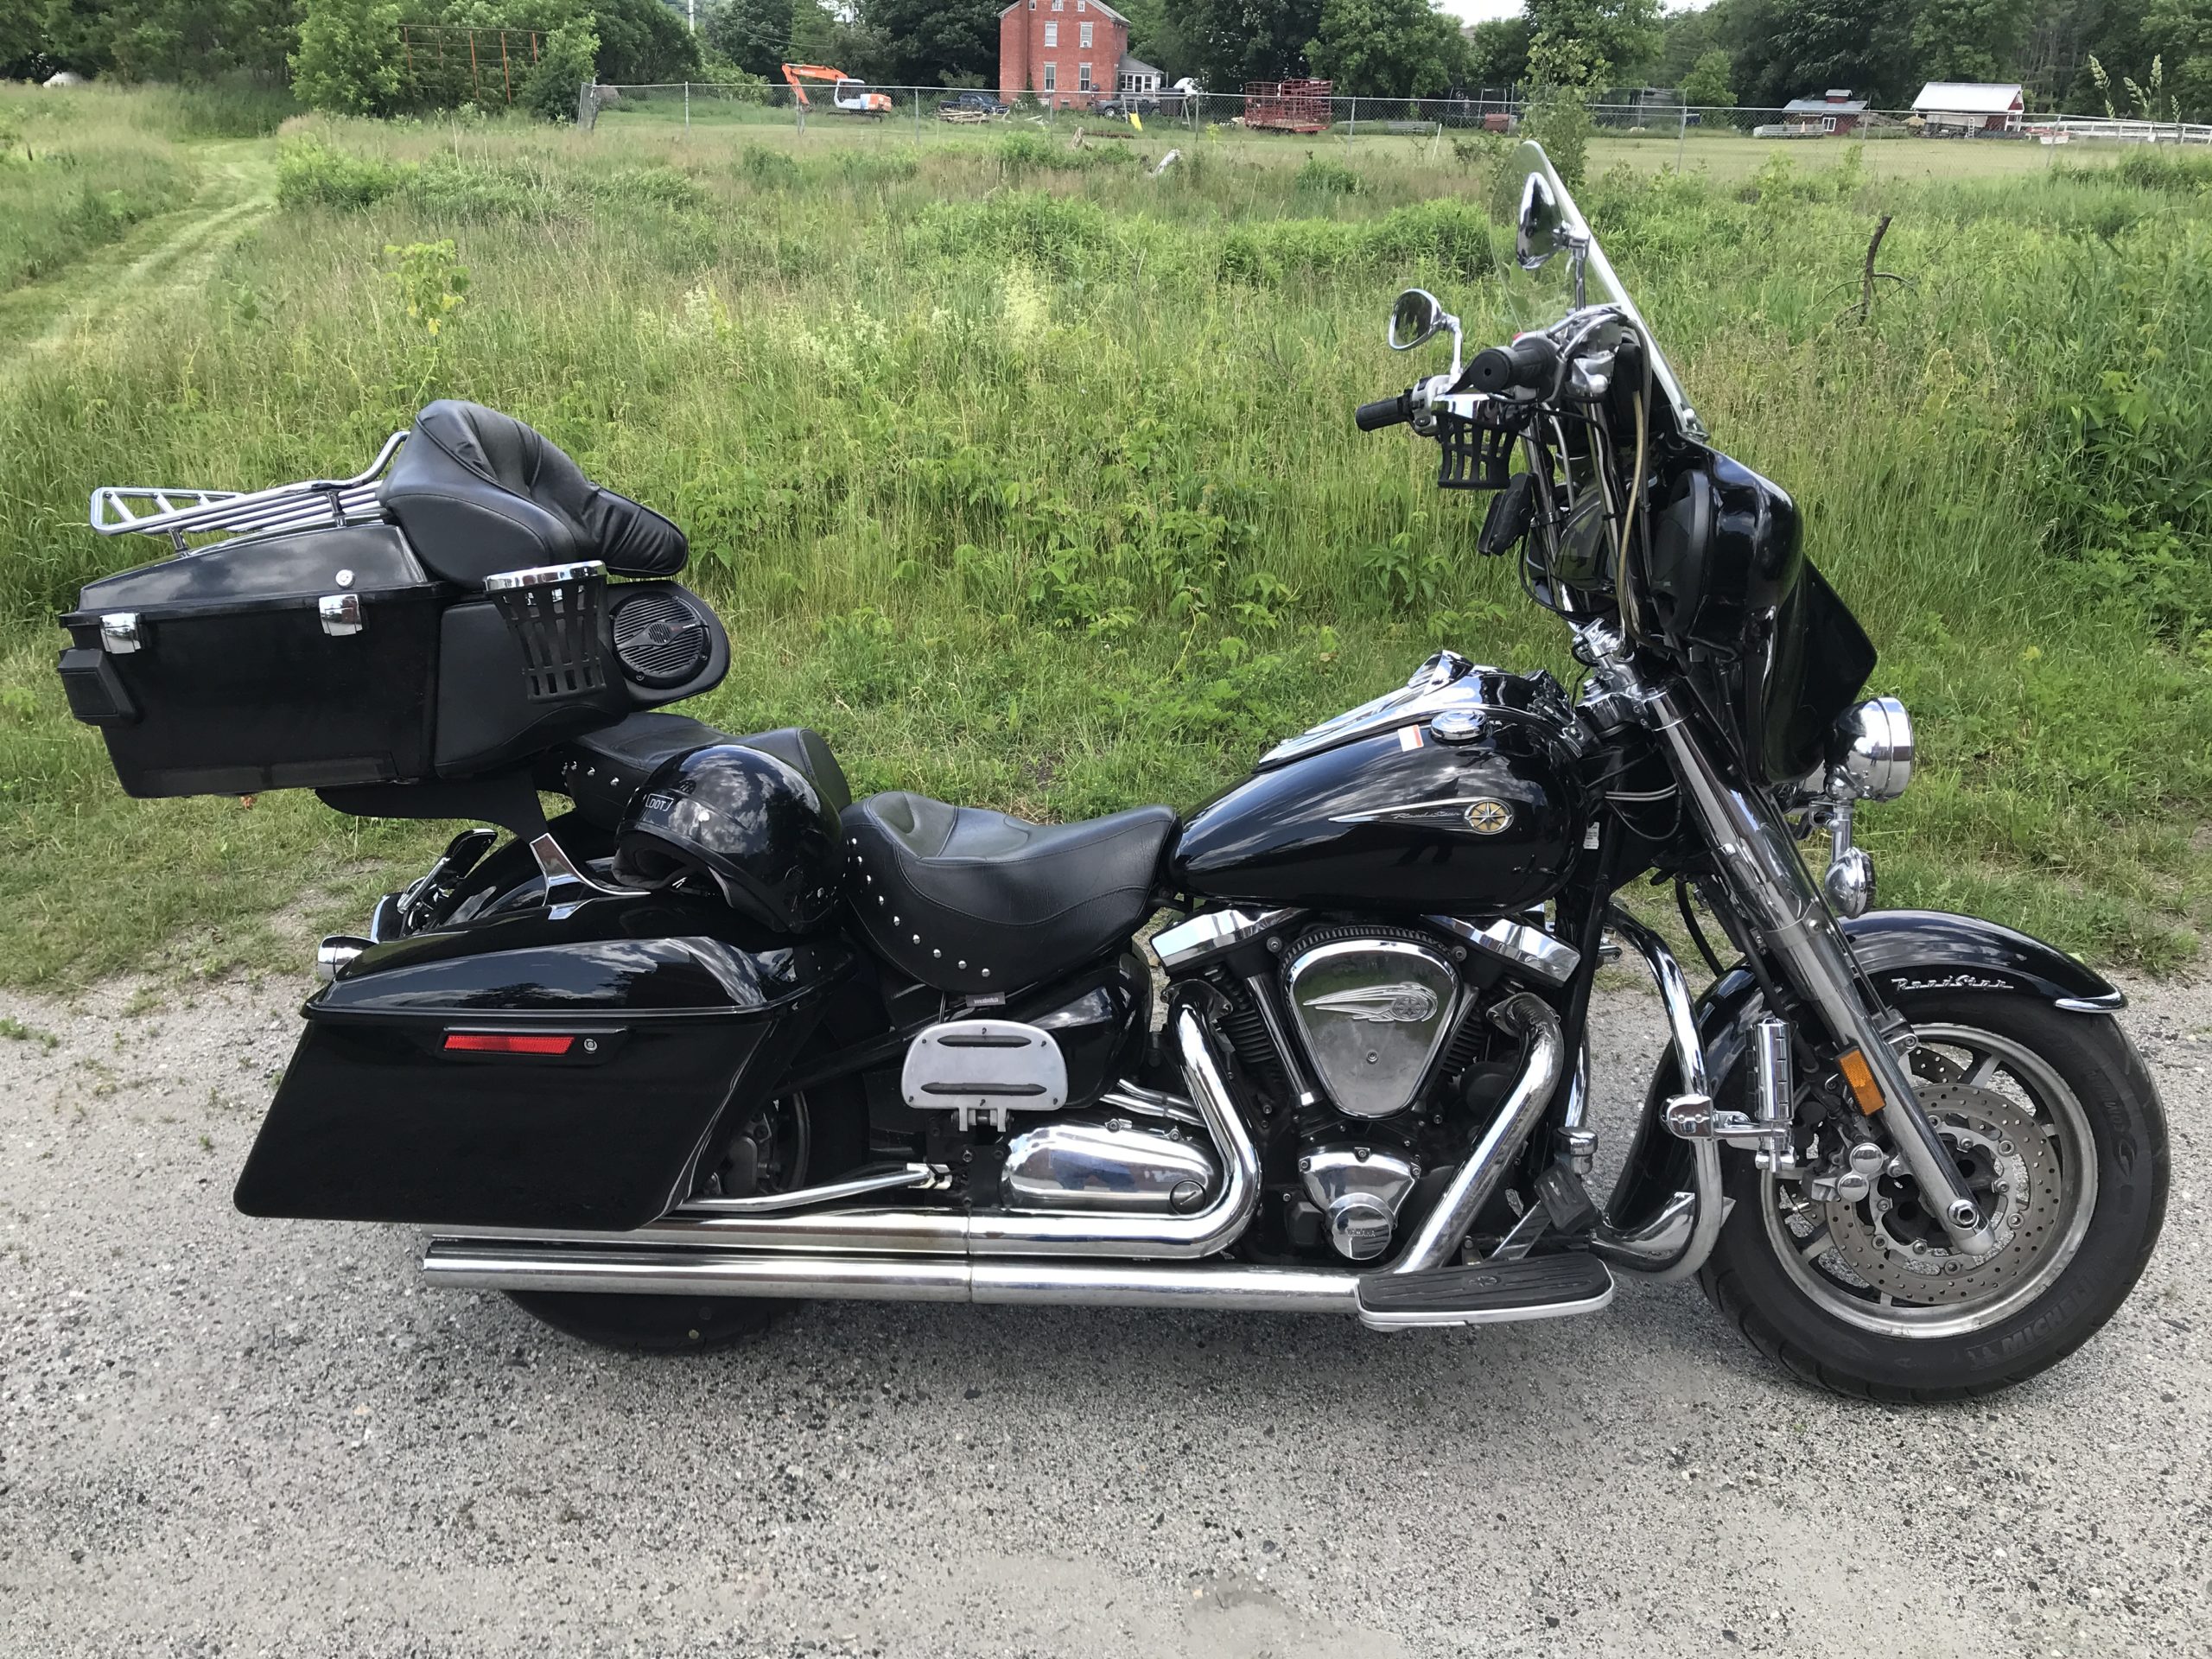
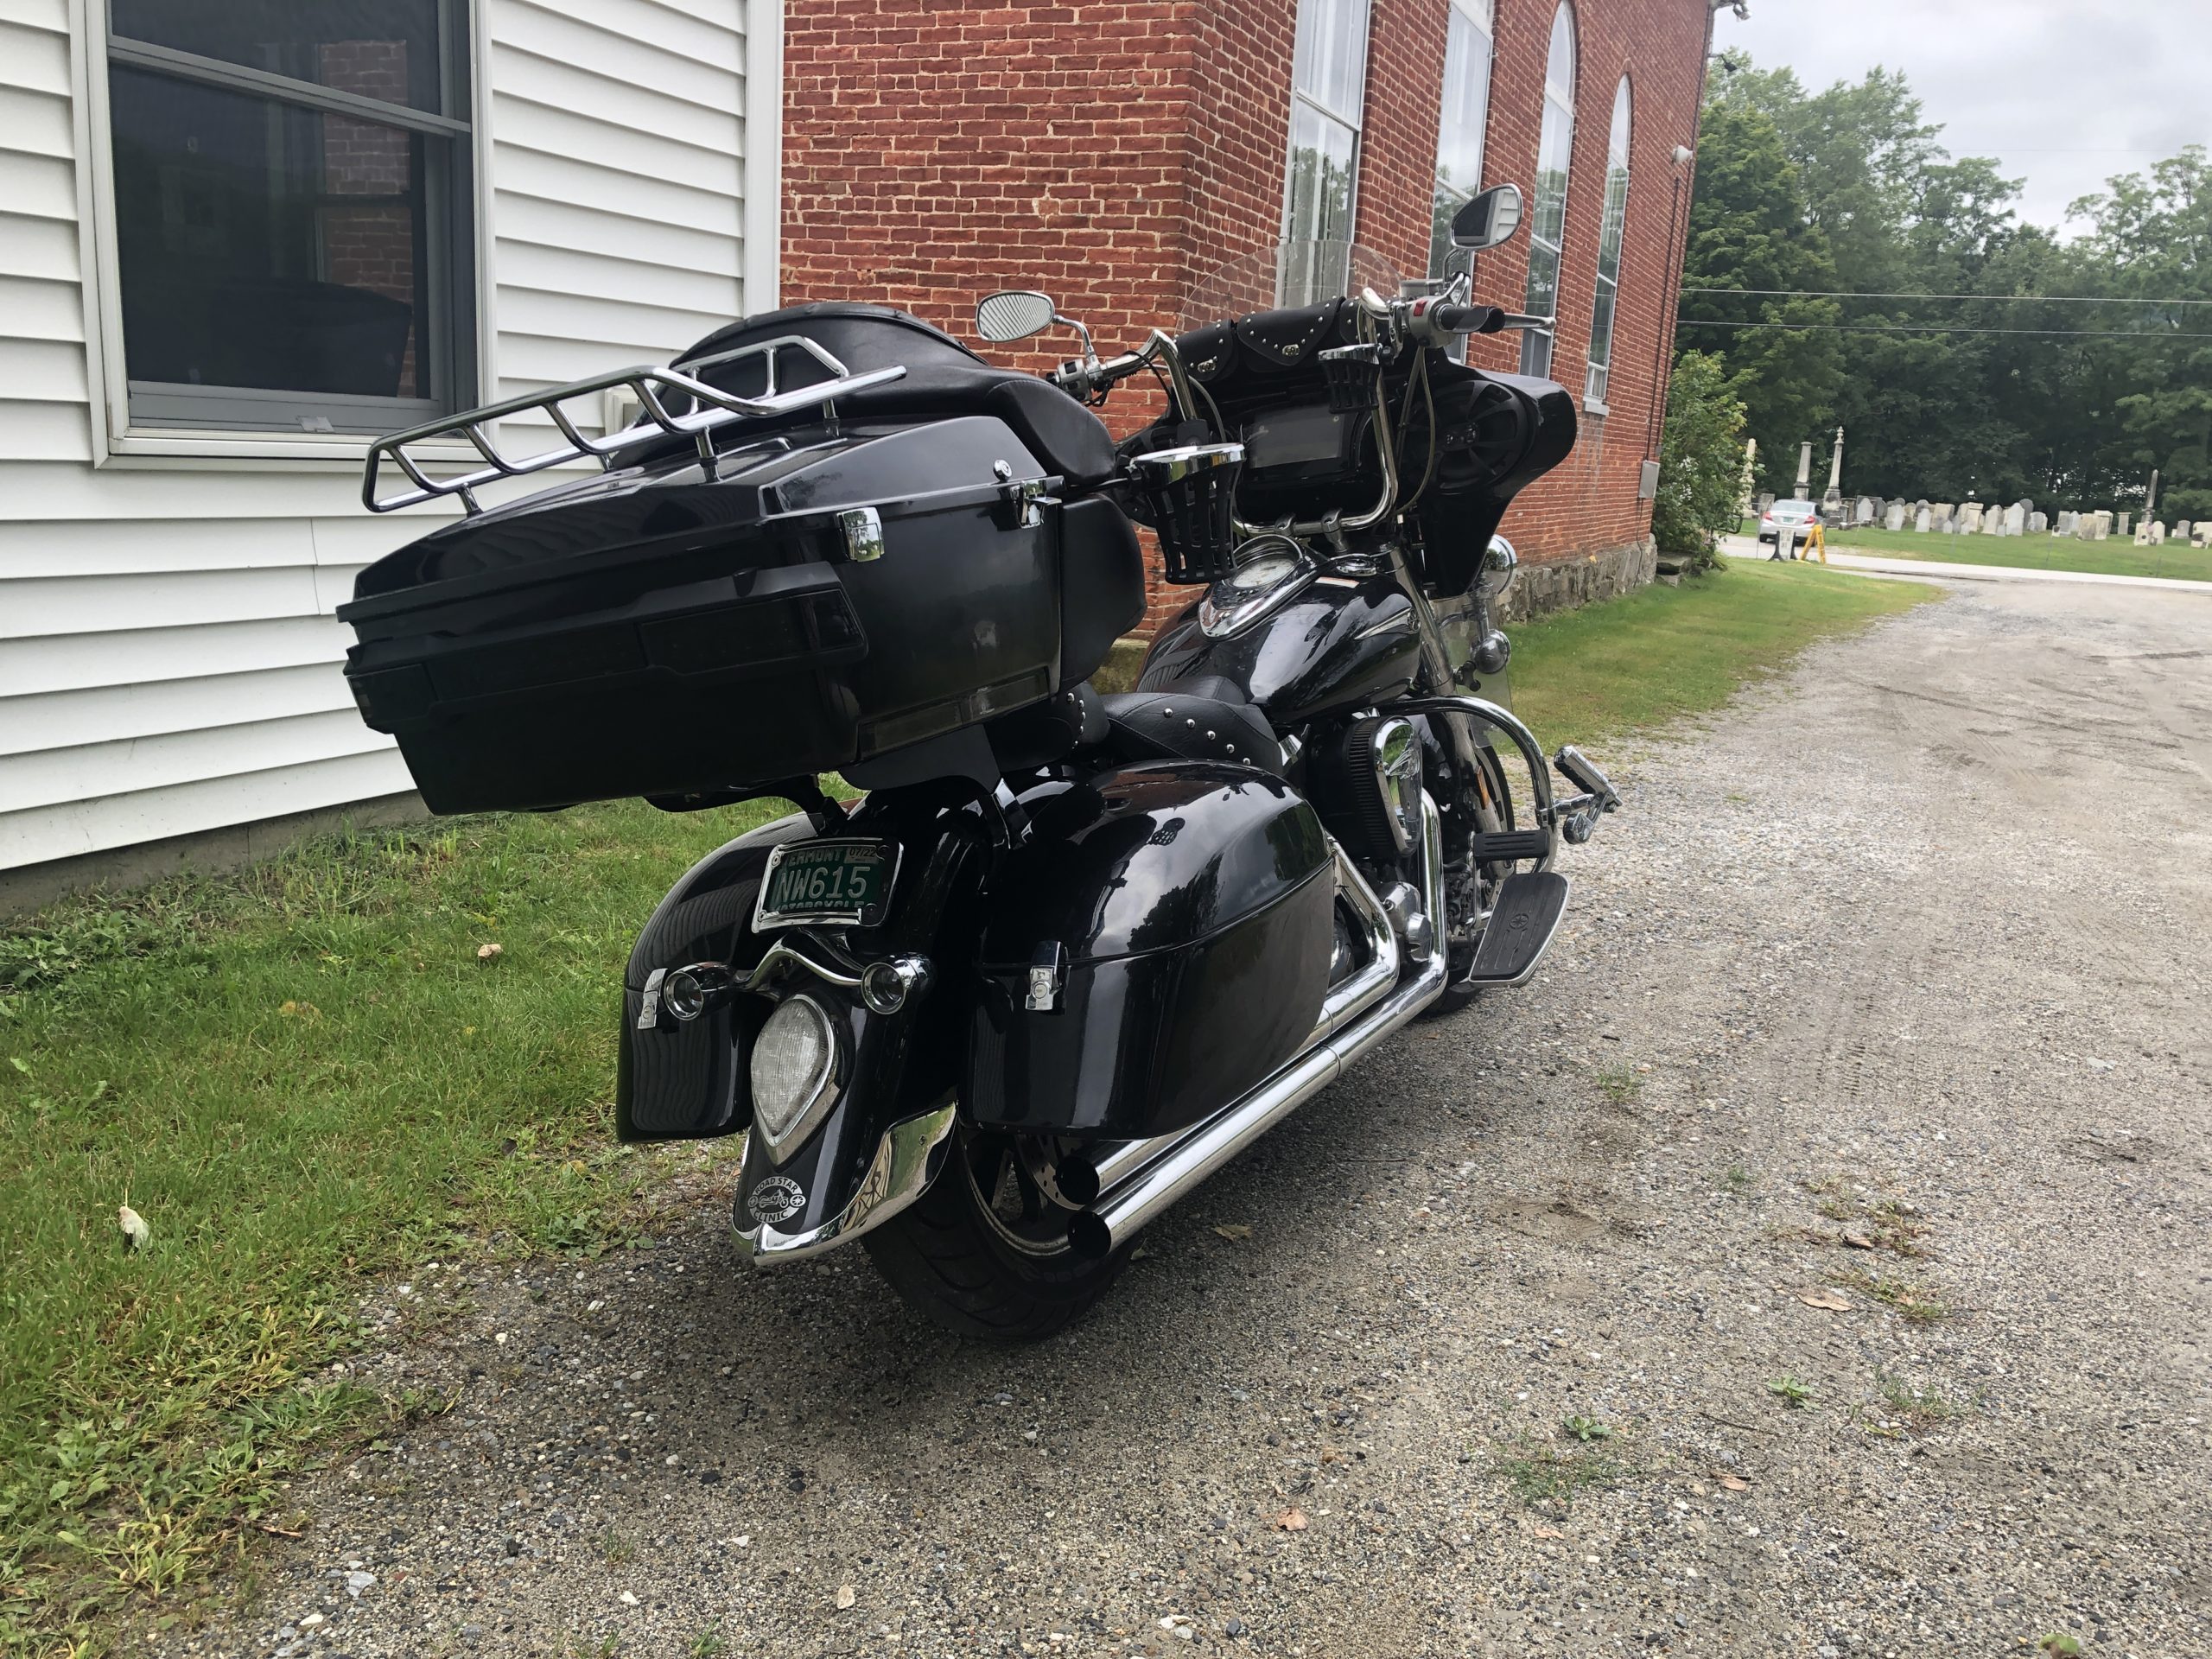
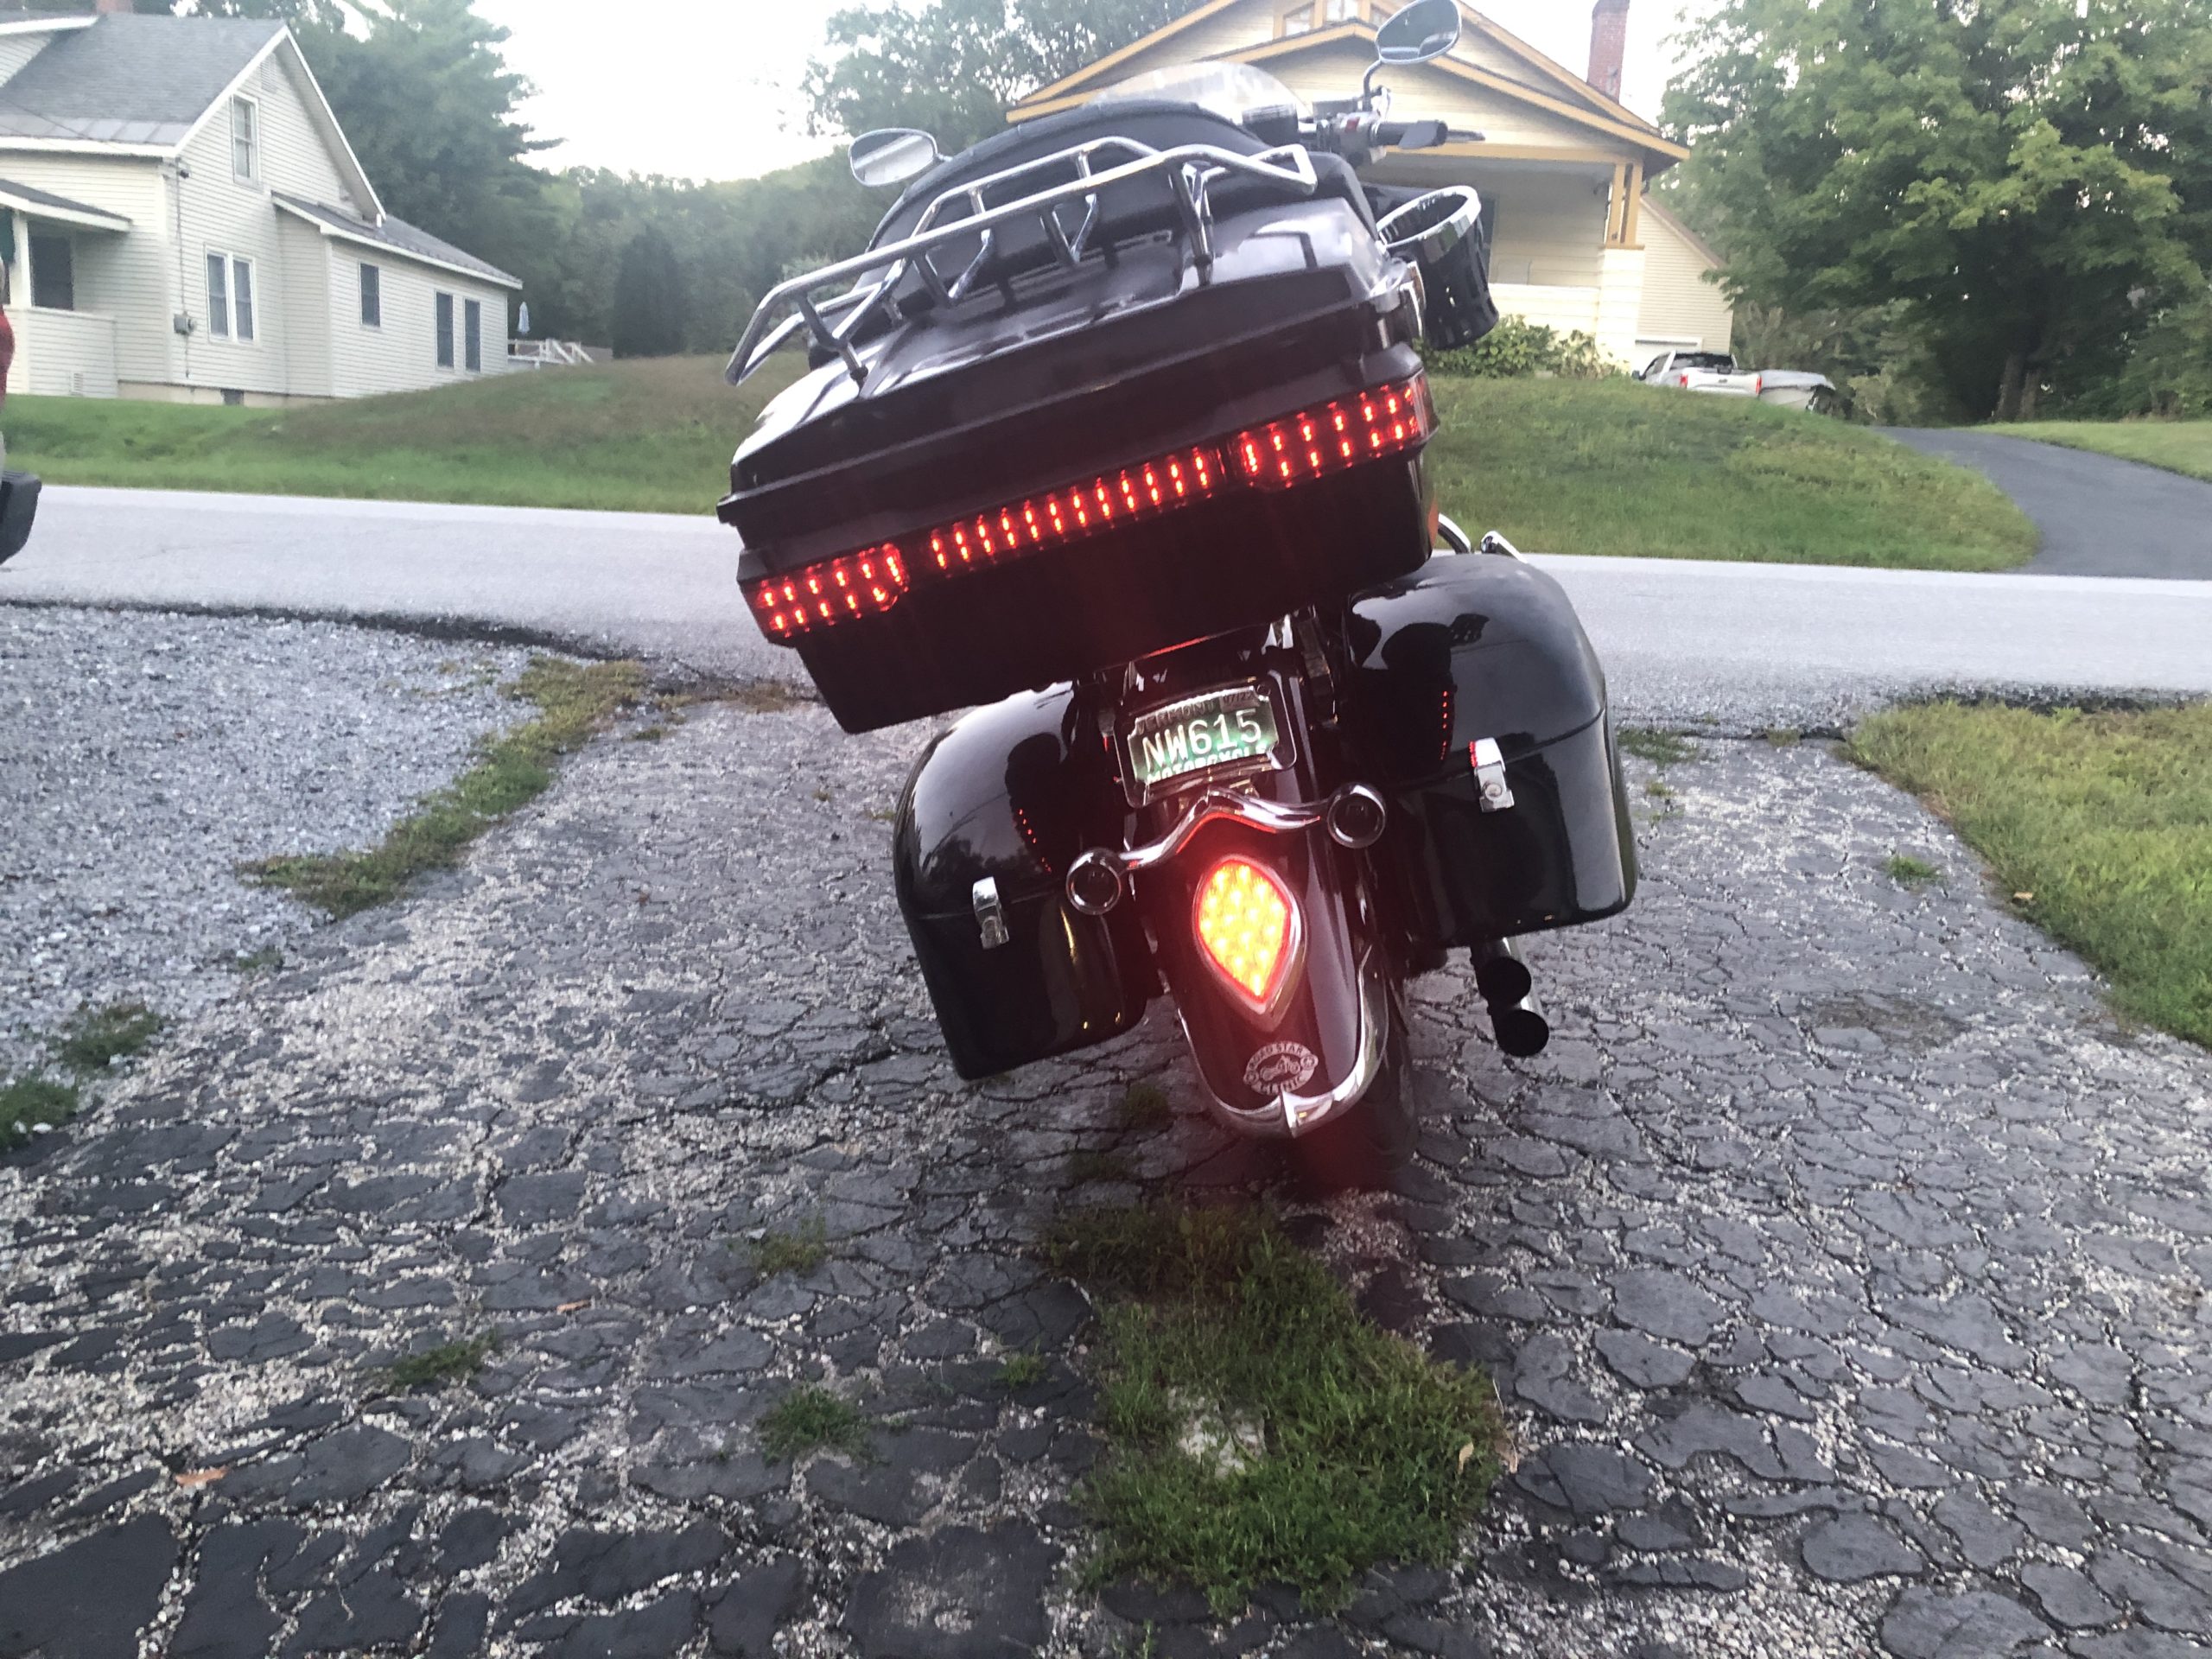
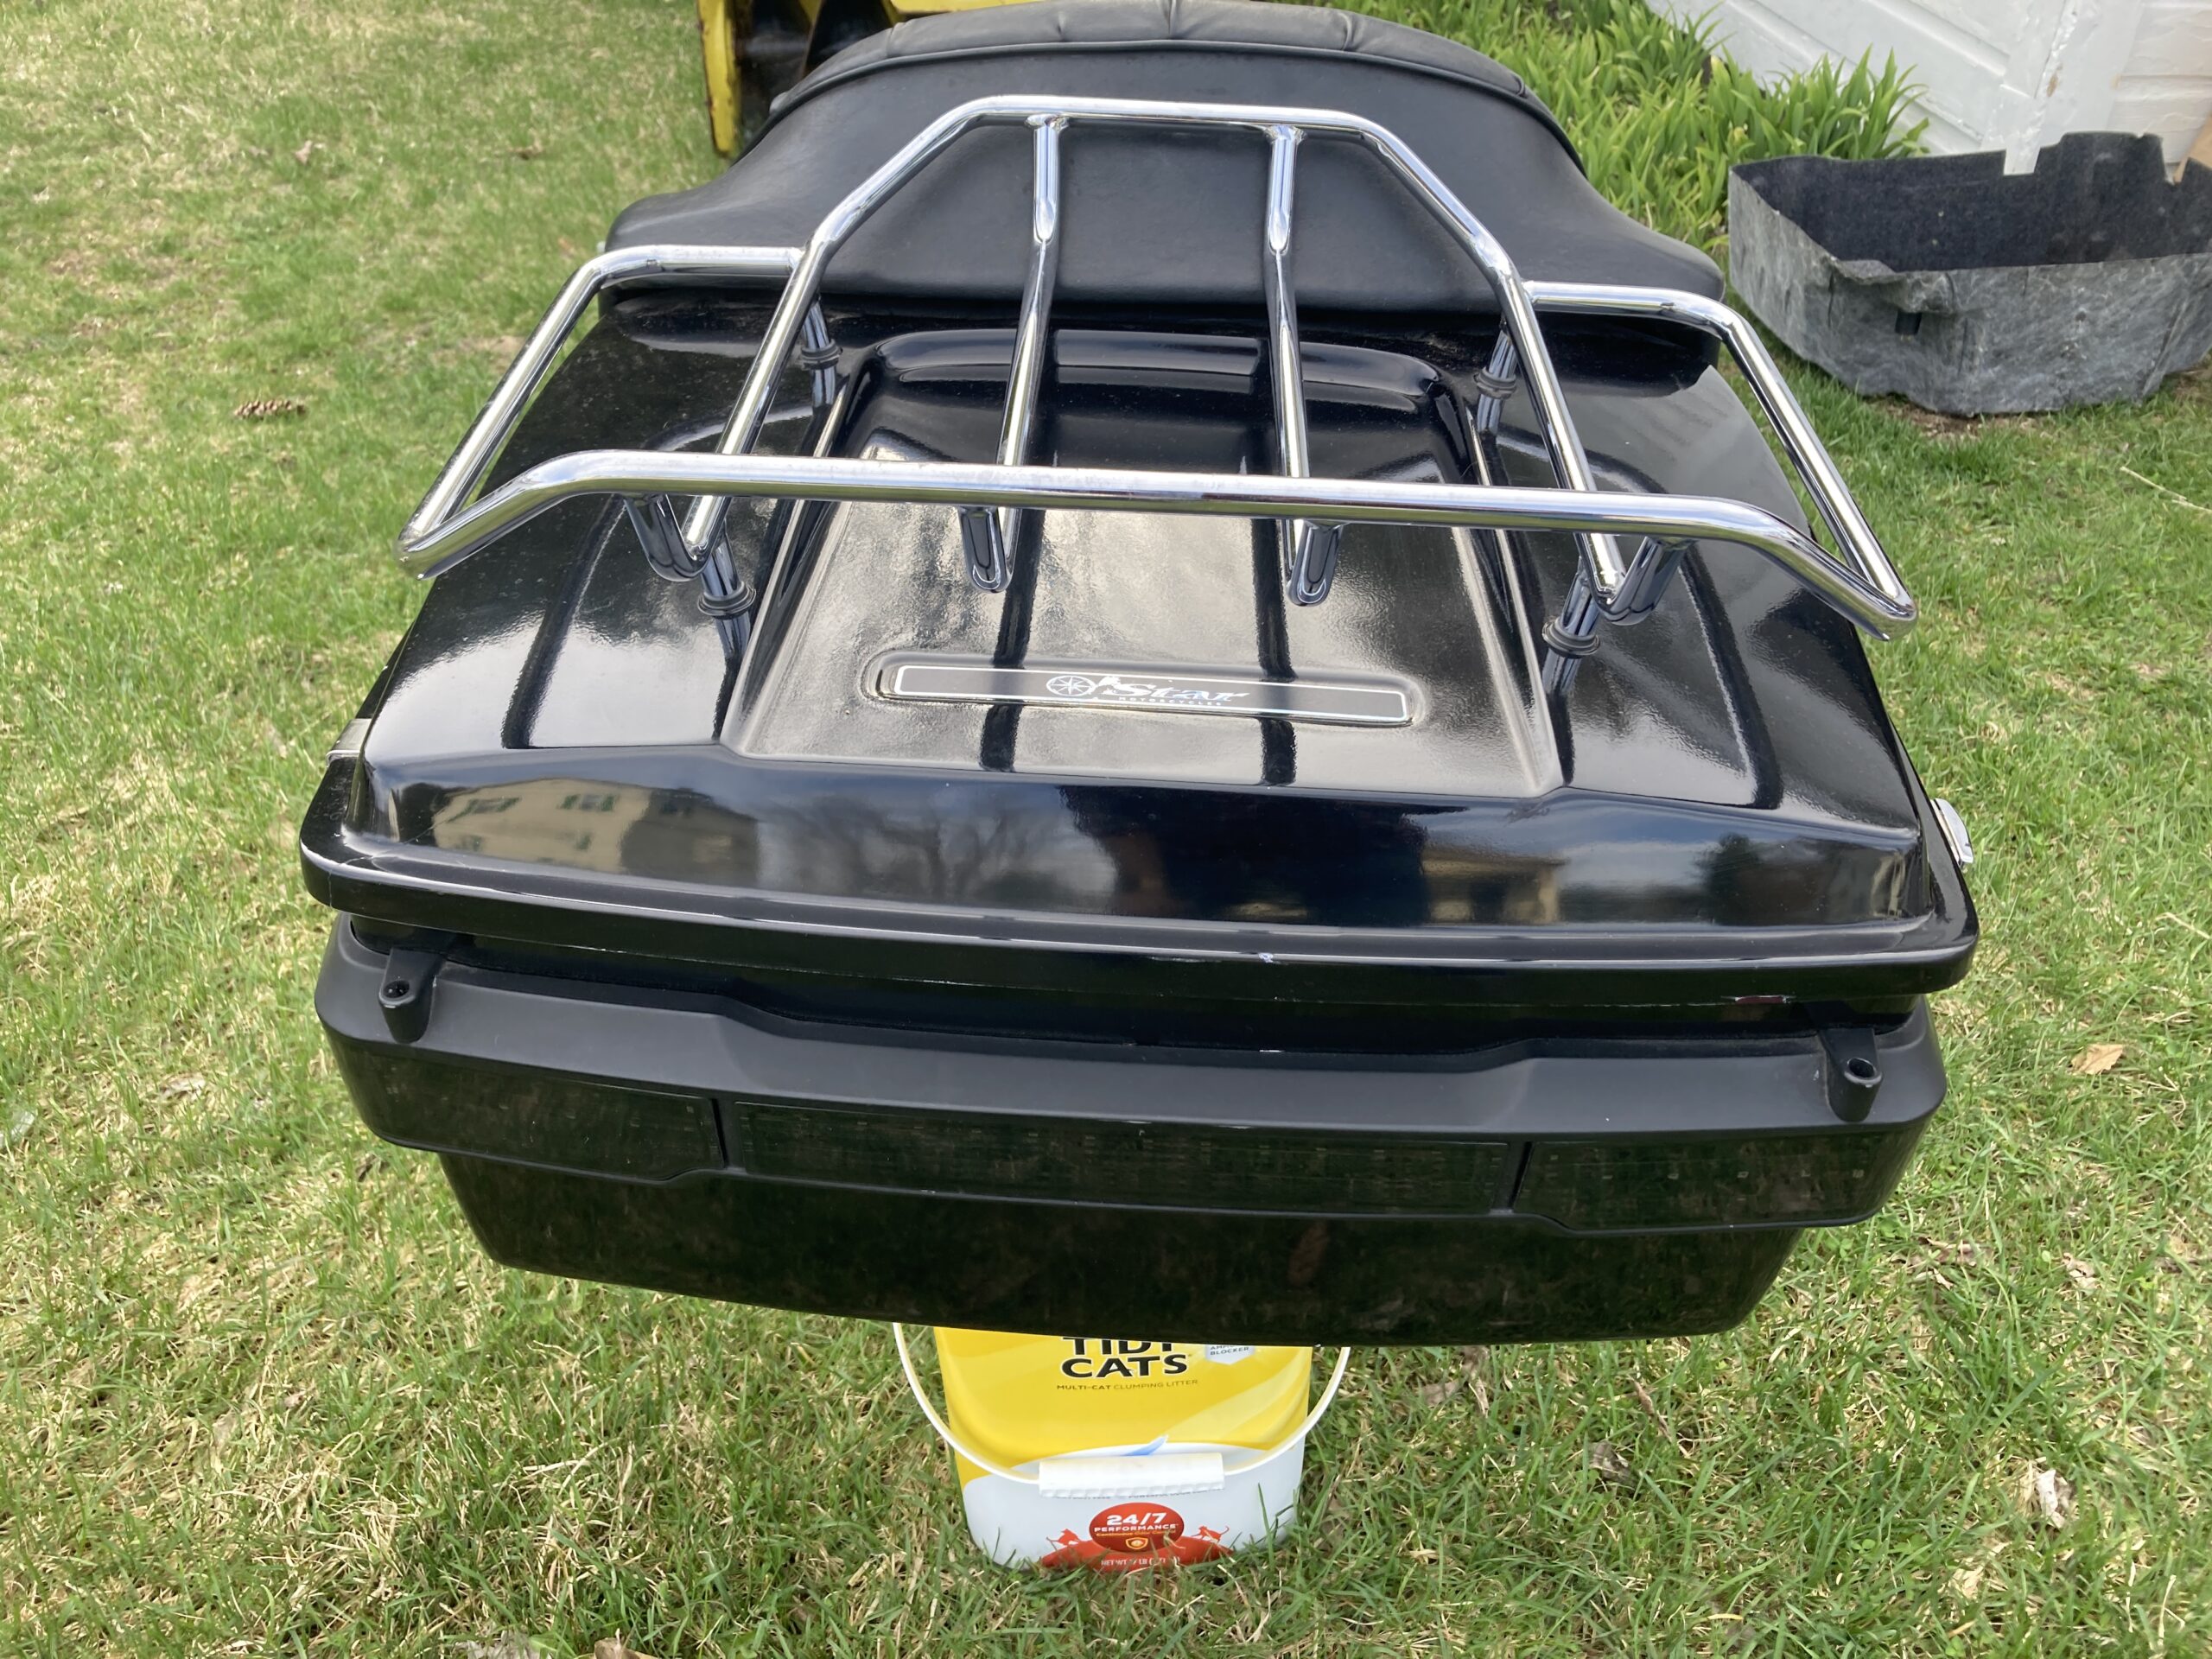
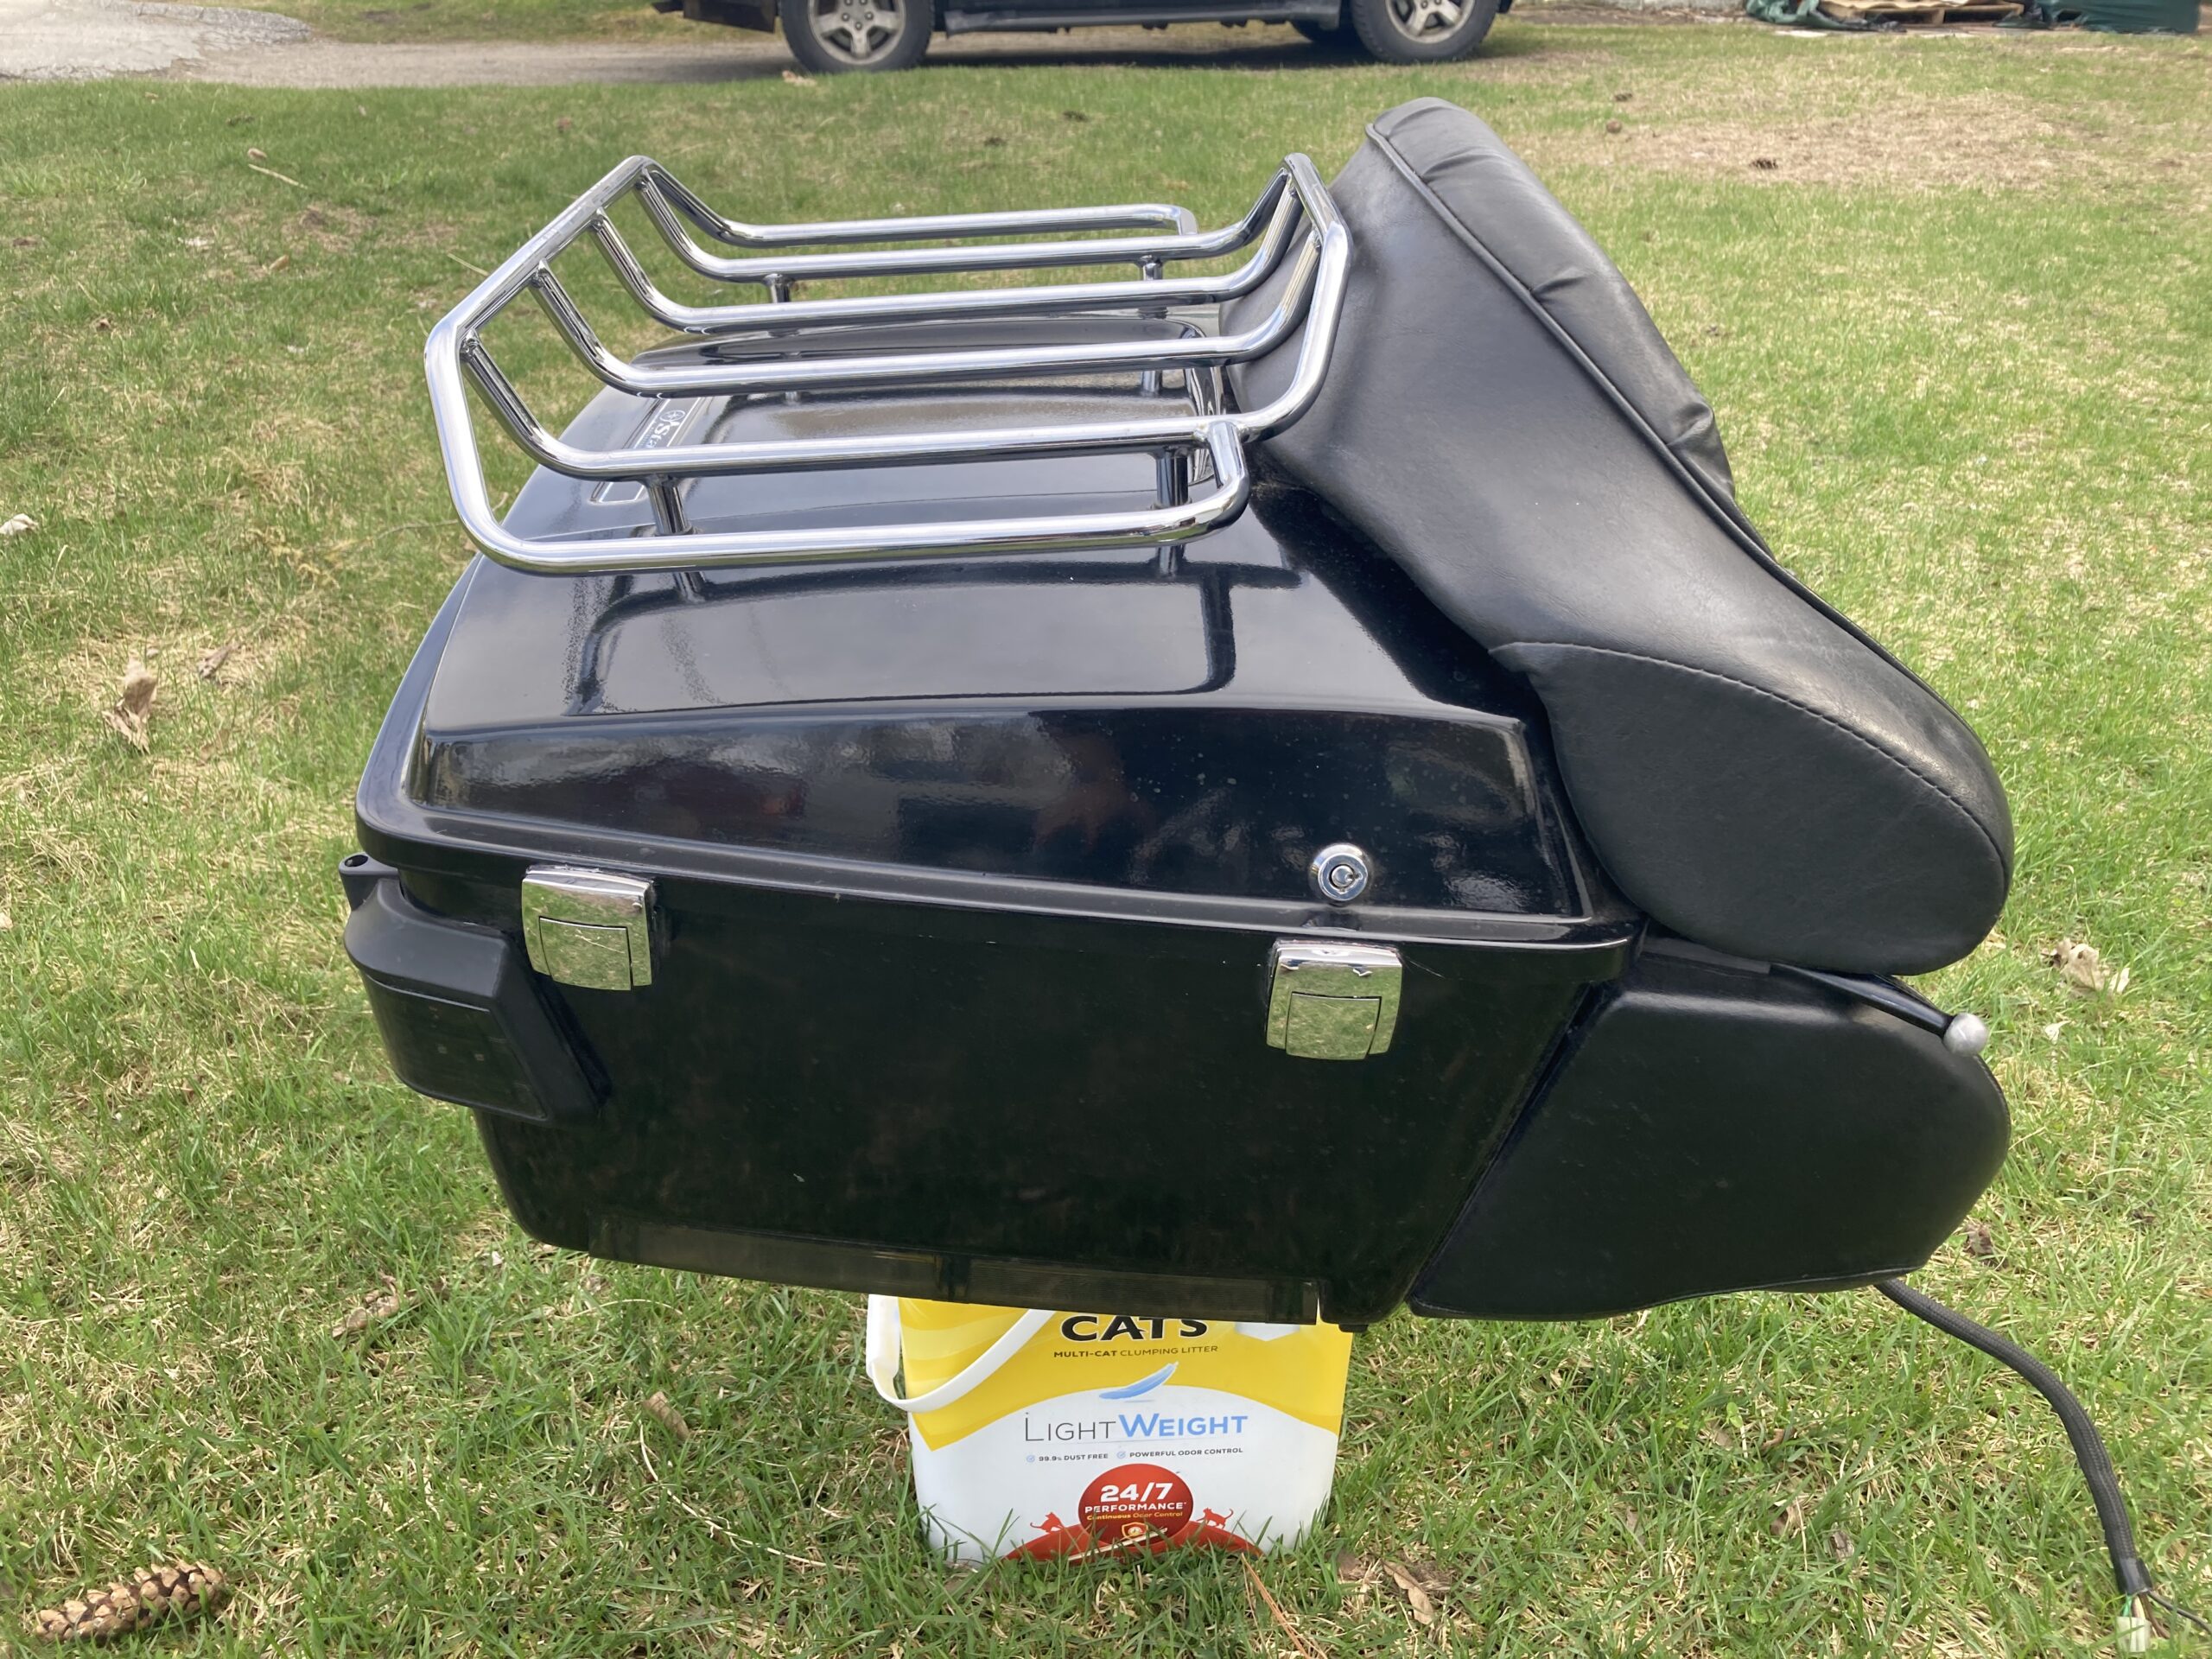
Harley Tour-Pak on a Road Star
I picked up a used Harley Davidson King Tour-Pak. I was told it was from a 2000 Road King. I had to pick up an Adam’s Rack in order to mount it. This page will detail what I did to it, including instructions. Feel free to reach out if you have questions.
Watch a walk-around video.


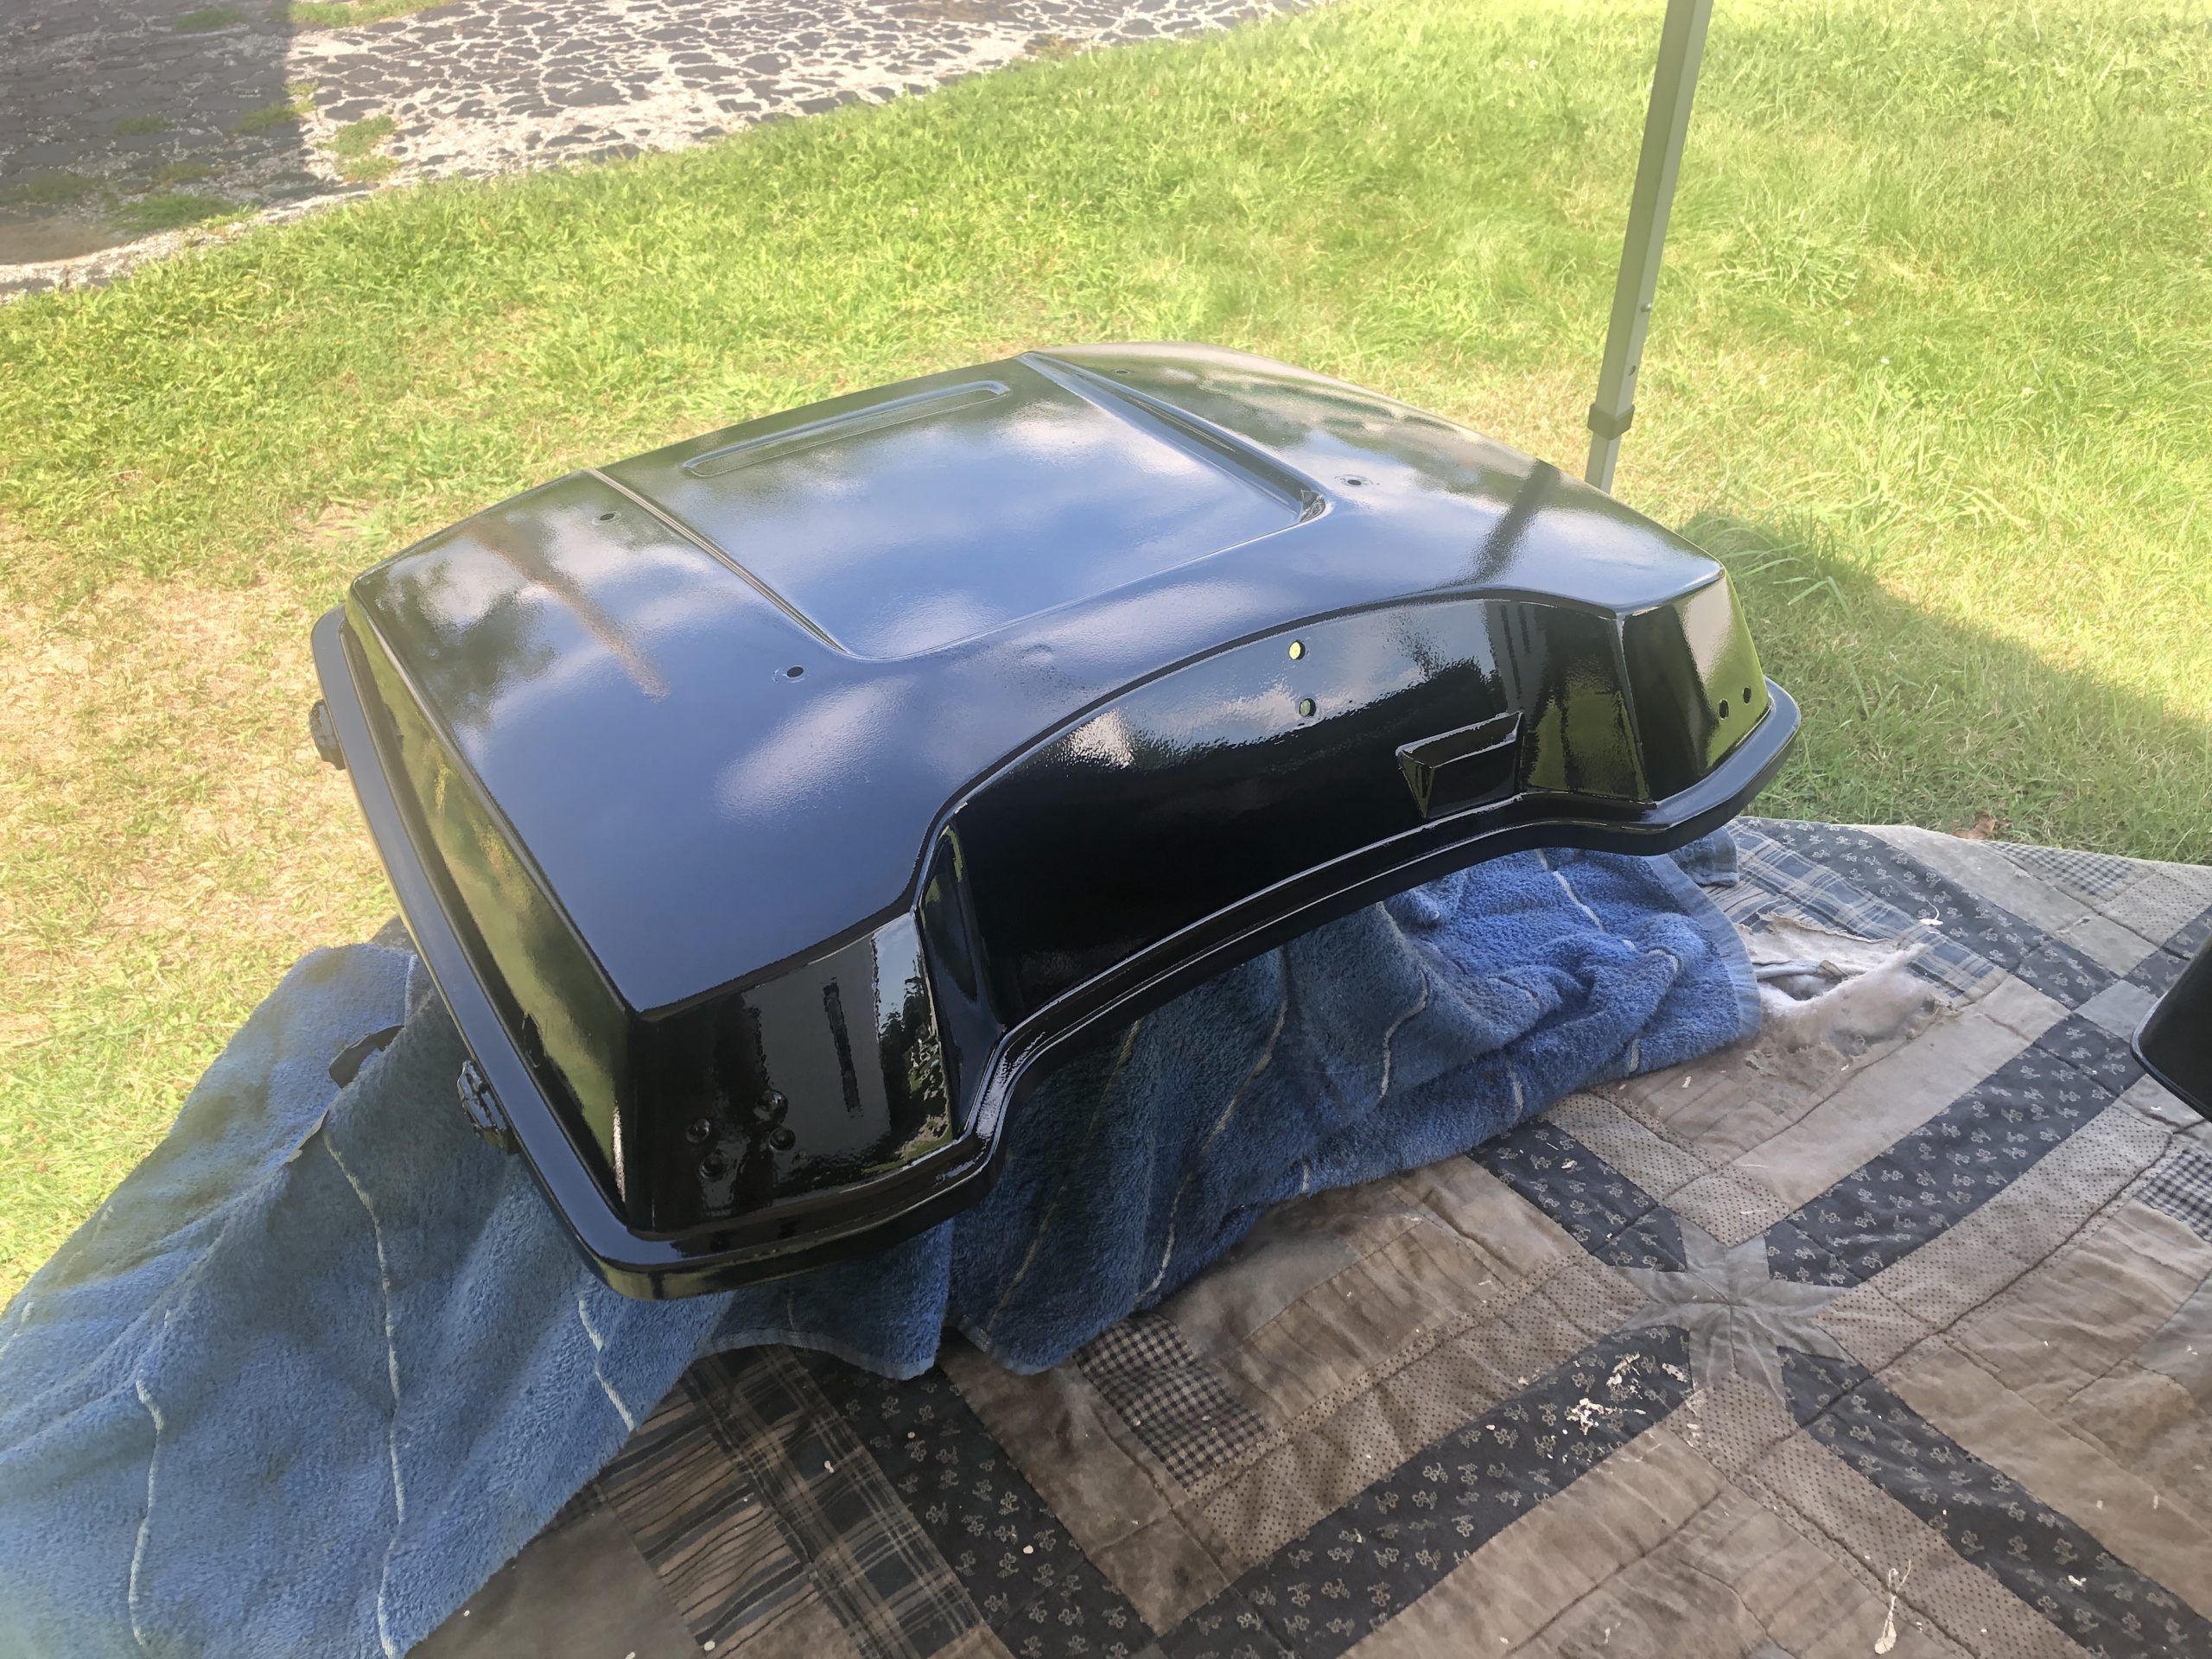
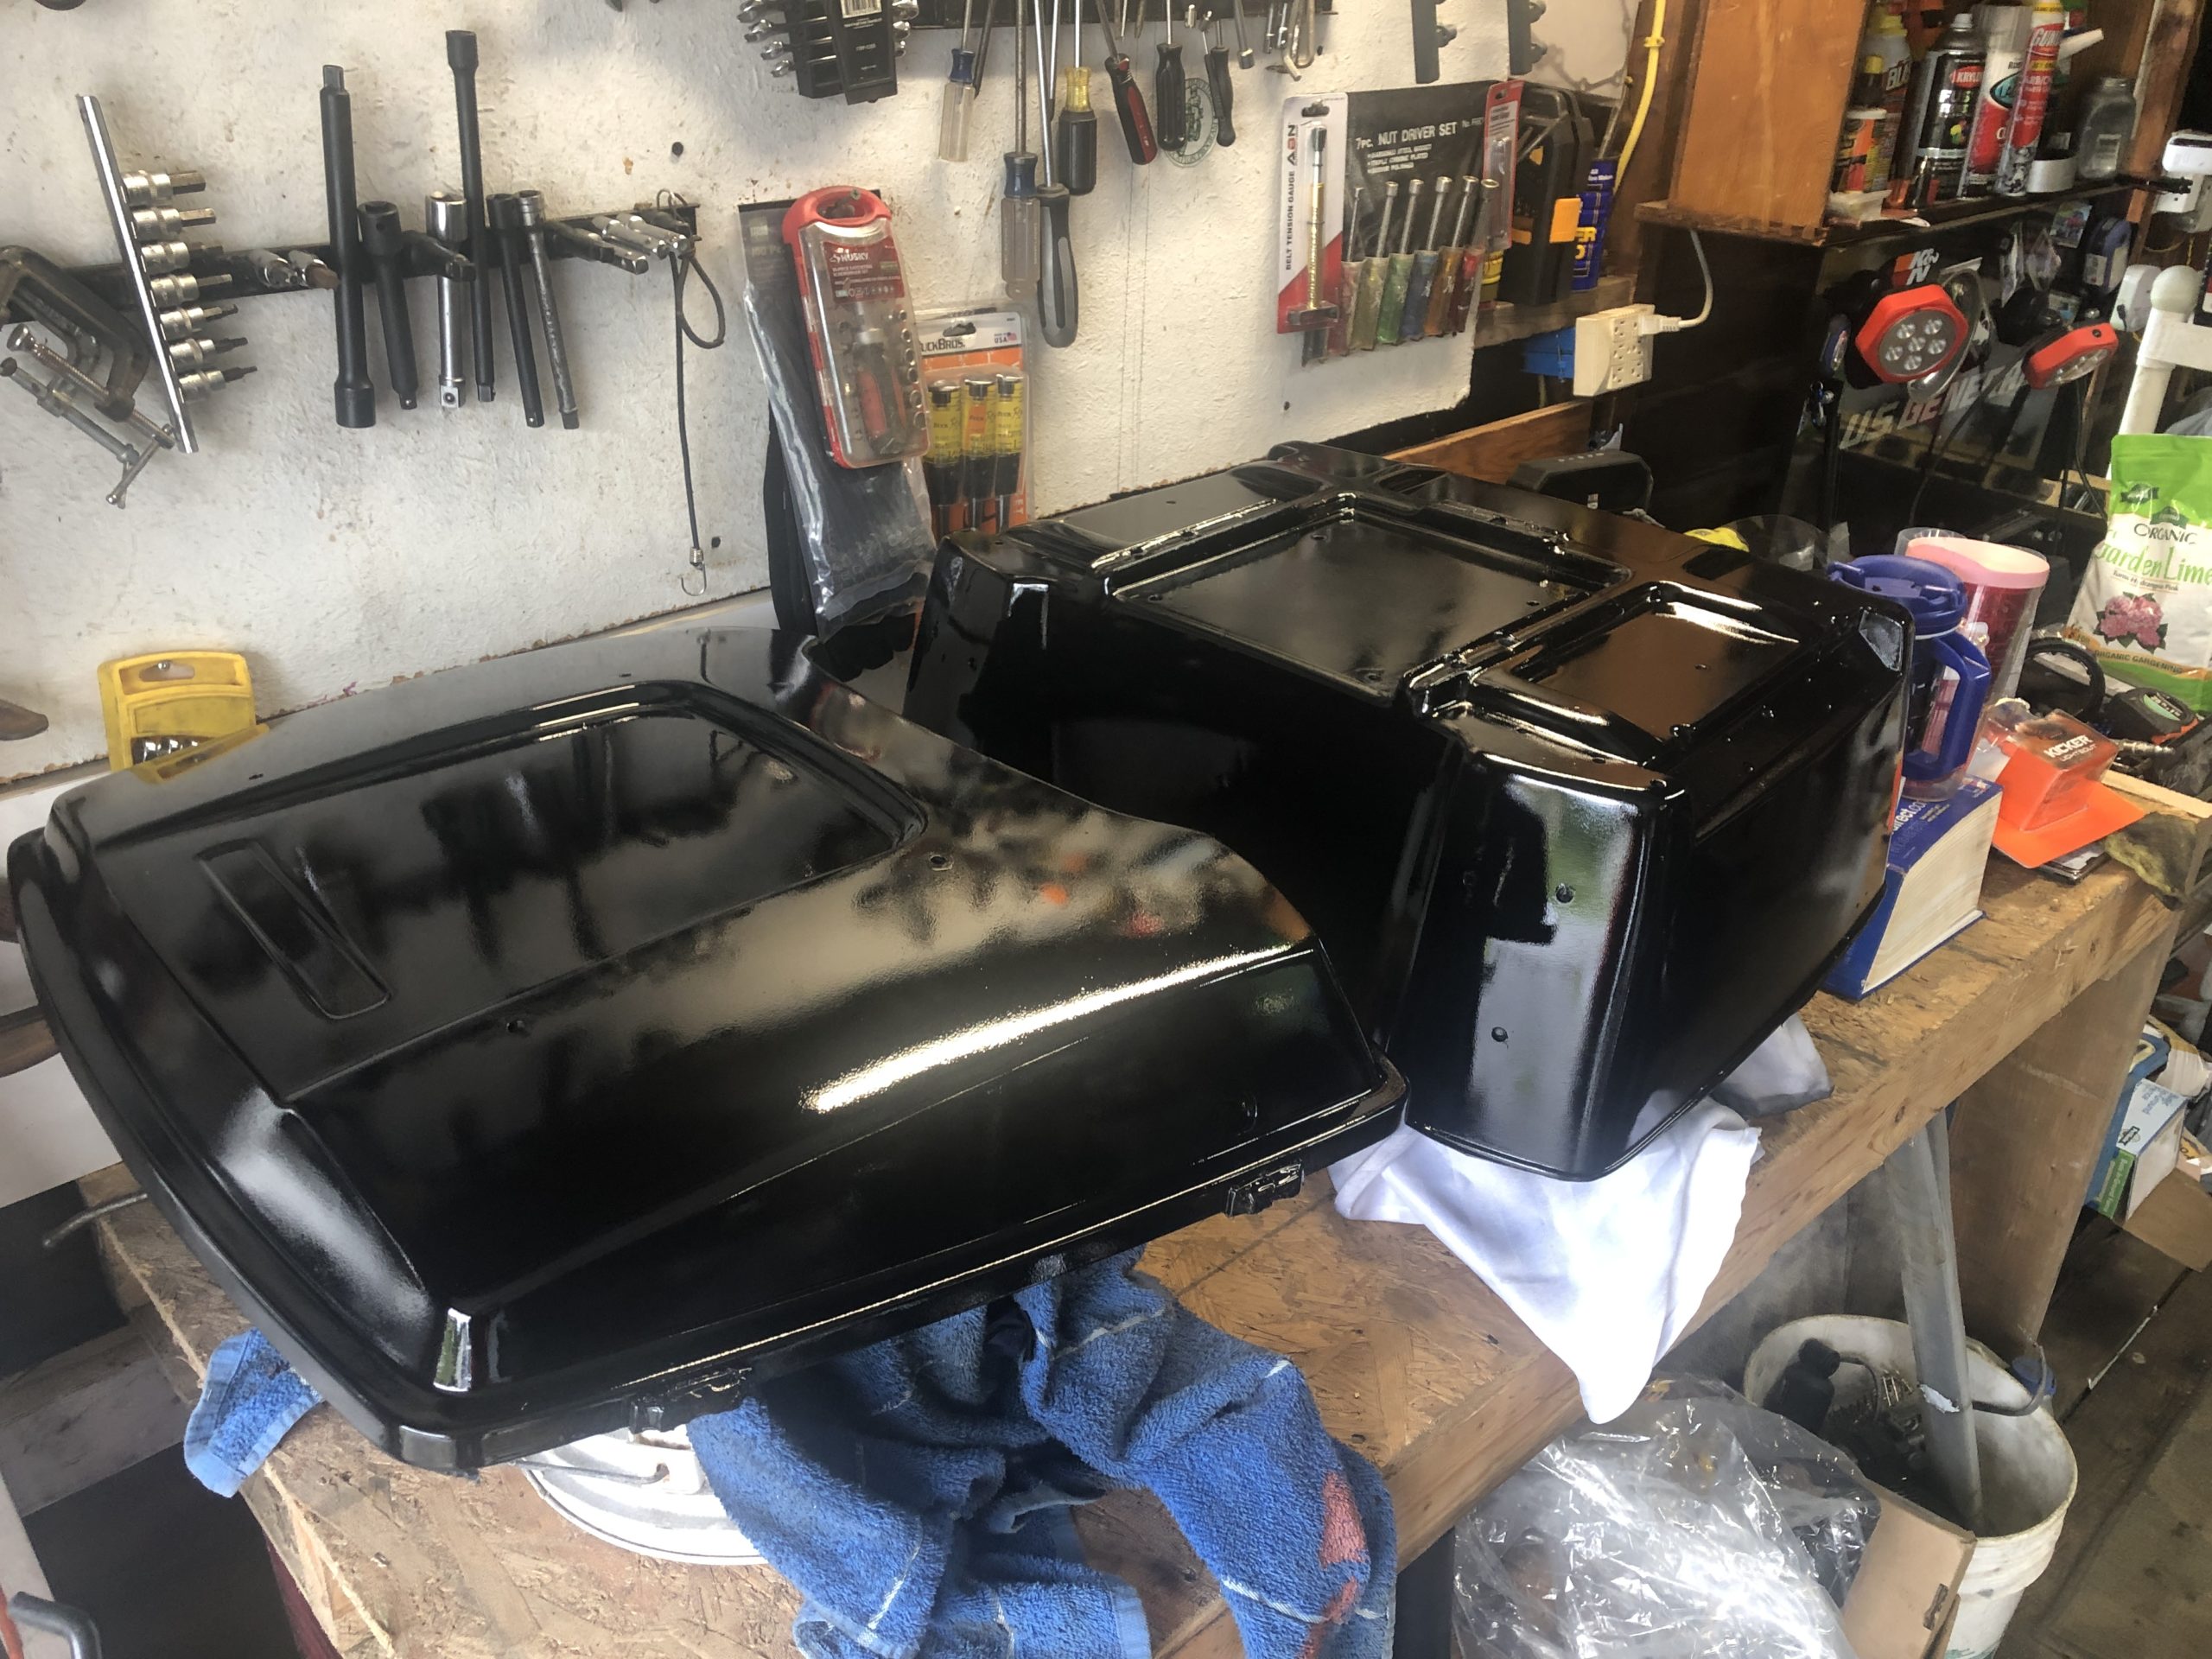
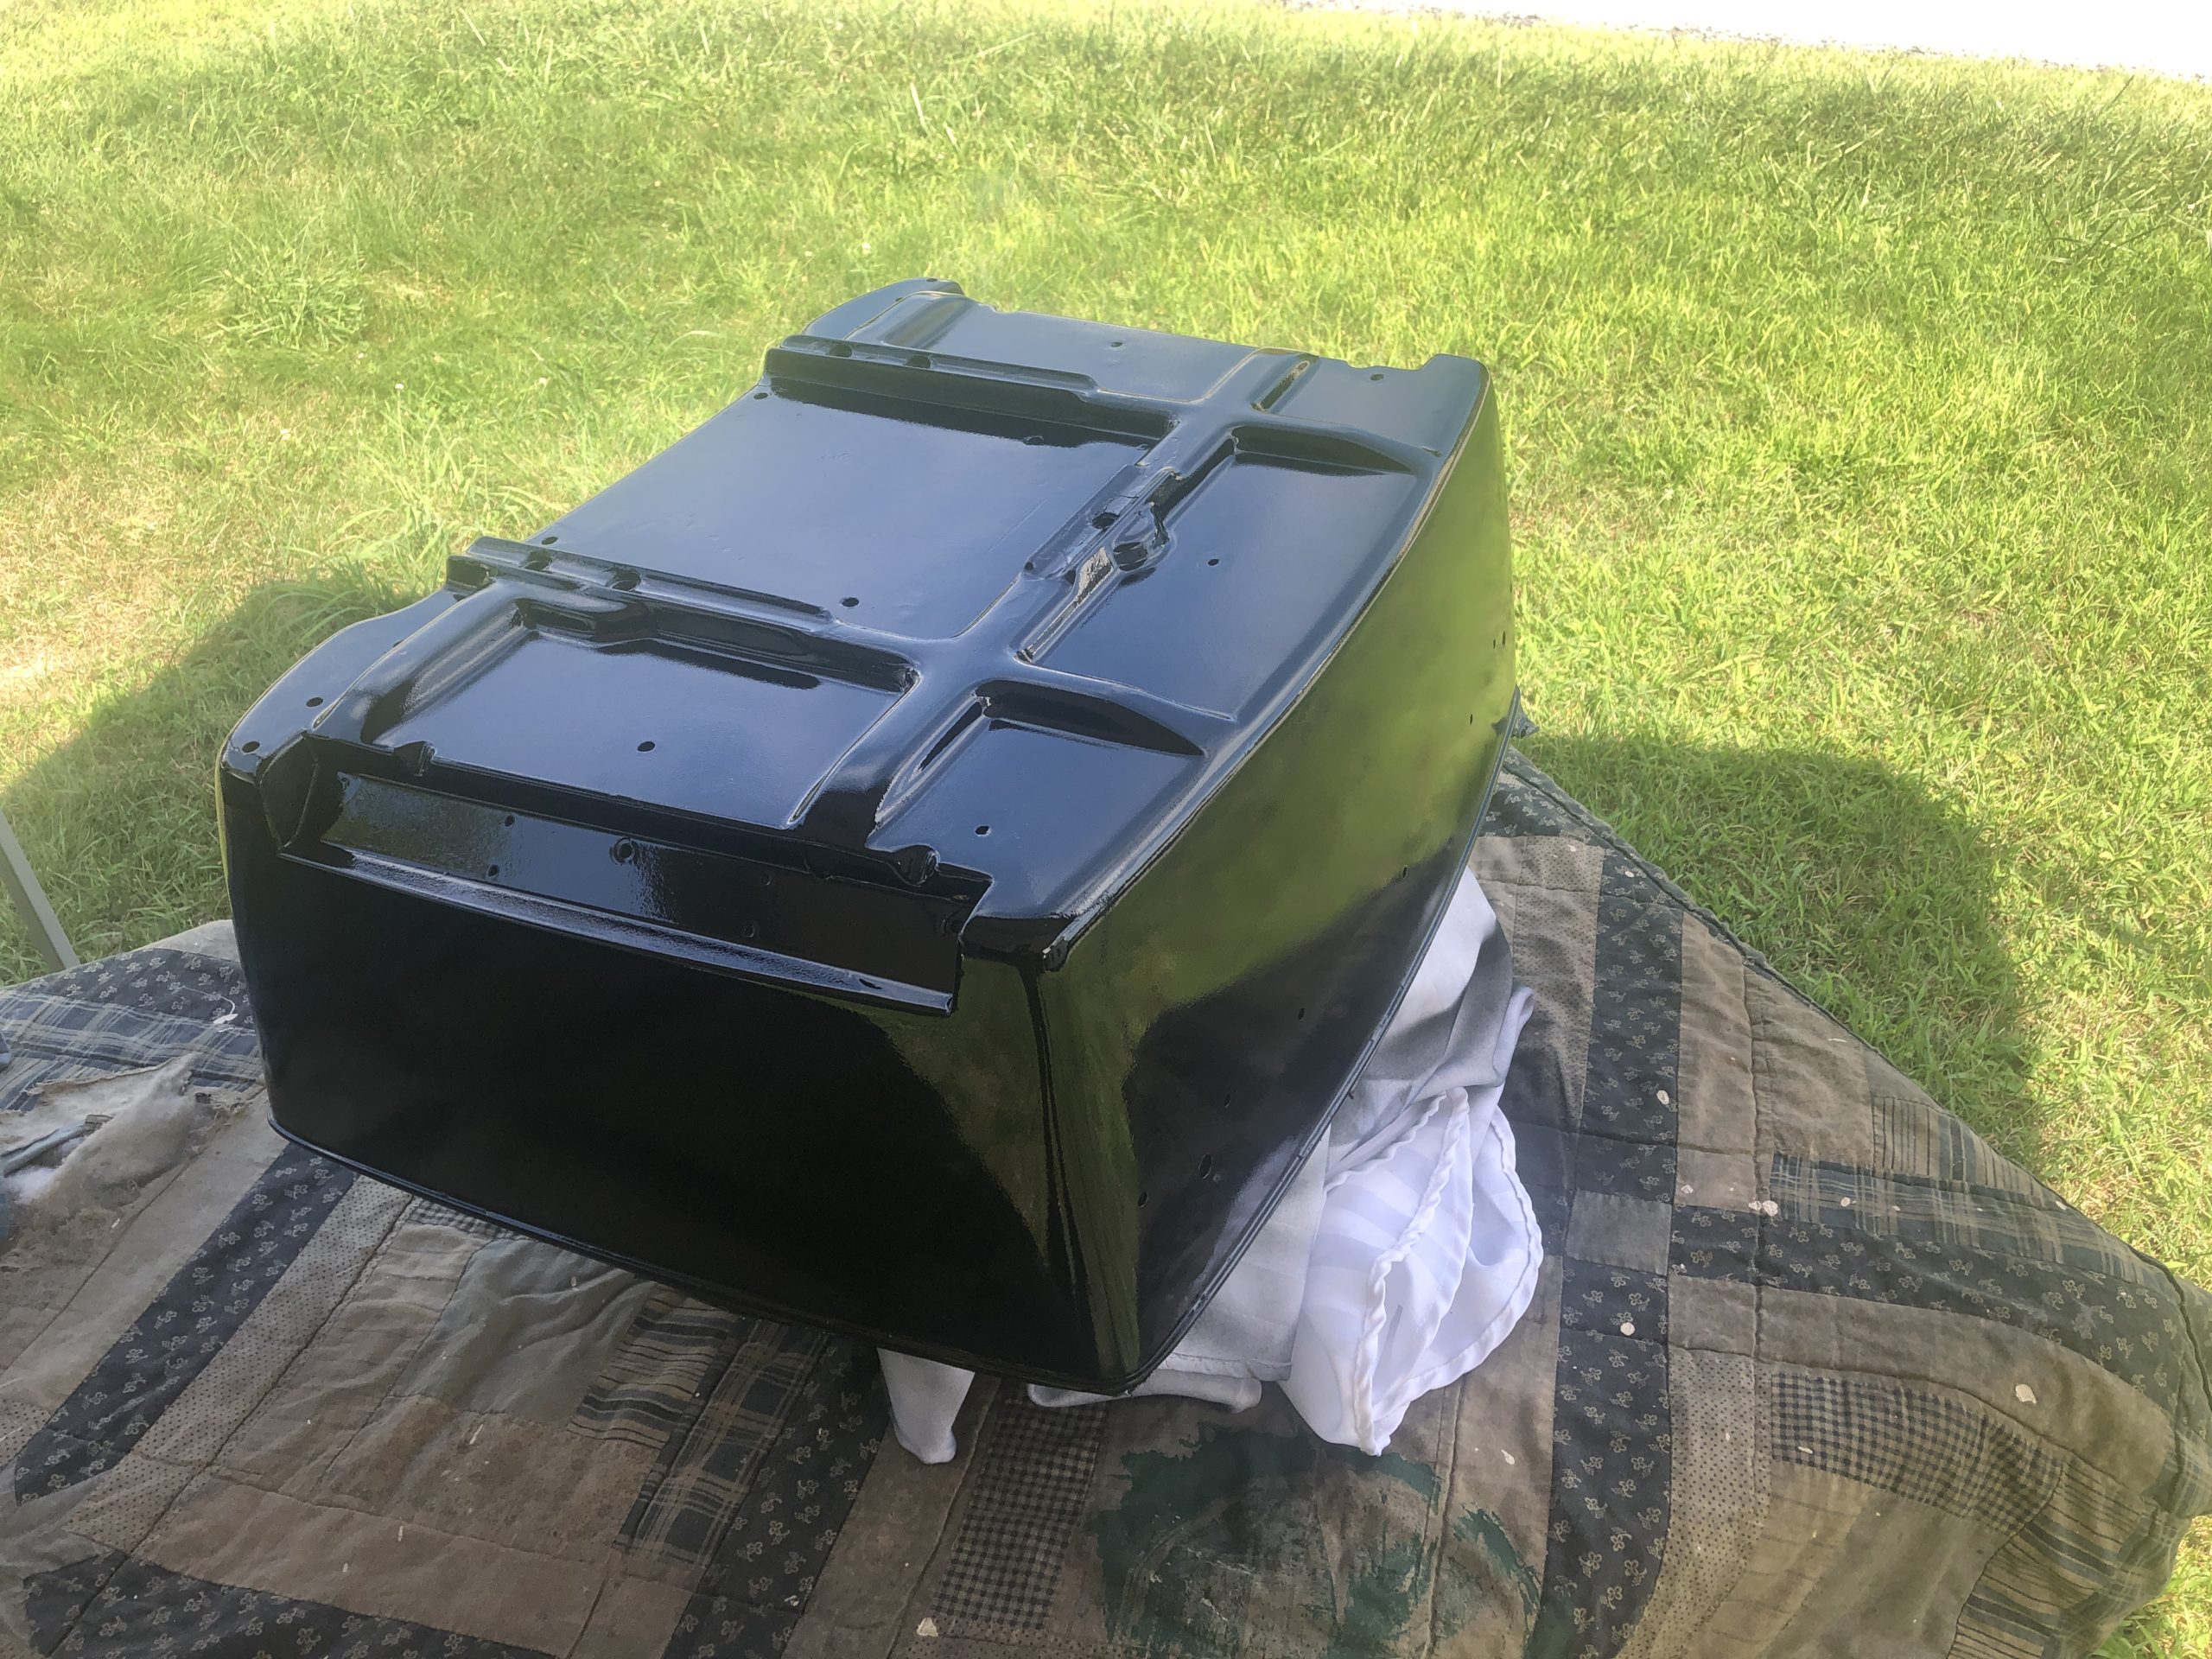
Paint
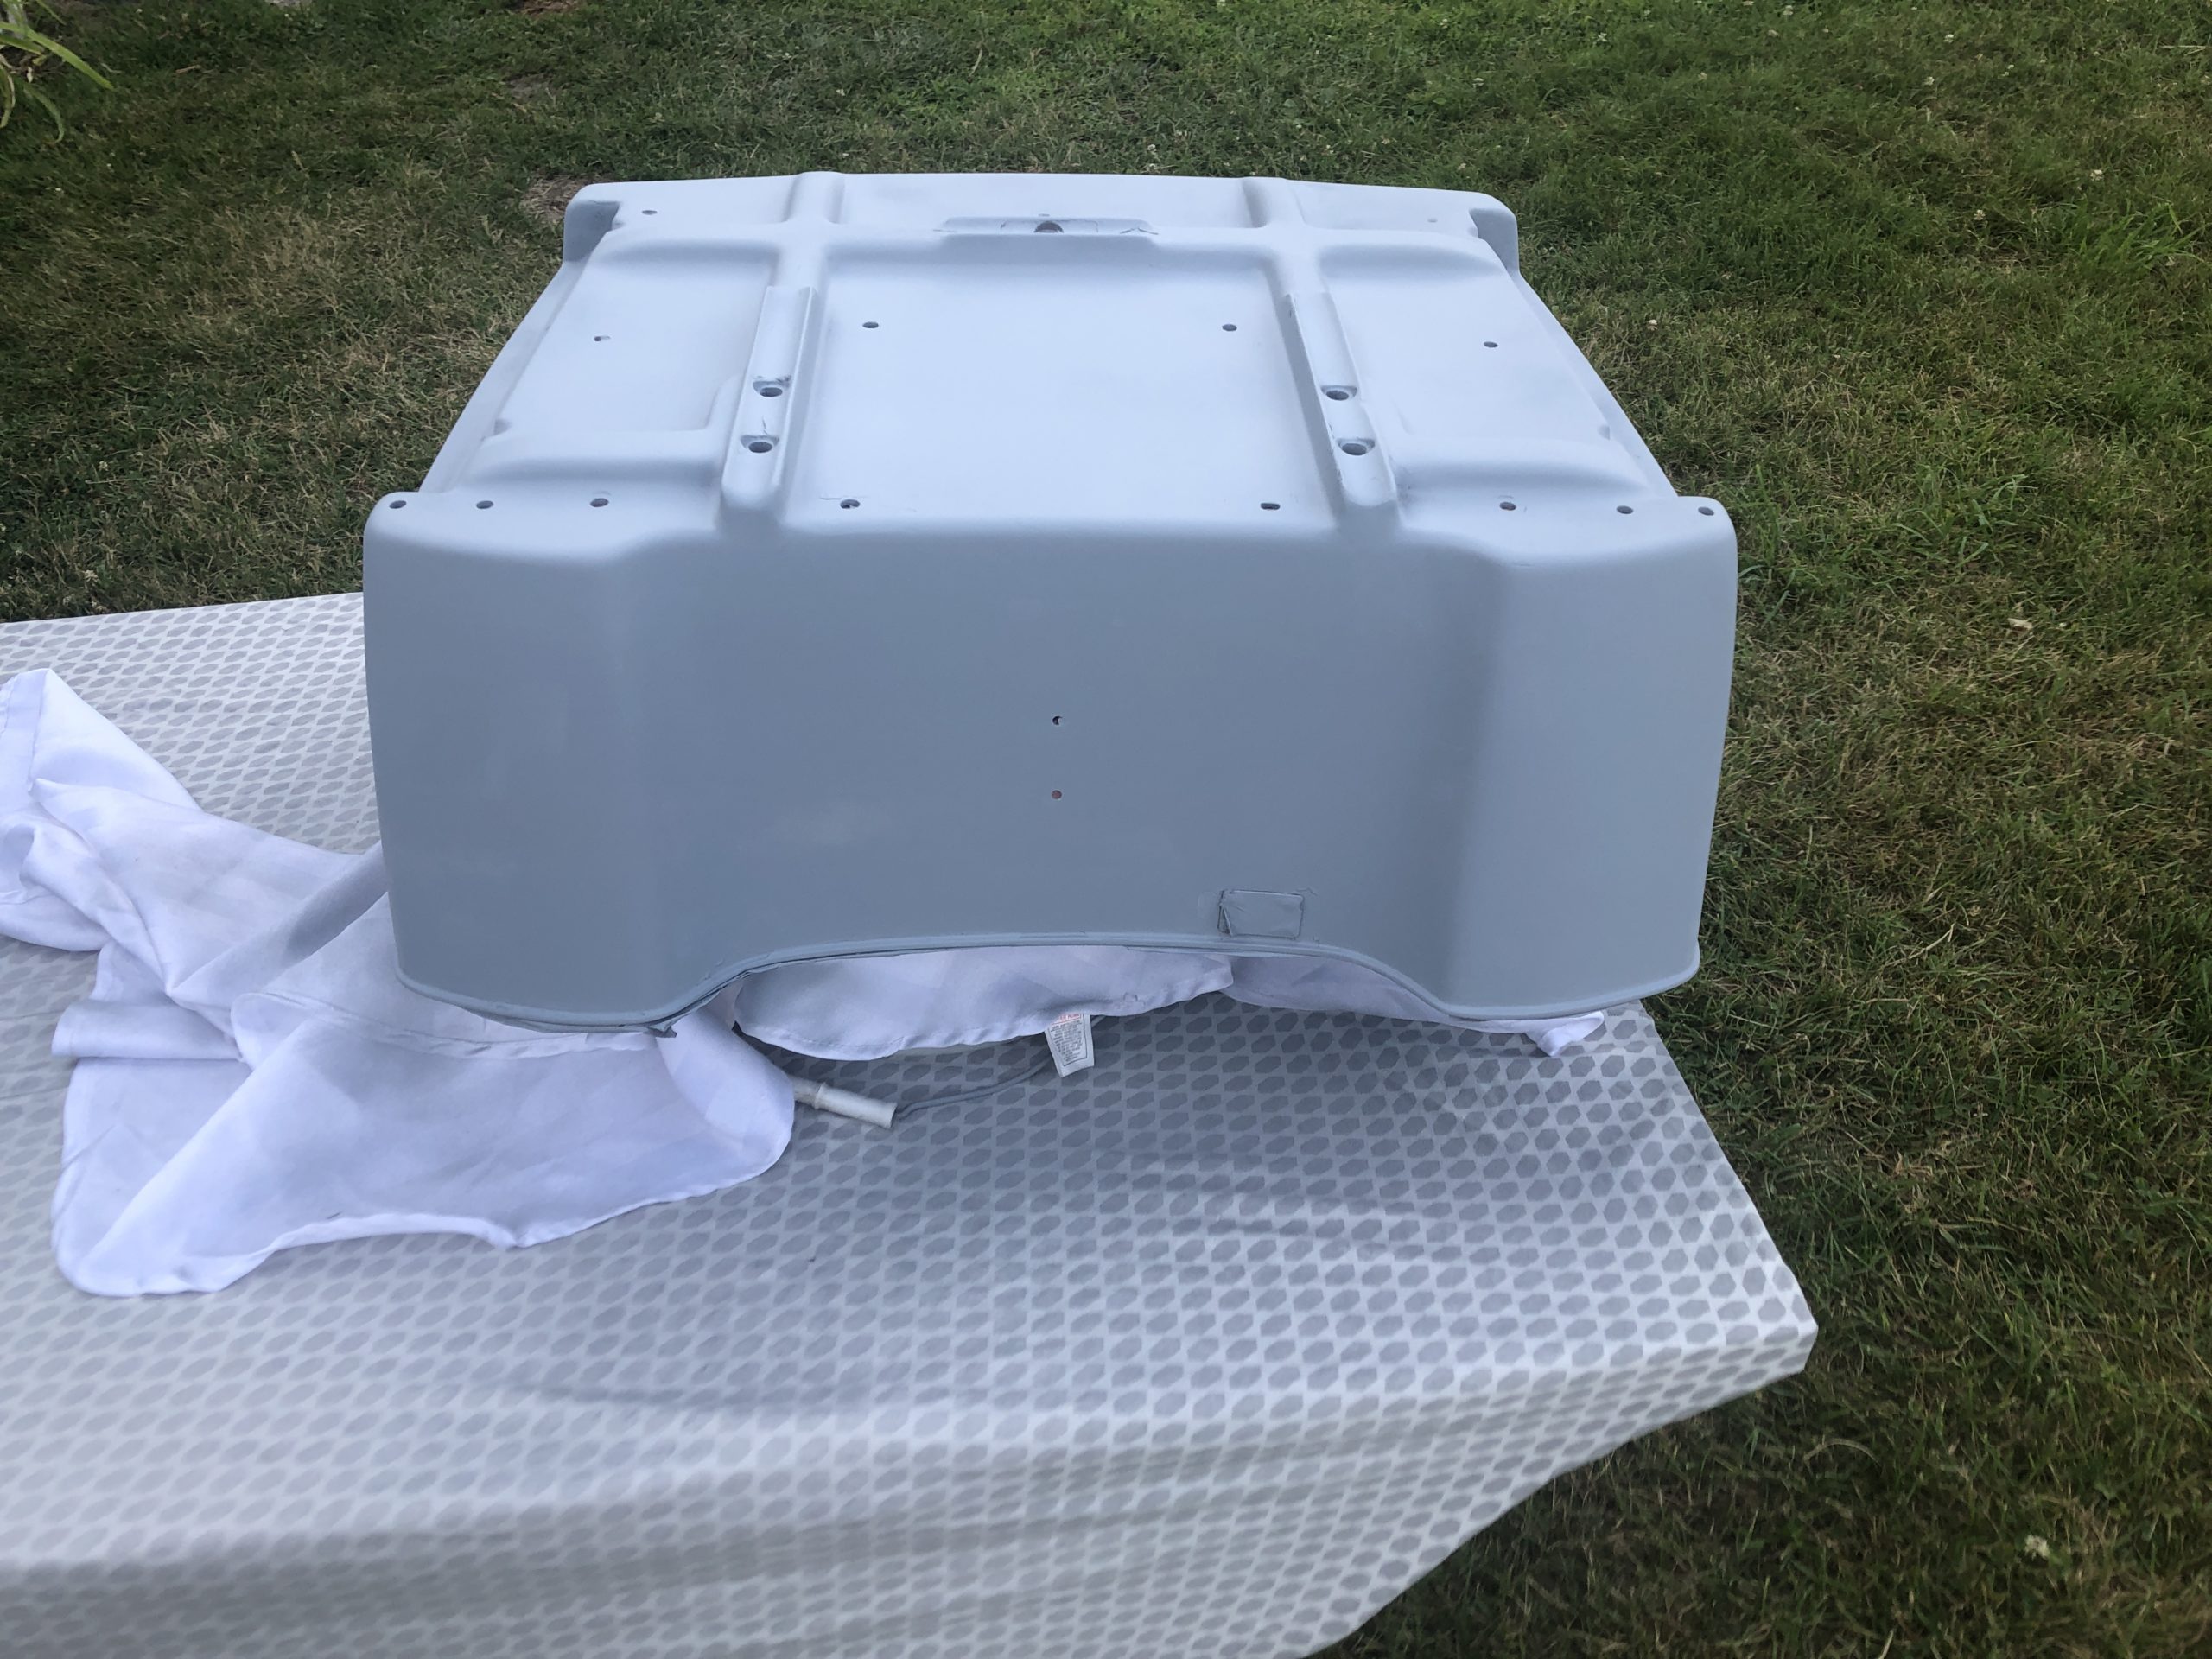
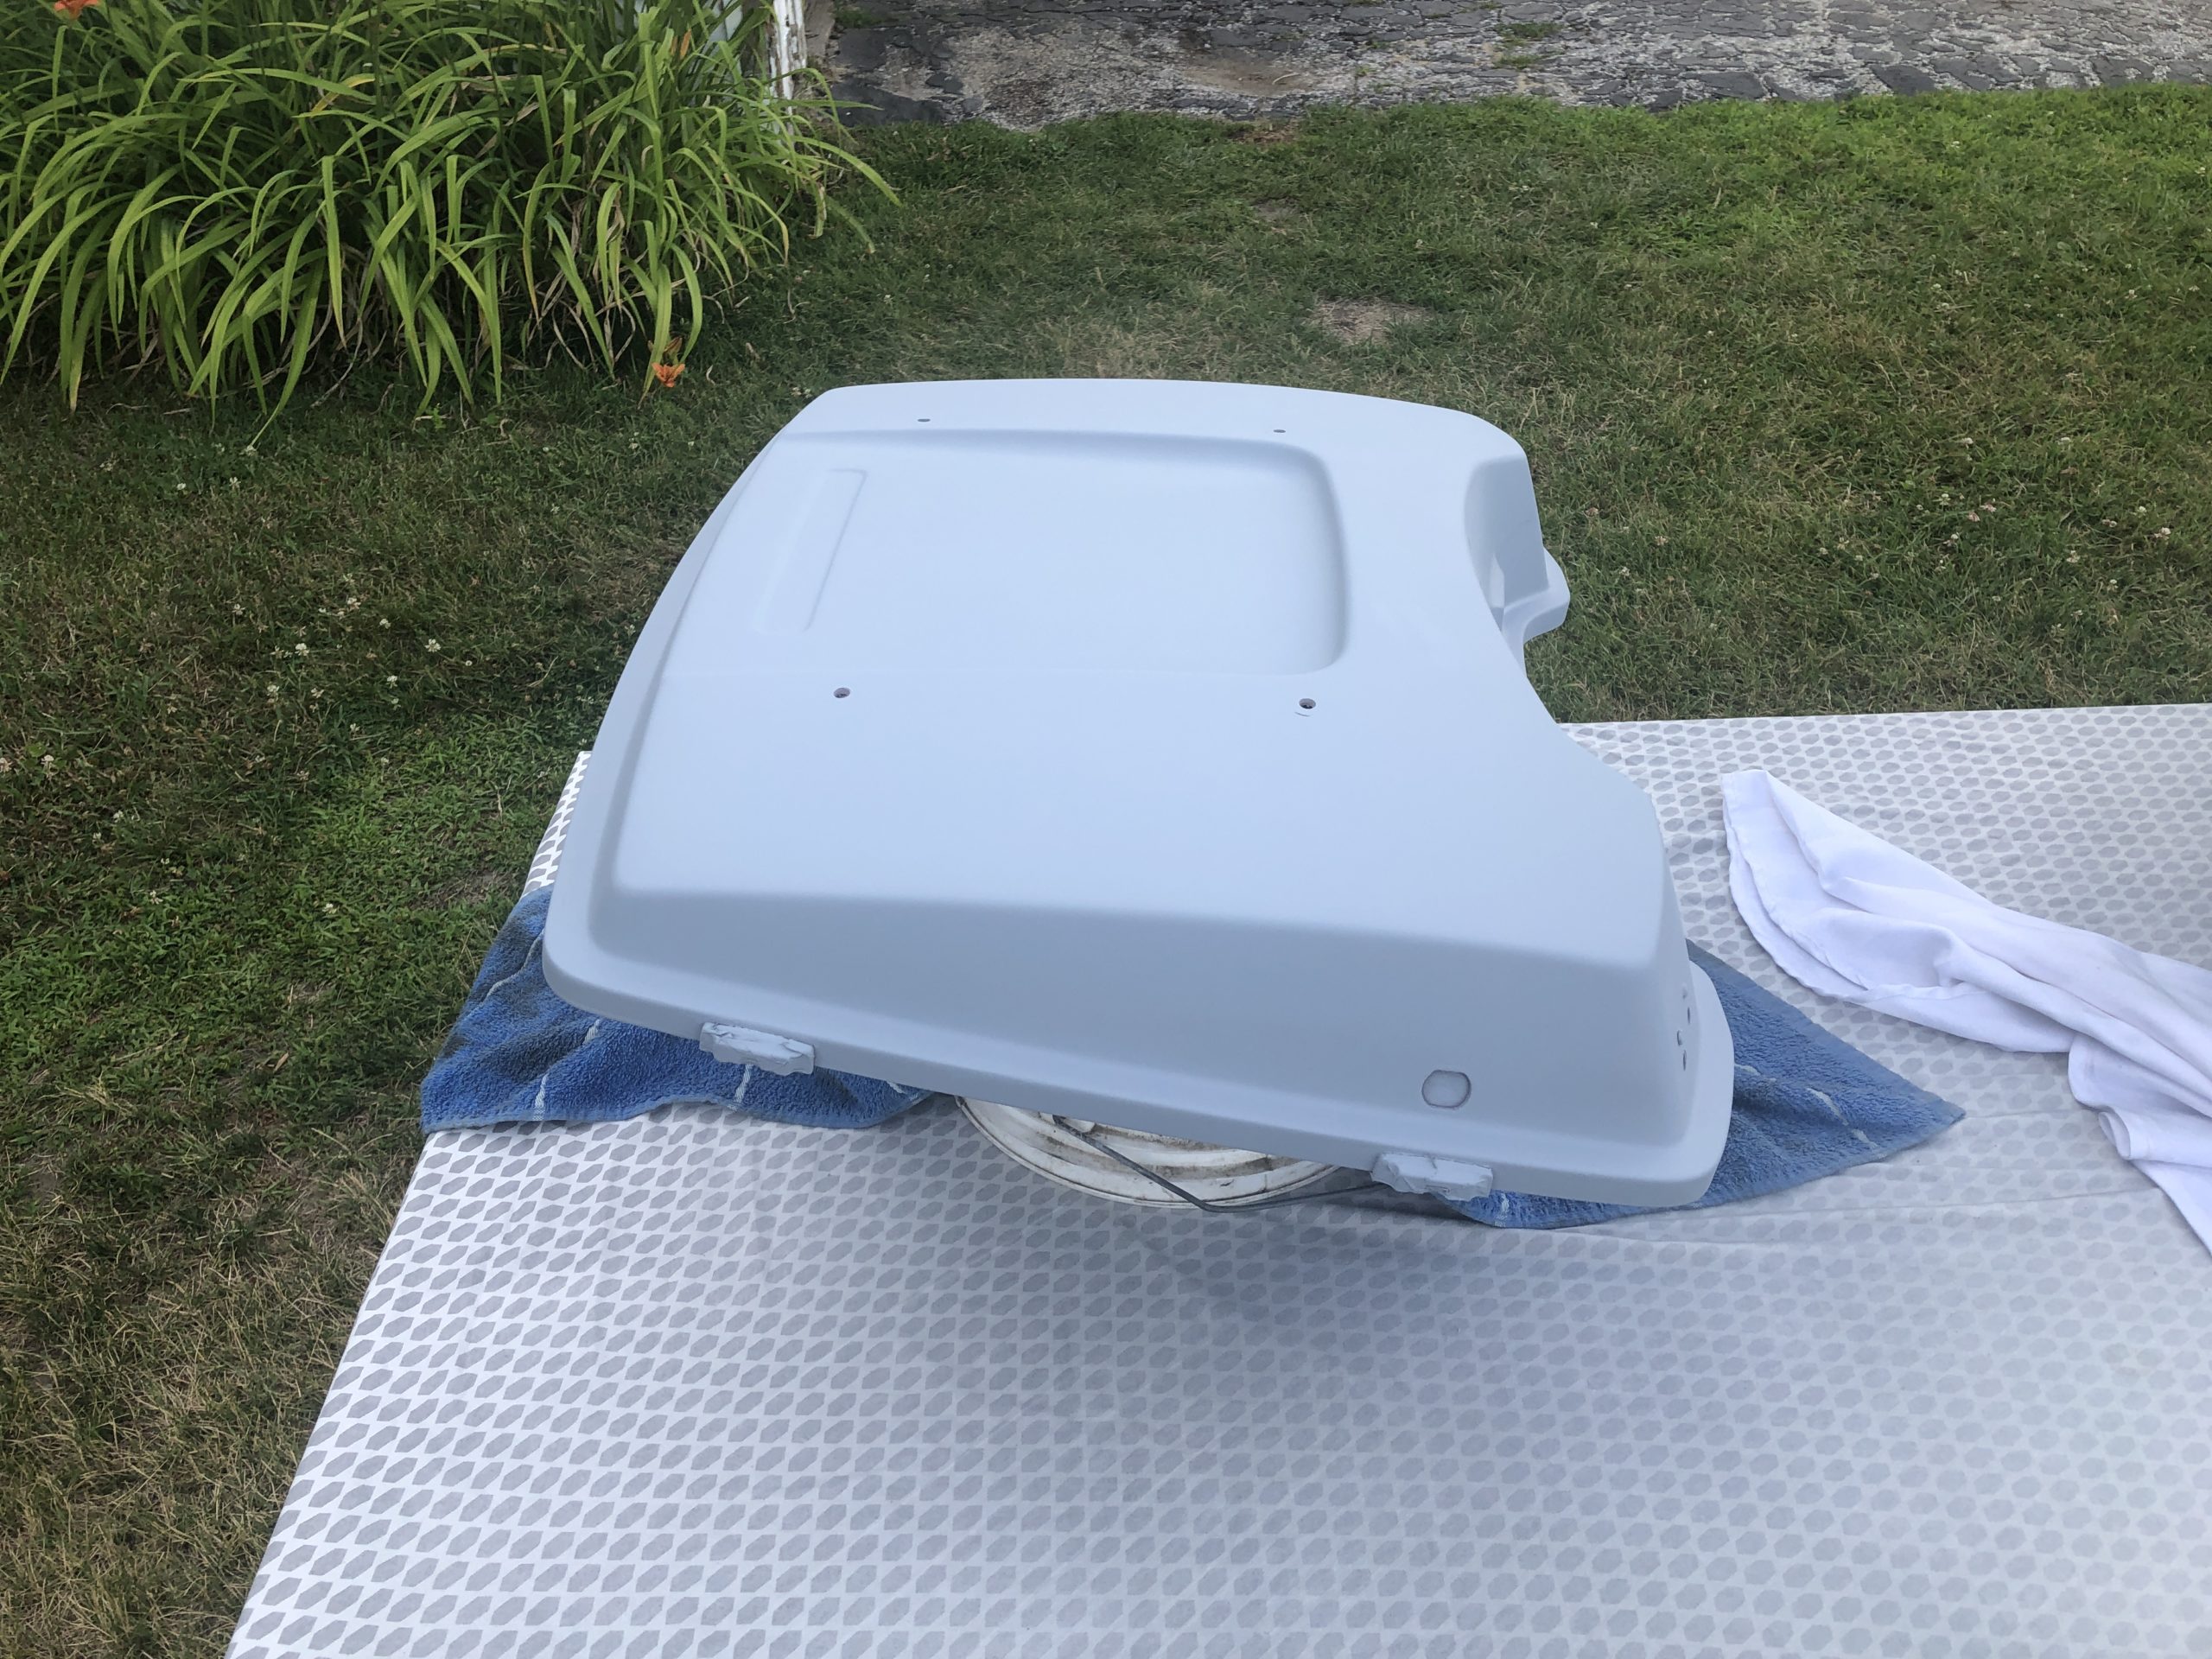
I used rattle cans. I had some holes to patch so I used Bondo Glass Reinforced Filler. I used Bondo Glazing and Spot Putty to do the finish work. The video below was very helpful for this process. I used up some Rust-Oleum Gray Filler Primer Spray. The color is HD vivid black. It matches my bags and fairing. I will likely use the same on the tins when I need to paint them. Getting the Yamaha color proved expensive and difficult. I bought the paint from Custom Paints. I started with two cans but ended up getting two more. I finished it with USC SprayMax 2K Glamour High Gloss Aerosol Clear
If I could do it over again I would have stripped the paint. A local painter told me he wouldn’t strip it when he painted it, so I didn’t. Made for extra filler where the paint was chipped away and cleaned up by me. The Tour-Pak is fiberglass.

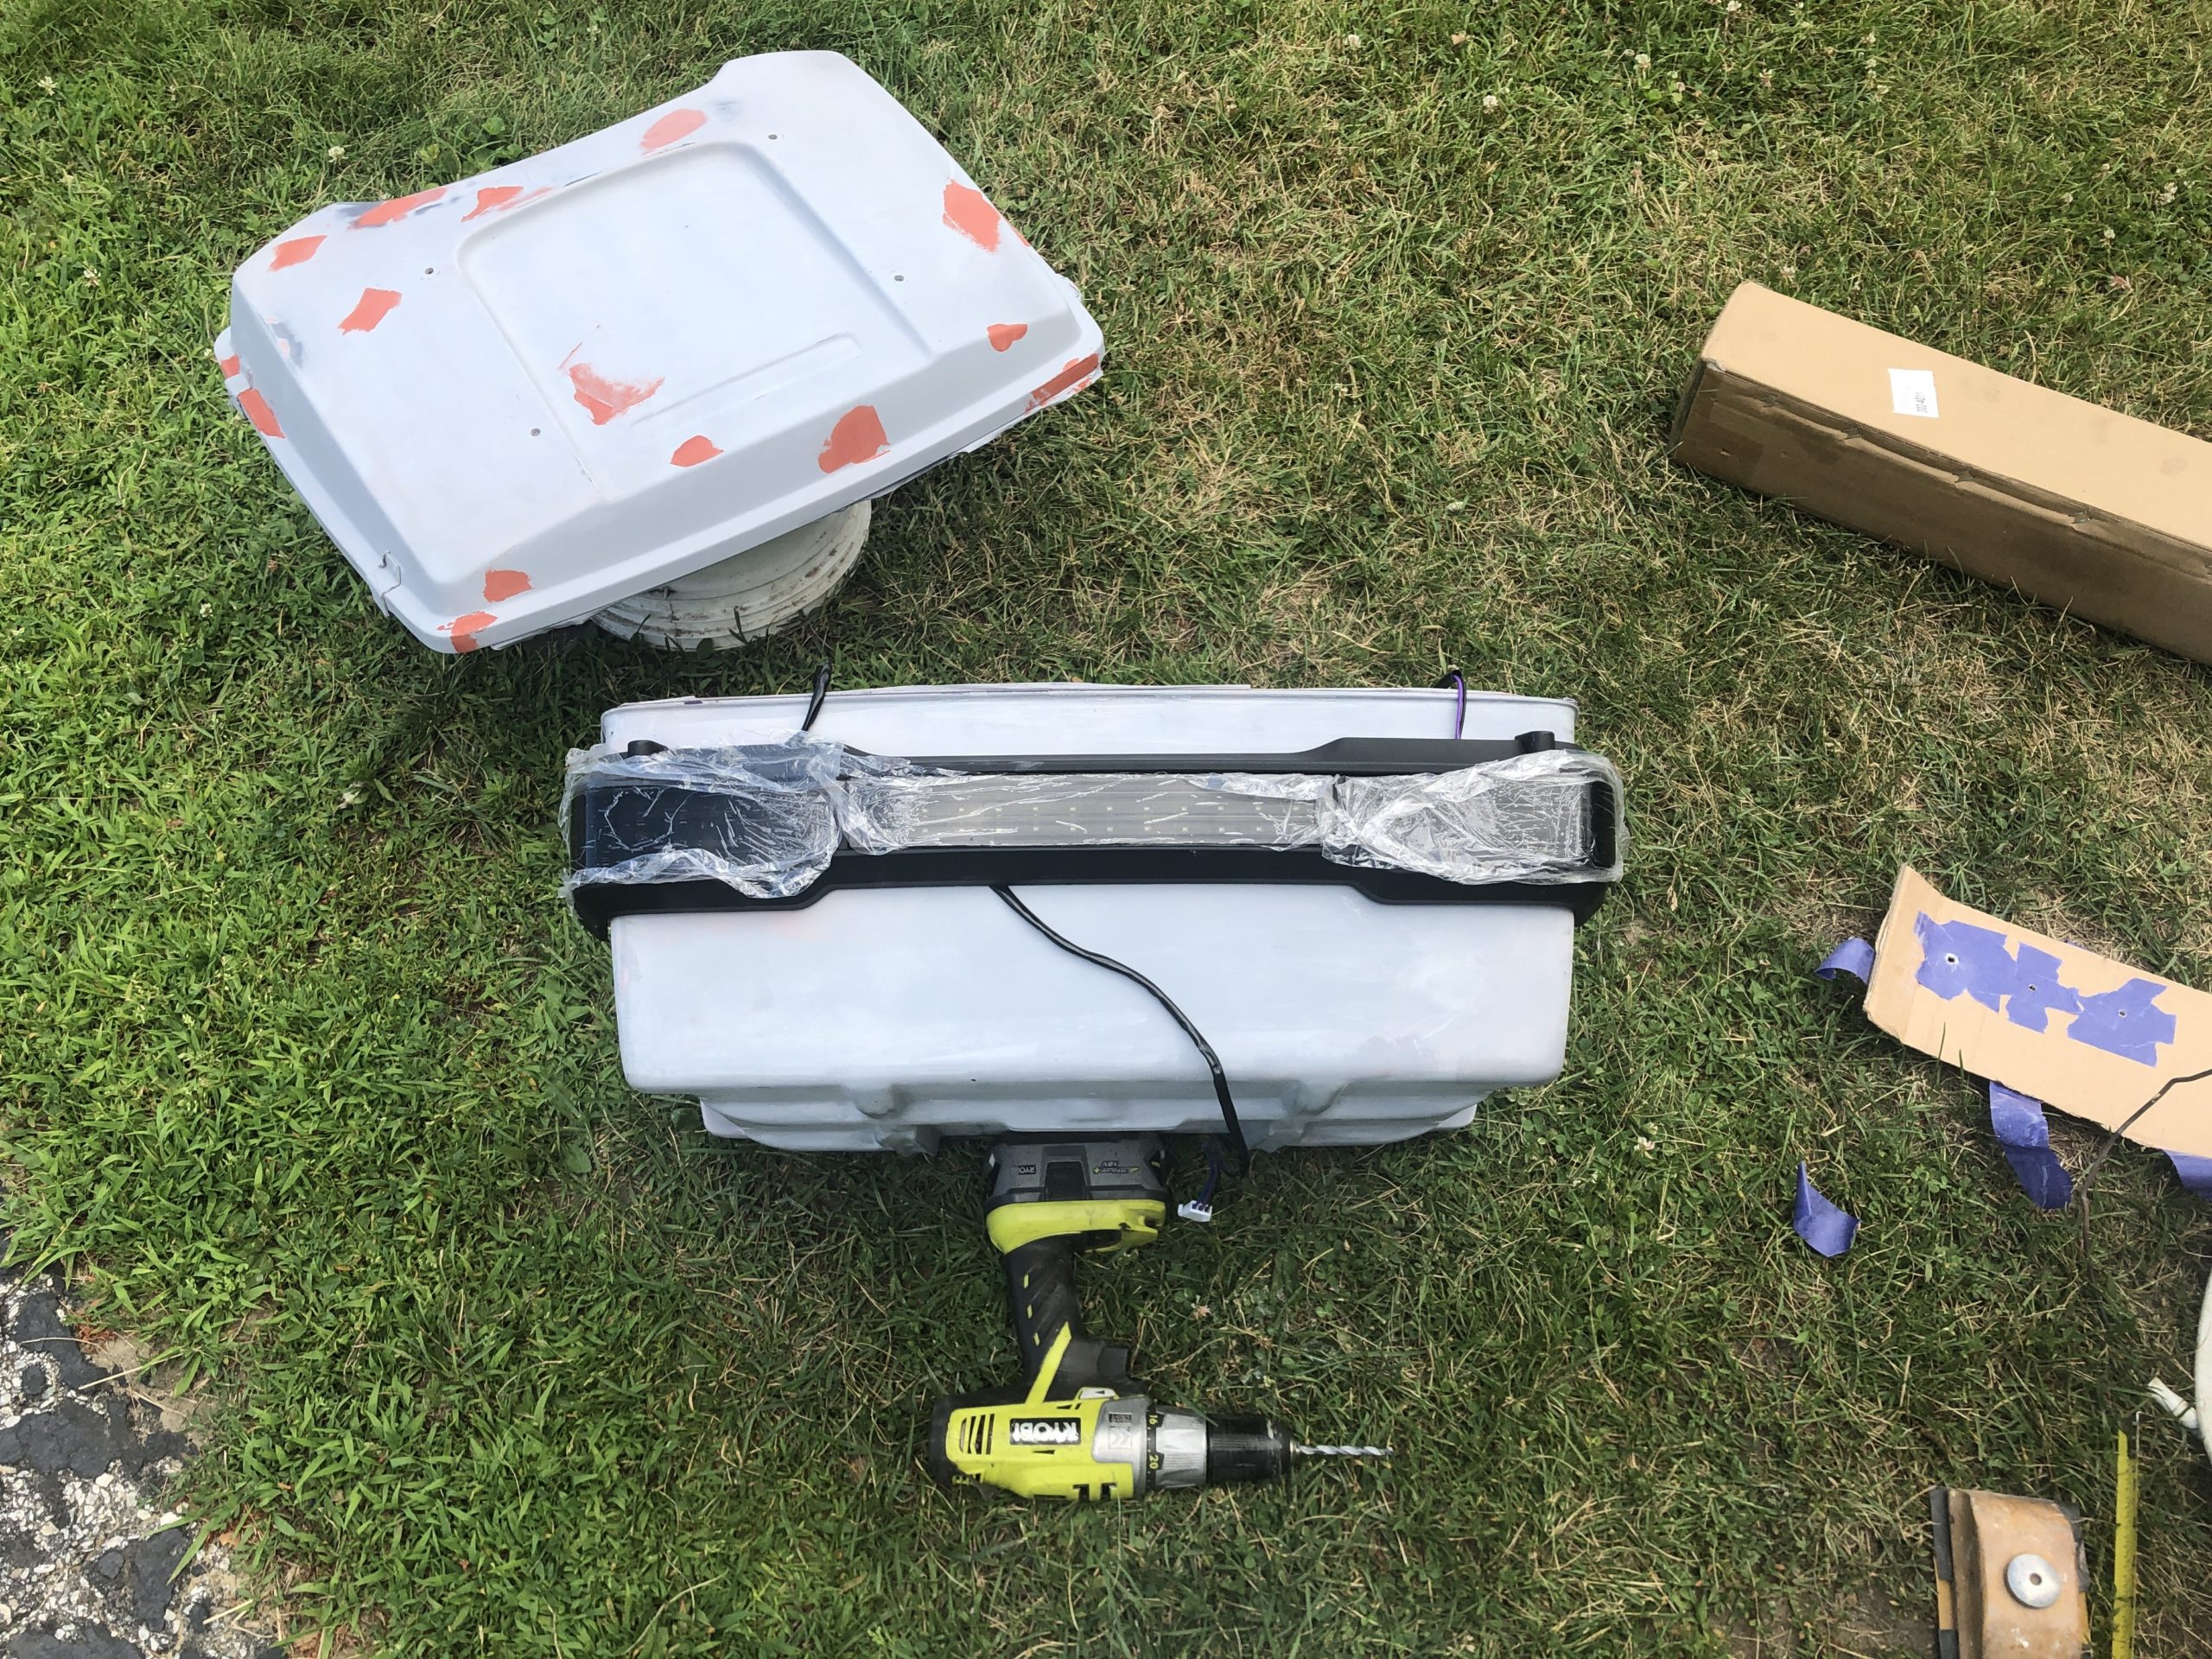
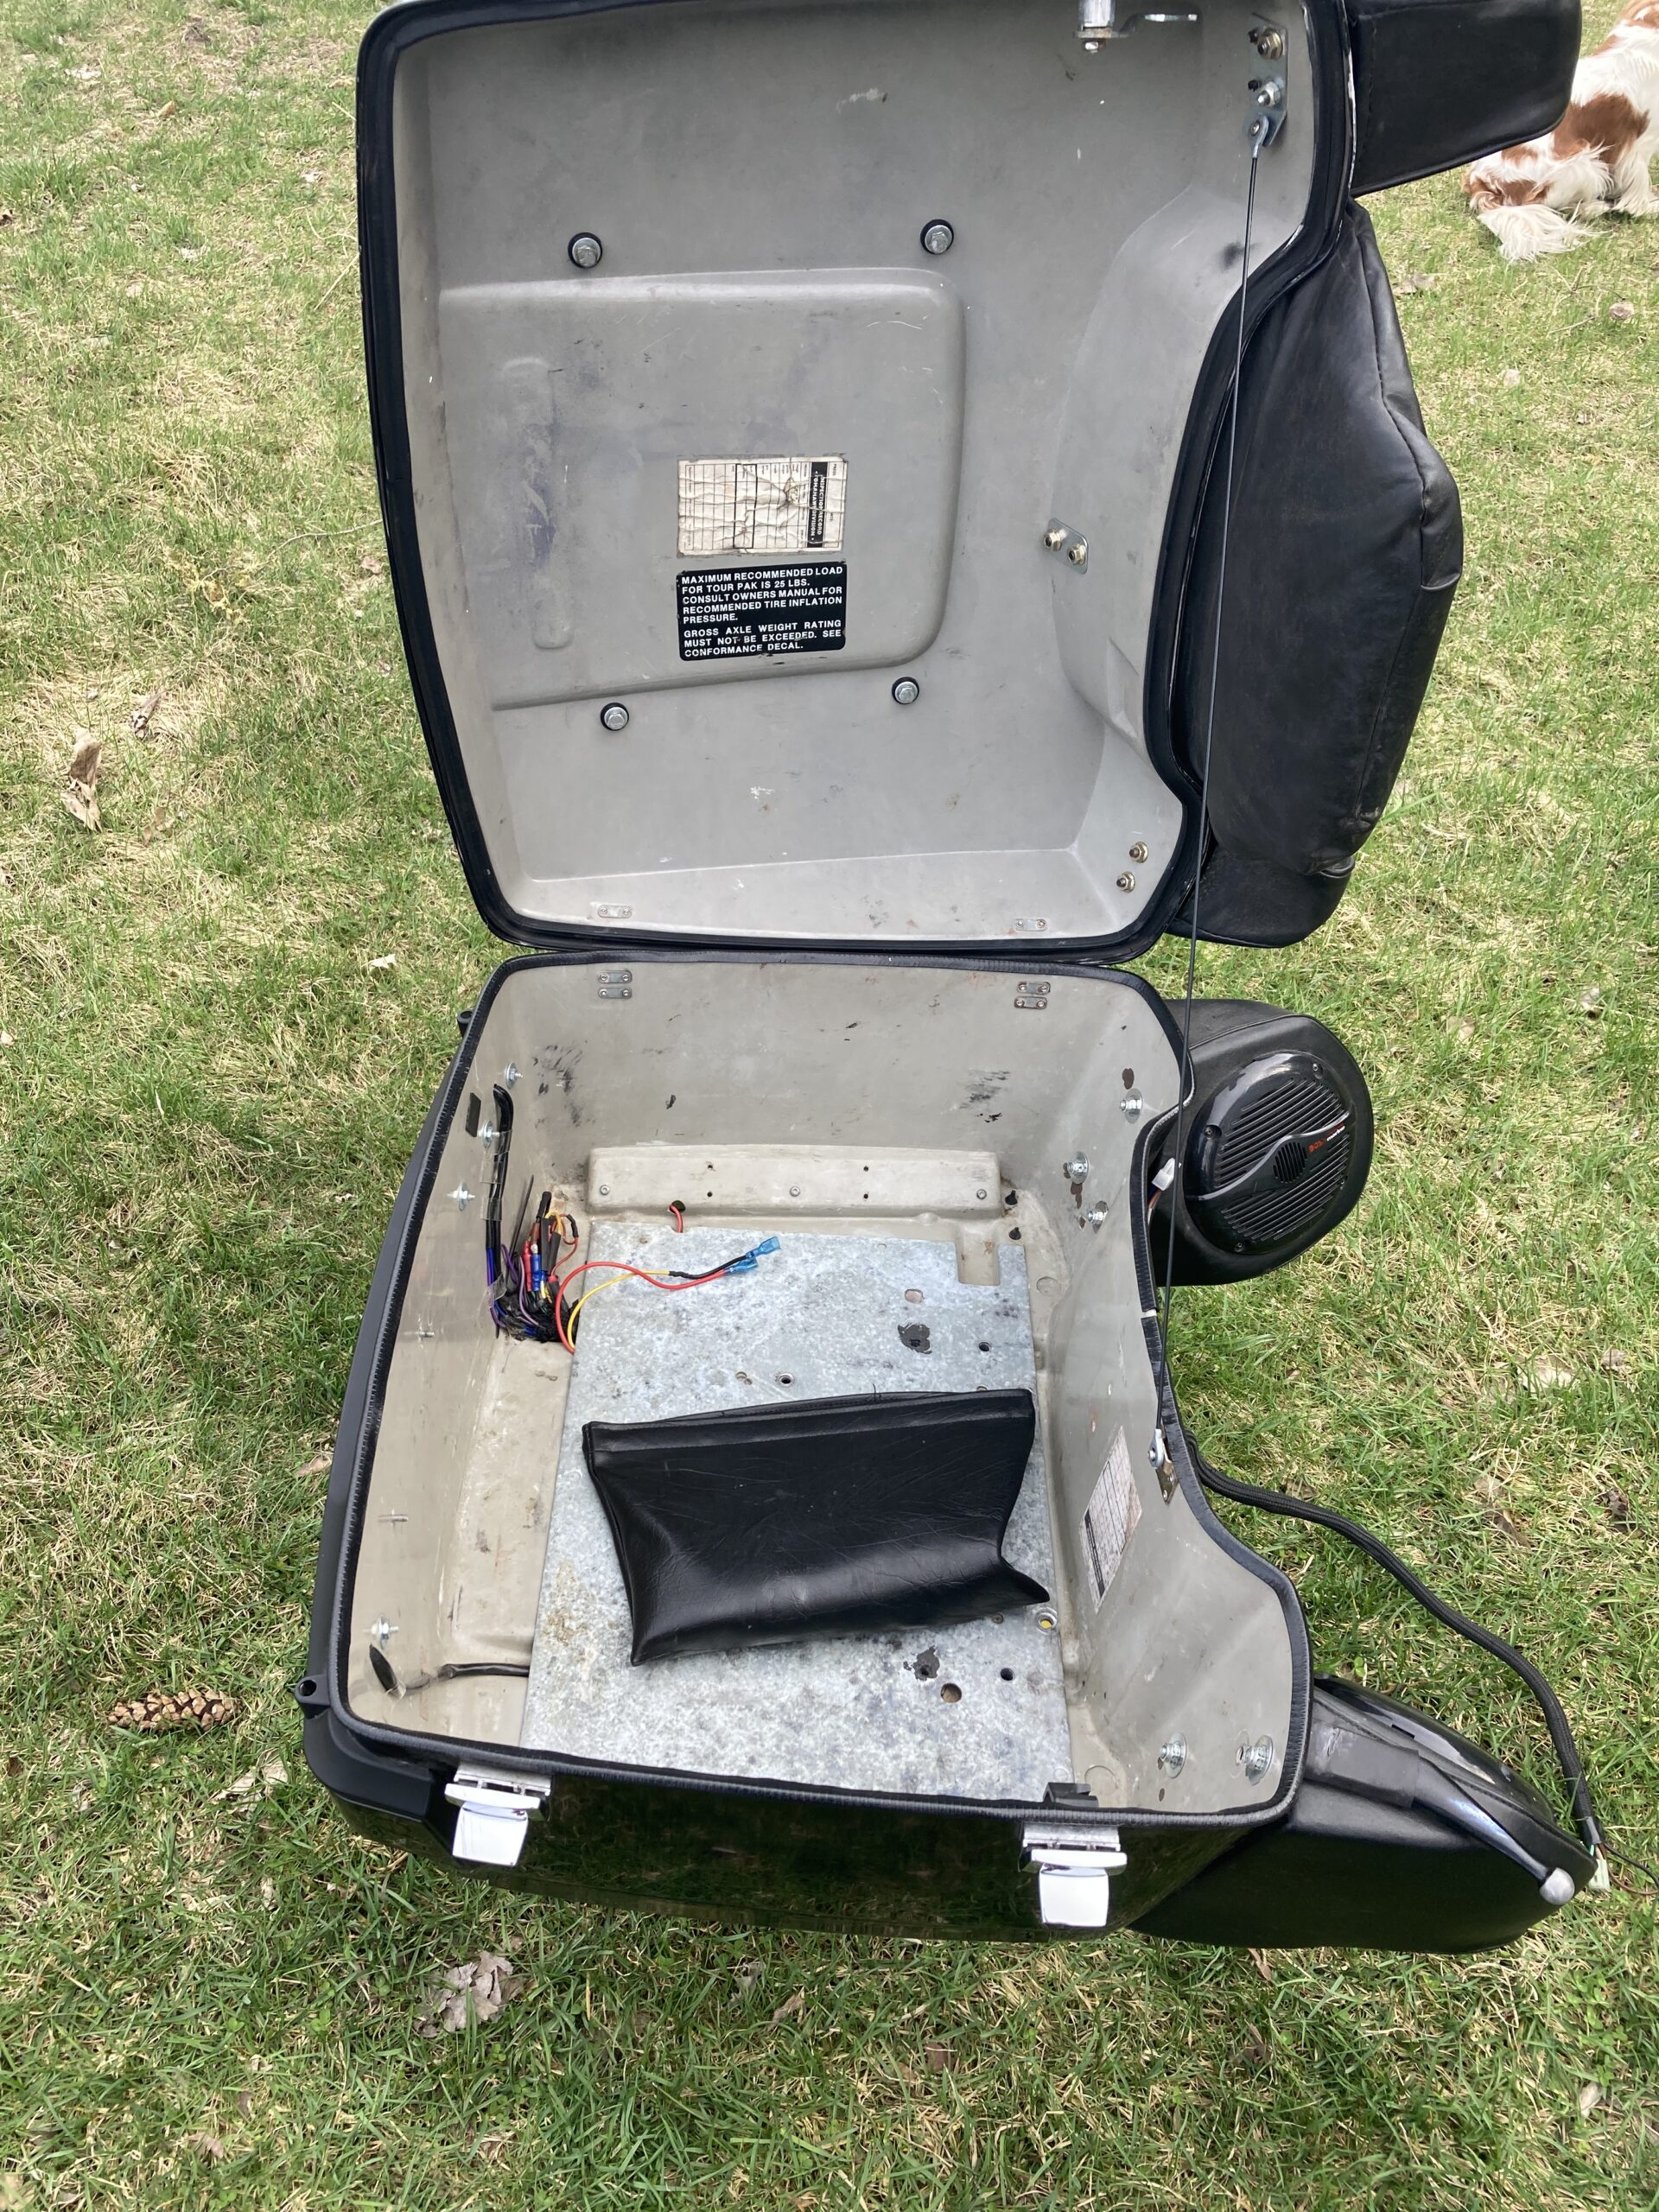

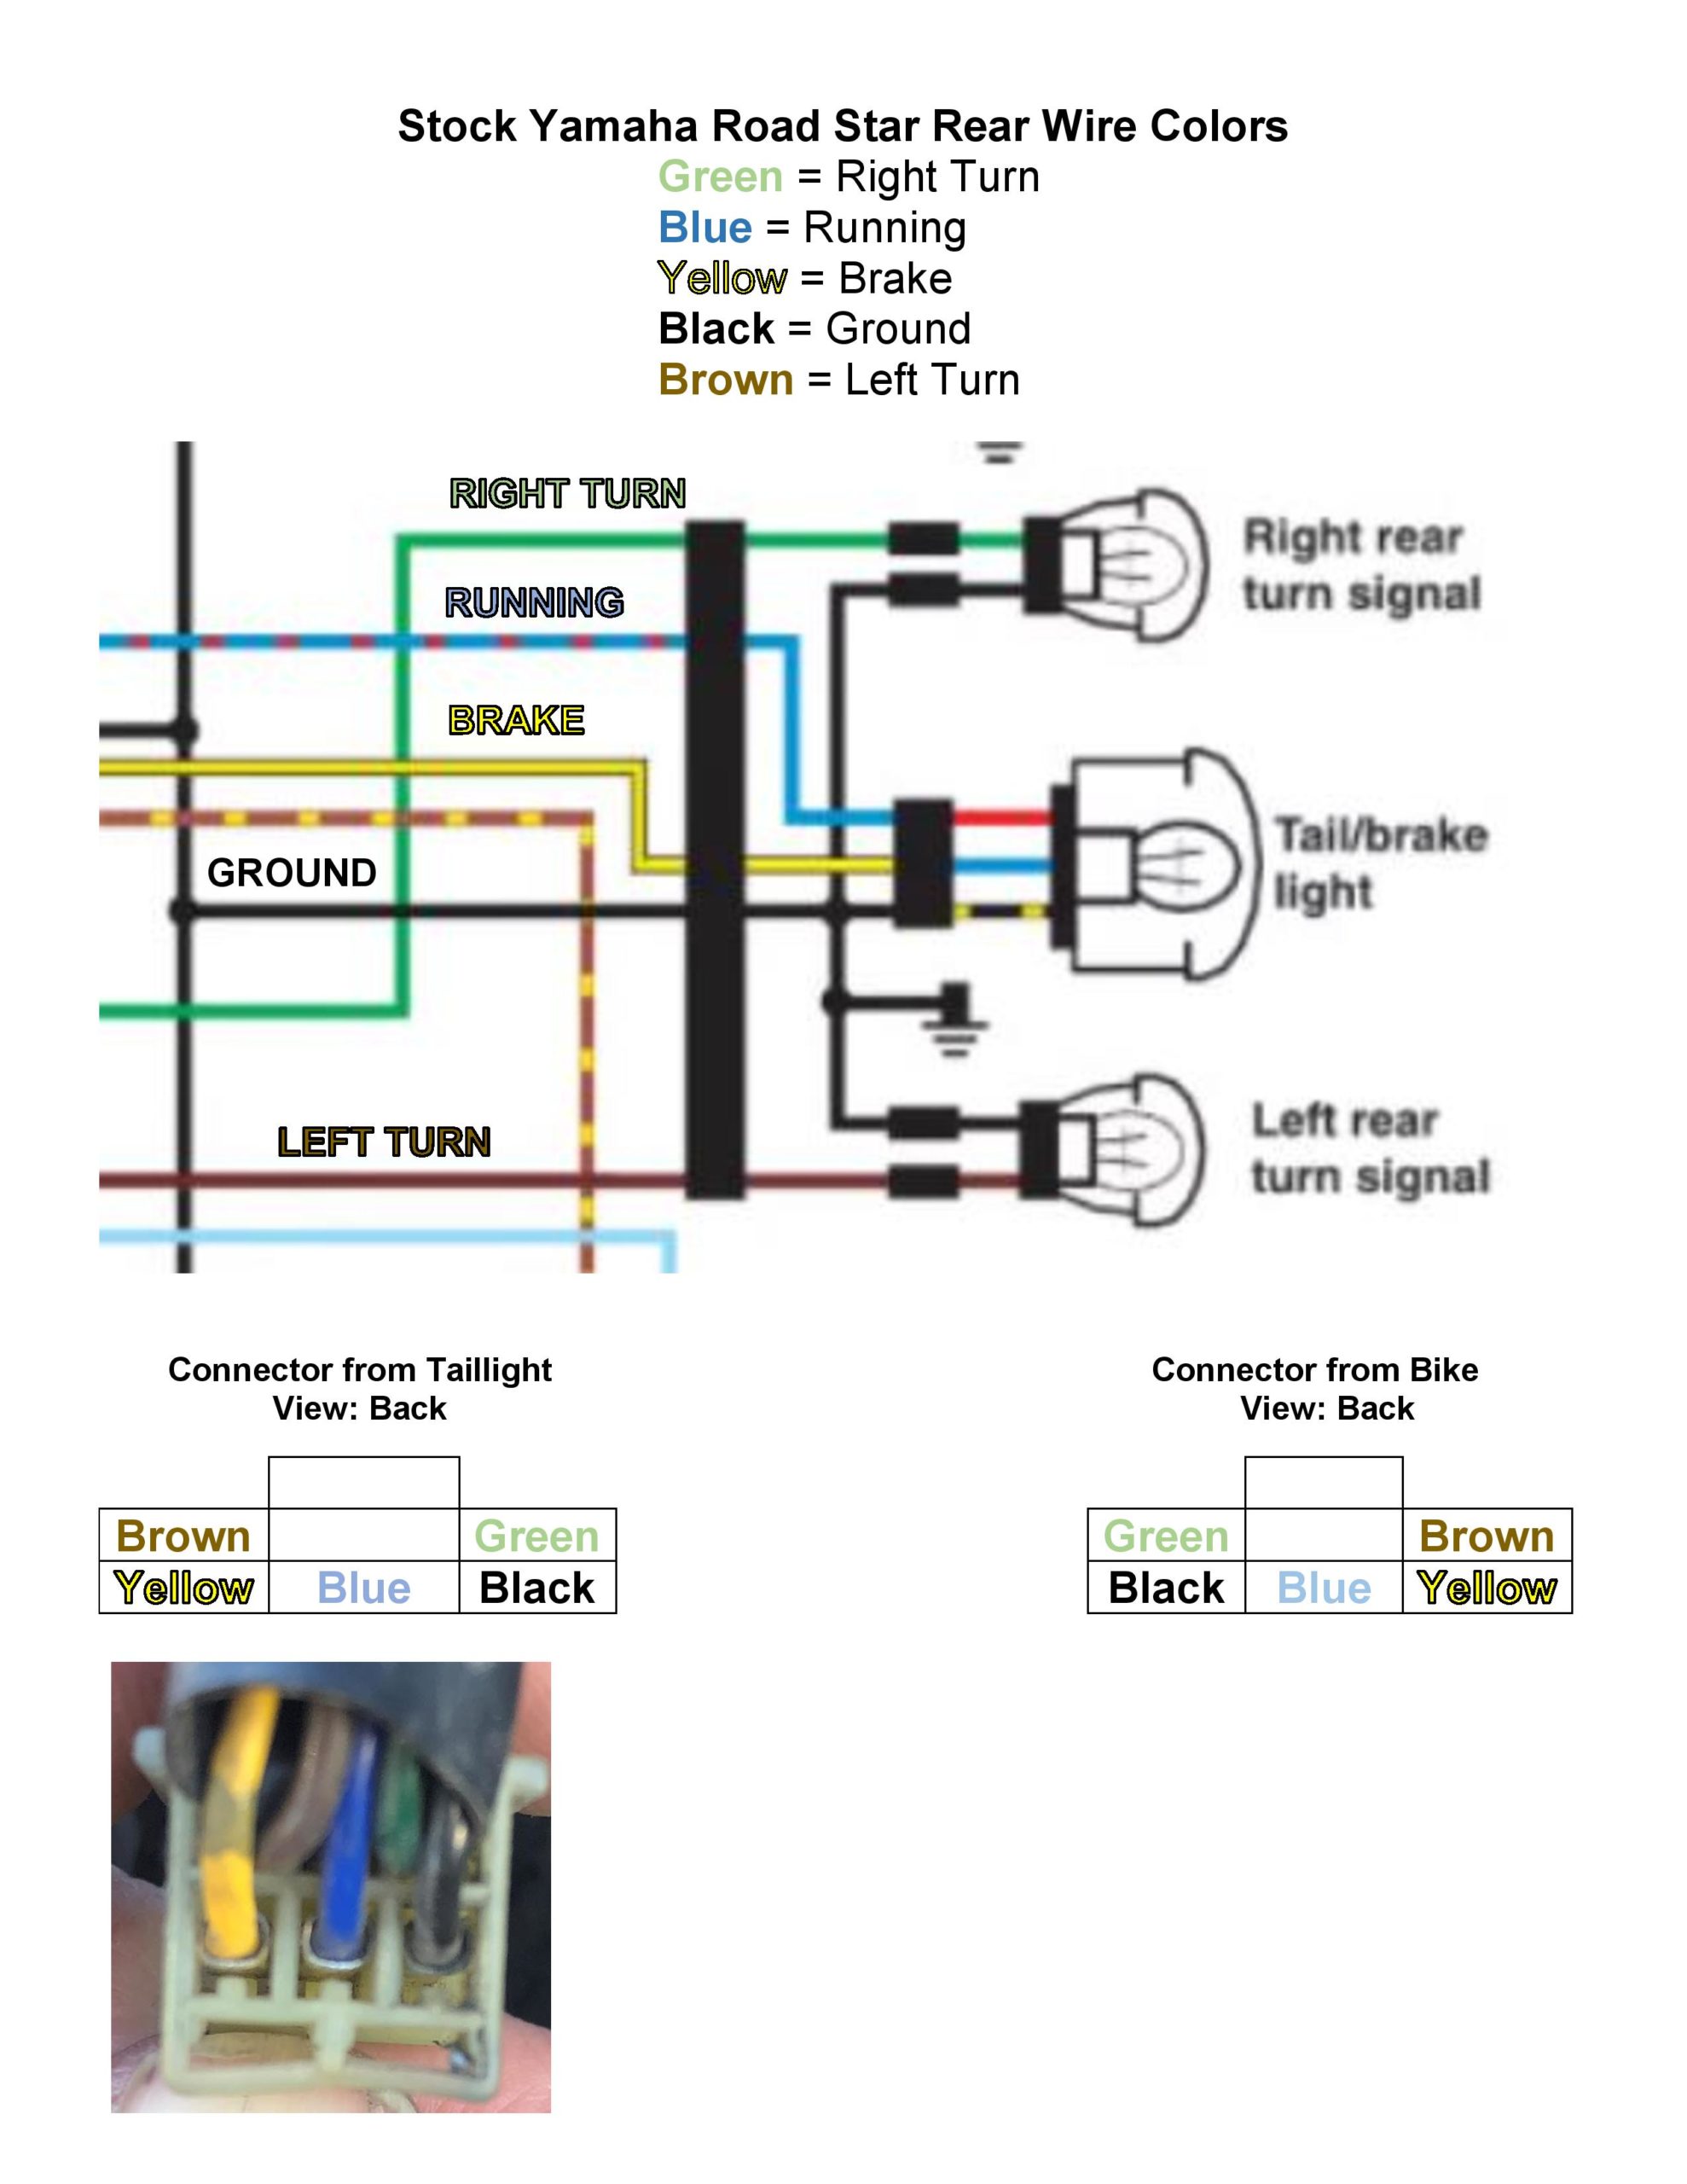
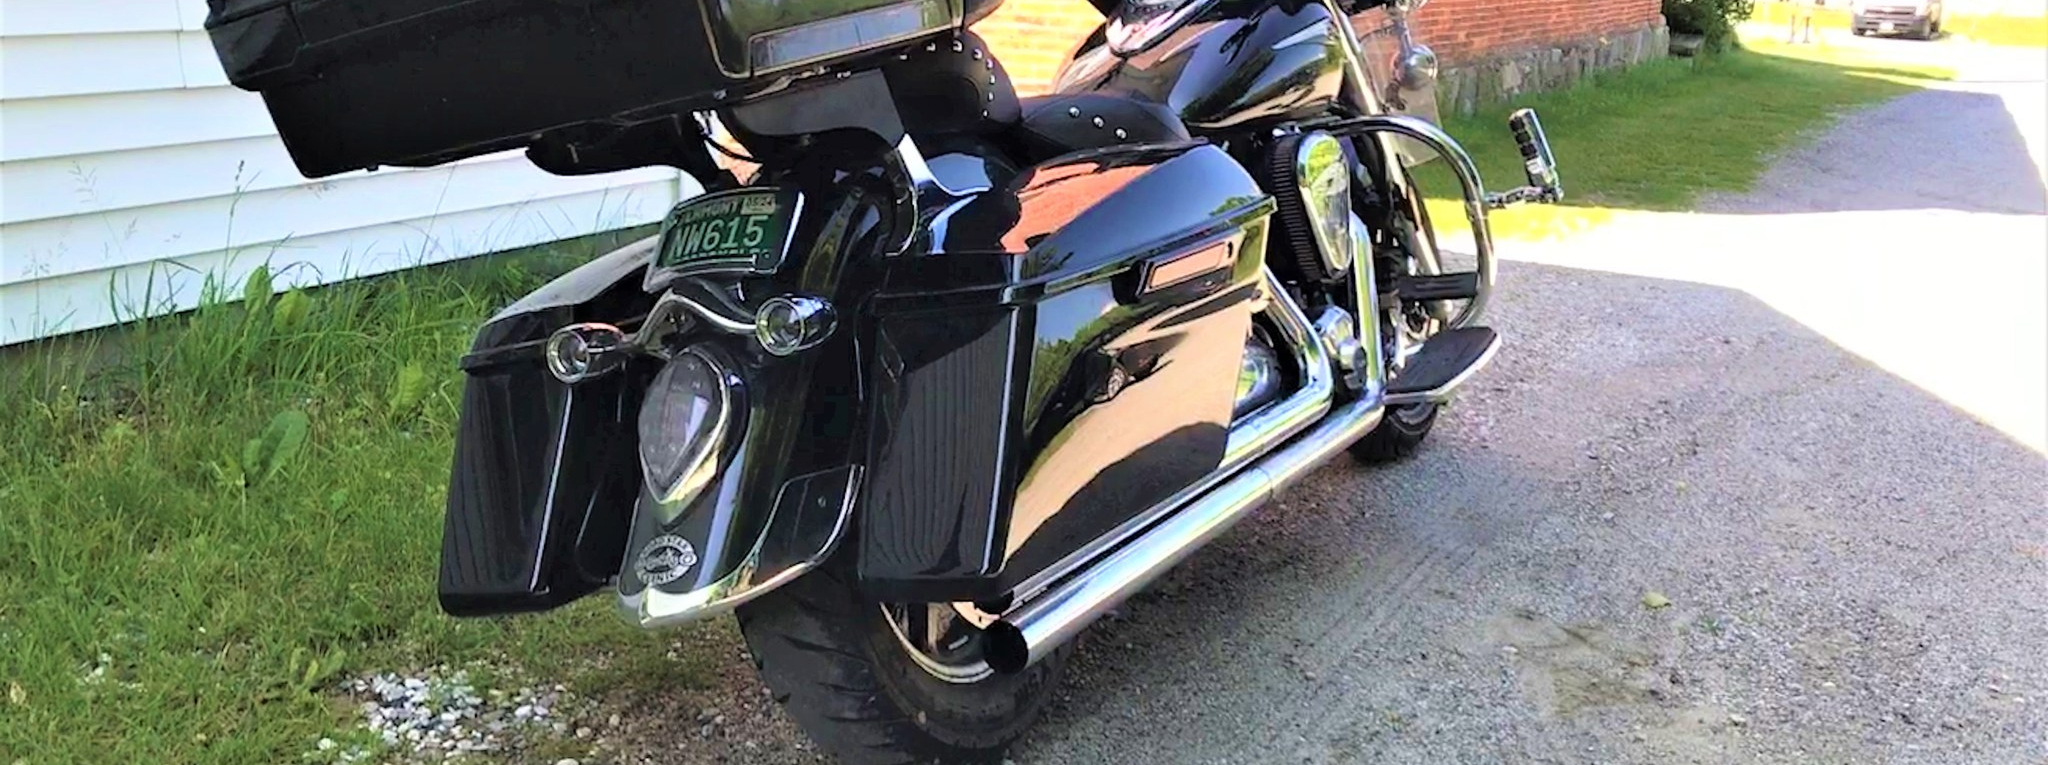
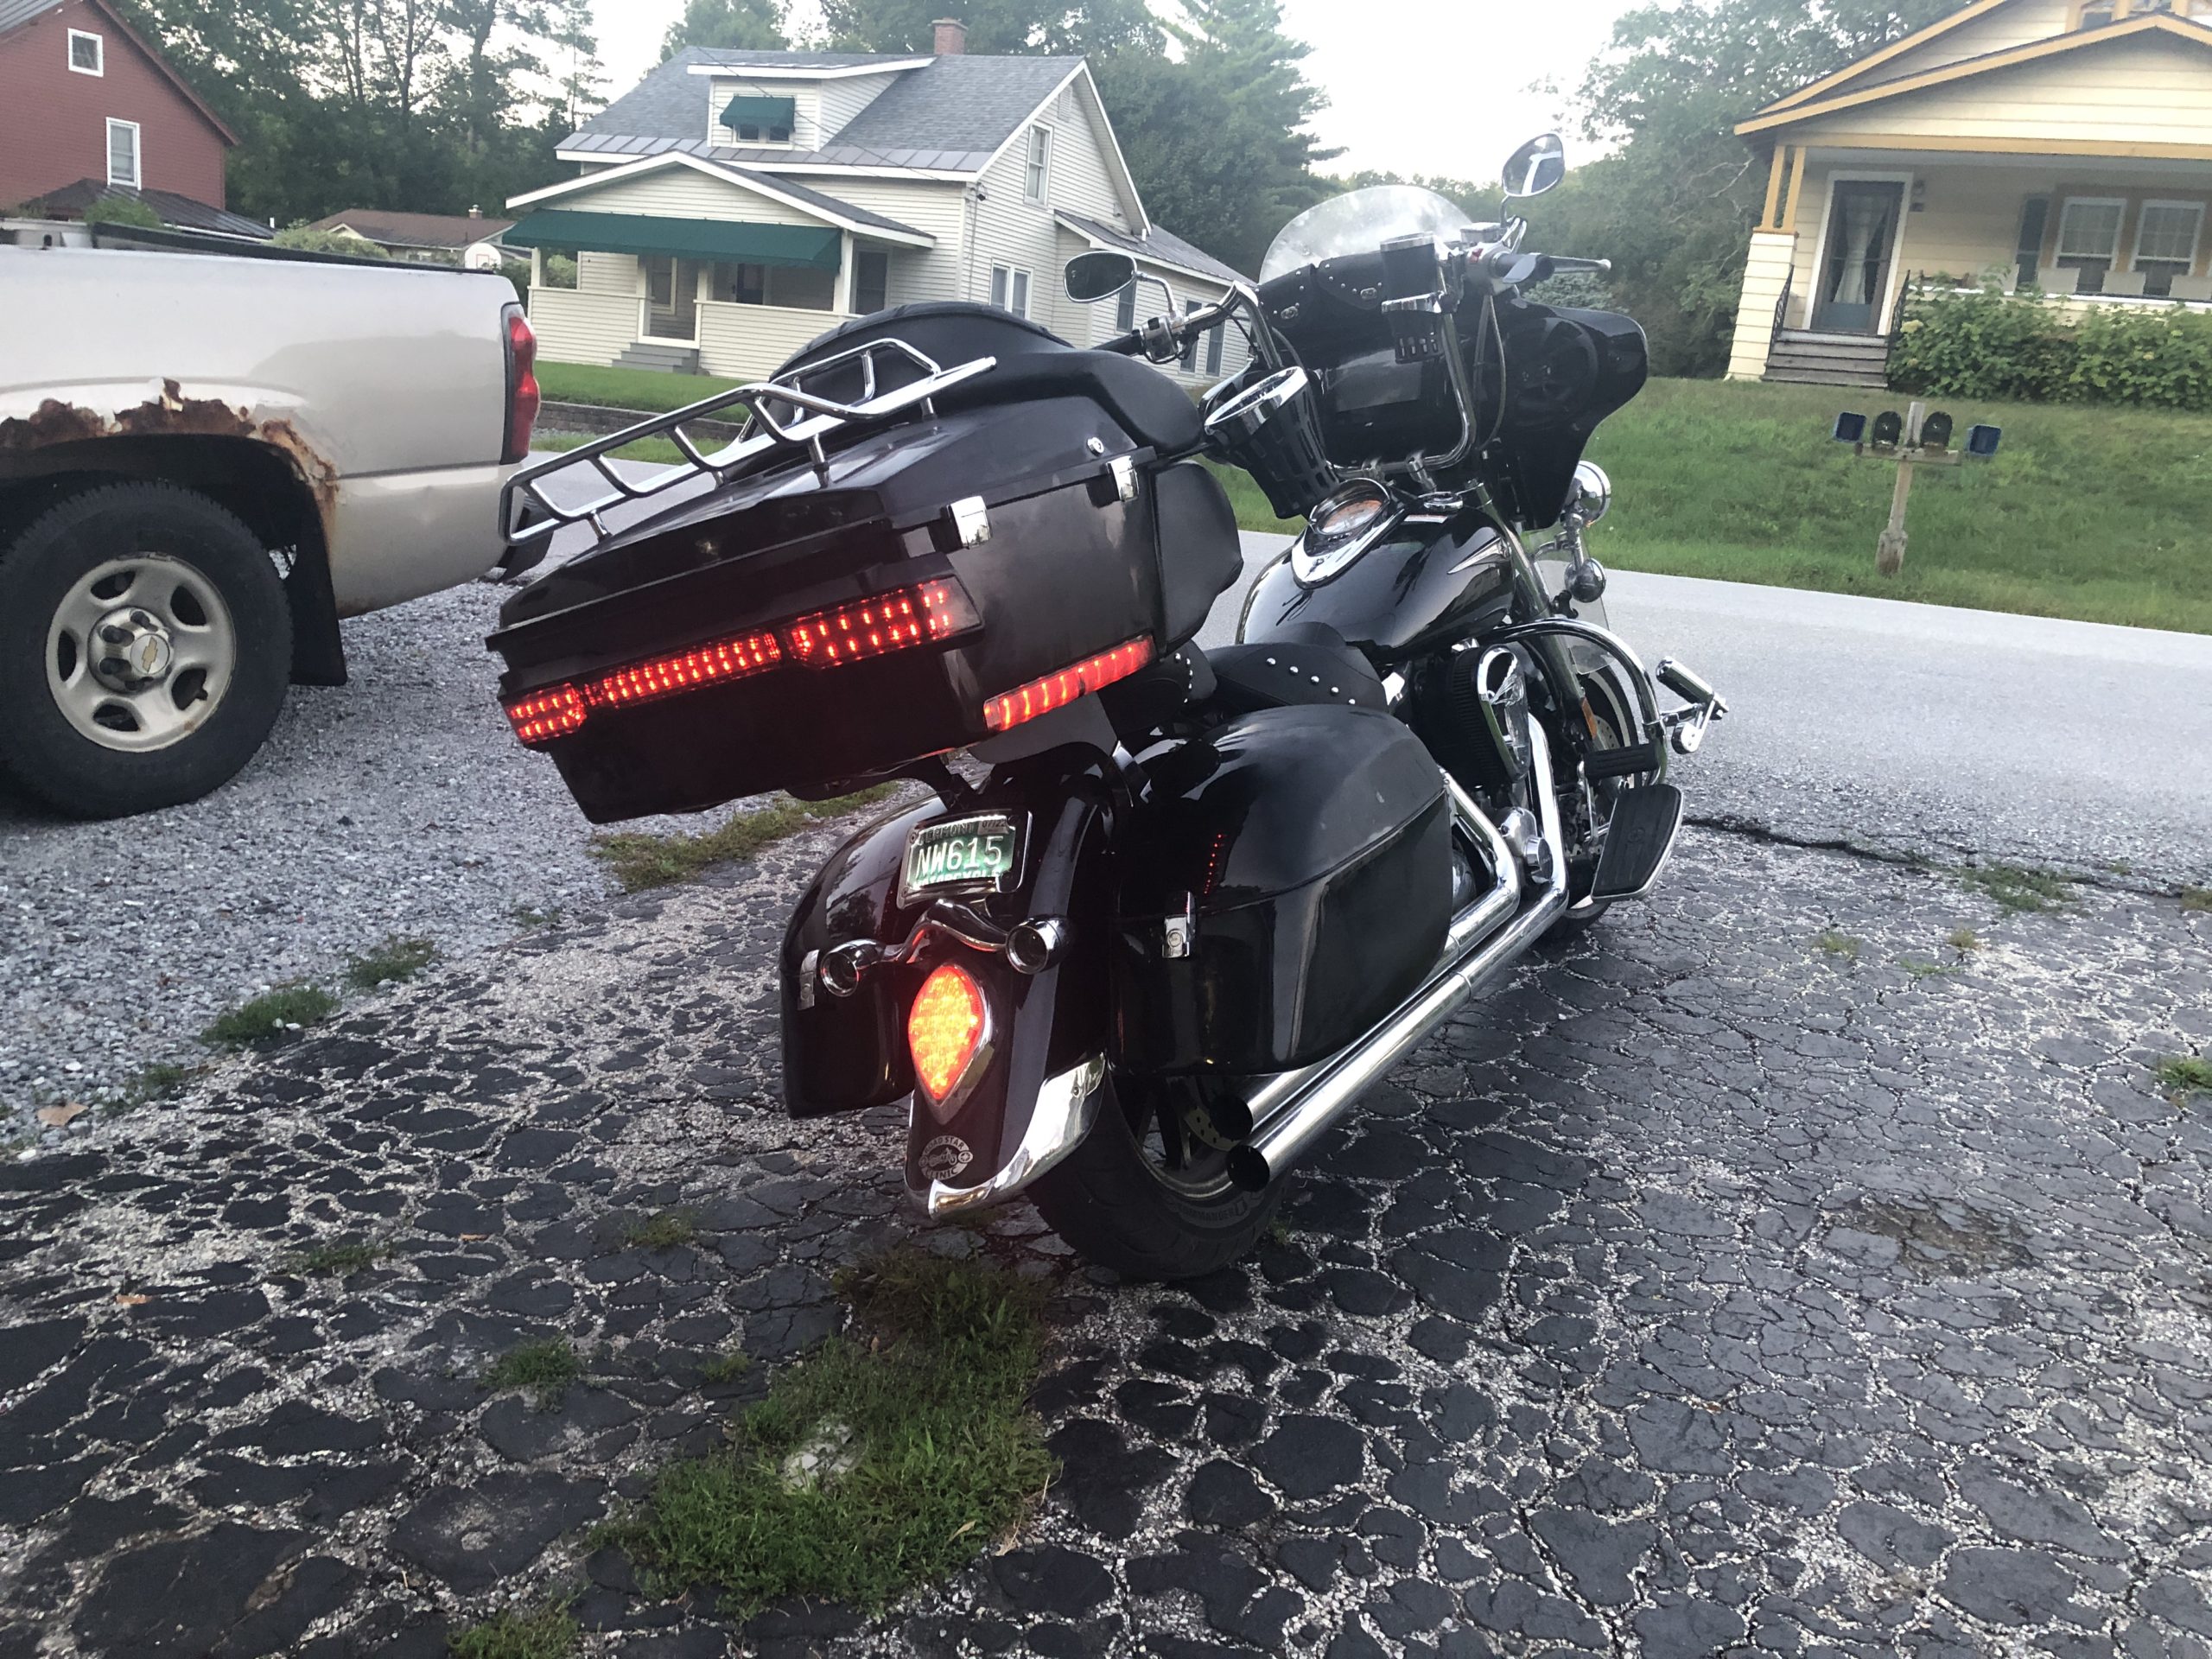
Side Marker Lights
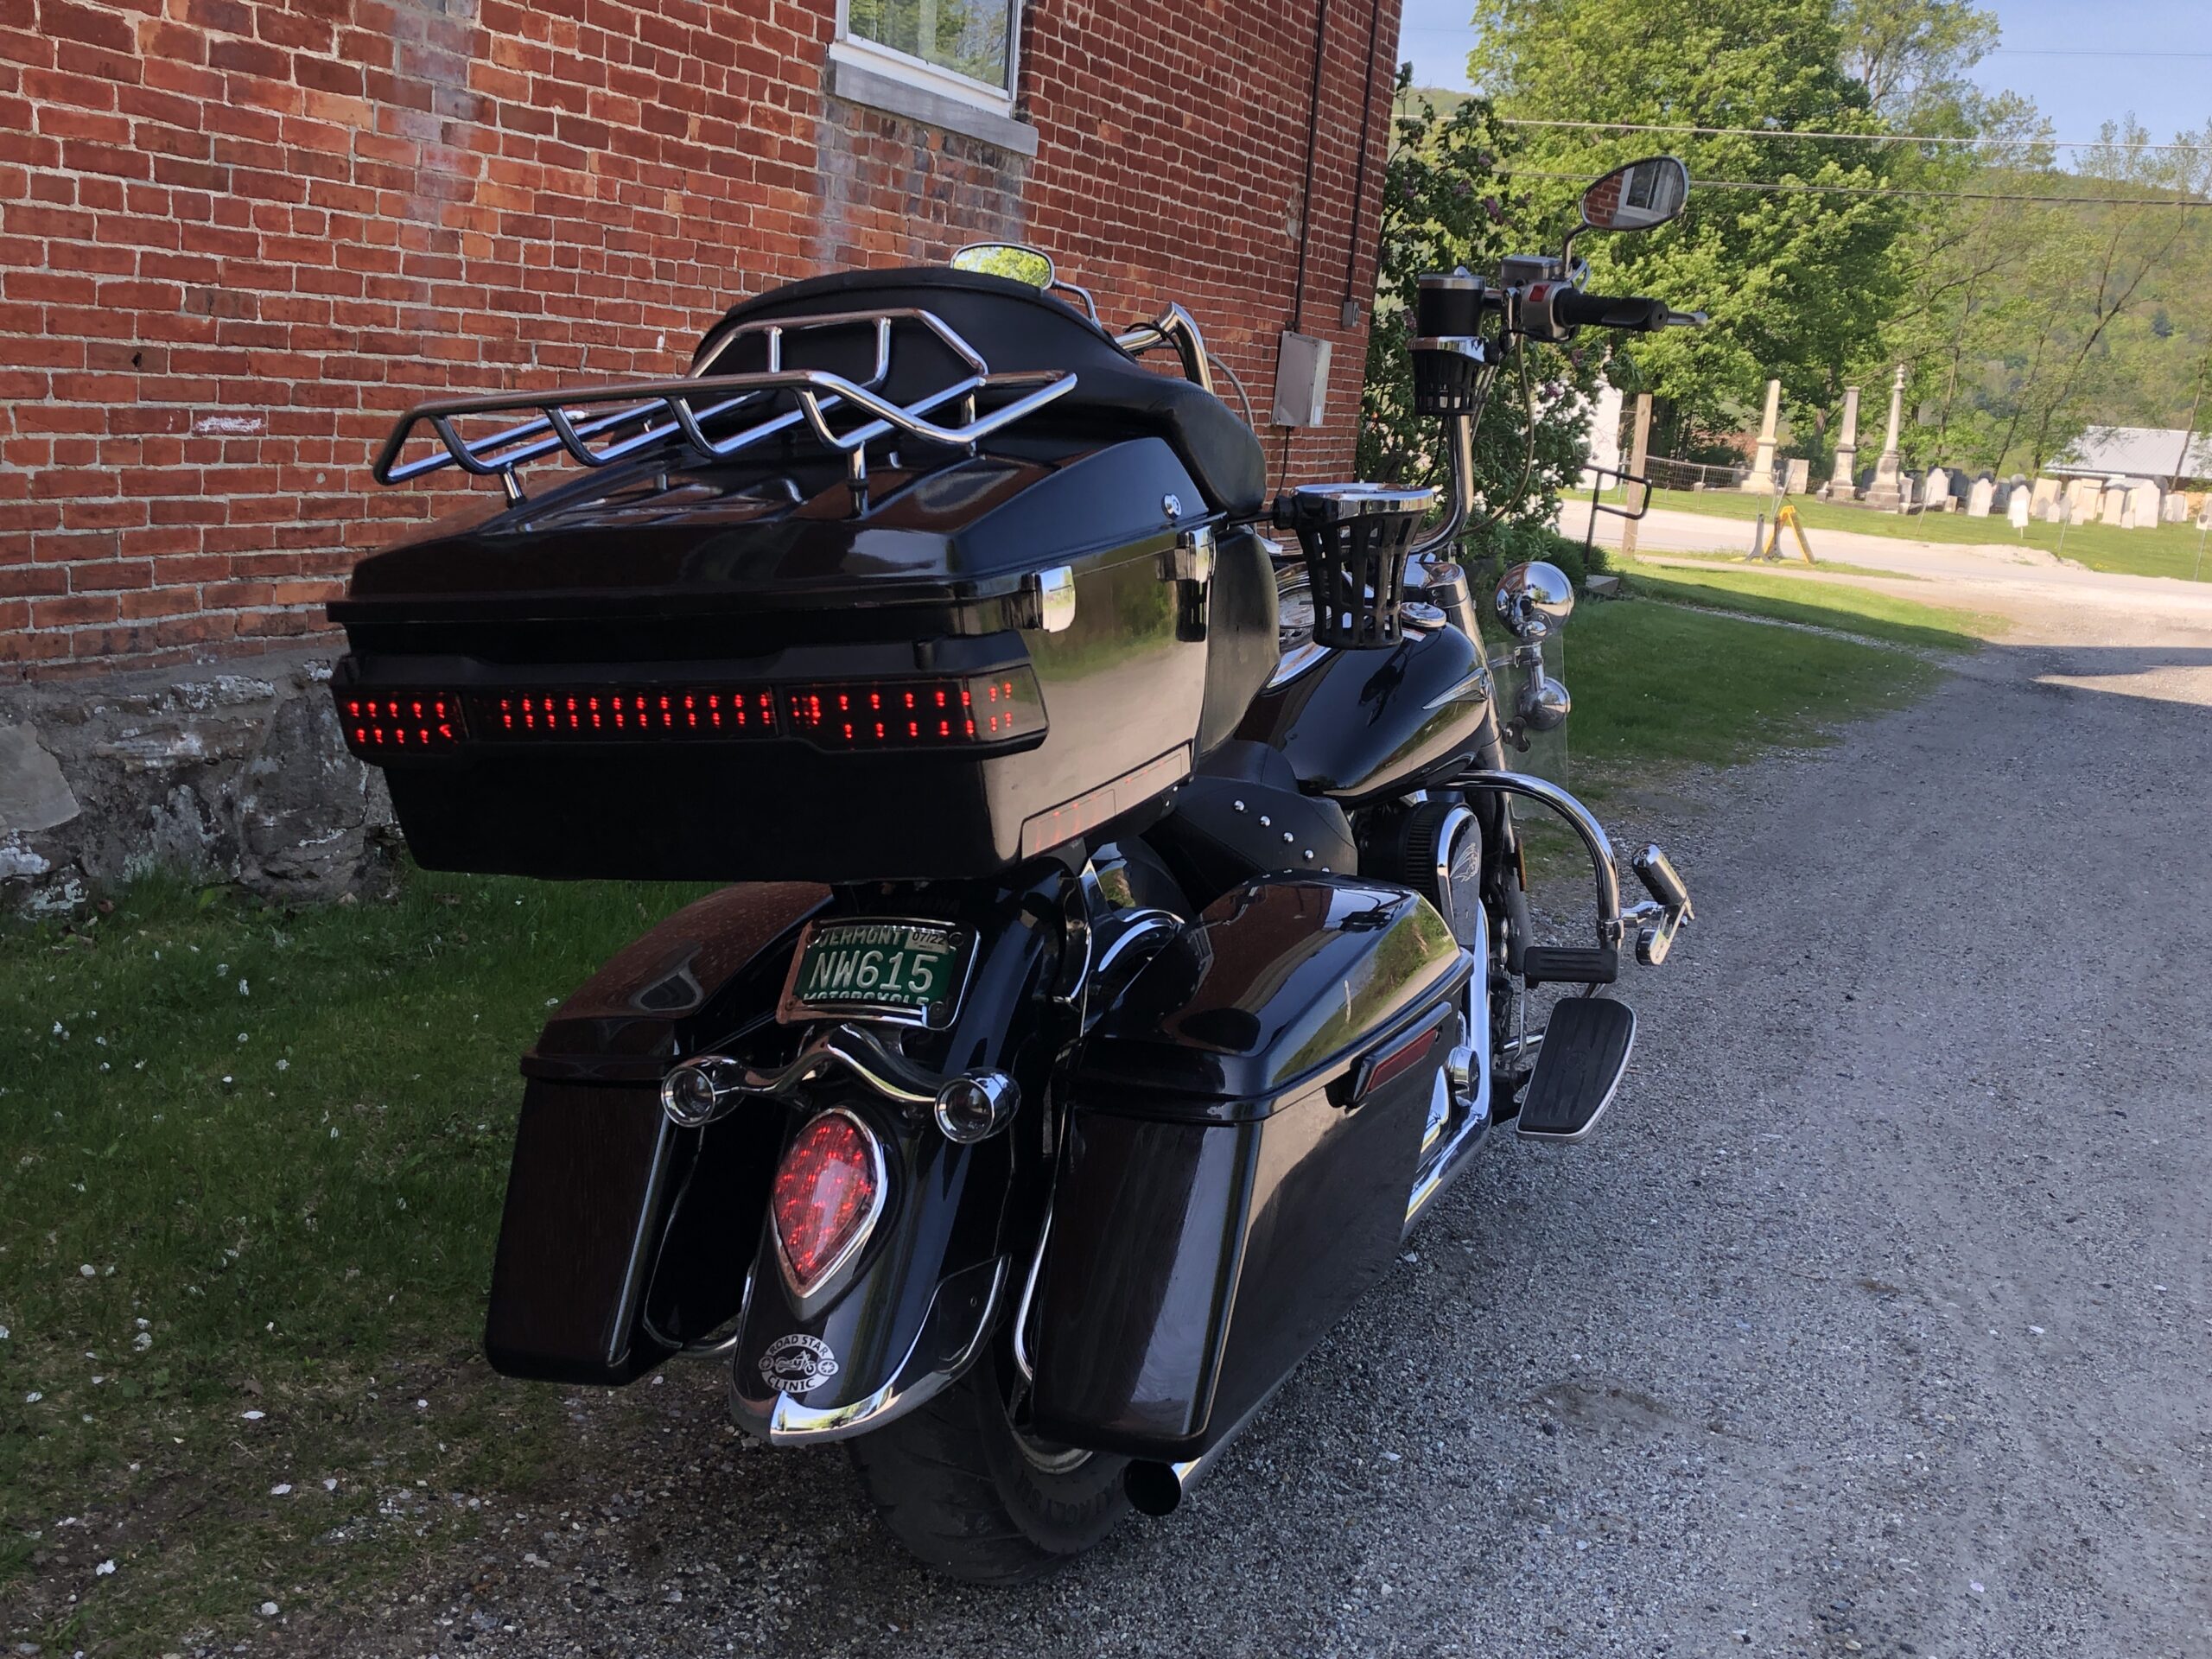
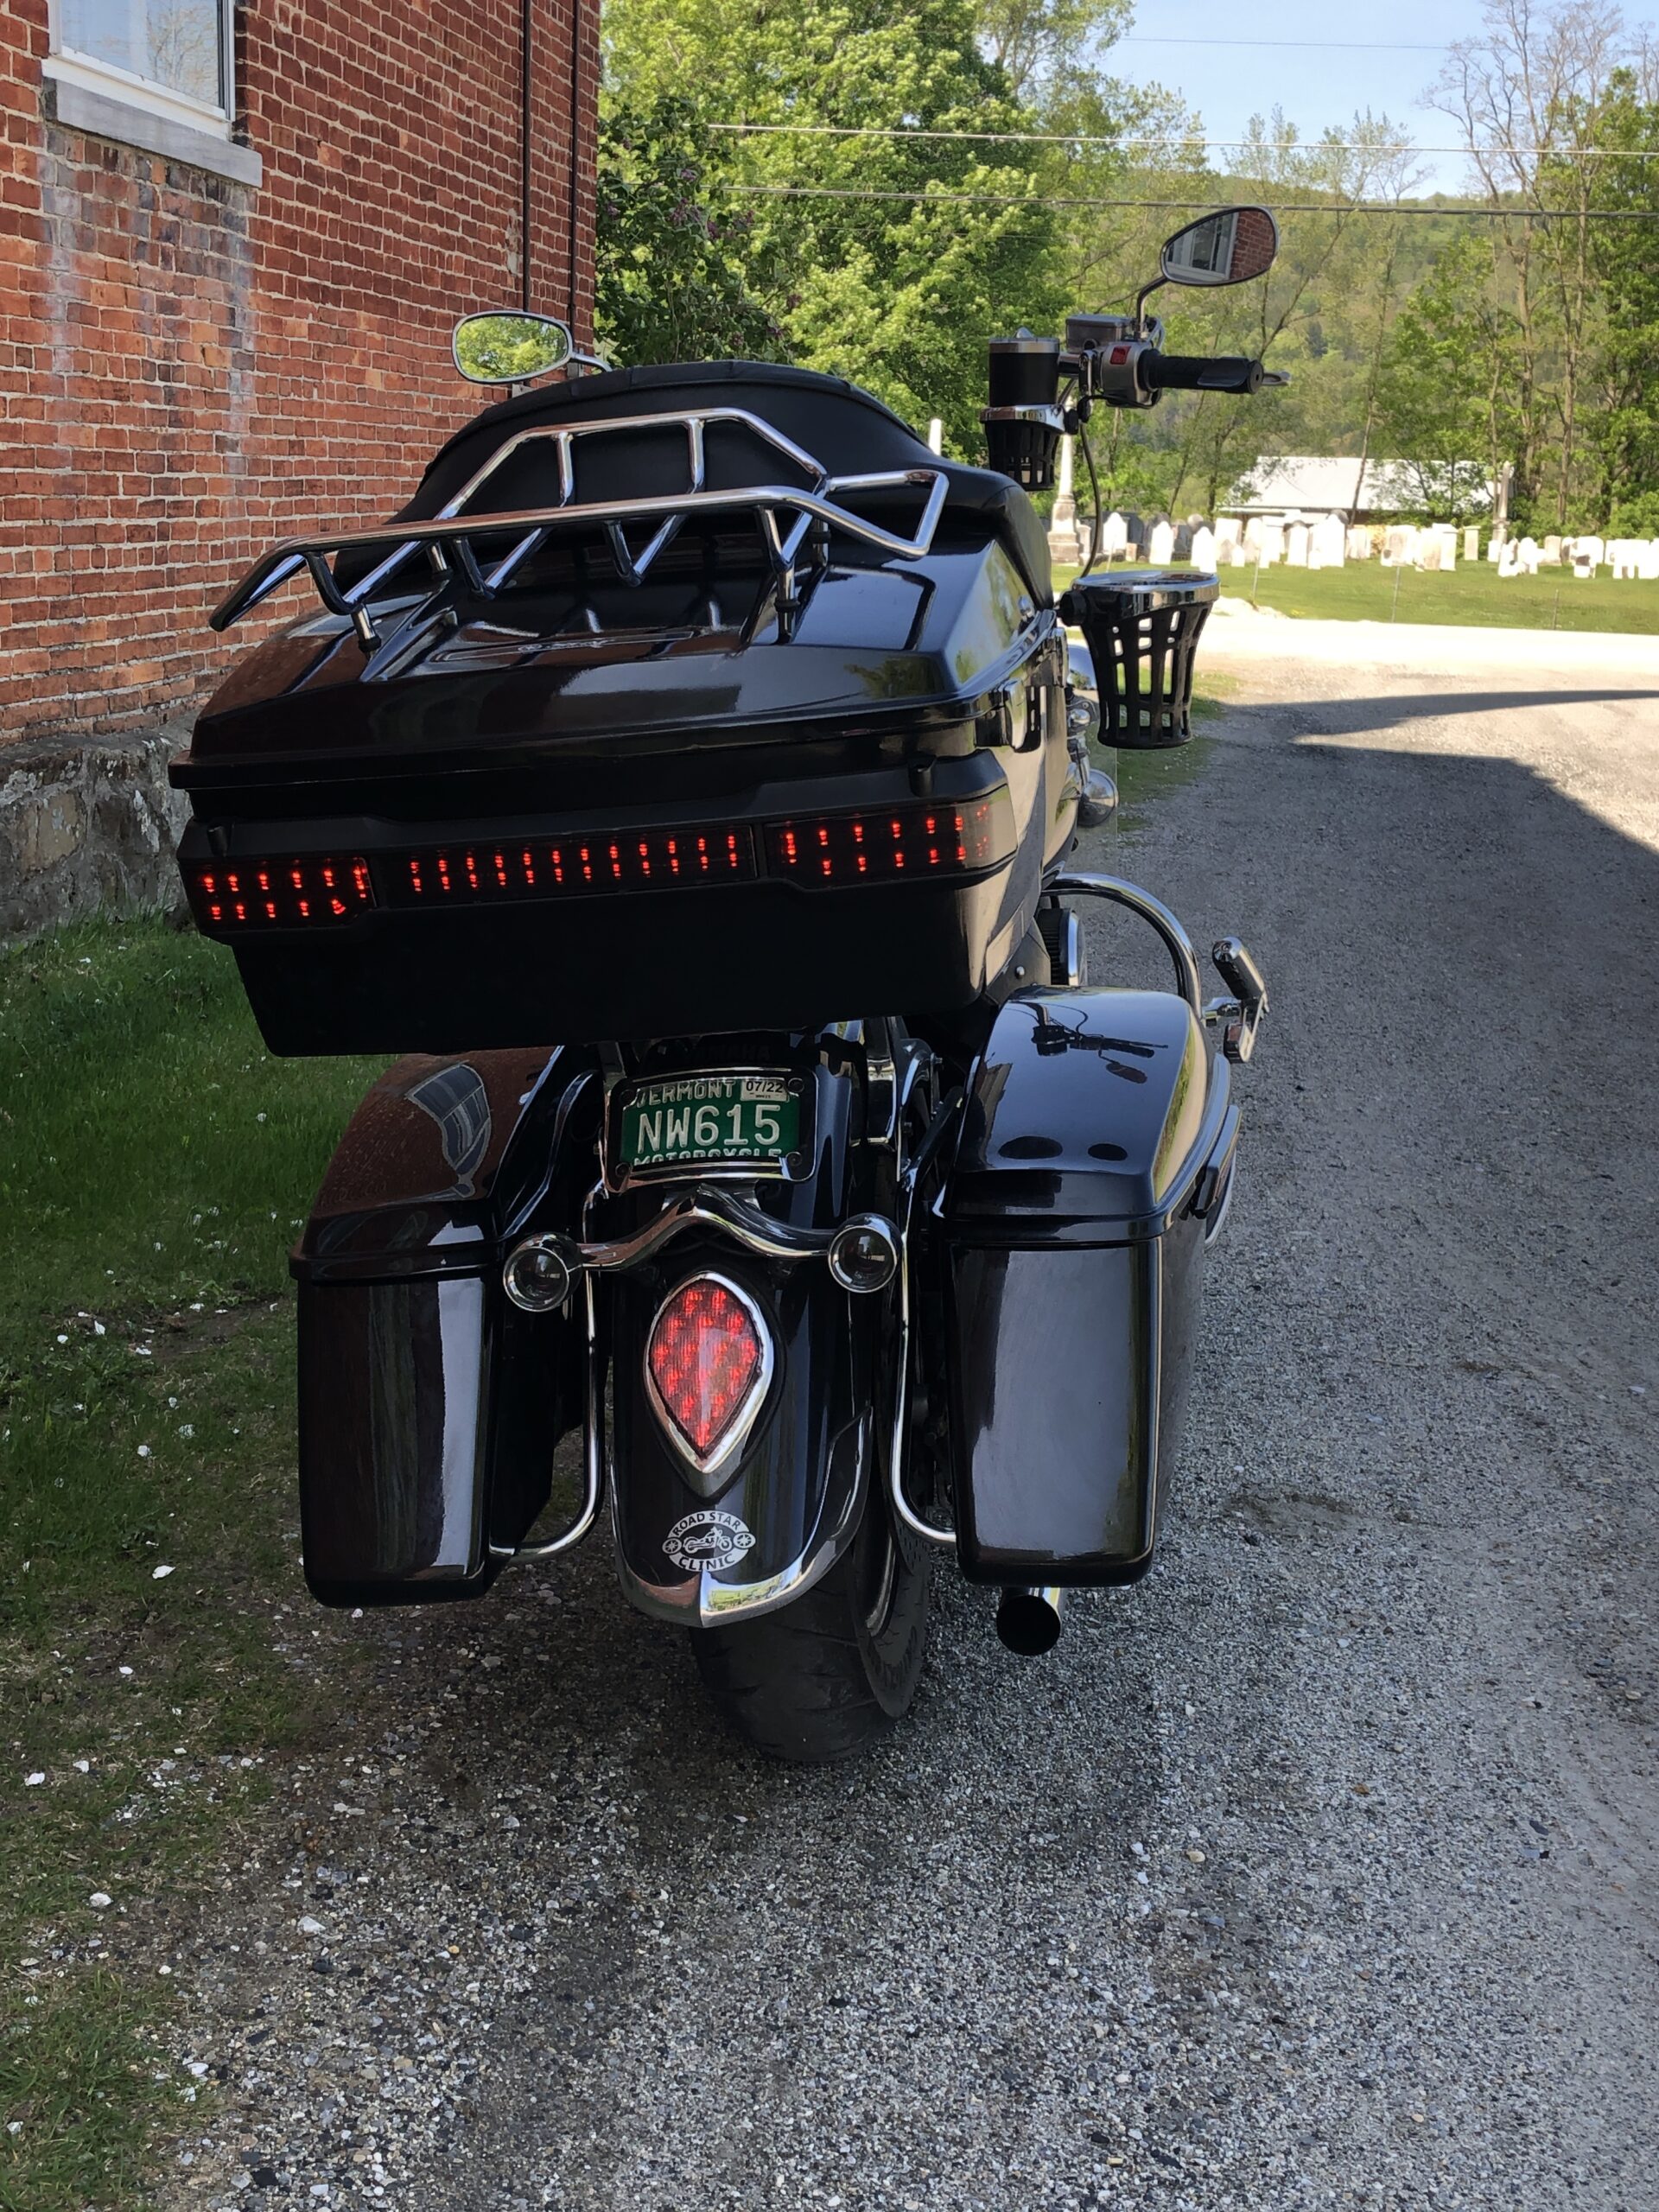
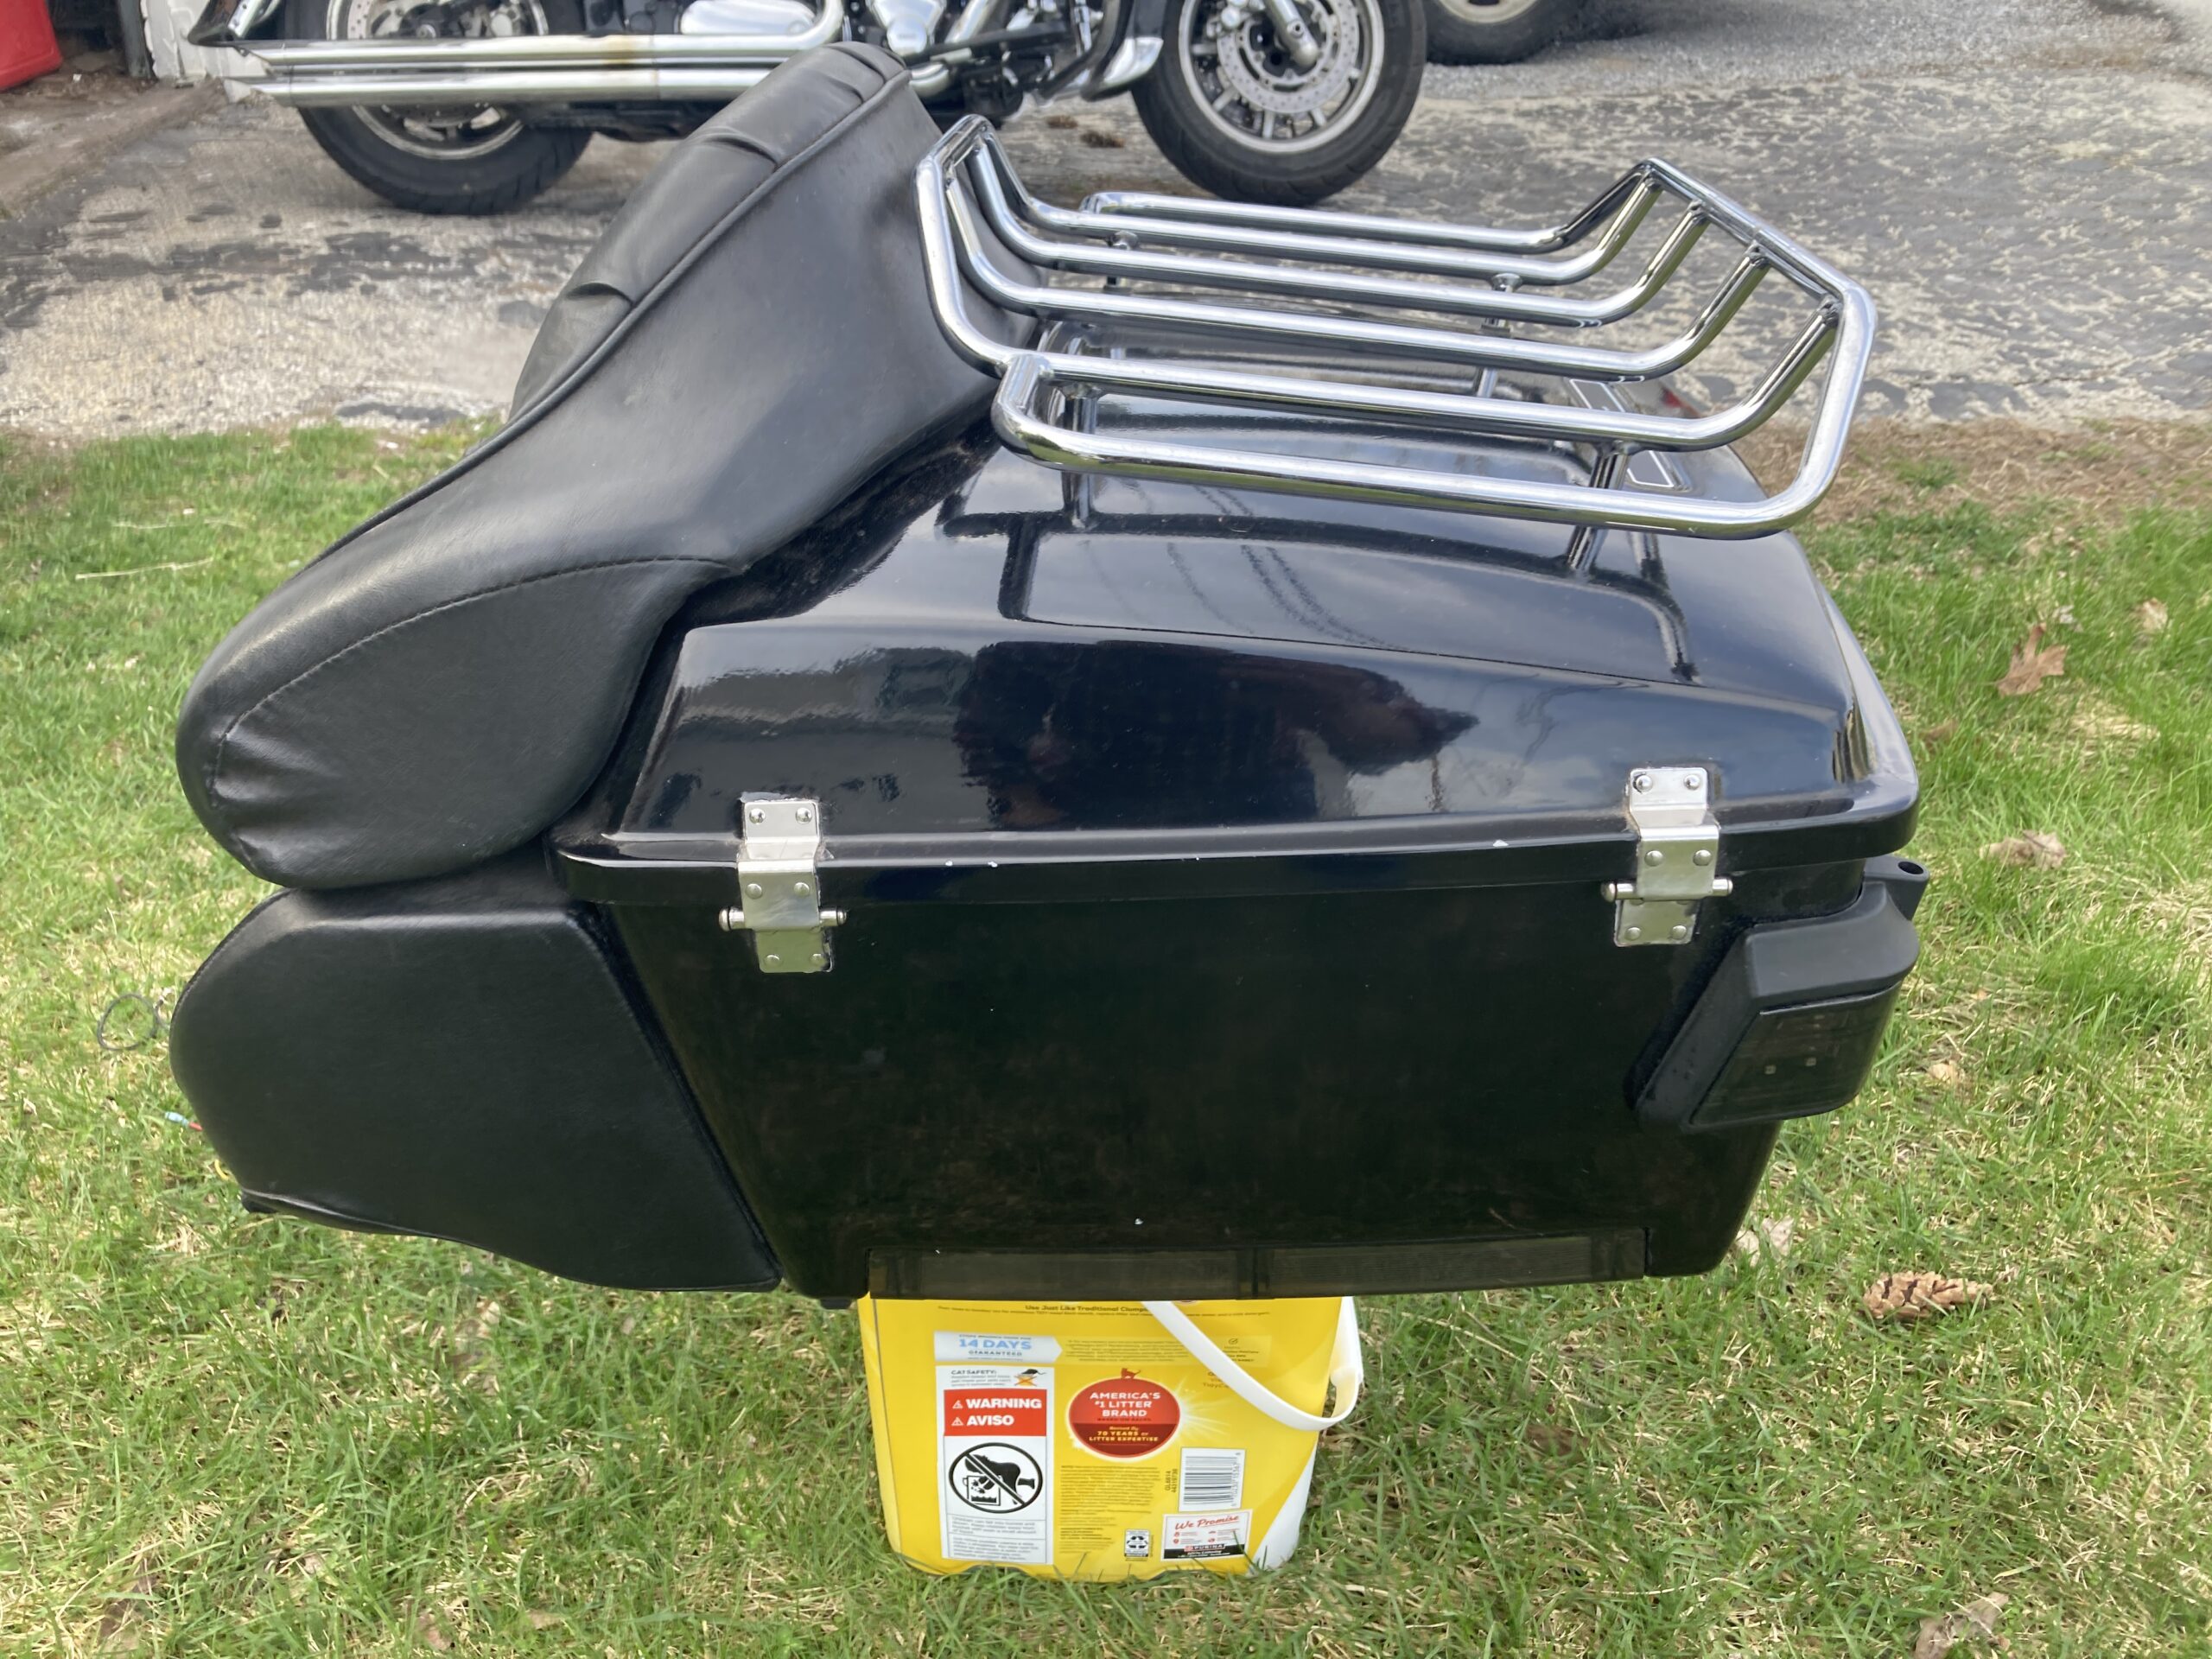
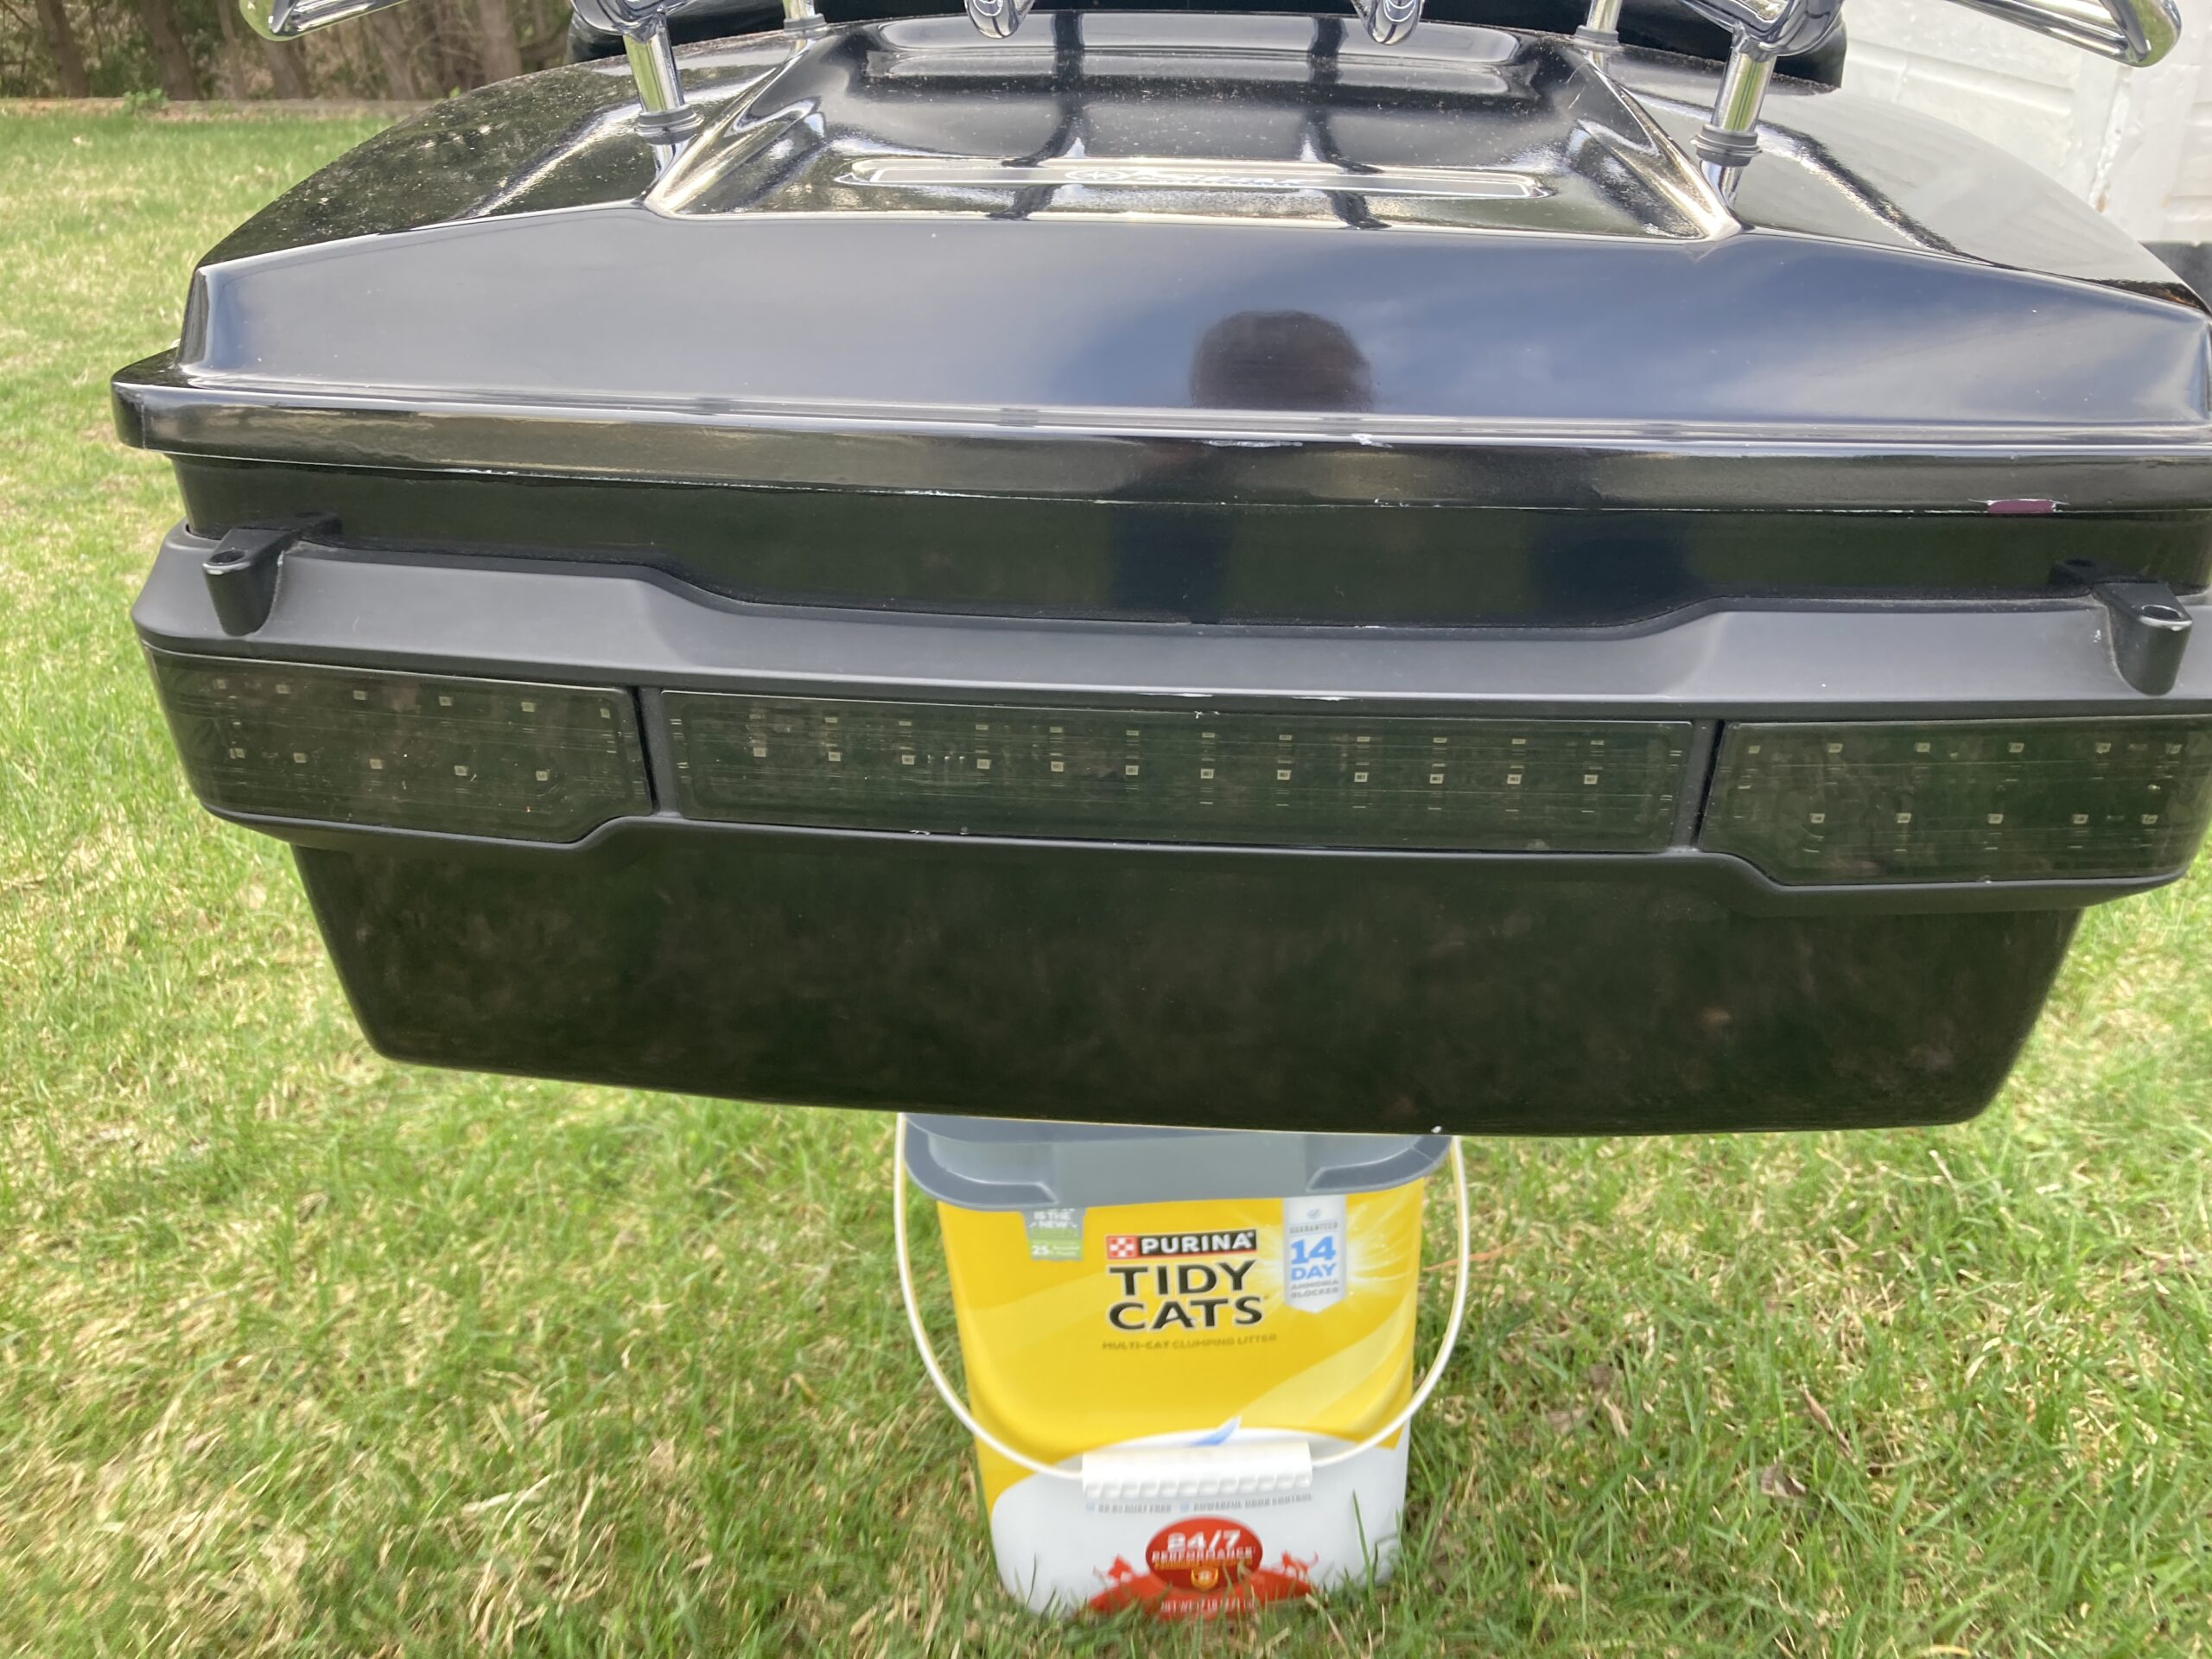
The Tour-Pak did’t come with any lights. I purchased some smoked lenses for the side marker lights The smoked side marker lenses did not come with the six mounting screws so you have to purchase some or reuse the ones that came with the side marker covers. I found that the screws didn’t fit well so I had to add some plumbers tape to them to make them secure.
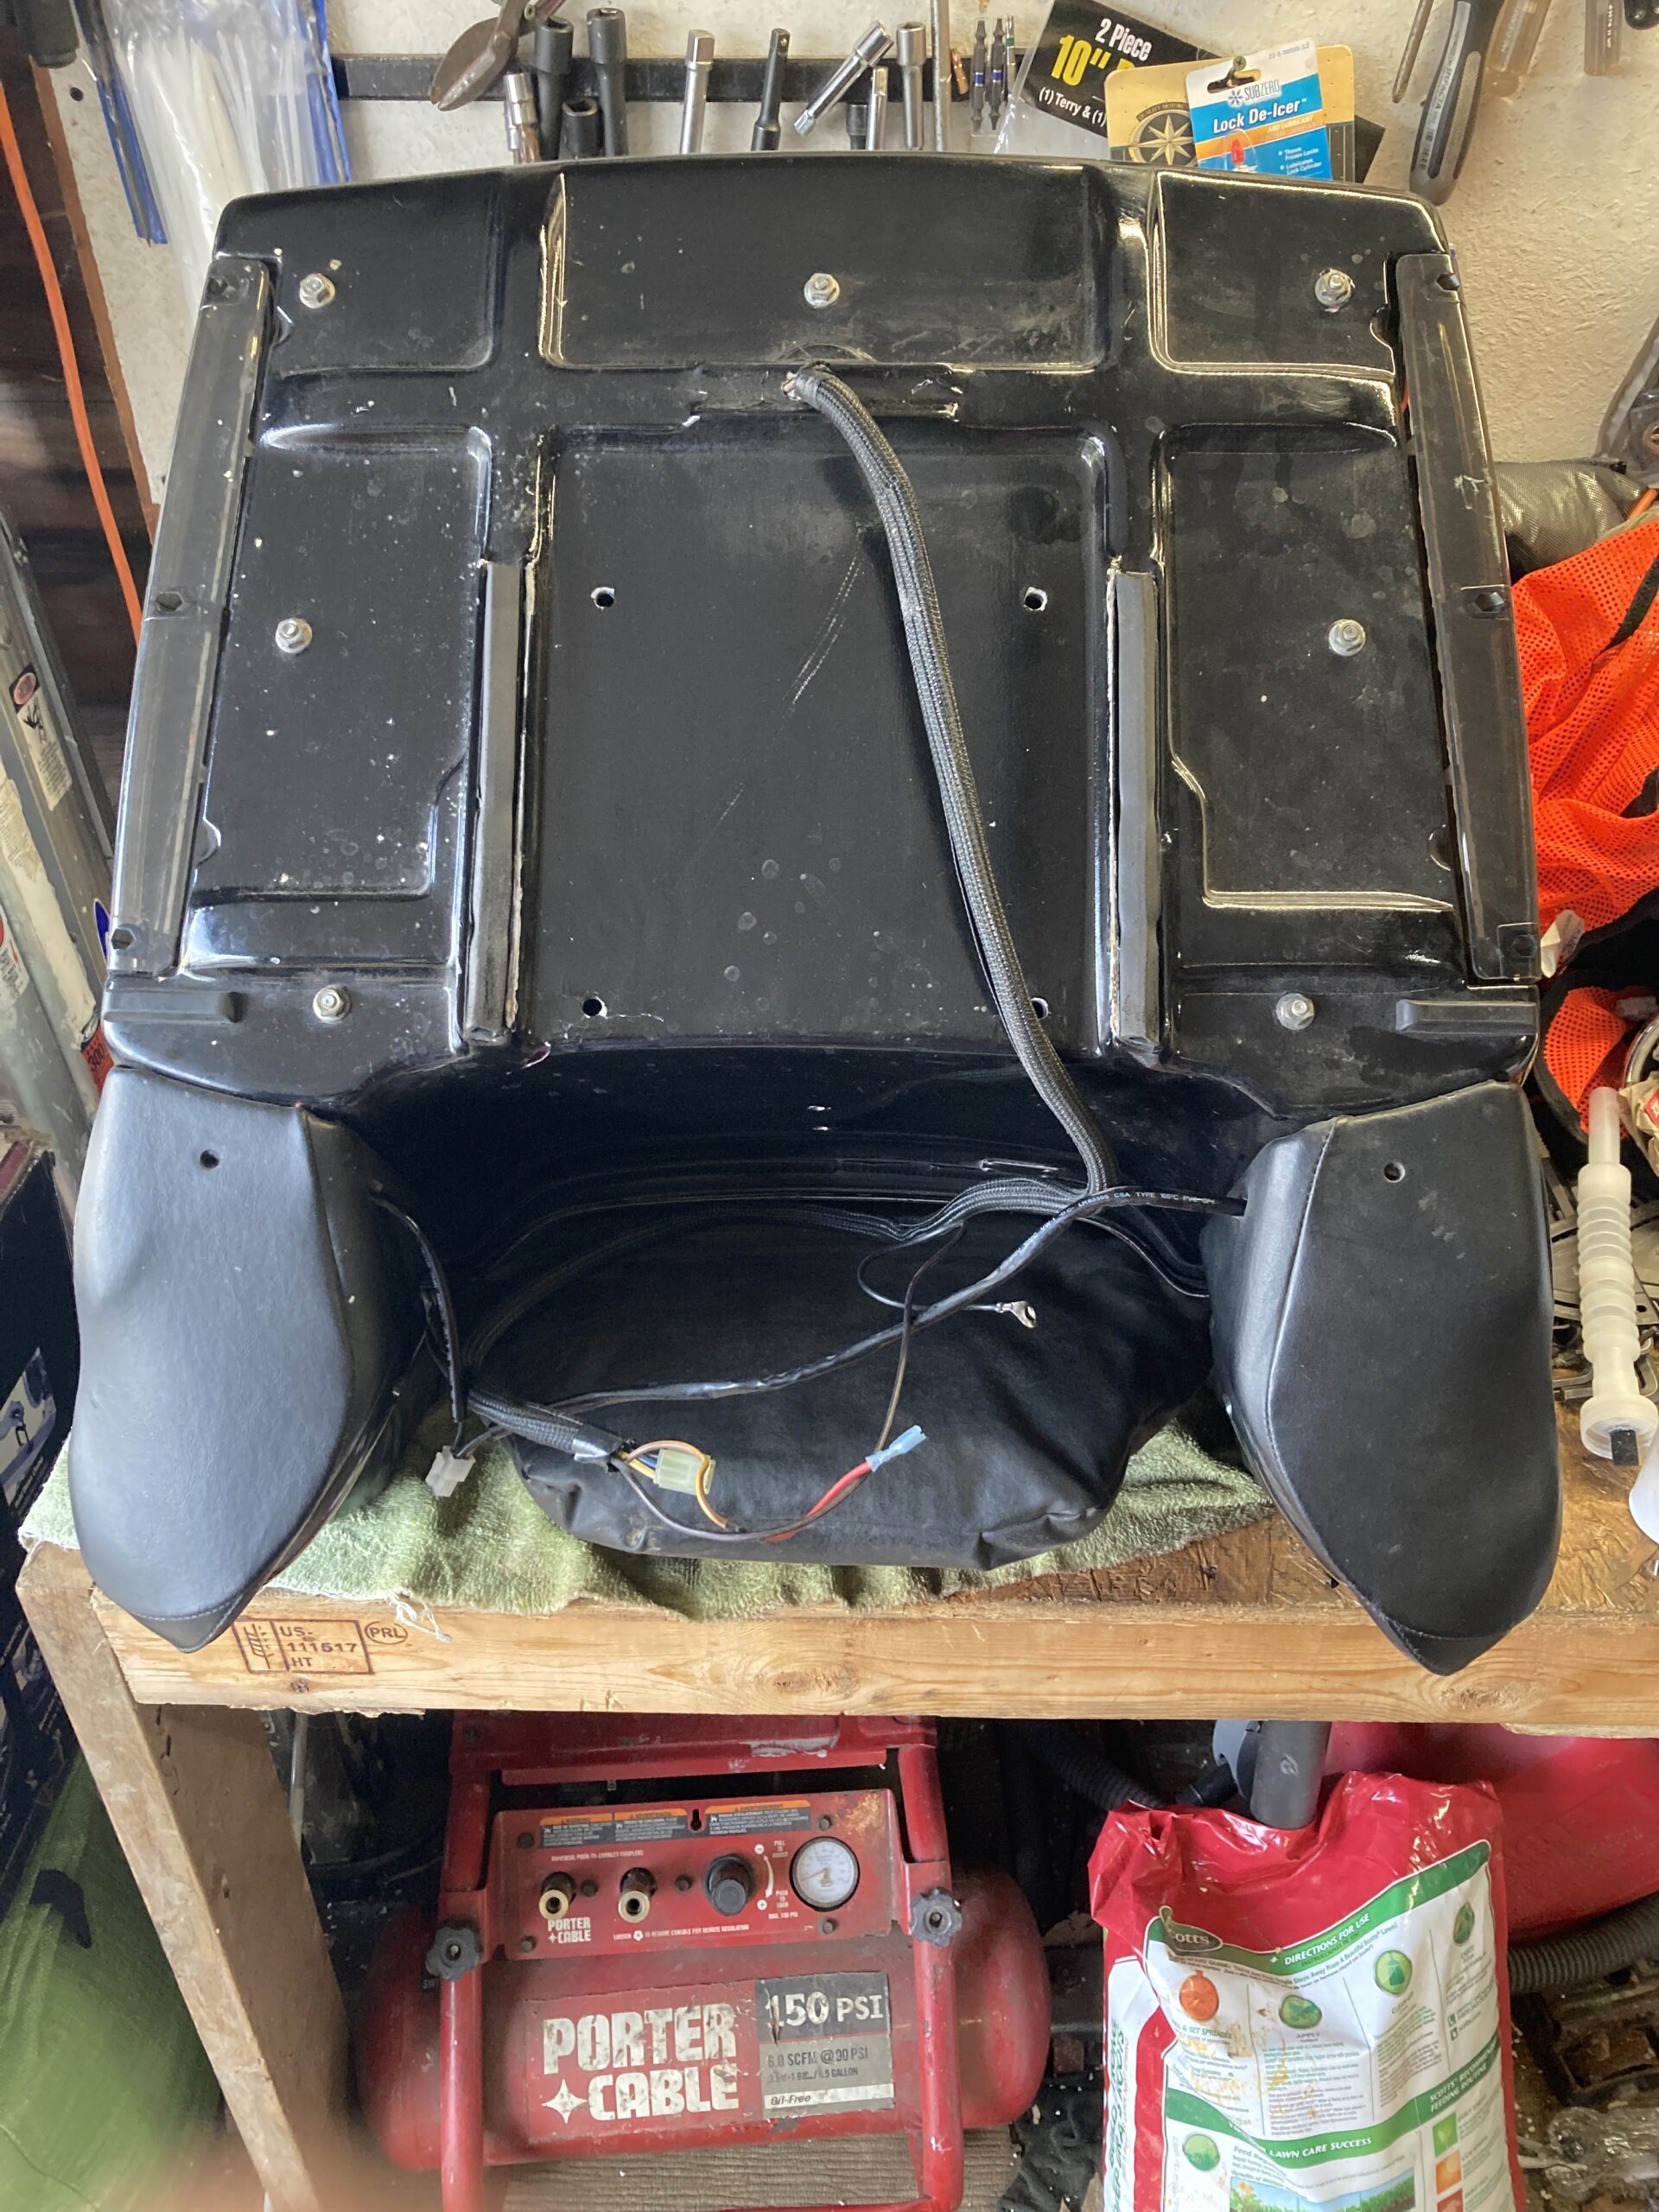
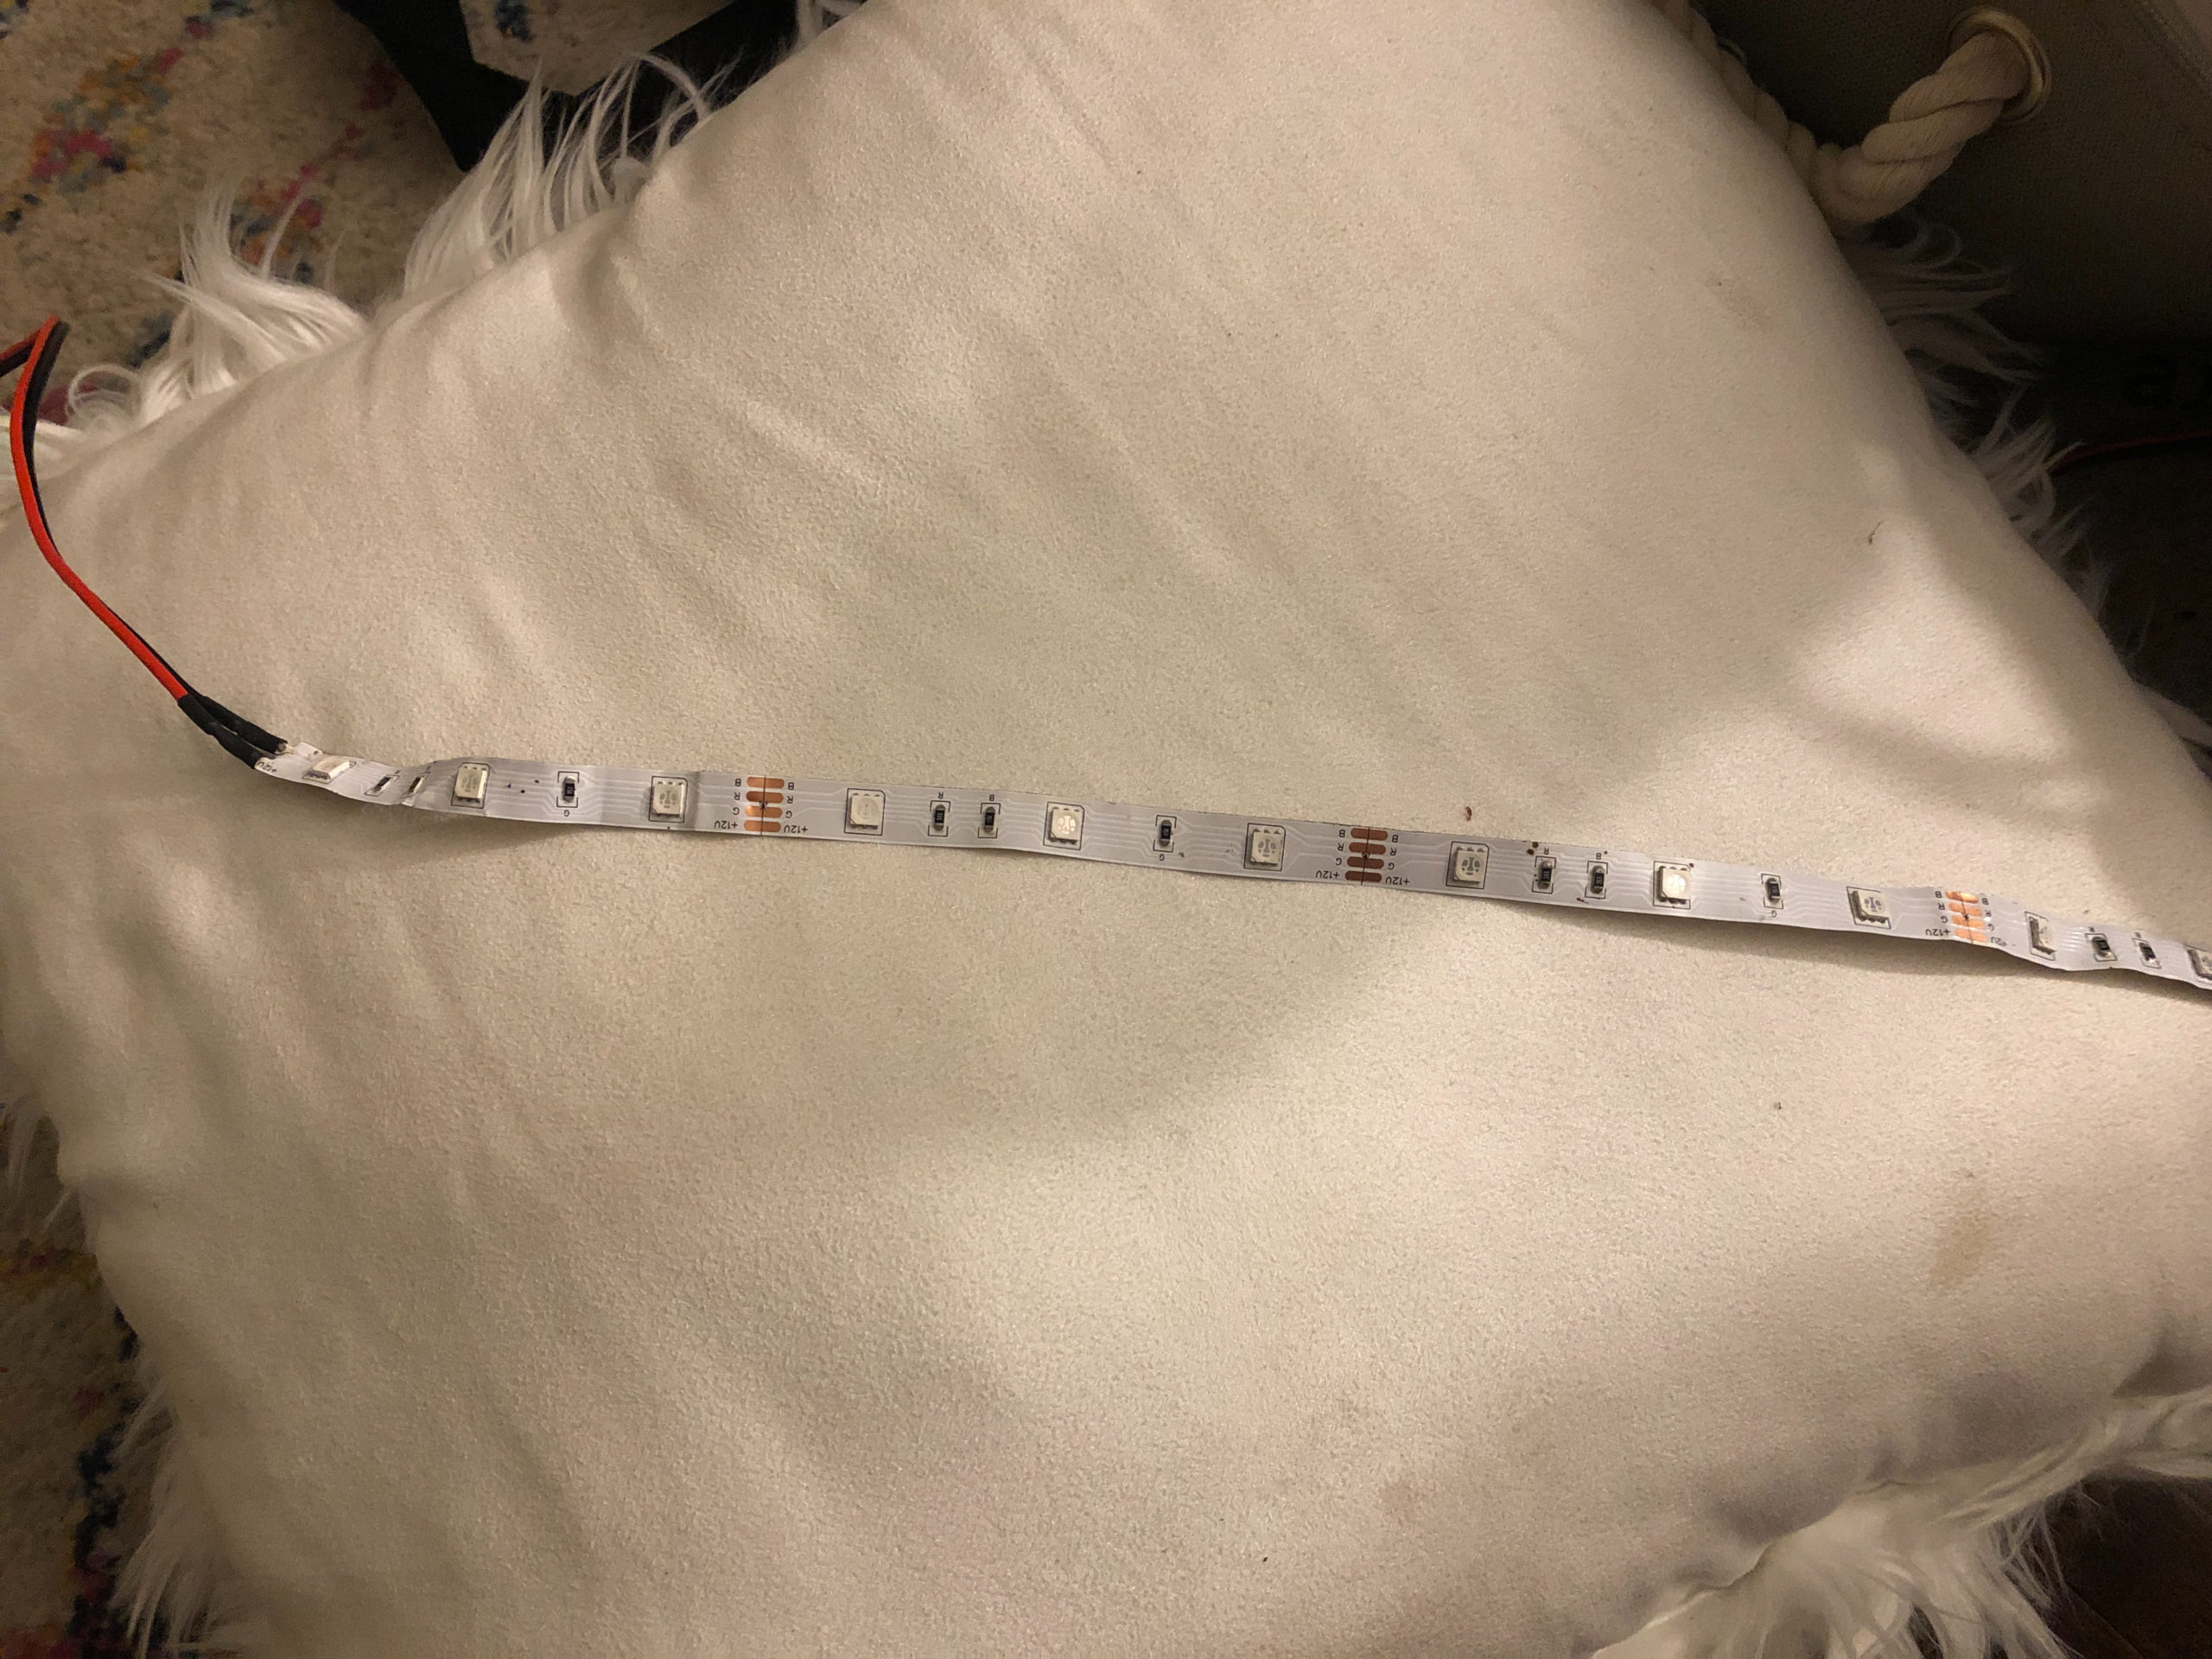
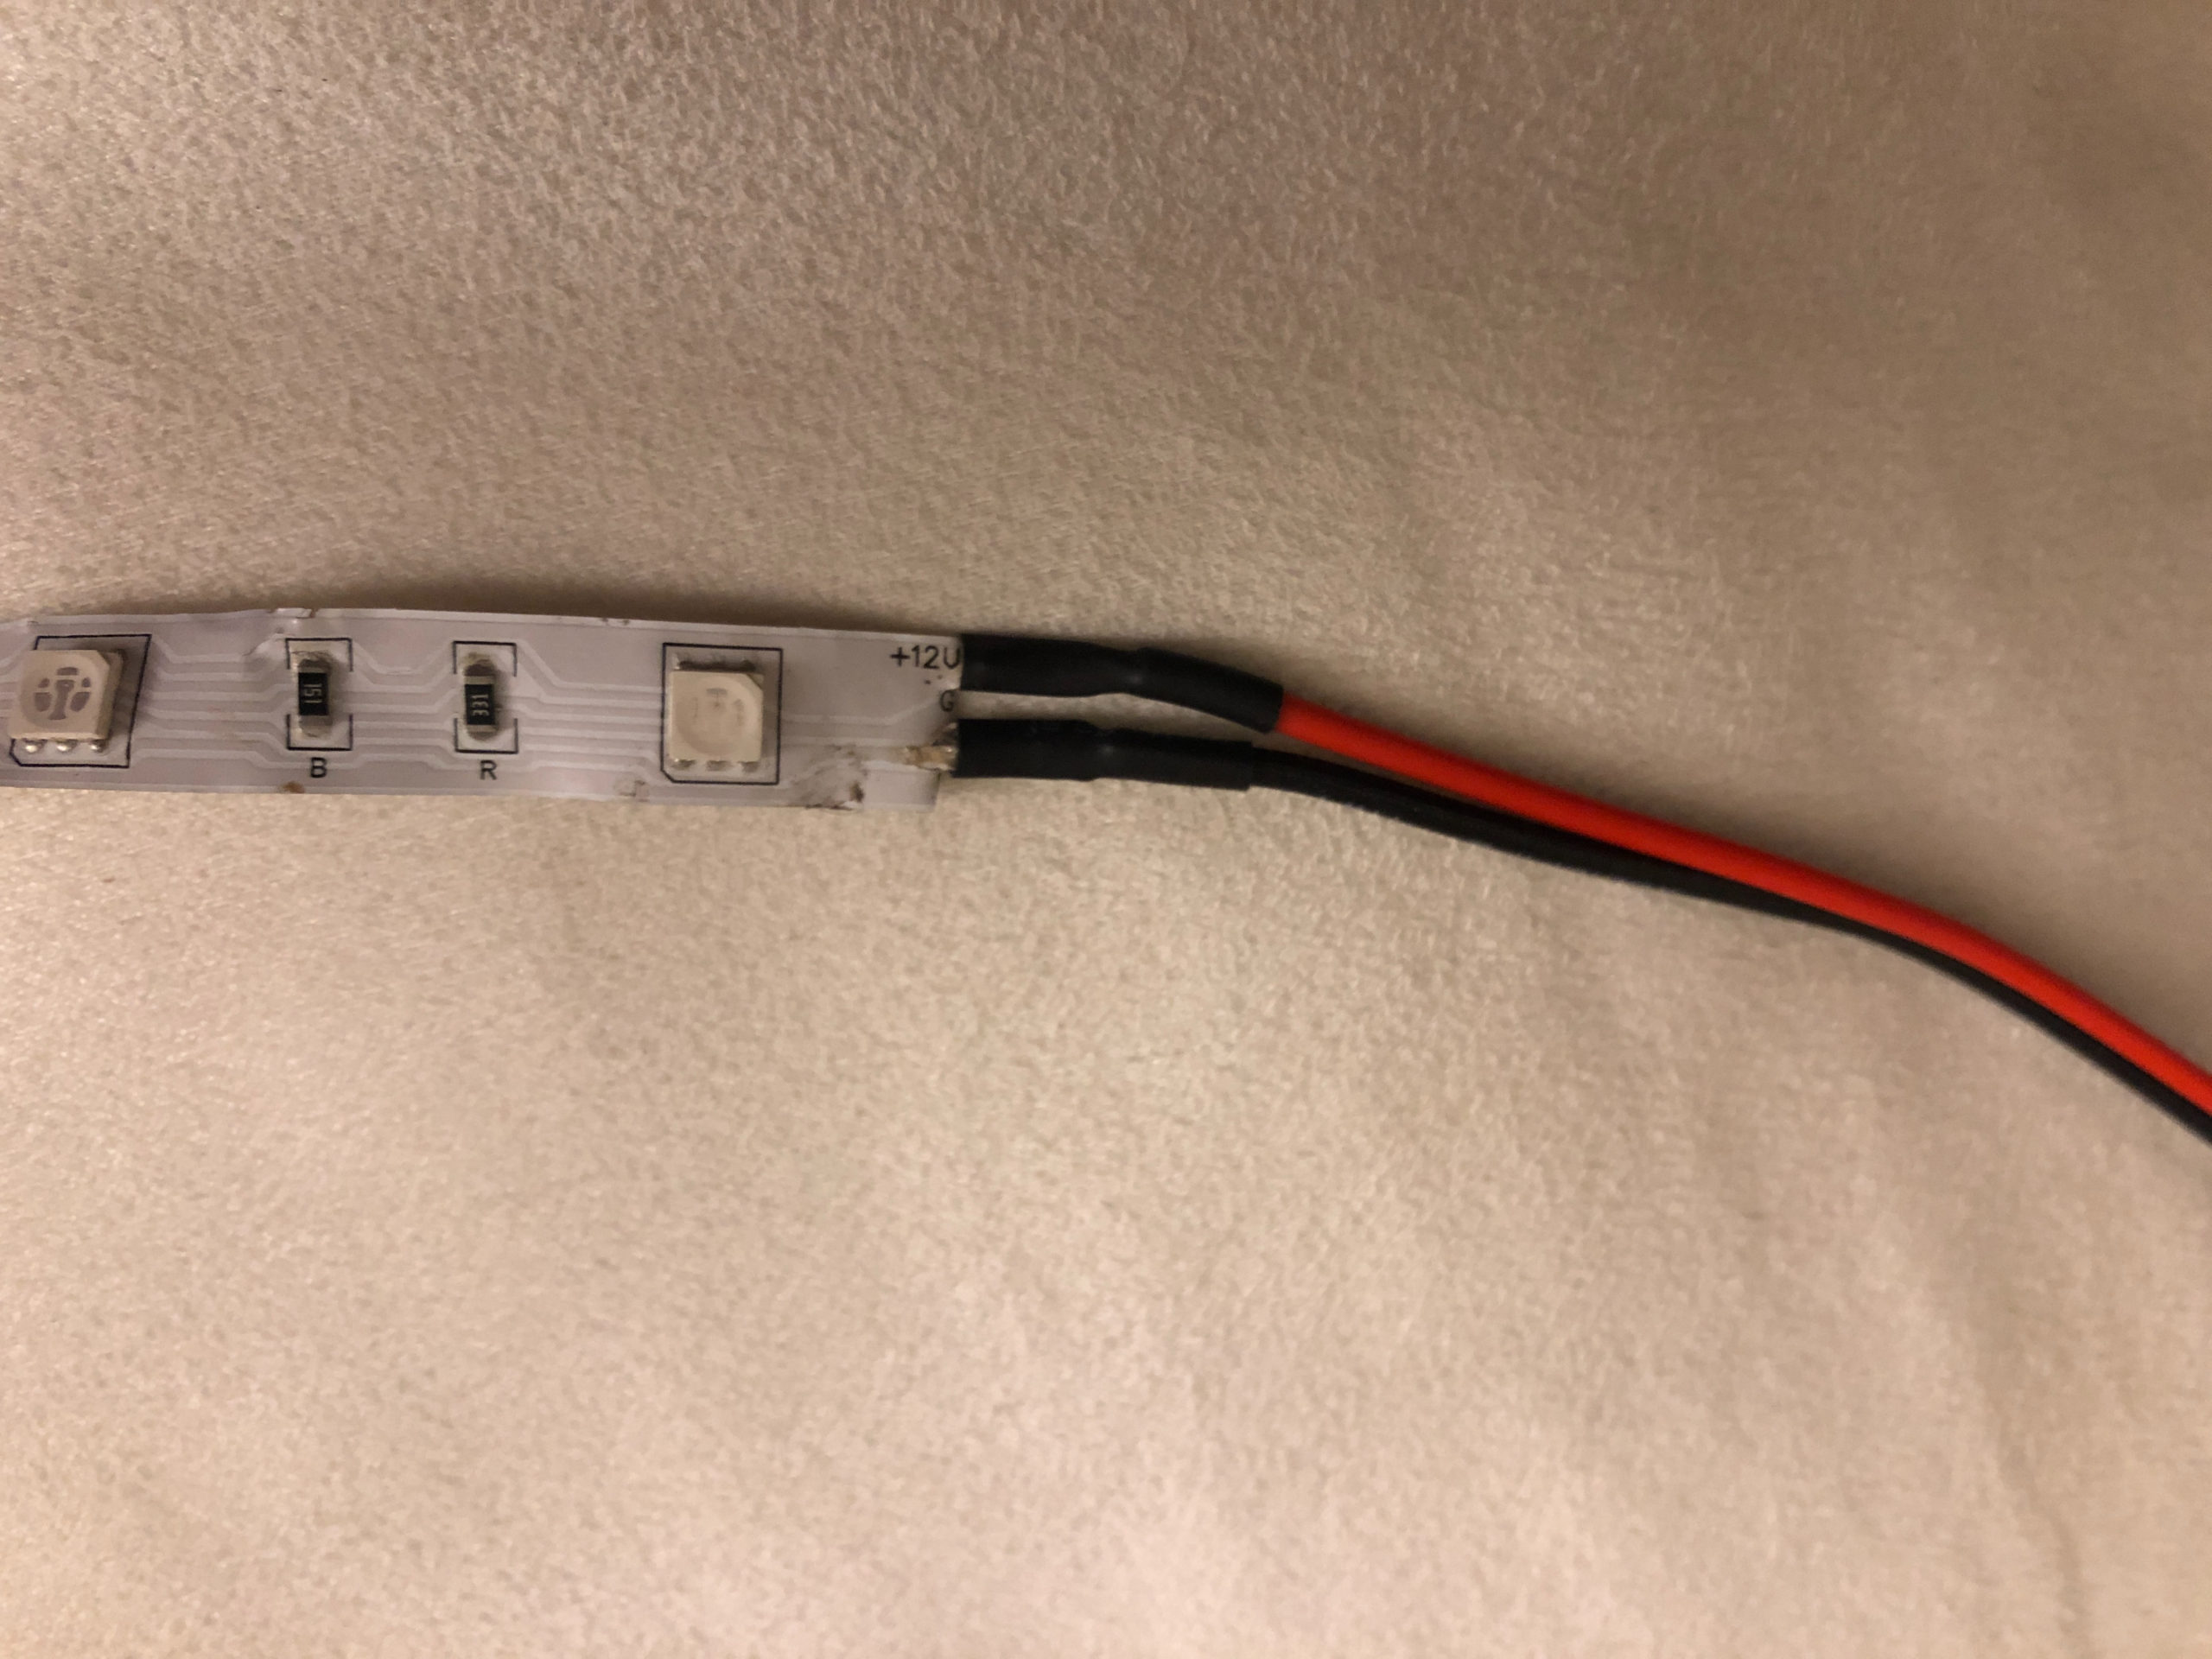
For the side marker lights I used a simple 12v RGB led light strip. I cut it and soldered a red (+) wire to the 12v line and a black (-) wire to the Red line. I used heat shrink to cover them up. I cut the connector for the green and blue so it left me with two tabs to solder to and then slide the heat shrink over. These lights are always on. I connected them to the Blue Wire on the tail light connector. The LED light strips can be cut into sections. Nine lights will fit nicely in the Tour-Pak so that is what I used. They have adhesive on one side but I wanted to ensure that they stayed in place so I bought a knock off Alien Tape and it keeps it in place nicely.
Tail Lights
You will need to purchase lights that fit your tour-pak. I purchased a smoked tail light and lenses for the side marker lights. The center is a 3-wire light which can function as a running light and brake light. The side lights are 2-wire lights and can function as turn signals. I wired it so that all of the lights would function as running lights, the center would function as a brake light and the side lights would function as blinkers. In order to do this I ignored the third wire on the middle light. I did this so that they would all appear at the same brightness for the running lights. I used rectifier diodes and resistors to set them up so that they were all dual brightness. That way the brake light and blinkers were brighter than the running lights. I picked up a 300 ohm resistors. The amount of resistance you need will depend on how many LEDs you have. I used one 300 ohm diode for each light and it is sufficient for my set up. The video below was very helpful in this process.
Connecting to the OEM tail lights, brake lights and blinkers
As a rule I do not like to cut or splice into the wiring harness. I prefer using the existing connectors and making a Y so that I can easily access power for what I need and then disconnect any add-ons if/when I want to remove them. There is a connector under the seat. It is a six wire connector. I created a Y so that I could easily make the connections that I needed. In order to create a Y you will need two each of the following connectors.
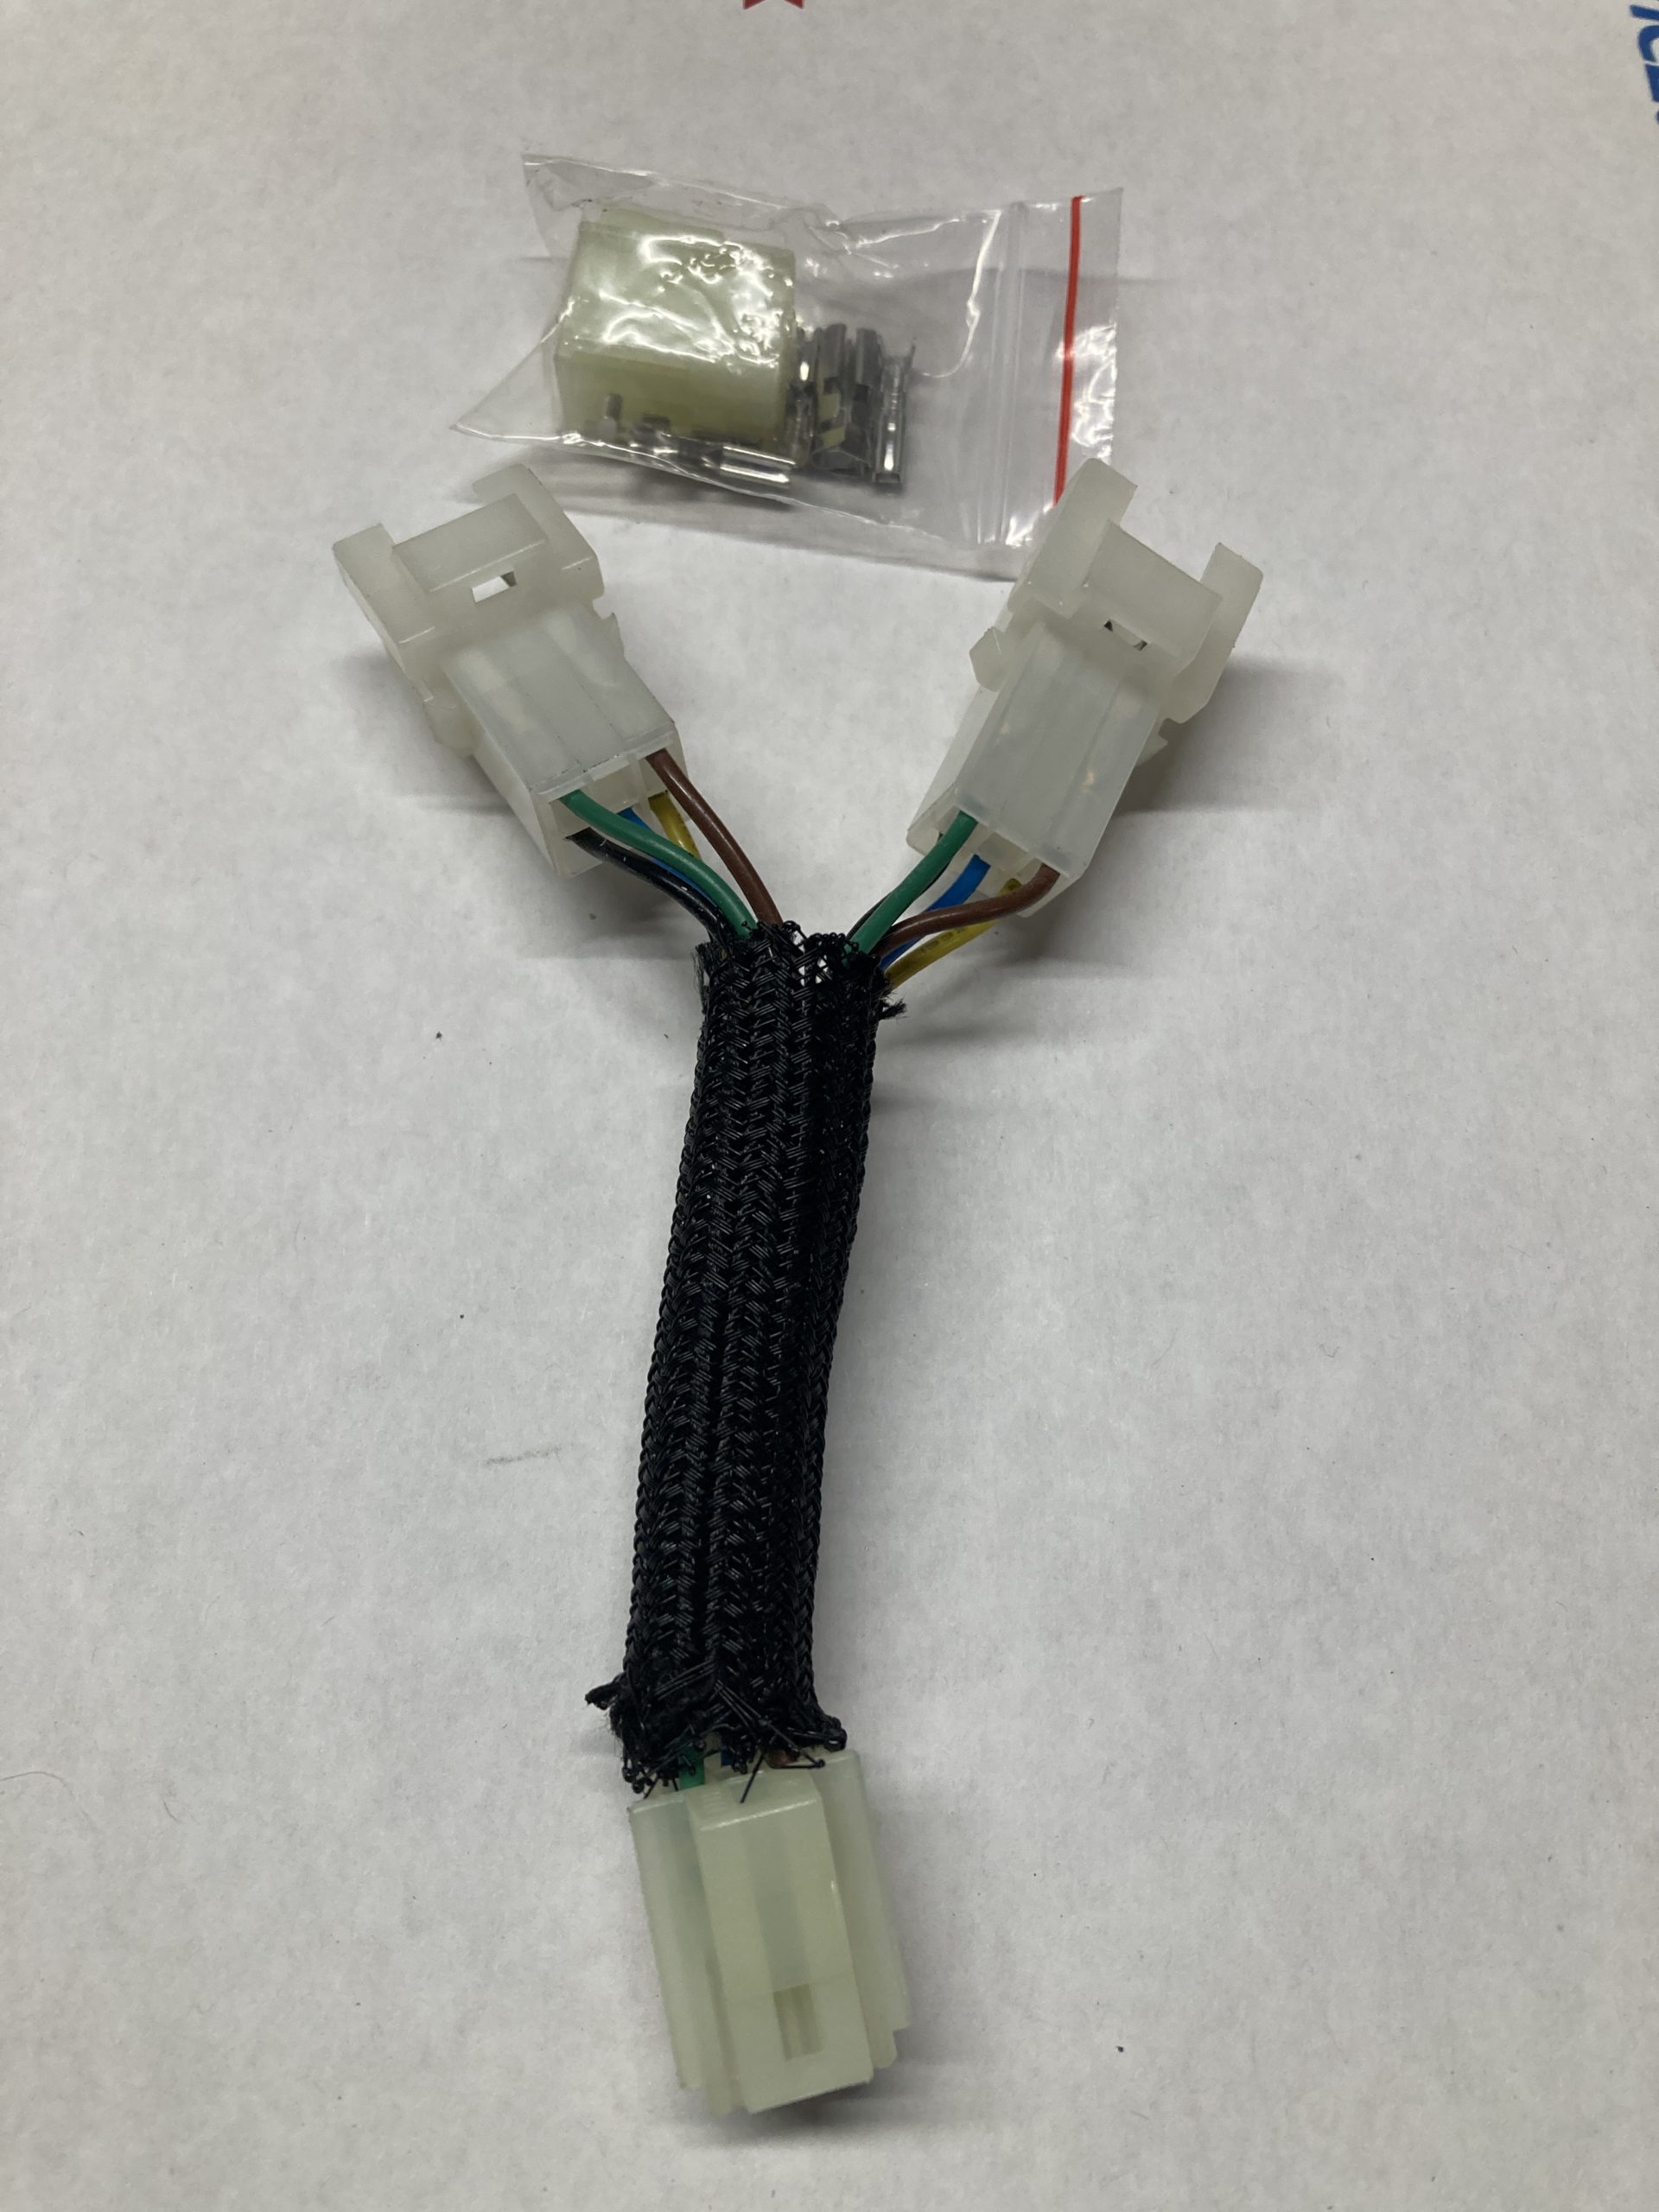

I make and sell these splitters and can custom make one for you. Contact me through Facebook if you are interested.
You can get them at the following websites.
http://www.cycleterminal.com/hm-non-sealed-series.html
https://www.corsa-technic.com/
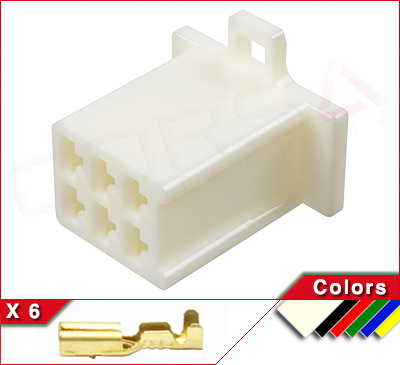
These connectors are for the 1999-2003 Road Stars.
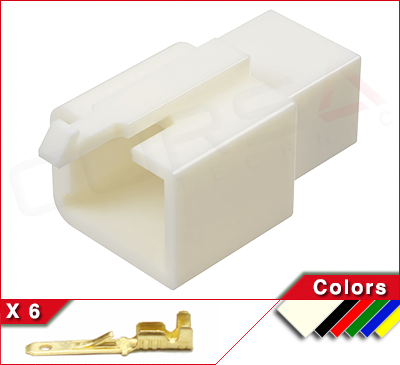
These connectors are for the 2004-2014 Road Stars
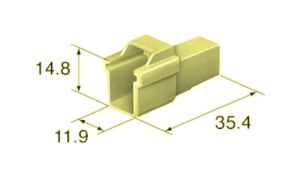
HM090-6 Male
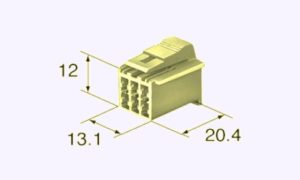
HM090-6 Female
I picked up some by the foot wire. I bought one foot of 12g wire of each color at Home Depot to do the Y. I soldered the wires on the Y. The connectors come with the terminals. You will need to get a terminal connector crimp tool.
I purchased three feet of 14g wire of each color to make it back to my tour-pak.
I am happy to make a splitter for you if you prefer. Reach out to me via Facebook and I can get you a quote.