LED – Dual Brightness
LEDs are a great upgrade for headlights and taillights on our bikes. The taillight/brakelight is LED so it is easy to add lighting when these lights are involved. The blinkers may need a Flasher Relay. That is explained below.
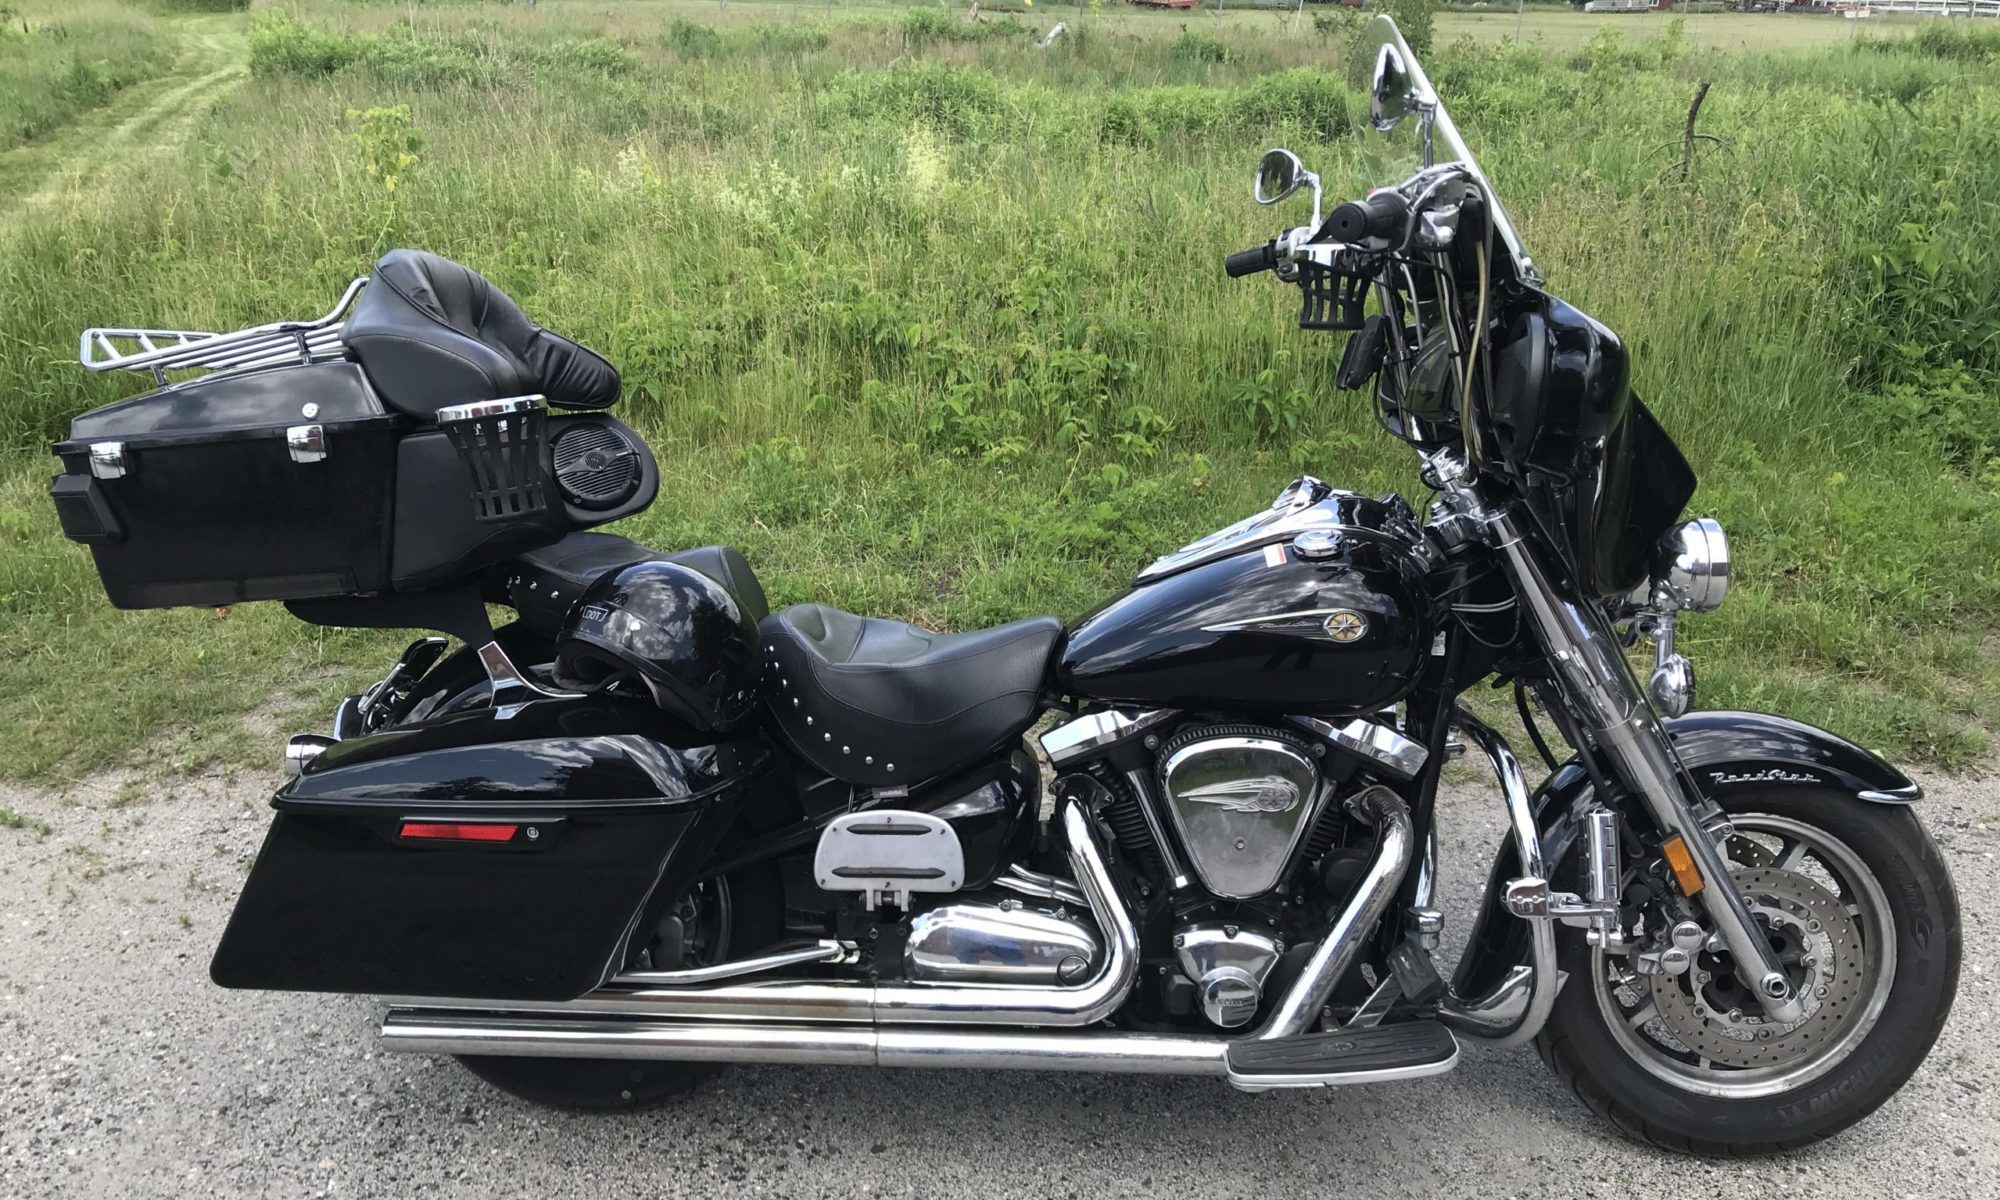
I added a HD King Classic Tour-Pak and wanted to add side marker lights and taillights/blinkers to it. It came bare with chrome covers where the side marker lights are located so I picked up some lenses. I also picked up a tail light with brake light and blinkers.
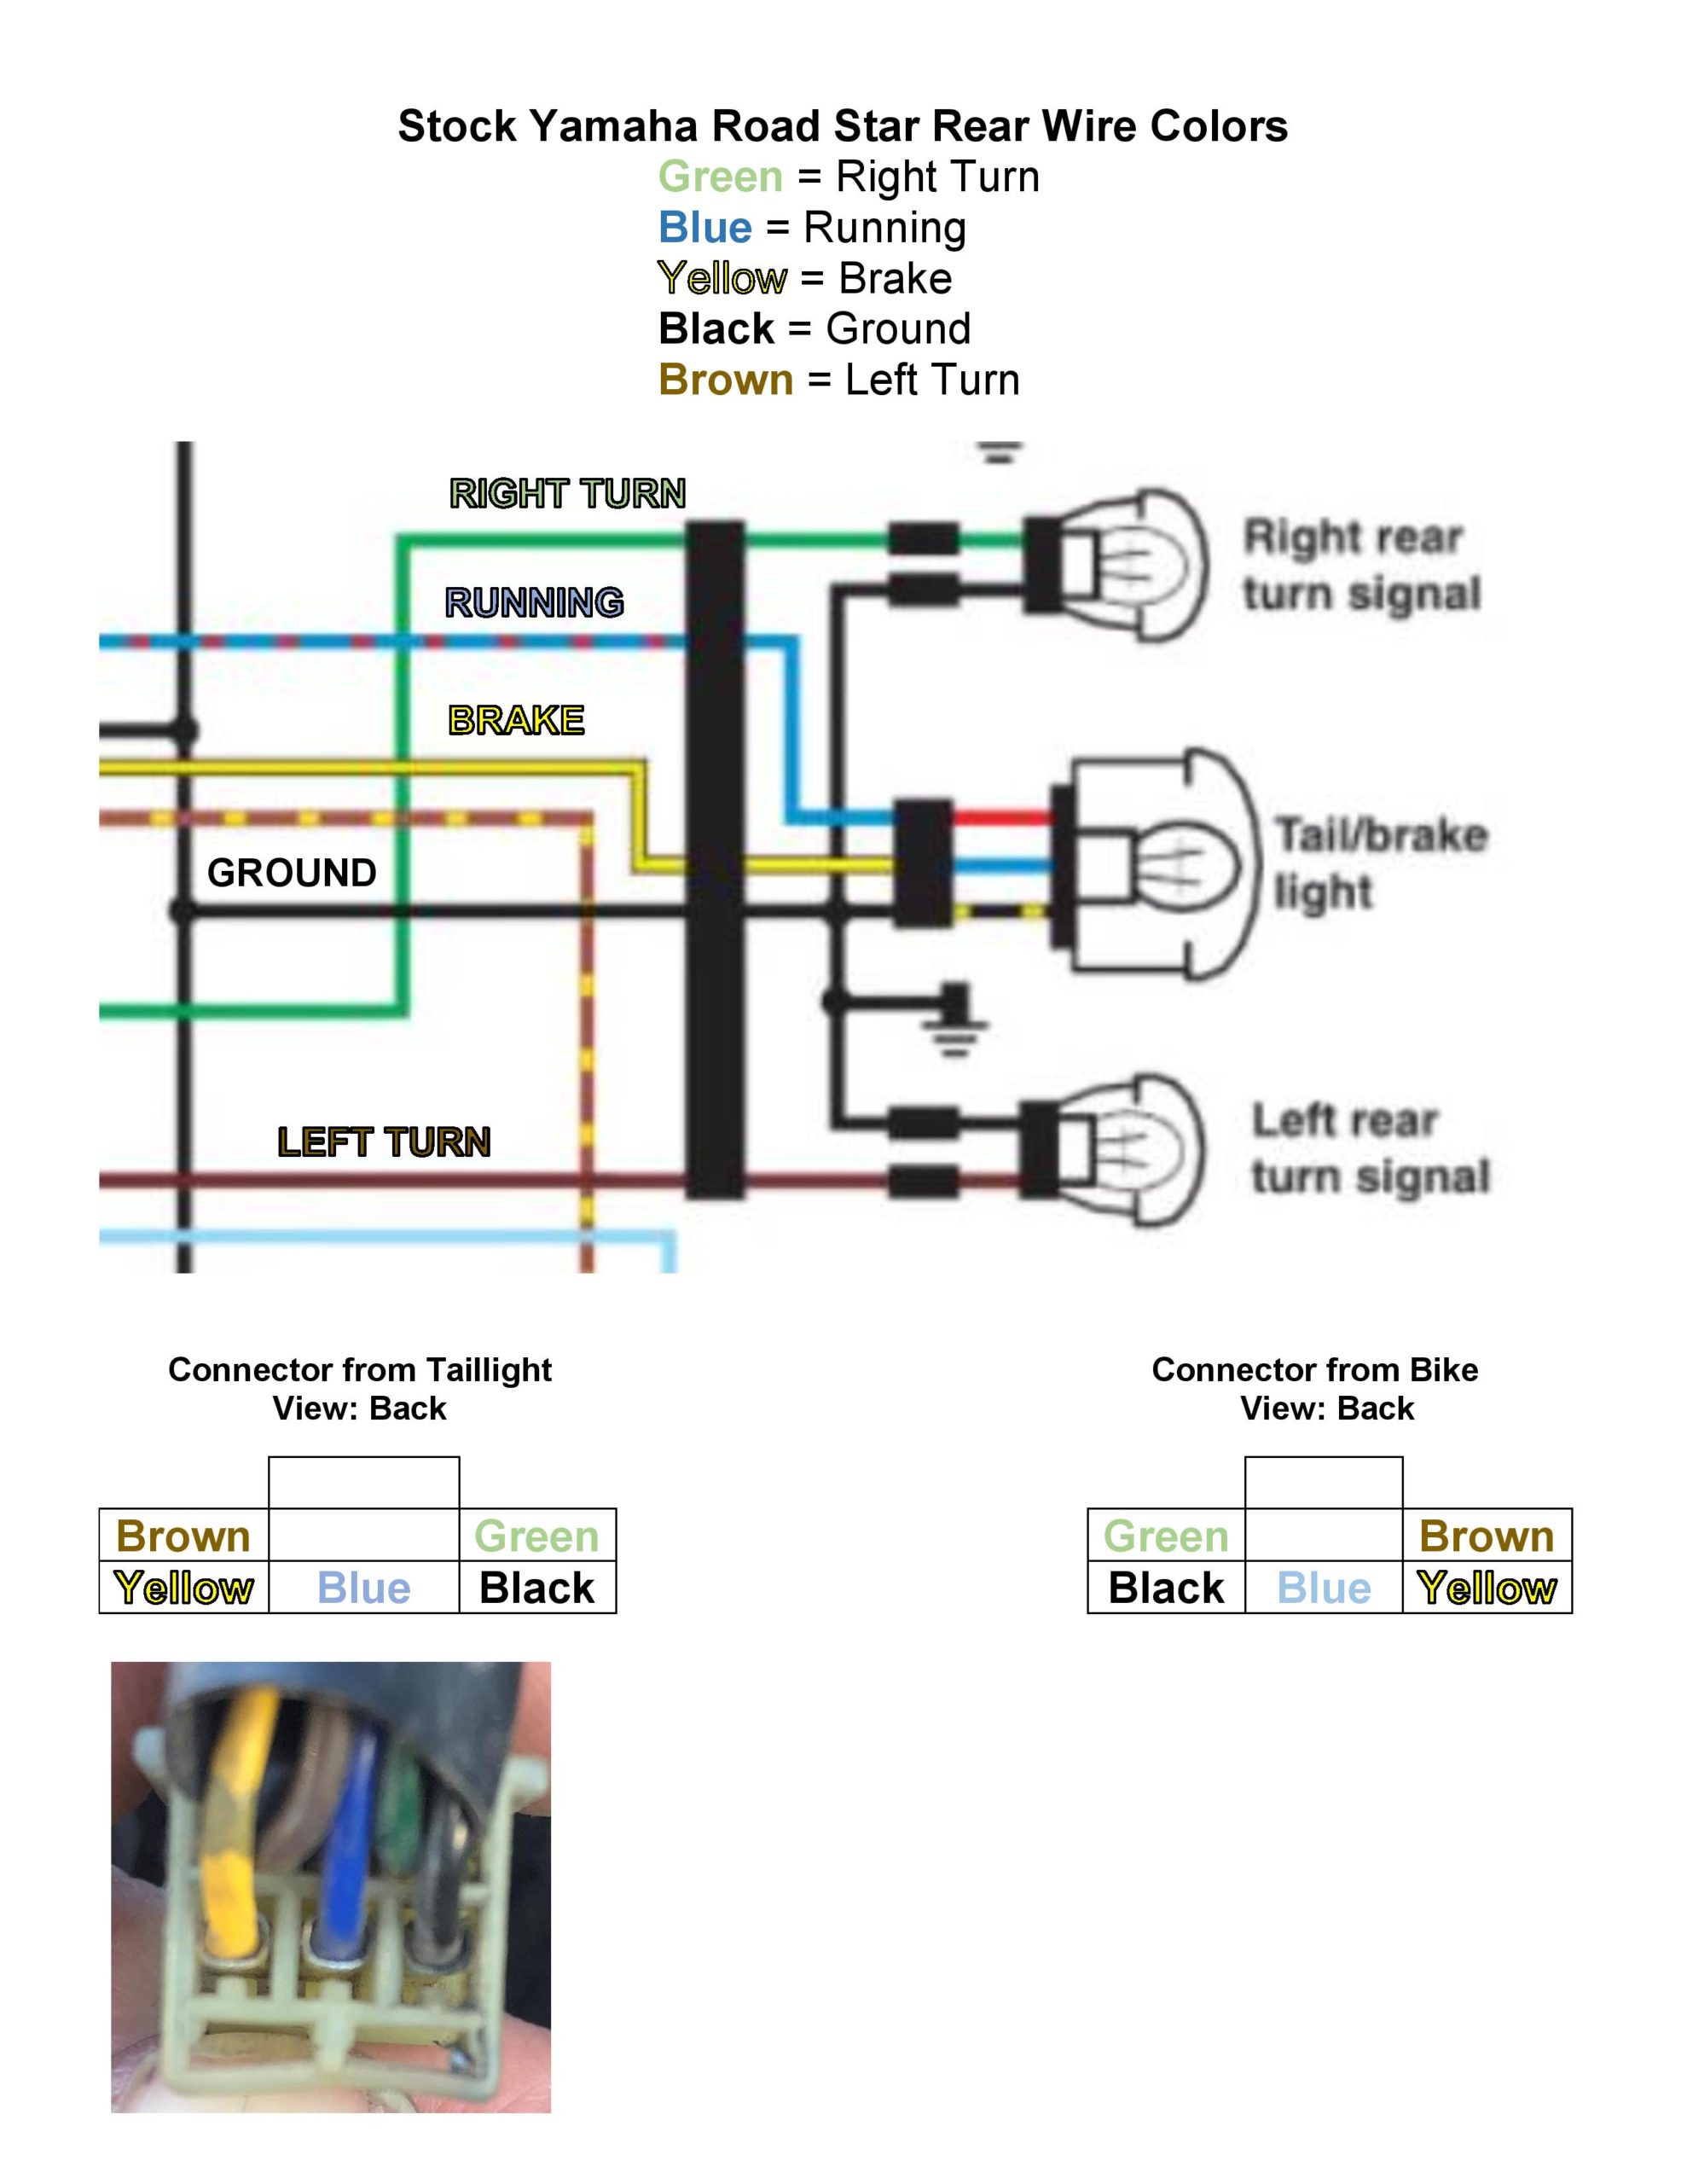
Below is a wiring diagram for the tail lights.
LED Side Maker lights
These lights are on all the time at full brightness. I connected them to the power from the taillight (blue wire).
I found that adding LEDs for the side markers was the cheapest and easiest way to do this upgrade. I did it all from scratch using diodes, resistors and RGB LED Light Strips. Keep reading for all the details.
Parts list: (links to what I used)
-
- RGB LED Light Strip – (find example here)
- 1N4004 Diodes – (find example here)
- 1w 300 ohm resistors – (find example here)
- 20 Gauge black and white wire (find example here)
Tools list:
-
- Solder
- Soldering Iron
- Flux
- Heat shrink tubing
- Torch or hair dryer (for heat shrink)
- Wire cutters
I had some extra RGB LED lights strips left from a project and decided to play around with them. They are 12v so I connected them directly to a battery and they worked. Since I used smoked lenses for my side covers I used just the red (R) on the light strip. I bought a taillight (find example here) that has running/brake/blinker. I wired the tail and blinker with them so that I would have one clean connection to the wiring harness on the bike. I don’t like to splice wires on the bike so I created a Y. This allowed me to plug the add on lights in one side and the stock lights to the other side of the Y.
The tail light is set up with running/brake in the middle and blinker on the sides. I adapted the side lights (on tail light) to be running (with 300 ohm resistance to dim) and blinker (full) just like the side marker lights. So all of the lights on the tail light and side marker lights are on (dimmed) until I use brake or blinker.
To create a dual brightness LED you need to make the connections as pictured below. Basically you are creating a Y with a 1N4004 Diode on one side and a 300 ohm resistor & 1N4004 Diode on the other side. The side with the resistor dims the lights (running). The diodes are used so that current does not flow back through to the power source, whether running or blinker. I have also included a video for reference (not mine). I used one diode/resister Y for the side marker lights and two for the running/blinker lights (one for each blinker).
As indicated, I combined all of the running lights down to one wire to make one clean connection to the harness on the bike. I soldered all connections and used heat shrink tubing. I also used black tape to clean it up and ran it under the metal plate on the bottom of my HD King Classic Tour-Pak.