RoadMaster Delux Shock Installation Notes
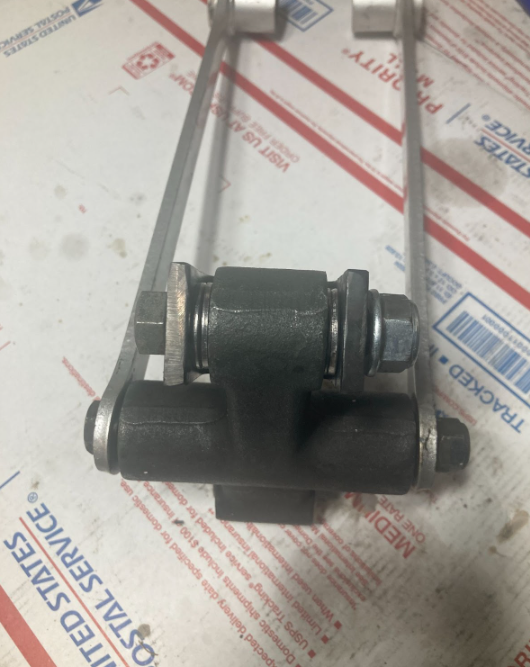
The RoadMaster Delux install the same as the stock shock for the most part, The main difference when installing the RoadMaster Delux has to do with the clevis. The clevis on the RoadMaster Delux is handmade and is a bit wider than the stock clevis. A new longer bolt, nut and washers are provided with the shock. The washers are two different sizes and are used to take up the extra space created by the wider clevis.
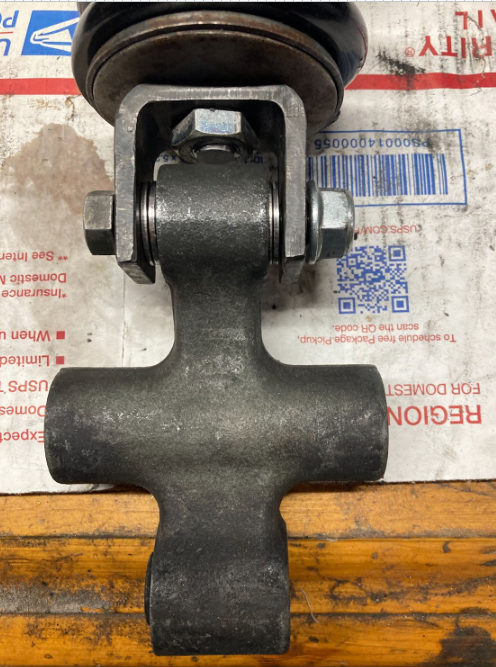
This shock uses a different mounting bolt and nut than OEM and requires washers between the clevis and relay arm on each side. It’s a good idea to keep your OEM mounting hardware. There are two different size washers. One of each size goes on each side. To keep it centered you want to pay attention to the thickness of each washer. They are on the shock the way they should be installed. They need to be installed two on each side, as illustrated in the pictures below.
You may need to grind the relay arm to install the RoadMaster. Here is a video about it.
- BEFORE GRIND
AFTER GRIND
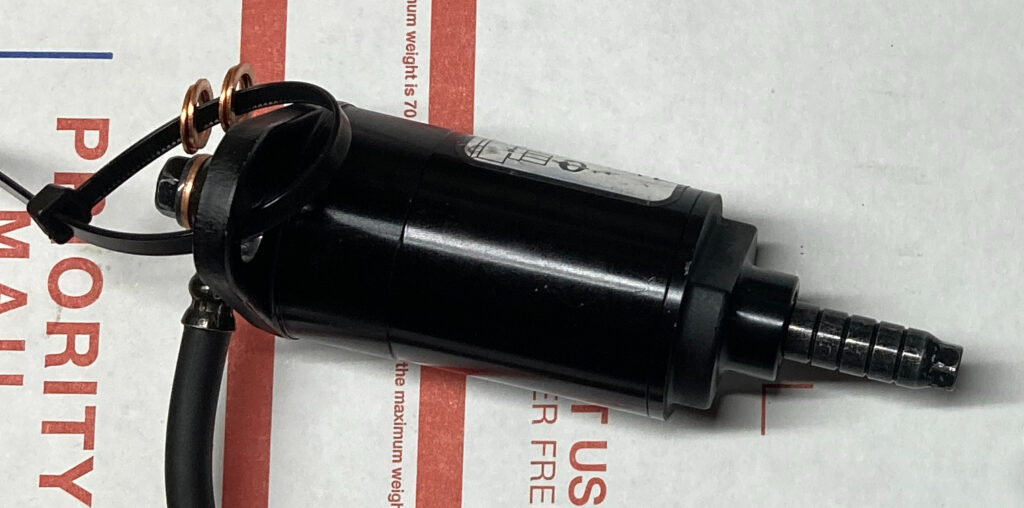
If you received the Harley Davidson manual RAP adjuster with your RoadMaster Delux you can use an 8mm wrench or socket to increase or decrease it. DO NOT use a power tool to increase/decrease the RAP adjuster.
Here are directions to install the RoadWing. https://www.jrbk.net/roadwing-install/
Reach out if you have any questions, etc.